Warm and wonderful, these filled dumplings are an old-world comfort food everyone will love.

In my ongoing love affair with all things dumplings, I have to put the Pierogi at the top of my list. These pillowy beauties are crispy on the outside and soft on the inside, can be sweet or savory, and are so versatile that you can serve them for breakfast, lunch, or dinner, as a main course or an appetizer, and are a huge party-food favorite. They are also really fun to make, so much so that some people throw annual Pierogi-Making parties right before the holidays, where they eat and drink and make lots of Pierogi to have on hand for the upcoming festivities. Sure, you can buy frozen pierogi, but when you have a recipe as easy as this one, it’s just way better to make them yourself.
While Pierogi are considered the national dish of Poland, their exact origin is a bit murky; other countries well-known for their pierogi, such as Ukraine, Russia, Lithuania, and Romania, all have some claim to them. Foodie historians cite various legends about the Polish missionary St. Hyacinth introducing the dumplings to his nation on returning from a missionary trip; others say the arrival of the pierogi in Europe began with Marco Polo when he came back from China. None of these stories are documented, but one thing we do know for a fact is that the first Polish cookbook, in 1682, contained a recipe for Pierogi—stuffed with veal kidneys!
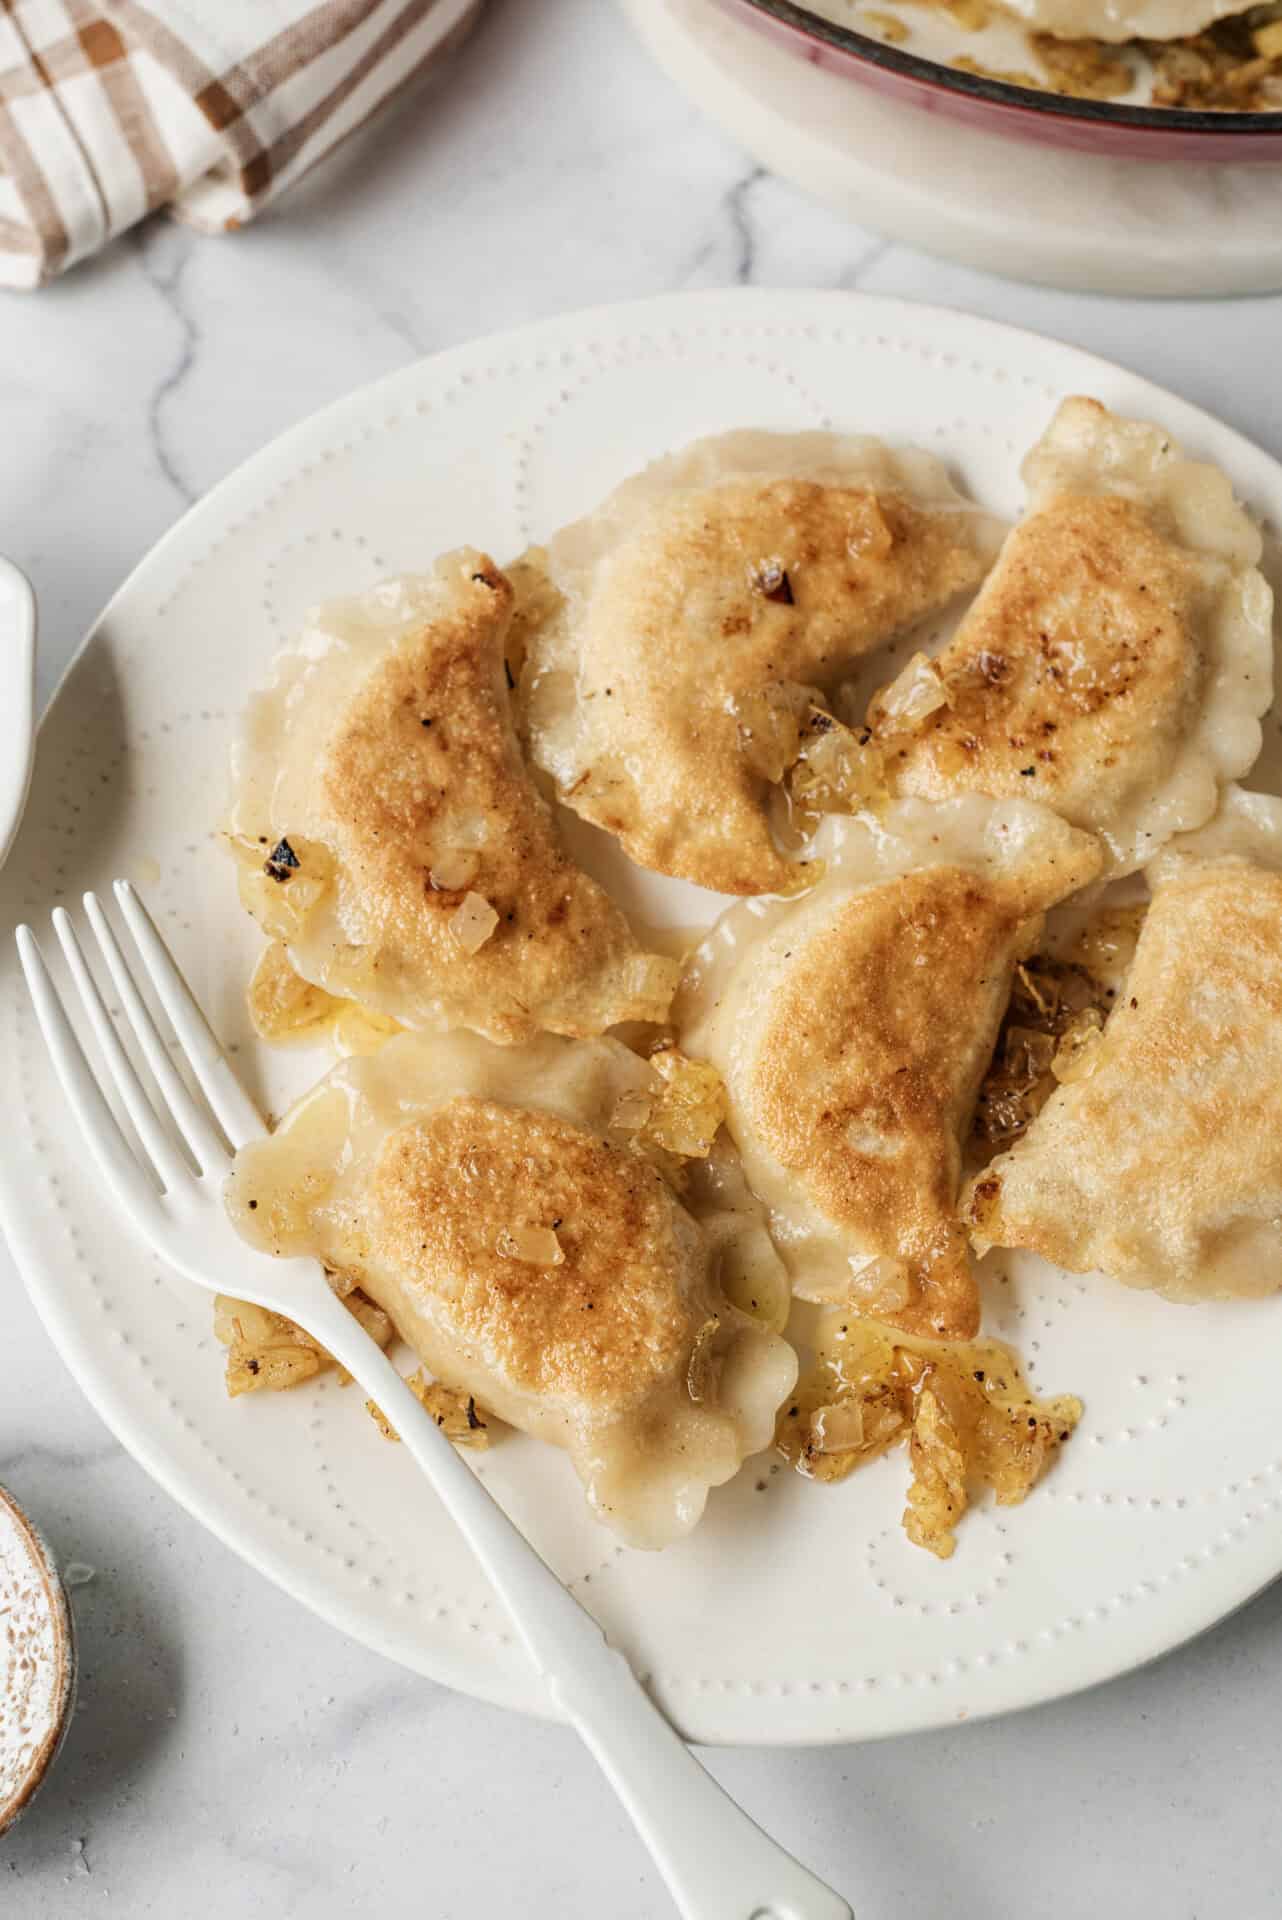
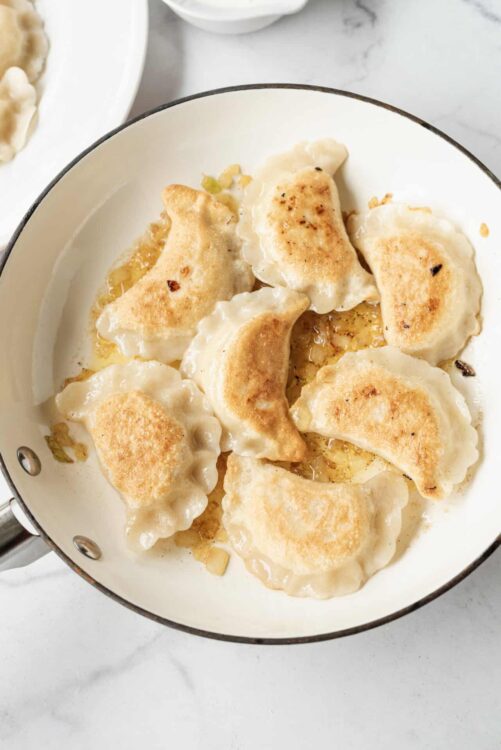
Our version here is stuffed with creamy potatoes and sharp cheddar cheese—yum. The dough requires no yeast or other kinds of leavening, and it gets its wonderful flavor from the butter and sour cream—so rich and tangy—and is really easy to make (see my tips below). Our Pierogi are boiled first; when they float up to the top, you’ll know they’re ready to go into the hot frying pan containing your golden onions that have been sautéed in butter. Once each side of the pierogi has achieved that irresistible crisp, pile them onto a plate, dip them in some cool sour cream, and enjoy the Pierogi party in your mouth!
Although it is by no means the only Pierogi filling, traditionally, these tender little dumplings are stuffed with soft potatoes. Of course, you can make the filling according to our recipe, but if you happen to have any Garlic Mashed Potatoes or Cheesy Mashed Potatoes left over, they will work beautifully, too.
The Art of Making Pierogi Dough
If you’re a seasoned baker and used to making your own dough, this recipe will be a snap; if you’re a novice and rarely make—or have never made—your own dough, this recipe will also be a snap!
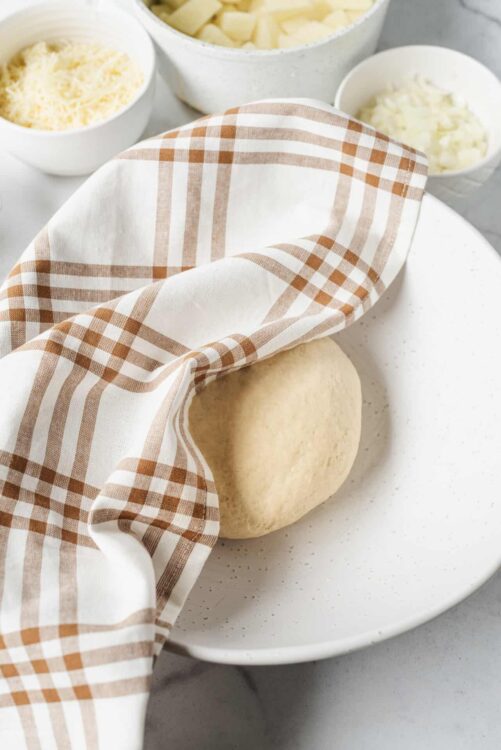
To begin, make sure your dough ingredients are at room temperature, except the water: the water needs to be warm (you can heat it in the microwave until it’s hot—a minute will do—then add it to your dough within a minute or two). Our recipe says, “Mix in enough warm water to form a soft, pliable dough,” so start with 3/4 cup of the water and continue to add more until your dough is smooth and soft. If you’ve used the entire cup of water and the dough is still a bit dry, you can always add a little more; just make sure that the water is warm. If it becomes too wet, add a bit more flour. Then, lightly flour your kneading surface so the dough won’t stick (flouring your hands lightly will help, too); kneading, for those who don’t know, means to press the dough forward with the heel of your hands, then rotate the dough and continue the process until the dough is smooth and pliable and you can form it into a round ball (this usually takes between 5-7 minutes). Cover the dough with a towel and let it rest for twenty minutes. Then lightly flour your surface again and roll out your dough to 1/8-inch thickness. That’s it!

FAQs & Tips
How to Make Ahead and Store?
Pierogi dough will last wrapped in plastic wrap in the refrigerator for 3 days and in the freezer for 3 months. You can also make Pierogi ahead of time by following the recipe through Step 5, placing them on a parchment-lined baking sheet, dusting them with a bit of flour, and keeping them in the refrigerator for up to 3 days; freeze the uncooked Pierogi on the parchment-lined tray and then store them in freezer-safe bags for up to 3 months. Cooked and cooled Pierogi will last in an airtight container for up to 4 days in the fridge and in the freezer for up to 6 months.
Can you eat Pierogis right after they’re boiled, without the pan frying?
Absolutely! The pan-frying adds a crispy exterior, but if you love them just soft and pillowy, you can definitely eat them once they’re boiled.
Is there a vegan version of this Pierogi recipe?
You can easily make one. For the dough, use vegan butter and plant-based sour cream; also, you can leave out the egg (it adds richness to the dough but you can definitely make the dough without it). Next, cook the chopped onions in olive oil instead of butter. And for the filling, use dairy-free cheese shreds to mix with the potato, or choose a vegan filling of your choice.
Serving Suggestions
Potato and cheese-filled Pierogi are a favorite and a perfect side dish for Air Fryer Brats, but I would also make some Blue Cheese Vidalia Onions to round out this meal. I also love this version of Pierogi with Bacon Wrapped Sausage and some Sunny-Side Up Eggs for a really great breakfast. There are lots of other ways to stuff these delicate, delicious dumplings. Savory meat fillings, such as Shredded Chicken or Sweet Slow Cooked Pork or Brisket make superb Pierogi, whether you add cheese or not.
Lots of people love sweet Pierogi, and you will probably join their ranks if you fill them with Orange Marmalade and serve them with a side of Cranberry Relish. Another lovely sweet Pierogi is one that contains Roasted Summer Berries and is then topped with Blueberry Sauce. Some traditional sweet Pierogi are filled with cheese, so I tried a batch using this Whipped Ricotta with the honey mixed in; then I topped them with a dollop of Brown Sugar Cream Cheese Frosting, and they were a huge hit!


Pierogi Recipe
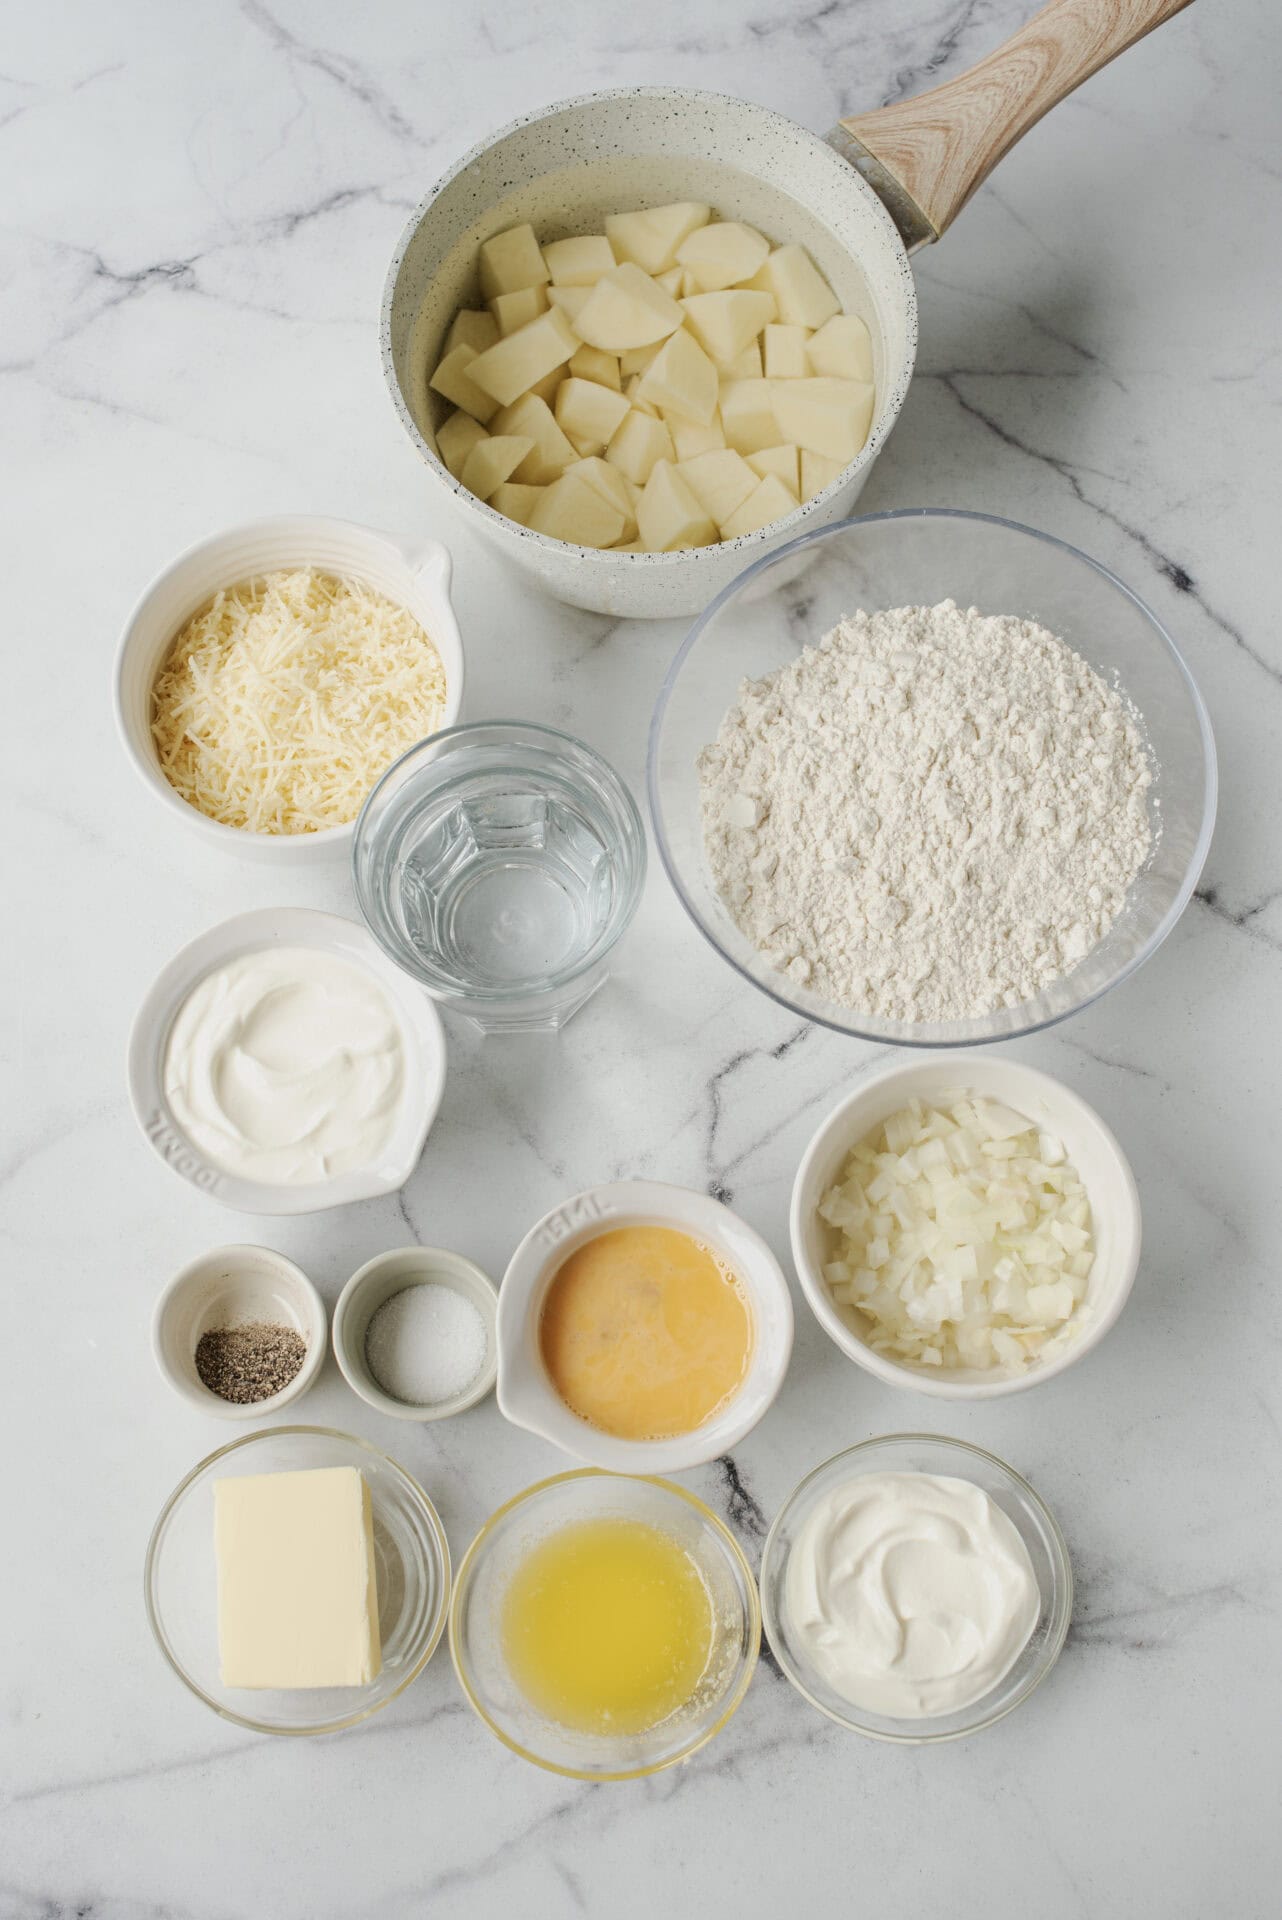
Ingredients
- 2 cups all-purpose flour
- 1/2 teaspoon salt
- 1 large egg beaten
- 1/2 cup sour cream
- 1 tablespoon unsalted butter melted
- 1 cup warm water
- 2 large russet potatoes peeled and cubed
- 1 cup sharp cheddar cheese shredded
- 1/2 teaspoon black pepper
- 1 medium onion finely chopped
- 2 tablespoons unsalted butter for sautéing
- Sour cream for serving
Instructions
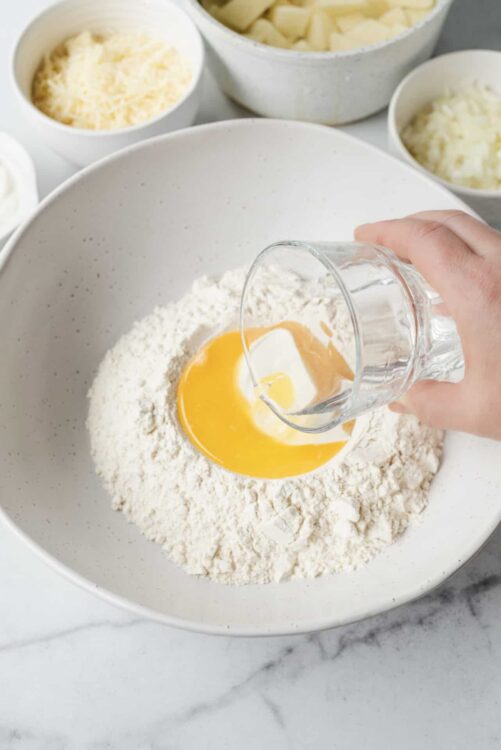
- In a large bowl, combine flour and salt. Add the beaten egg, sour cream, melted butter, and gradually mix in enough warm water to form a soft, pliable dough.
- Knead the dough on a floured surface until smooth, about 5-7 minutes. Cover with a clean towel and let it rest for 20 minutes.
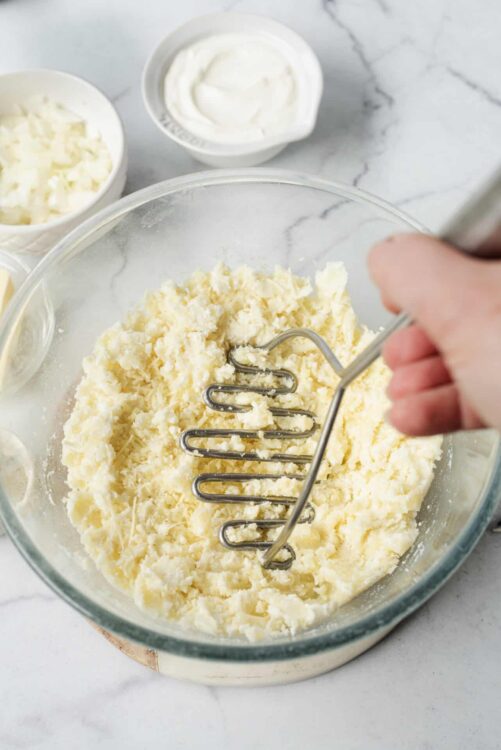
- For the filling, boil the potatoes until tender, about 15 minutes. Drain and mash with shredded cheddar cheese, black pepper, and a pinch of salt until smooth and creamy.
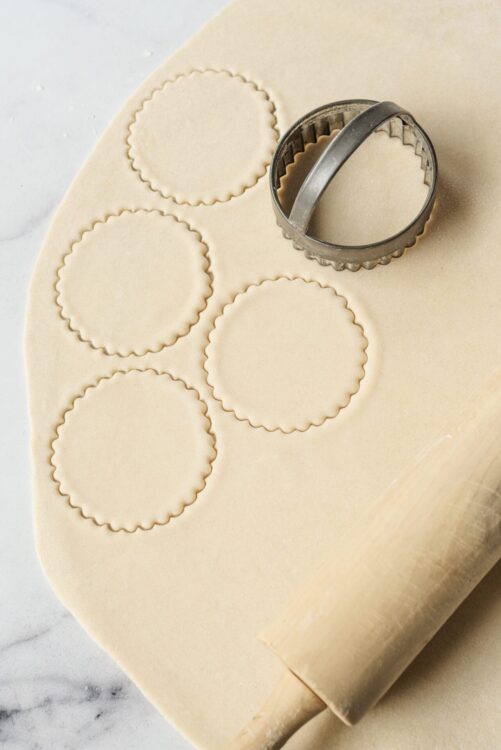
- Roll out the dough on a floured surface to about 1/8-inch thickness. Cut out circles using a 3-inch round cutter.
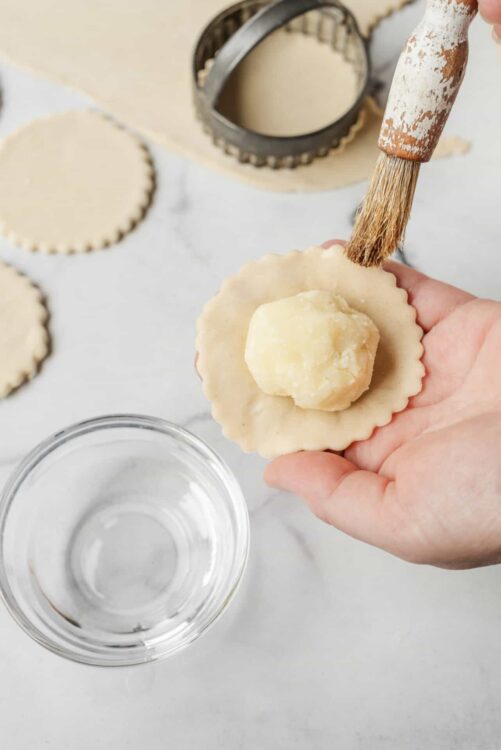
- Place a spoonful of the potato-cheese filling on each dough circle. Wet the edges with water, fold over, and press to seal.
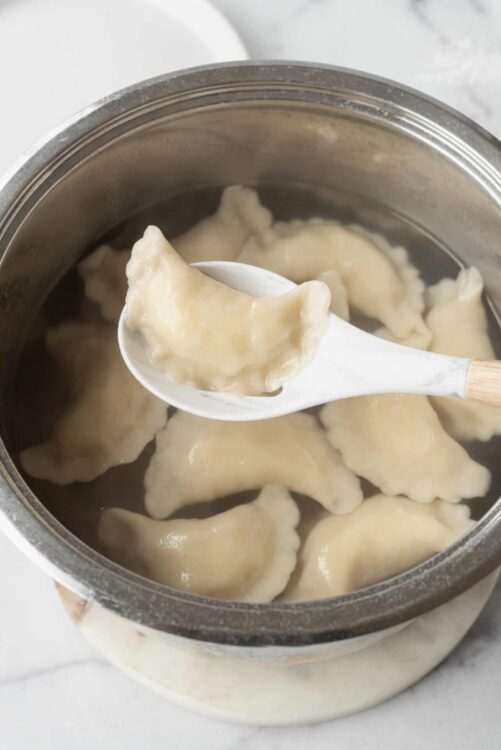
- Bring a large pot of salted water to a boil. Cook pierogi in batches until they float to the top, about 3 minutes. Remove with a slotted spoon.
- In a skillet, sauté the chopped onion in butter until golden. Add boiled pierogi and cook until crisp and browned on both sides.

- Serve hot with a side of sour cream.


Leave a Comment