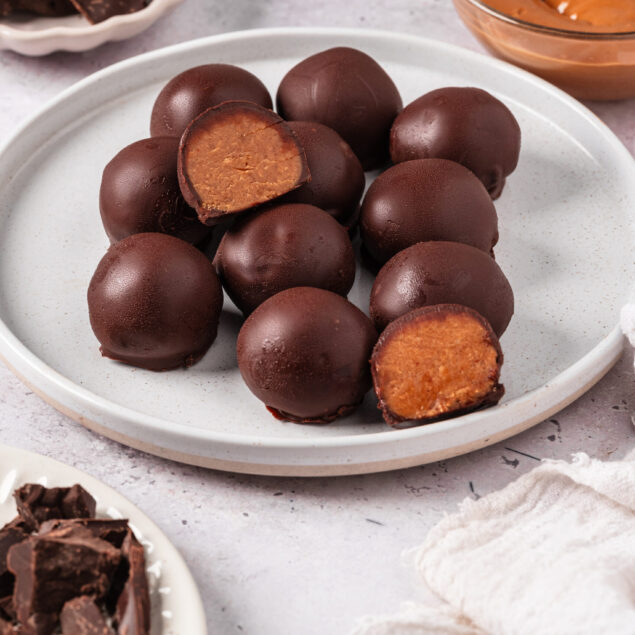
These irresistible treats require just six ingredients and are delicious whether it’s a quiet Tuesday night in or you’re hosting a holiday dinner.
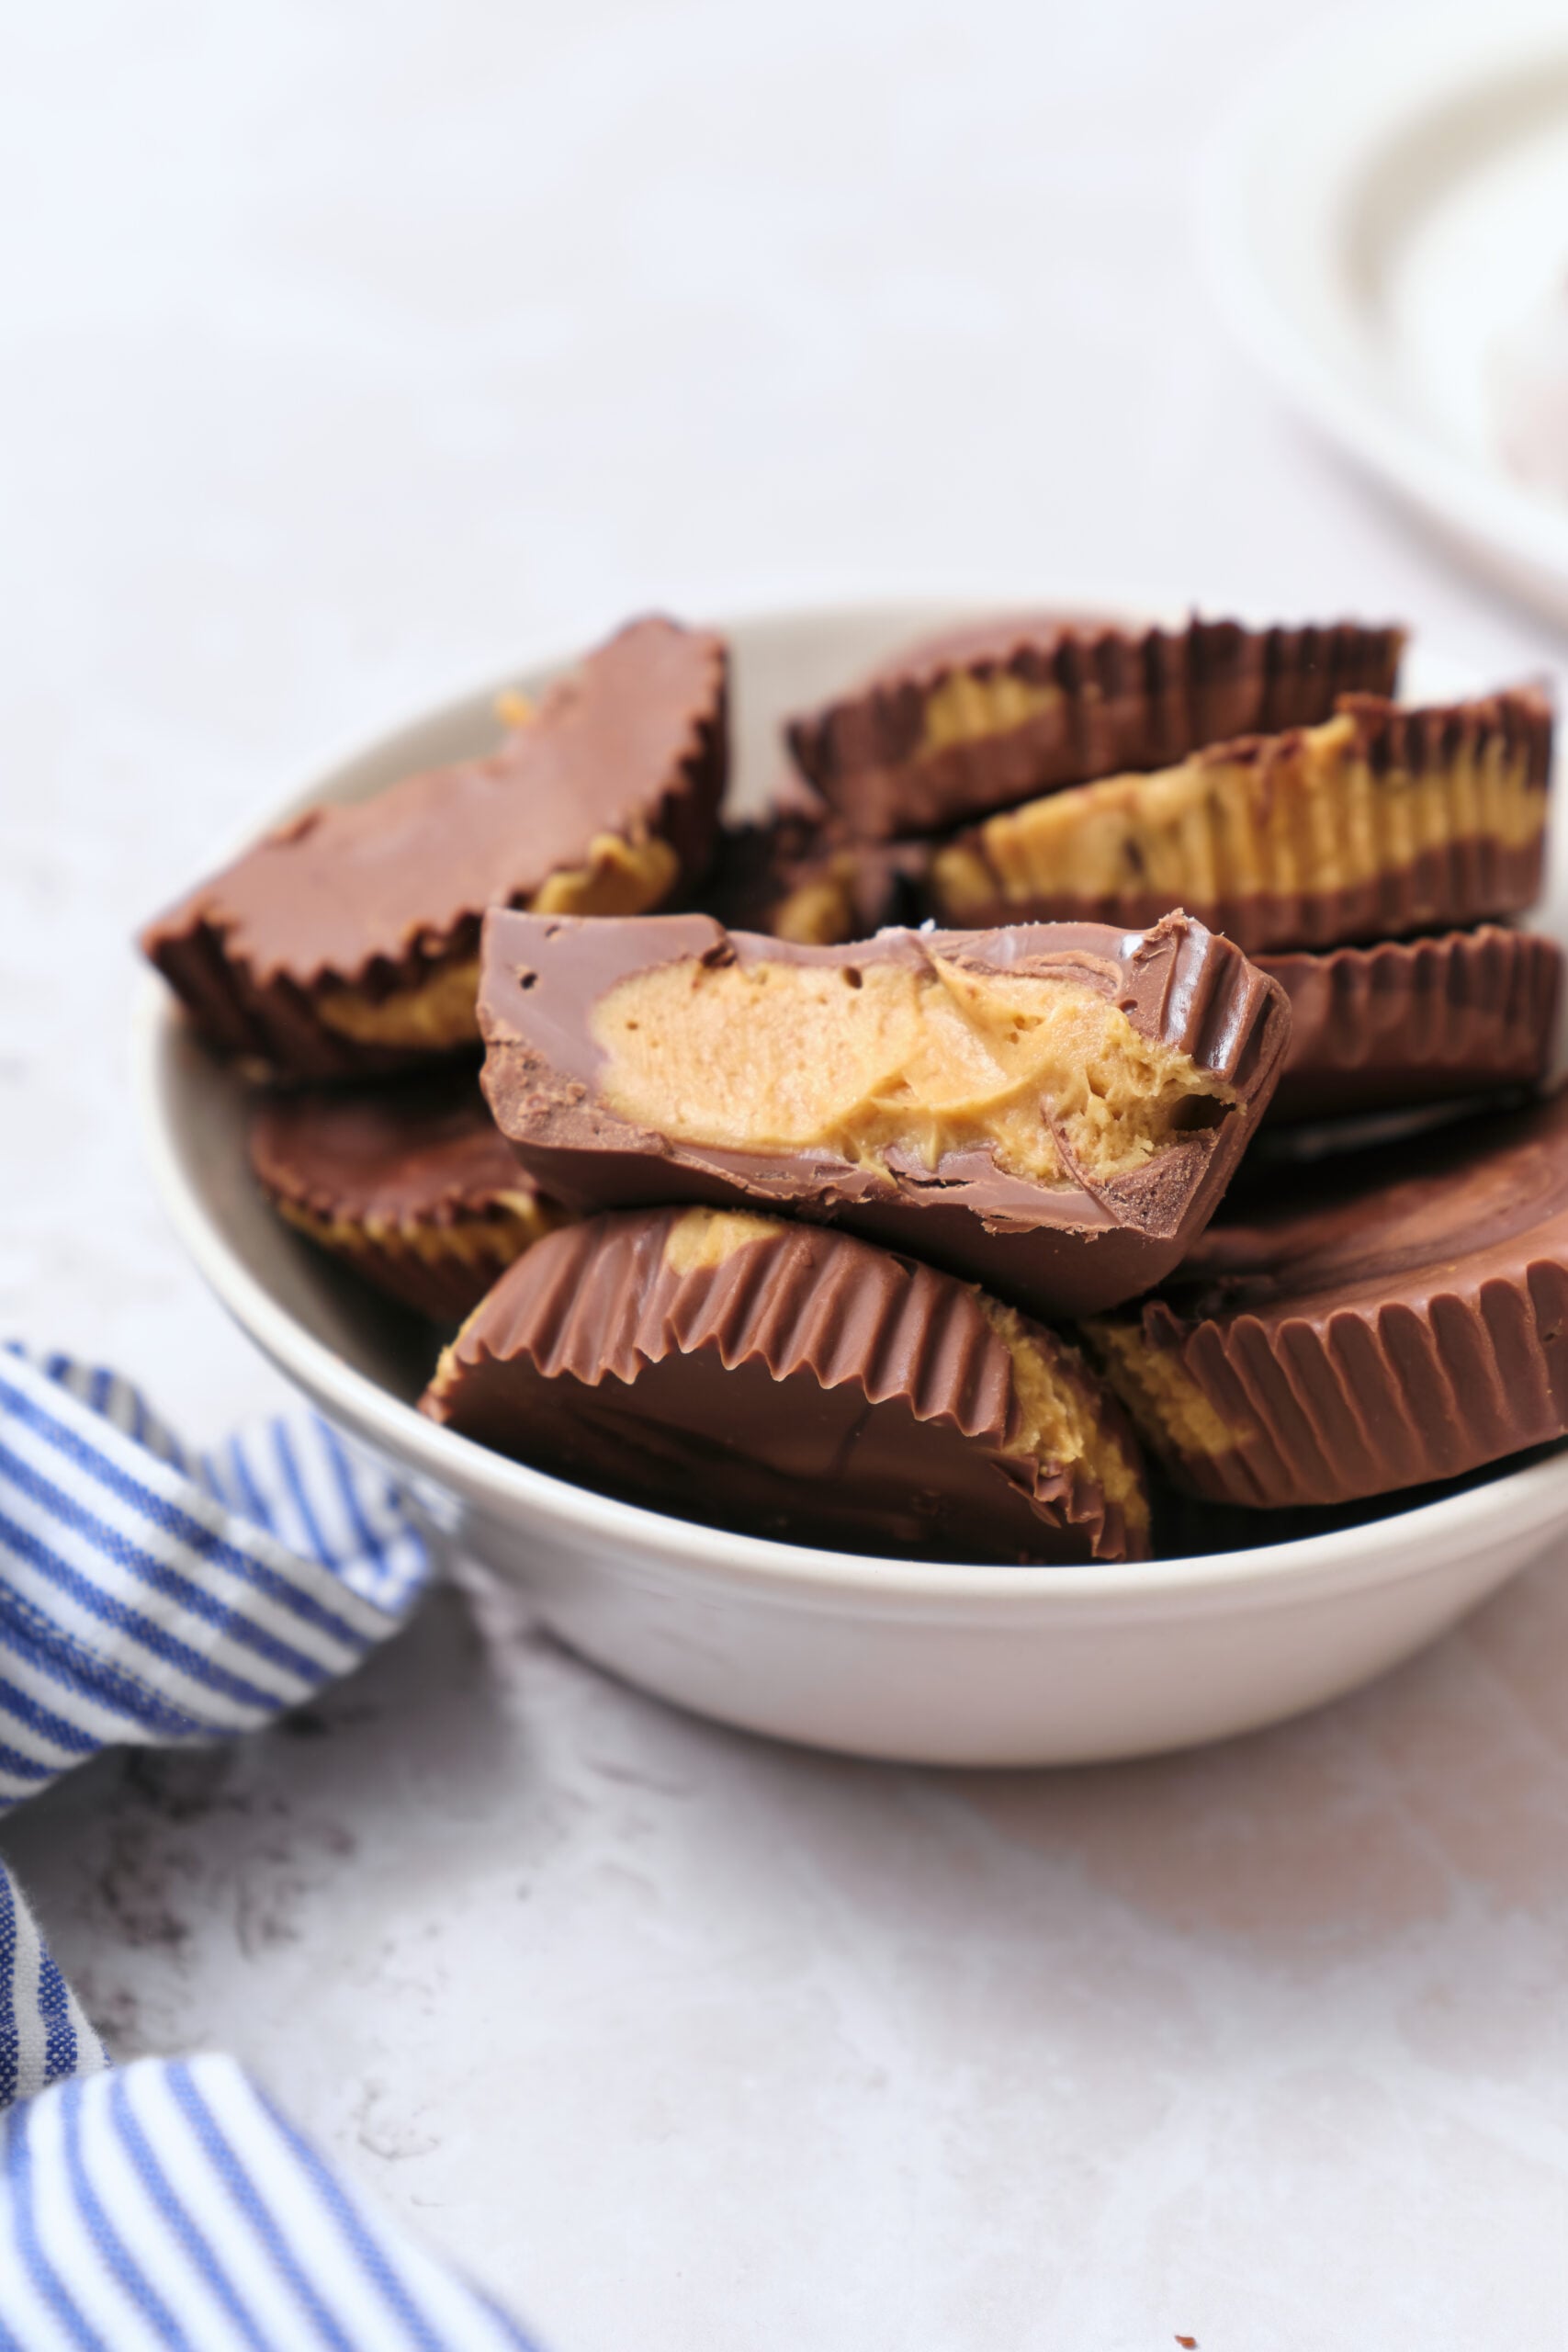
Peanut butter cups have been my favorite chocolate treat for as long as I can remember. As for the first person who thought to combine chocolate and peanut butter? Who knows? It’s nearly impossible to pinpoint—surely countless home cooks experimented long before anyone could publicize their creations. Every ingredient in this recipe is something you can pronounce. No preservatives, no needless fillers. Just a tried-and-true throwback, a bona fide classic.
I can’t convey how nice it feels to have guests over at this time of year—whether you’re hosting for a night or welcoming friends and family from out of town—and being able to offer them chocolate you made yourself. With your free will! In your home kitchen! It’s impossibly cool. I remember the first time someone handed me a homemade chocolate confection; I just stared and thought, “How are you doing all this? Do you sleep?”
I believe this year-round, though never more than during the holidays, chocolate is meant to ease stress, not add to it. This recipe keeps things simple for you with just about 15 minutes of real work; then it essentially finishes itself.
The case for unsalted butter
Unsalted butter provides a clean, consistent baseline that good dessert-making depends on. In homemade peanut butter cups, using unsalted butter keeps the balance exactly where you want it. Salted butter varies widely by brand, which means one batch can taste perfect while the next turns oddly briny. Starting with unsalted butter and adding salt yourself puts you in full control of the flavor. It’s a small choice, but one that leads to the most predictable results.
Ultimately, it comes down to personal preference. I use unsalted butter for the same reason I use a kitchen scale: I really like knowing exactly how much of each ingredient goes into my food. Most of my cookbooks assume the reader is using unsalted butter as well, with any additional salt written into the recipe separately. That separation keeps things precise and stress-free.
How do I store leftovers?
Store your homemade peanut butter cups in an airtight container to prevent them from absorbing odors or developing condensation. Keep them in the refrigerator for up to 2 weeks, or freeze for up to 3 months. Just let the frozen cups sit at room temperature for a few minutes before eating so the filling softens a bit.
Serving suggestions
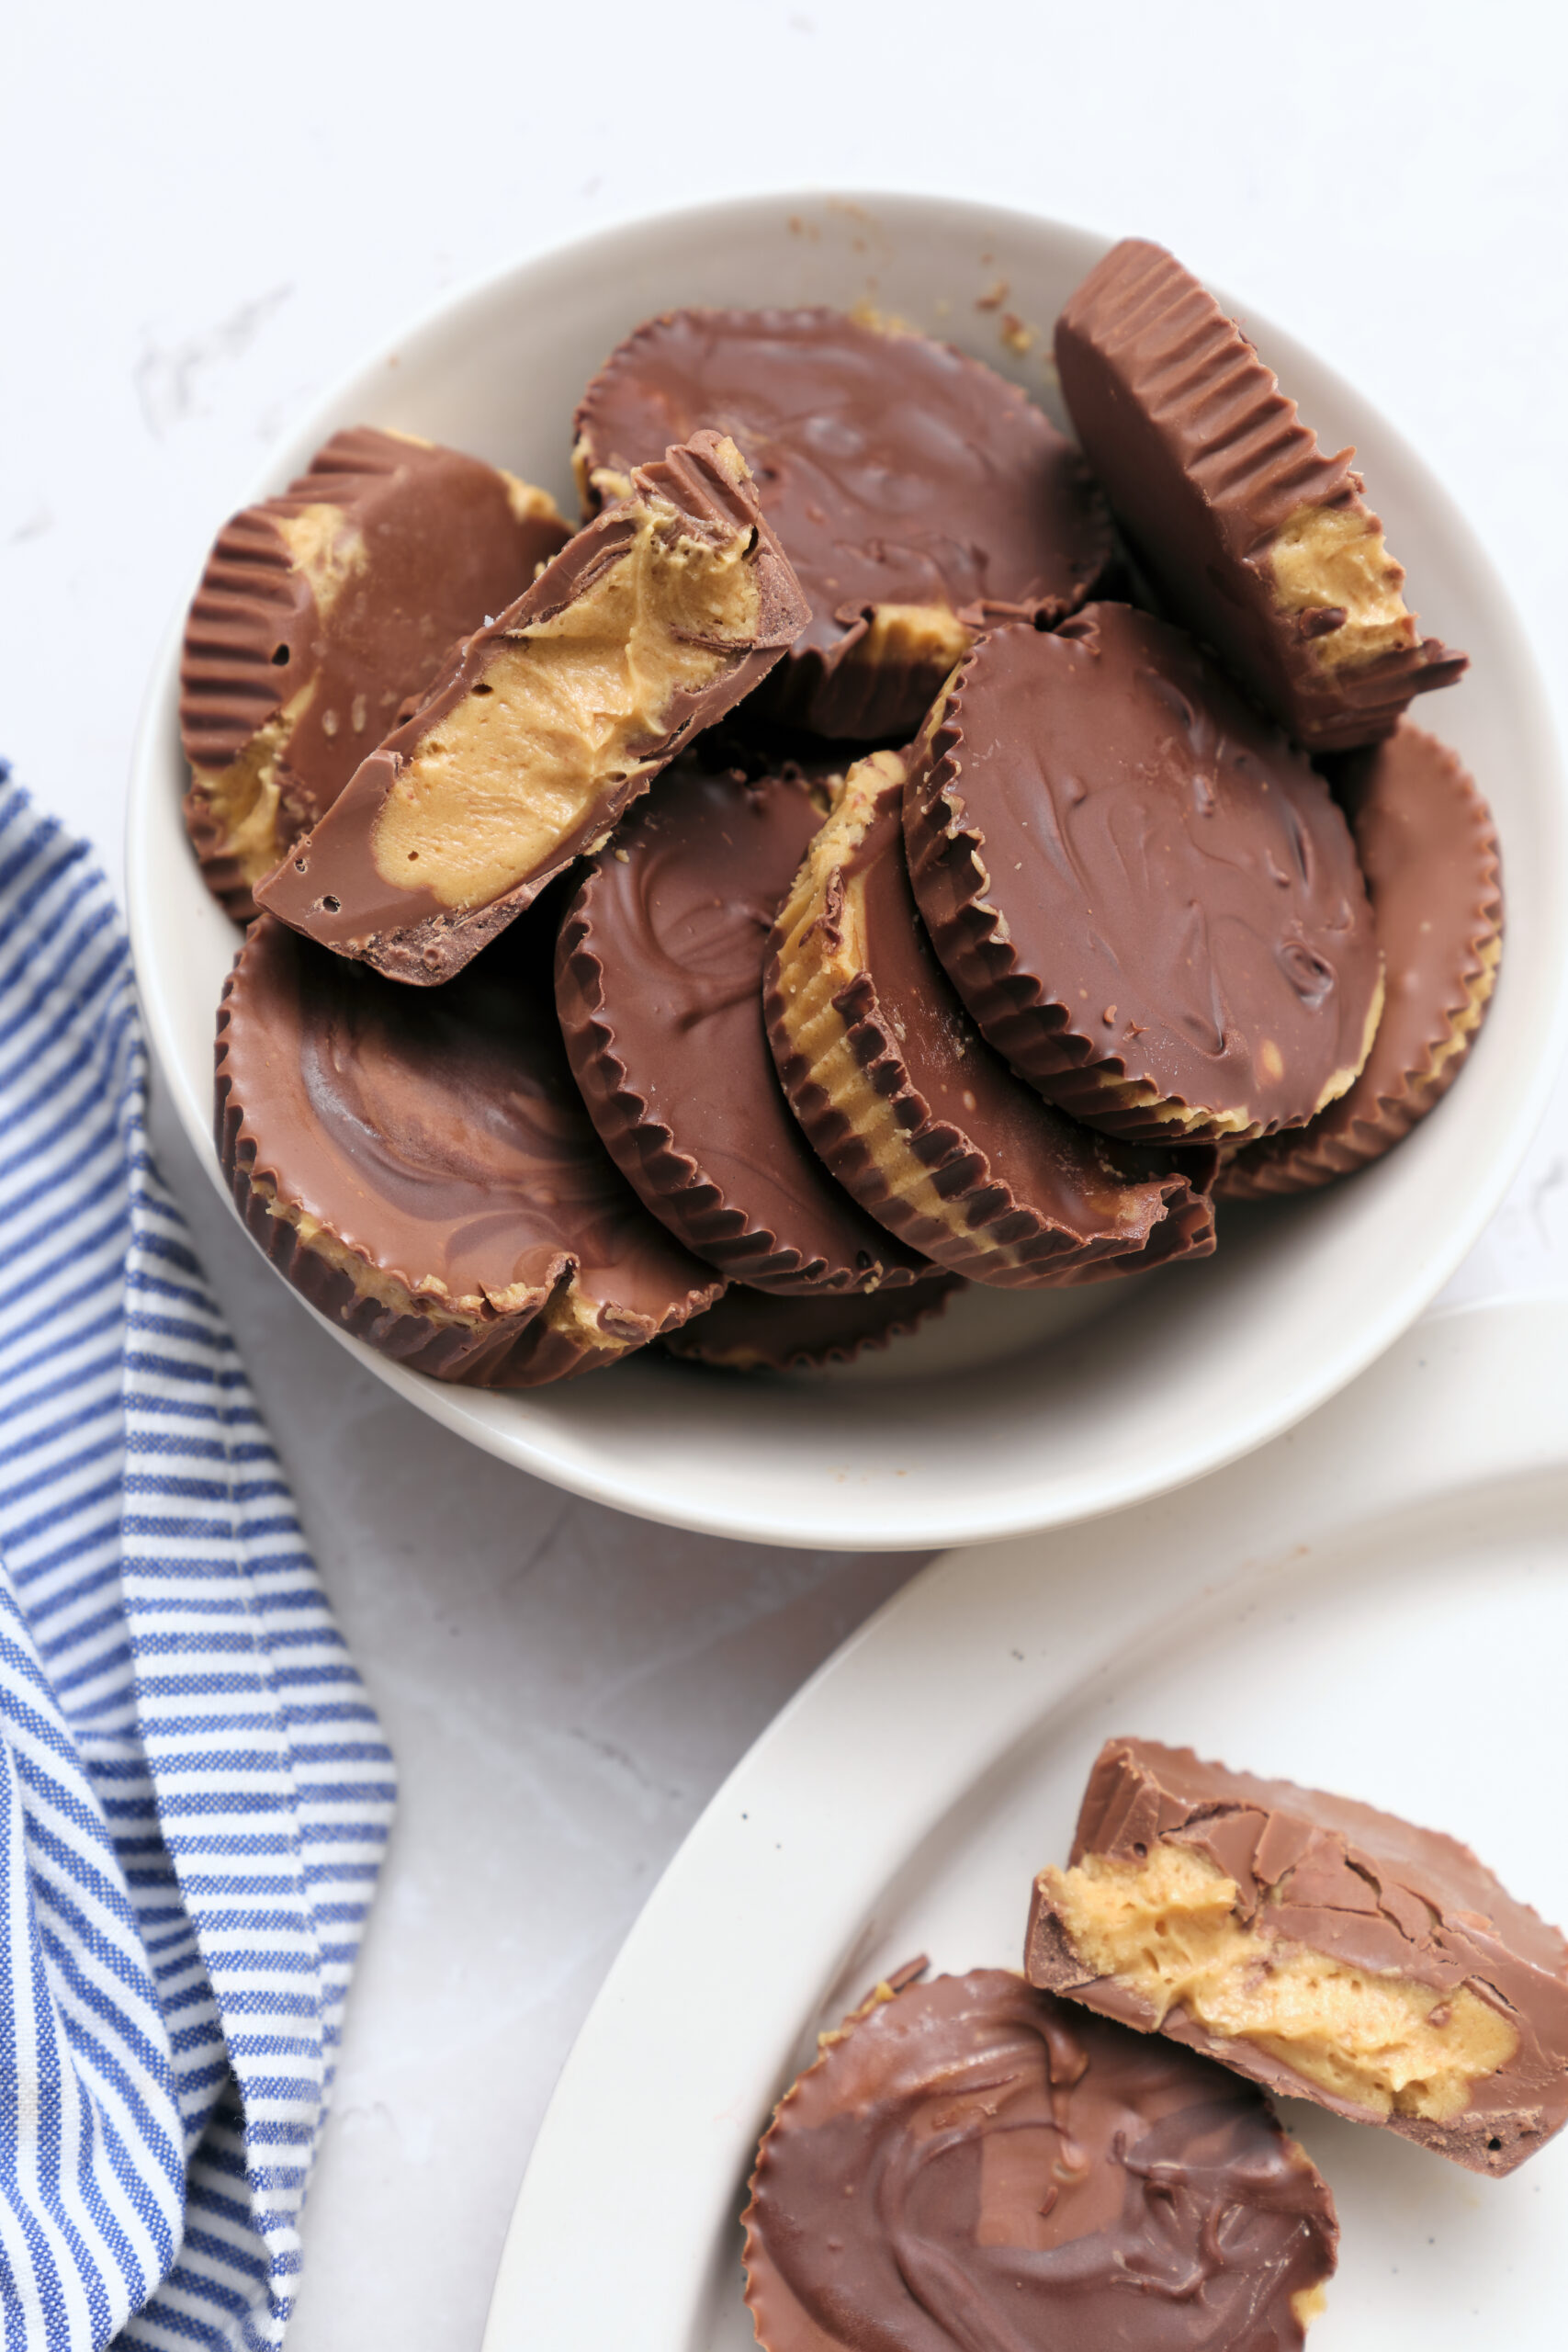
Serve these as part of a larger dessert spread, or offer them up as a welcoming treat for guests. Personally, I like to make these and keep them in my freezer so that I can grab them whenever (dinner party, negotiating with a child, anytime treat—you name it).
As for a dessert spread that could include these, I’d strongly suggest either this Pecan Pie or this Pumpkin Chiffon Pie. But honestly, let’s just be safe and make both. For variety, I’d add a platter of these Date Cookies, which are sensational and not complicated to whip up. Not a big fan of dates? Not a problem. Go with these incredible Chocolate-Peanut Butter Cookies. This Rhubarb Frangipane Tart With Diplomat Cream is a true heavy-lifter on any dessert table—a total stunner that just might turn even the rhubarb-skeptical into devoted fans.

Homemade Peanut Butter Cups
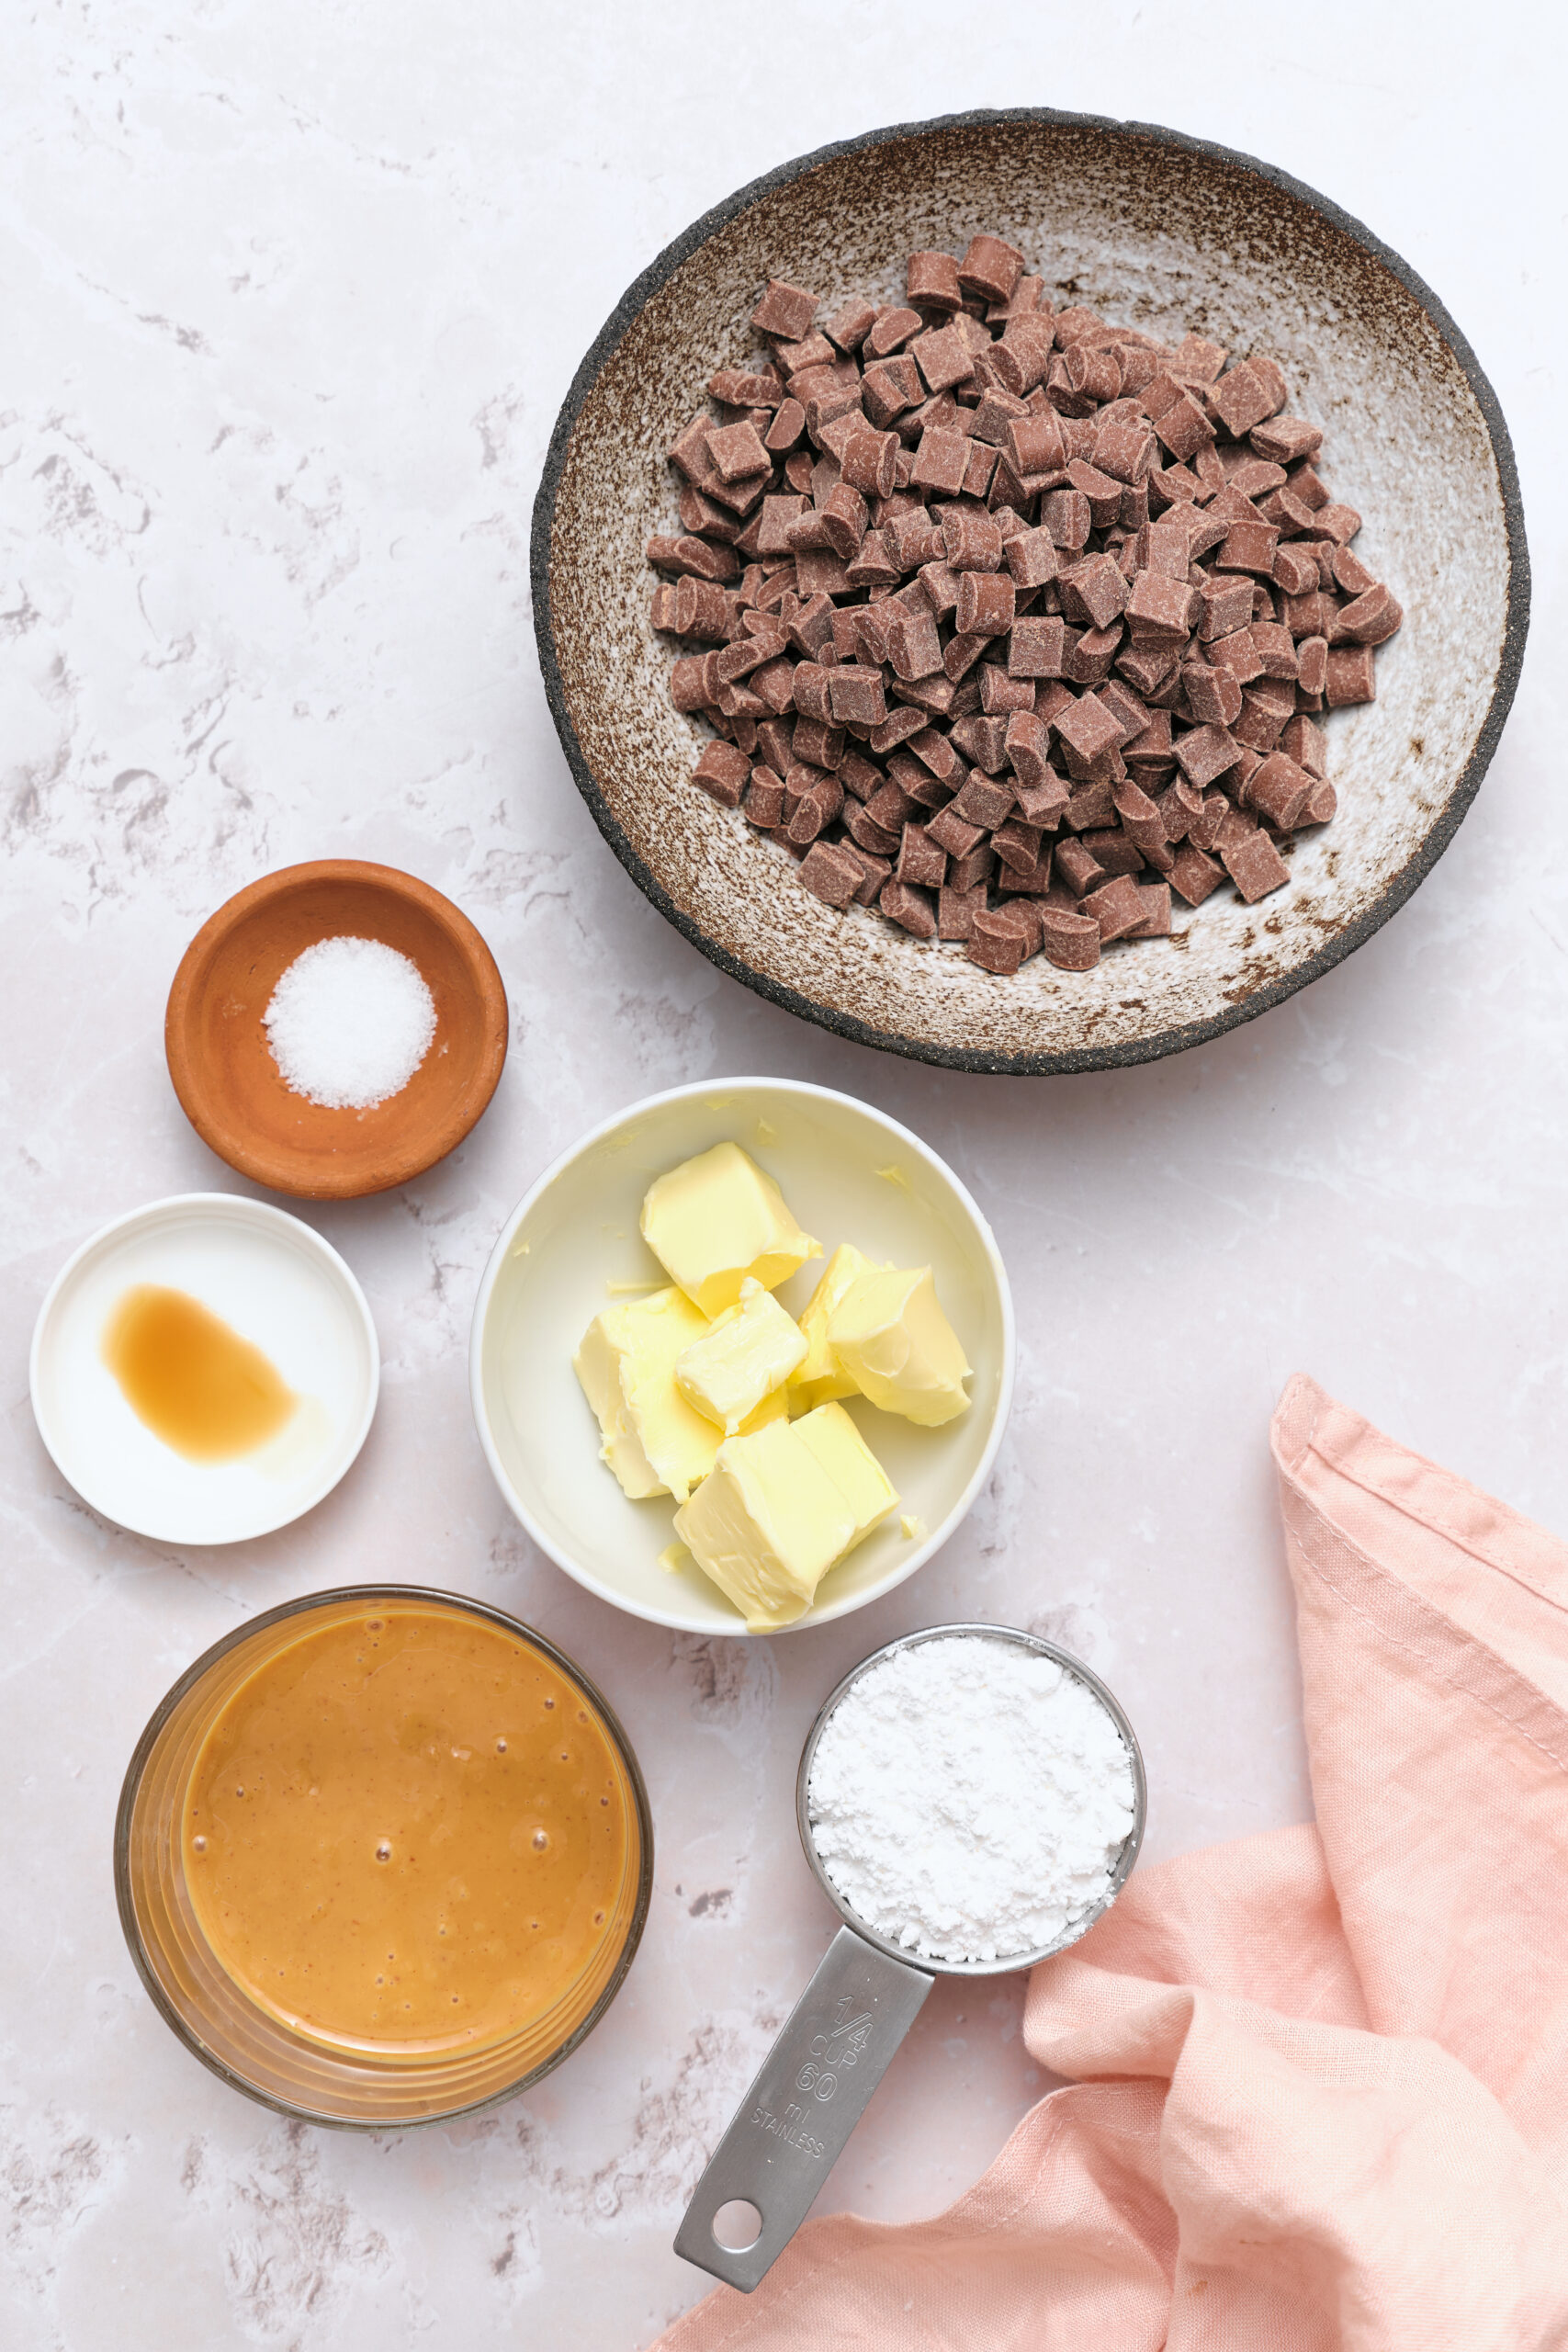
Ingredients
- 1/2 cup creamy peanut butter
- 3 tablespoons unsalted butter room temperature
- 1/4 cup powdered sugar
- 1/4 teaspoon vanilla extract
- 1 pinch kosher salt
- 2 1/2 cups milk chocolate chips plus more if needed
Instructions
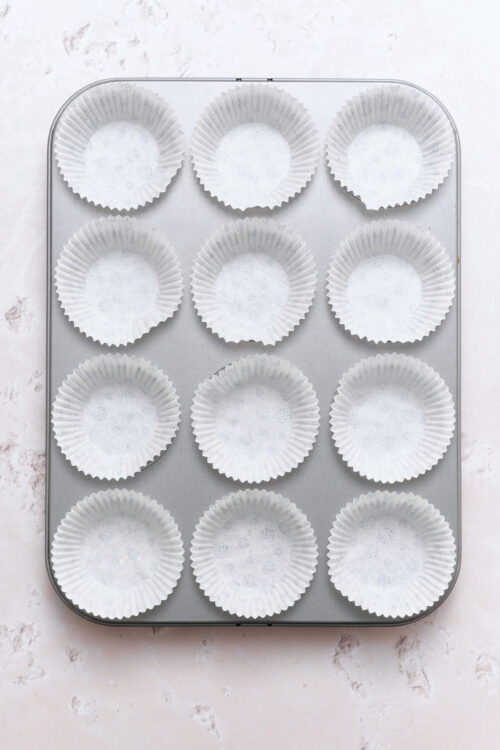
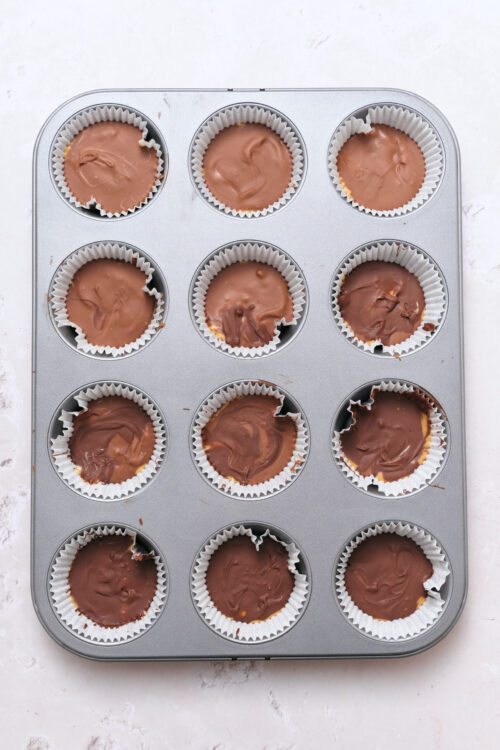
- Line a 12-cup muffin tin with paper liners.
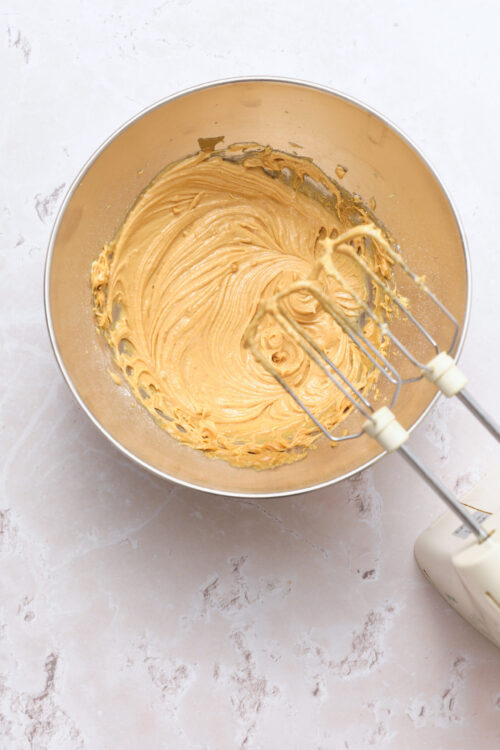
- In a bowl, combine the peanut butter, butter, powdered sugar, vanilla, and salt. Mix until the blend is smooth.
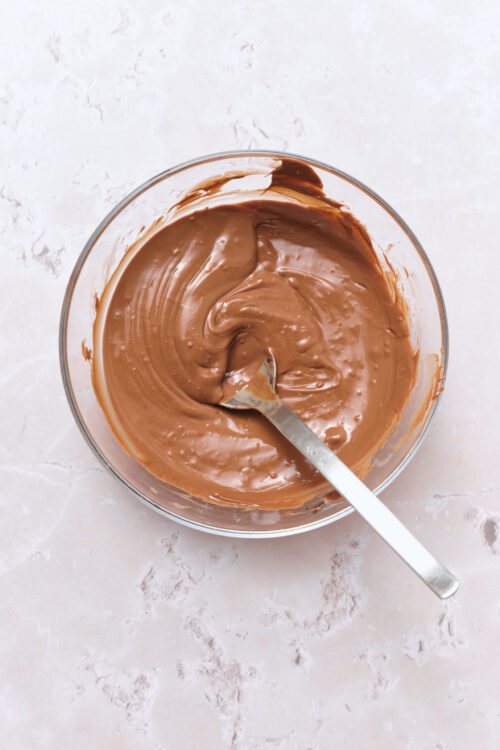
- Place the chocolate chips in a microwave-safe bowl. Microwave in 20-second bursts, stirring between bursts, until the chocolate is melted and smooth.
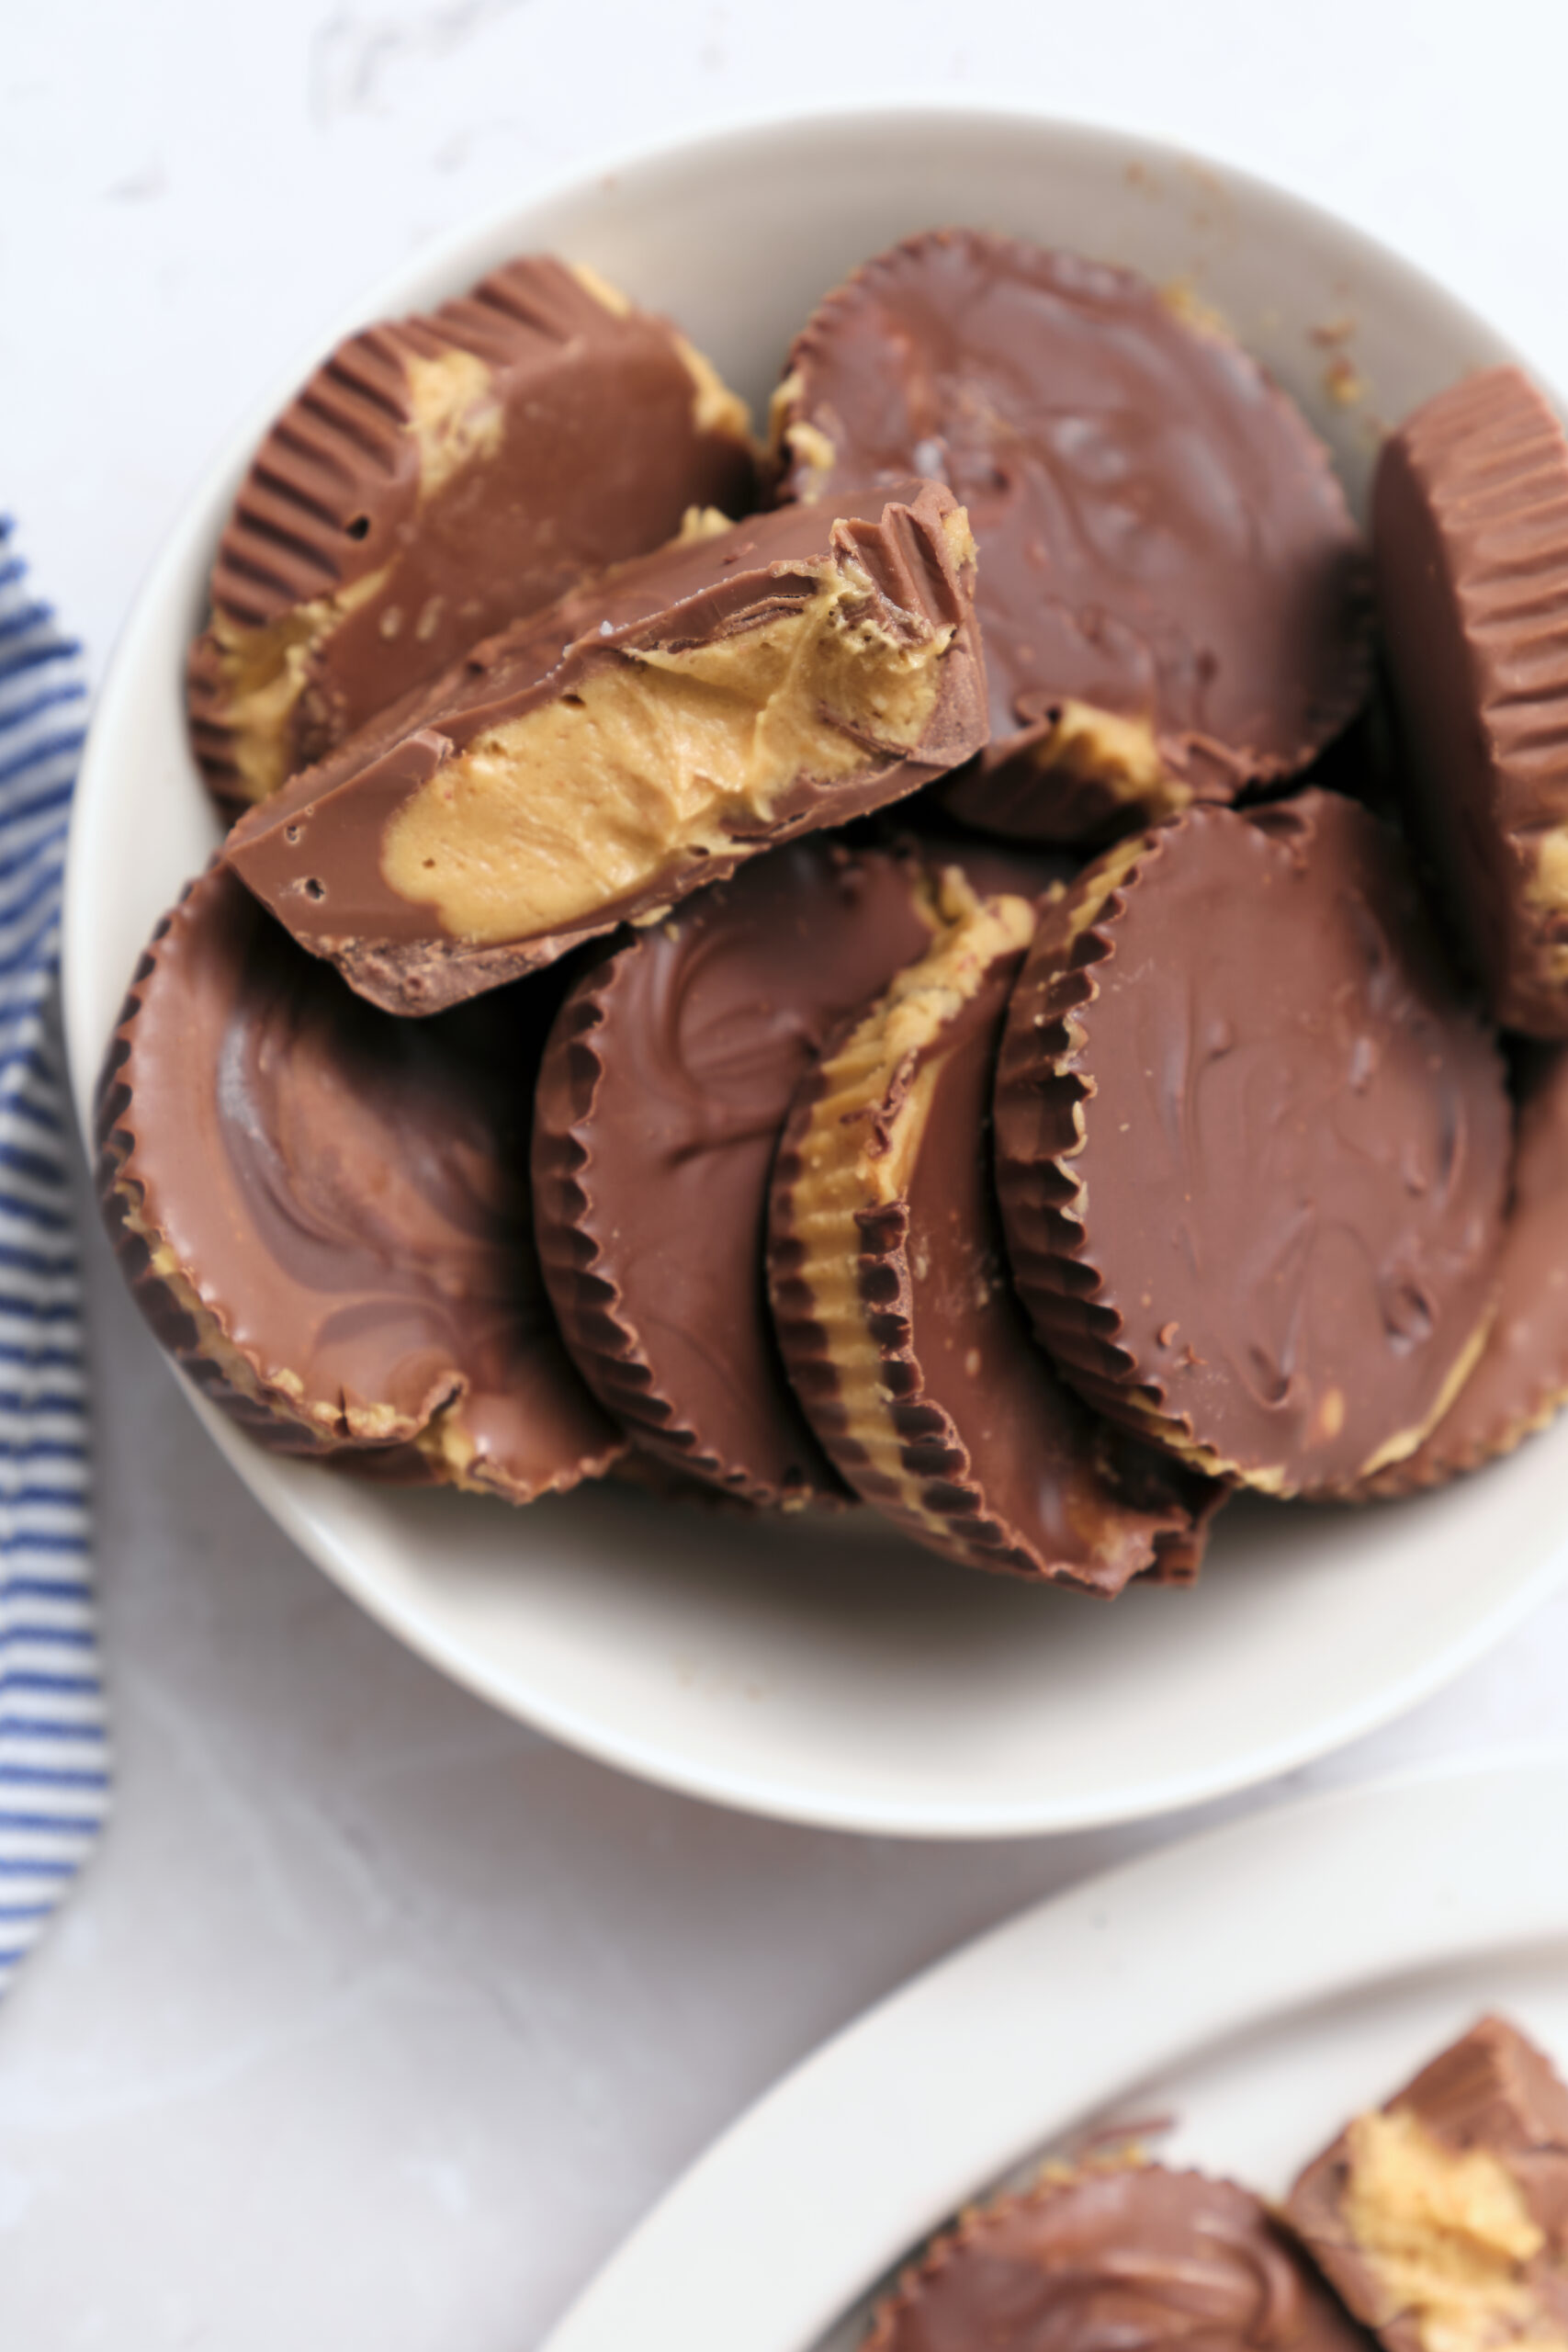
- Spoon about 1 tablespoon of melted chocolate into the bottom of each liner. Top with 2 teaspoons of the peanut butter mixture.
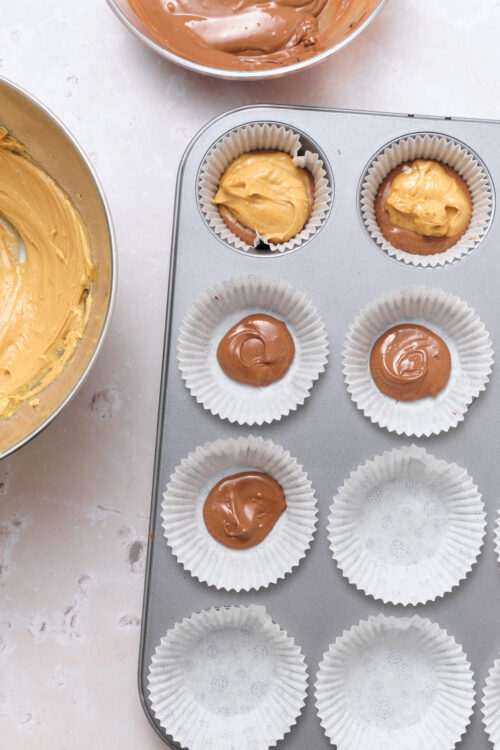
- Cover with another tablespoon or so of melted chocolate. Gently tap the tin to level the chocolate, then refrigerate for 1 hour until set.
Leave a Comment