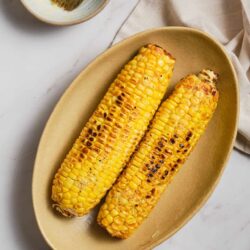
This classic grill side is not just delicious, it’s also easy!
Grilled corn on the cob brings back so many wonderful memories for me. I can practically smell it in the air on a summer day and taste the light charring from the grill, making it better than almost any other type of corn preparation out there. Grilled corn is nostalgic; it’s a comfort food. It’s a necessity at cookouts, especially in America. It means family, friends, and a pool party!
As corn is a native food of the Americas, it has, of course, remained a popular side dish over time! Not only is it easy to access and grown in abundance, but it’s delicious as well. Grilled corn can be found to have connections to cultures all across the Americas, and sometimes, it is used in certain dishes. For instance, there is a dish referred to as elote, also called Mexican street corn, where the corn is grilled and then rolled in toppings, such as a creamy mayo sauce, cotija cheese, and chili powder. I personally like to take flavor inspirations from elote. You can add not just salt and pepper, but other flavors like cilantro, chili powder, cumin, garlic, or paprika, too!
You’ll love this recipe because it’s simply a must-have. If you’re planning any kind of BBQ, potluck, event with a grill, or just a grilled dinner for your family, this corn needs to be on the menu. Have I mentioned it’s easy? Just 15 minutes and your corn is done.
How to Choose Good Corn
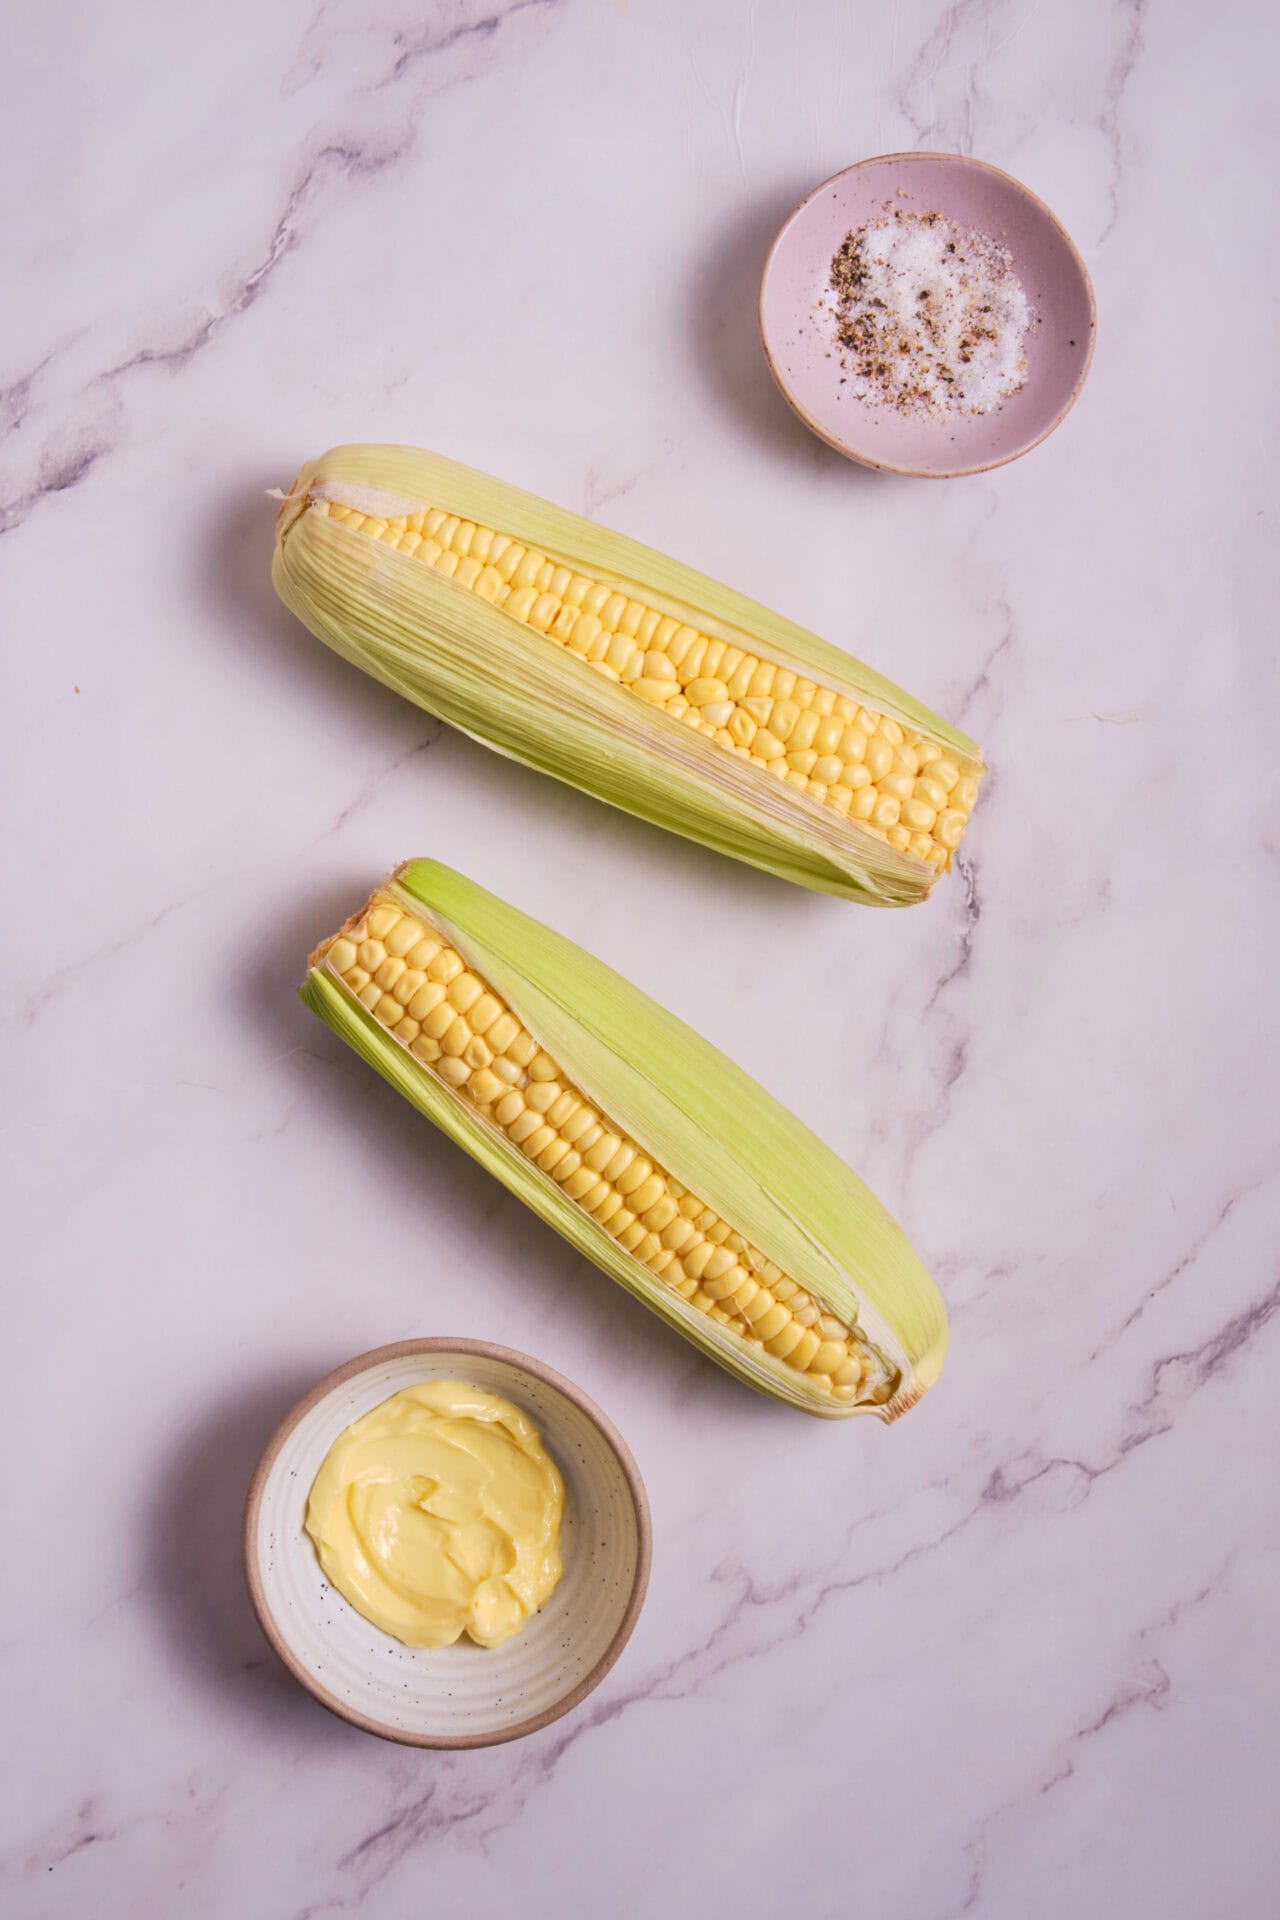
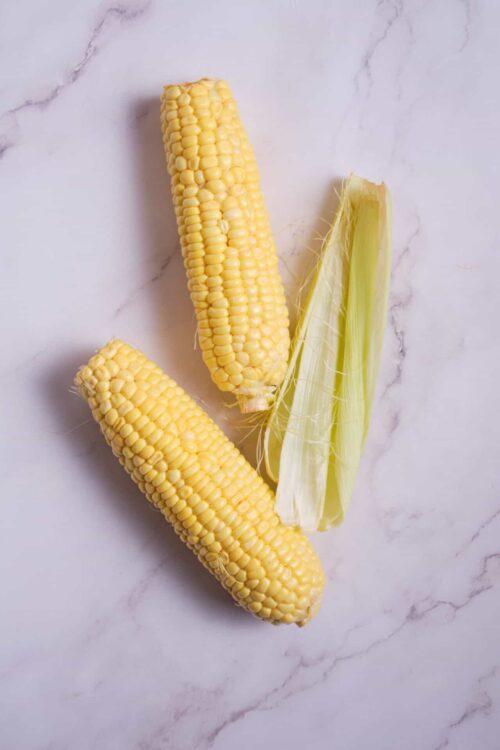
Getting good, fresh corn on the cob is essential for this recipe. There are a few tricks to know when picking your ears of corn to make sure you get ones that are delicious. The husk around the ear of corn should hug the ear and be green in color, not brown, tan, or discolored. The husks should also feel moist to the touch. The silk under the husk, coming out the end, should be tan or gold. It’s a problem if you get corn that’s got slimy or black silk. No one wants corn that’s gone bad!
FAQs & Tips
How to Make Ahead and Store
You can store your grilled corn on the cob leftovers by keeping them in an airtight container in your refrigerator for up to 3 or 4 days. Then reheat either in an air fryer, oven, or microwave. I personally recommend using an air fryer for the best results since an oven takes longer to warm up, and a microwave can affect the texture of the corn. If you’re interested in saving your corn for longer by freezing, it’s best to cut the kernels off and store them in an airtight freezer bag.
Great Cobs of Fire!
You don’t want to set your corn on fire. This is generally considered a bad thing. So, you need to do your best to remove excess corn silks! Get them all off before you start cooking so that they don’t catch fire. You want the char to be that tasty, smoky grill flavor, not burnt cornsilk.
Serving Suggestions
Serve your corn on the cob alongside any other food that goes on a grill. For instance, there’s Grilled Honey BBQ Chicken, Grilled Ribs, Grilled Artichokes, and Grilled Green Beans. If it’s good to grill, it’s good next to grilled corn! And a delicious grilled spread of food will make you the talk of the town at your next barbeque.
Grilled Corn on the Cob
Ingredients
- 4 ears of corn
- 2 tablespoons butter
- Salt and pepper to taste
Instructions
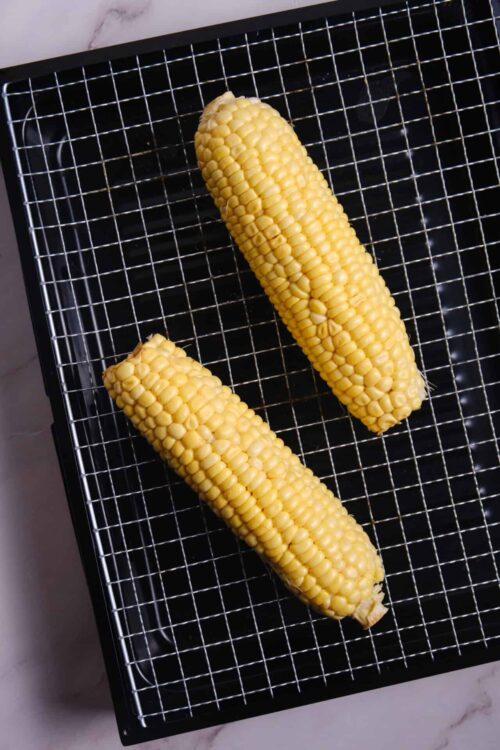
- Preheat your grill to medium-high heat (about 375-400°F).
- Remove the husks and silk from the ears of corn.
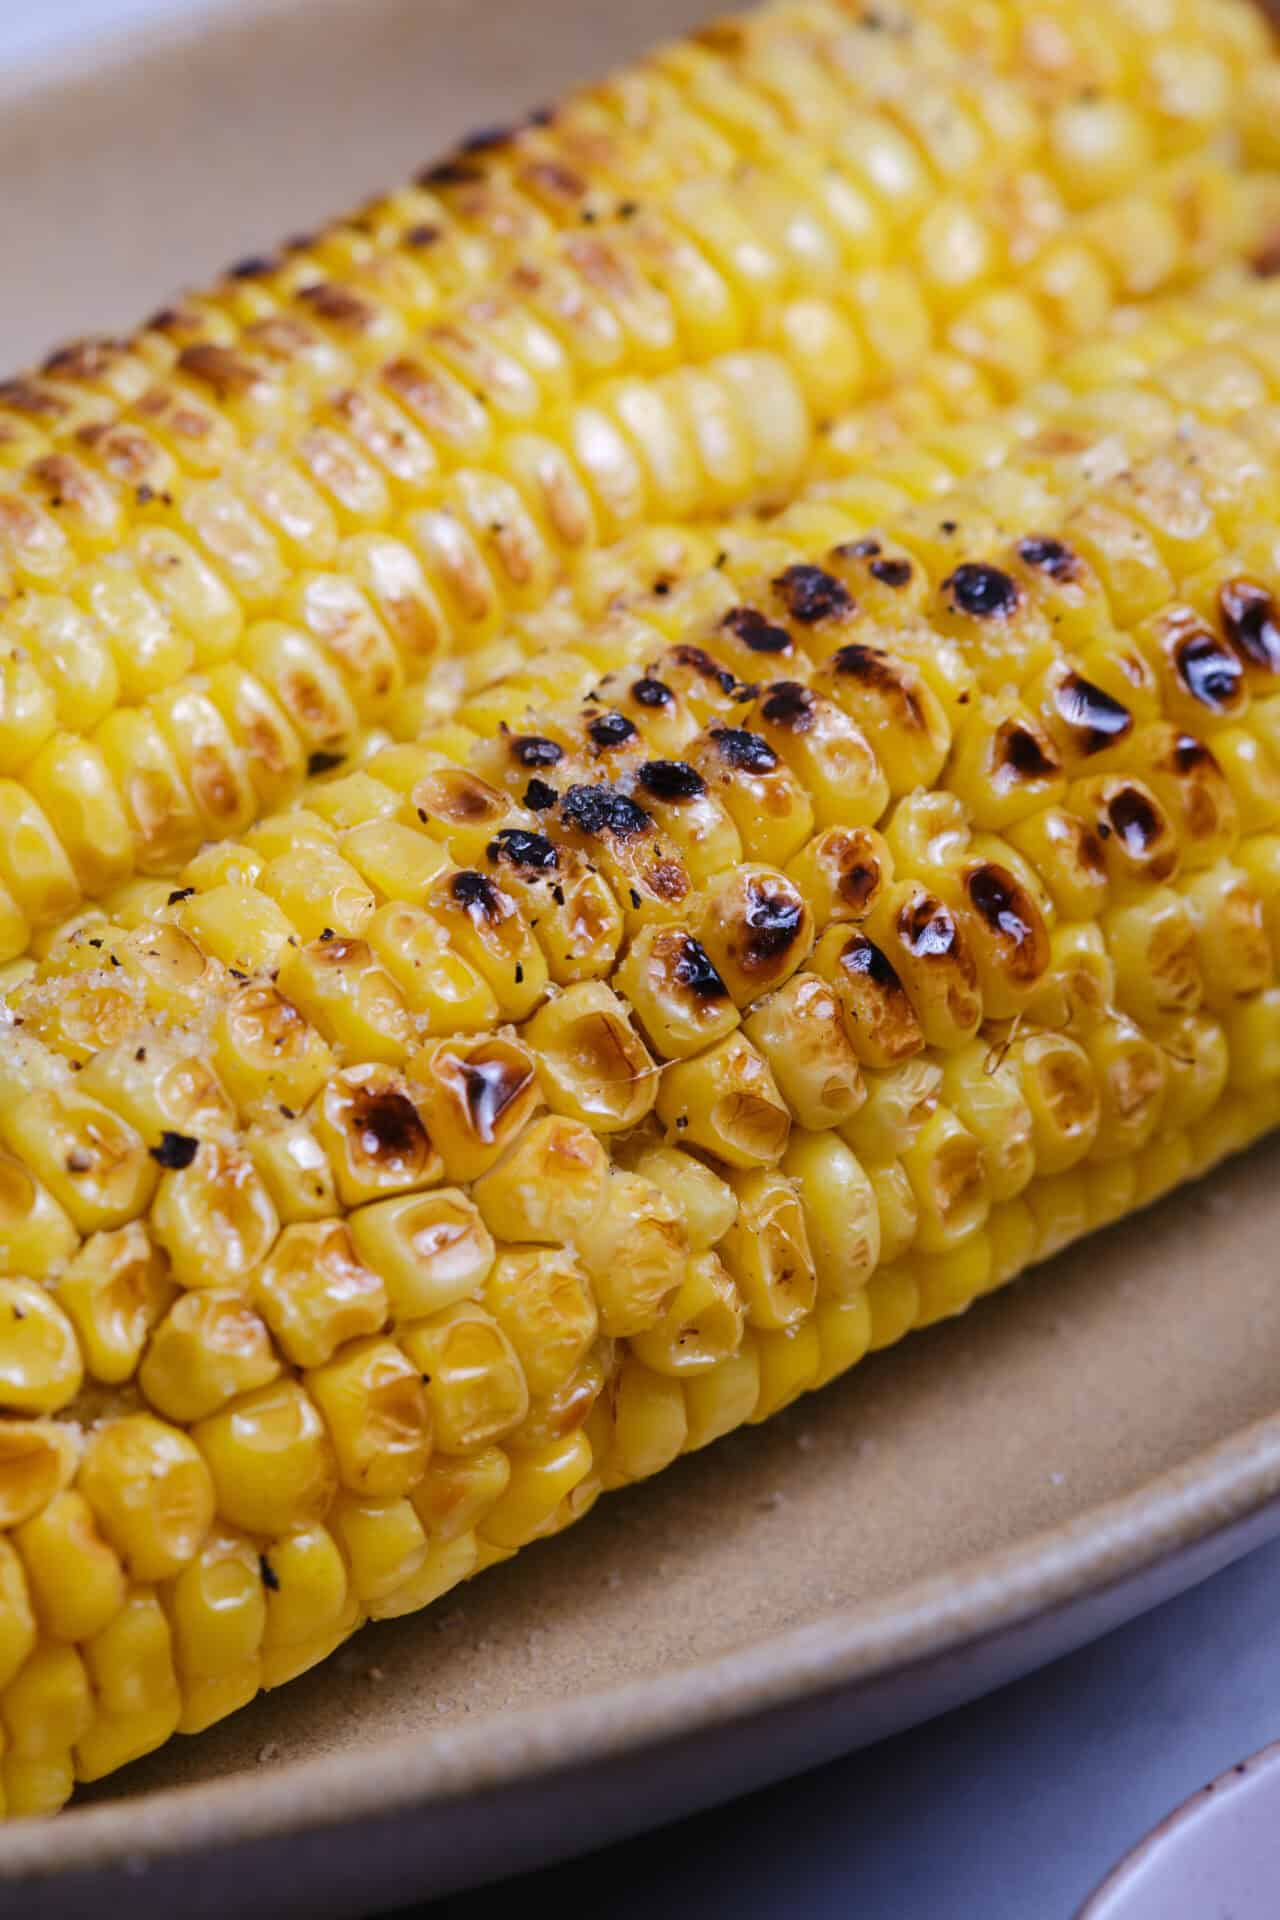
- Place the corn directly on the grill grates. Grill for 15 minutes, turning every 5 minutes, until the corn is tender and slightly charred.
- Remove the corn from the grill and let it cool slightly.
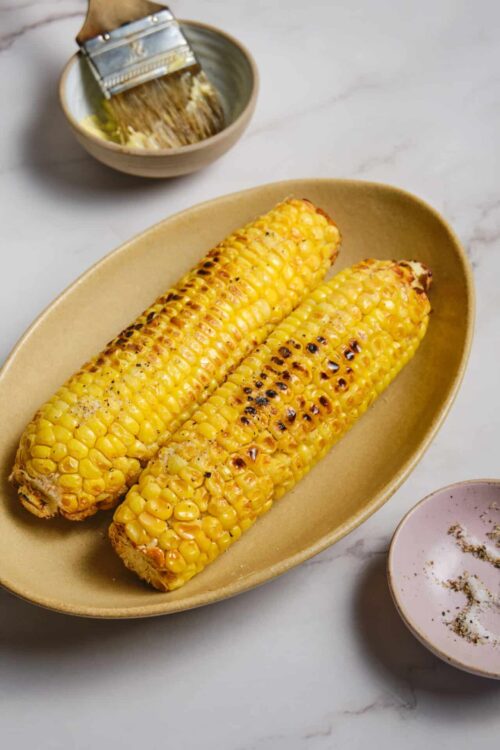
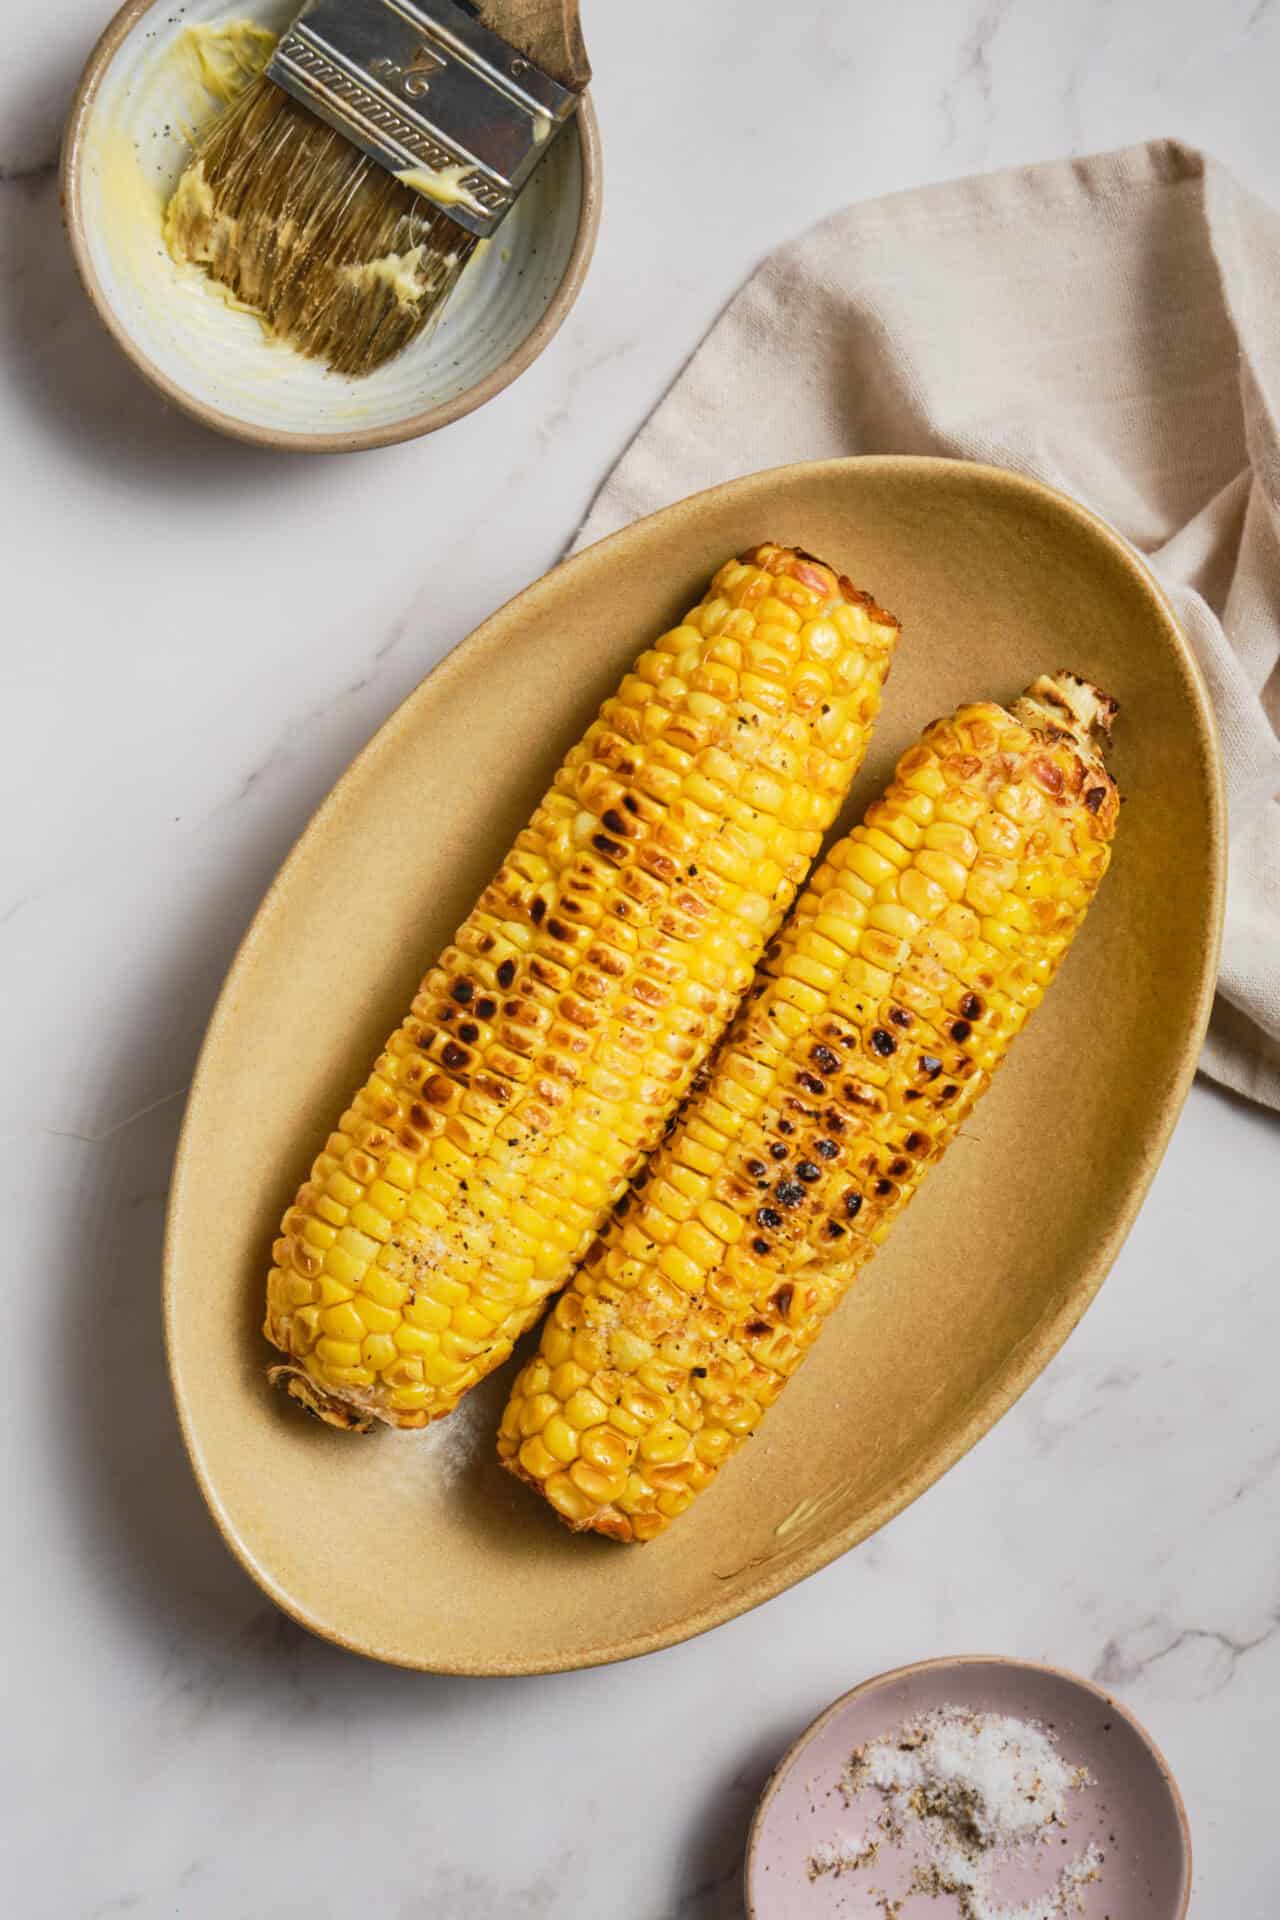
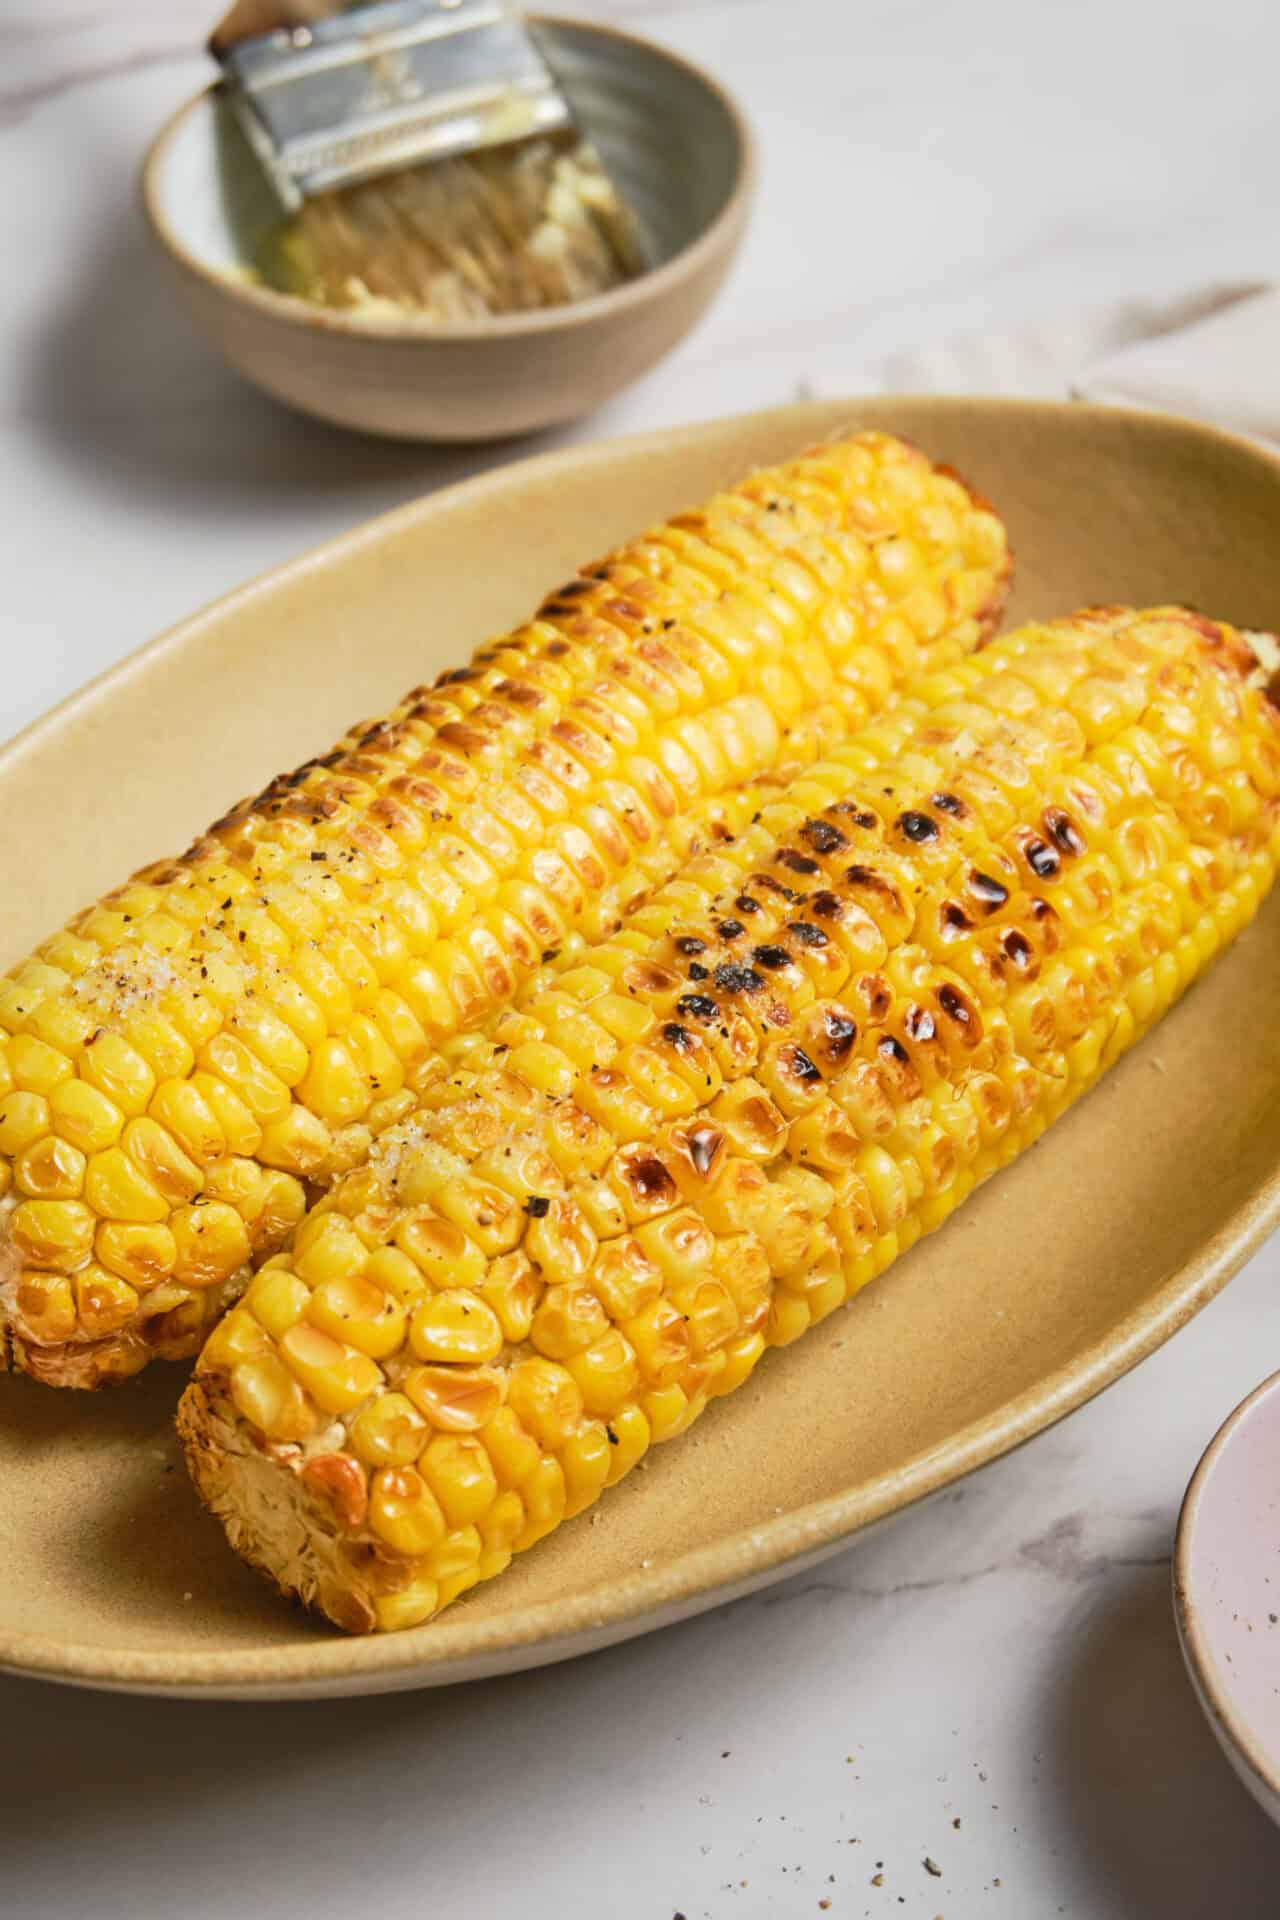
- Brush the corn with butter and sprinkle with salt and pepper to taste. Serve warm.

Leave a Comment