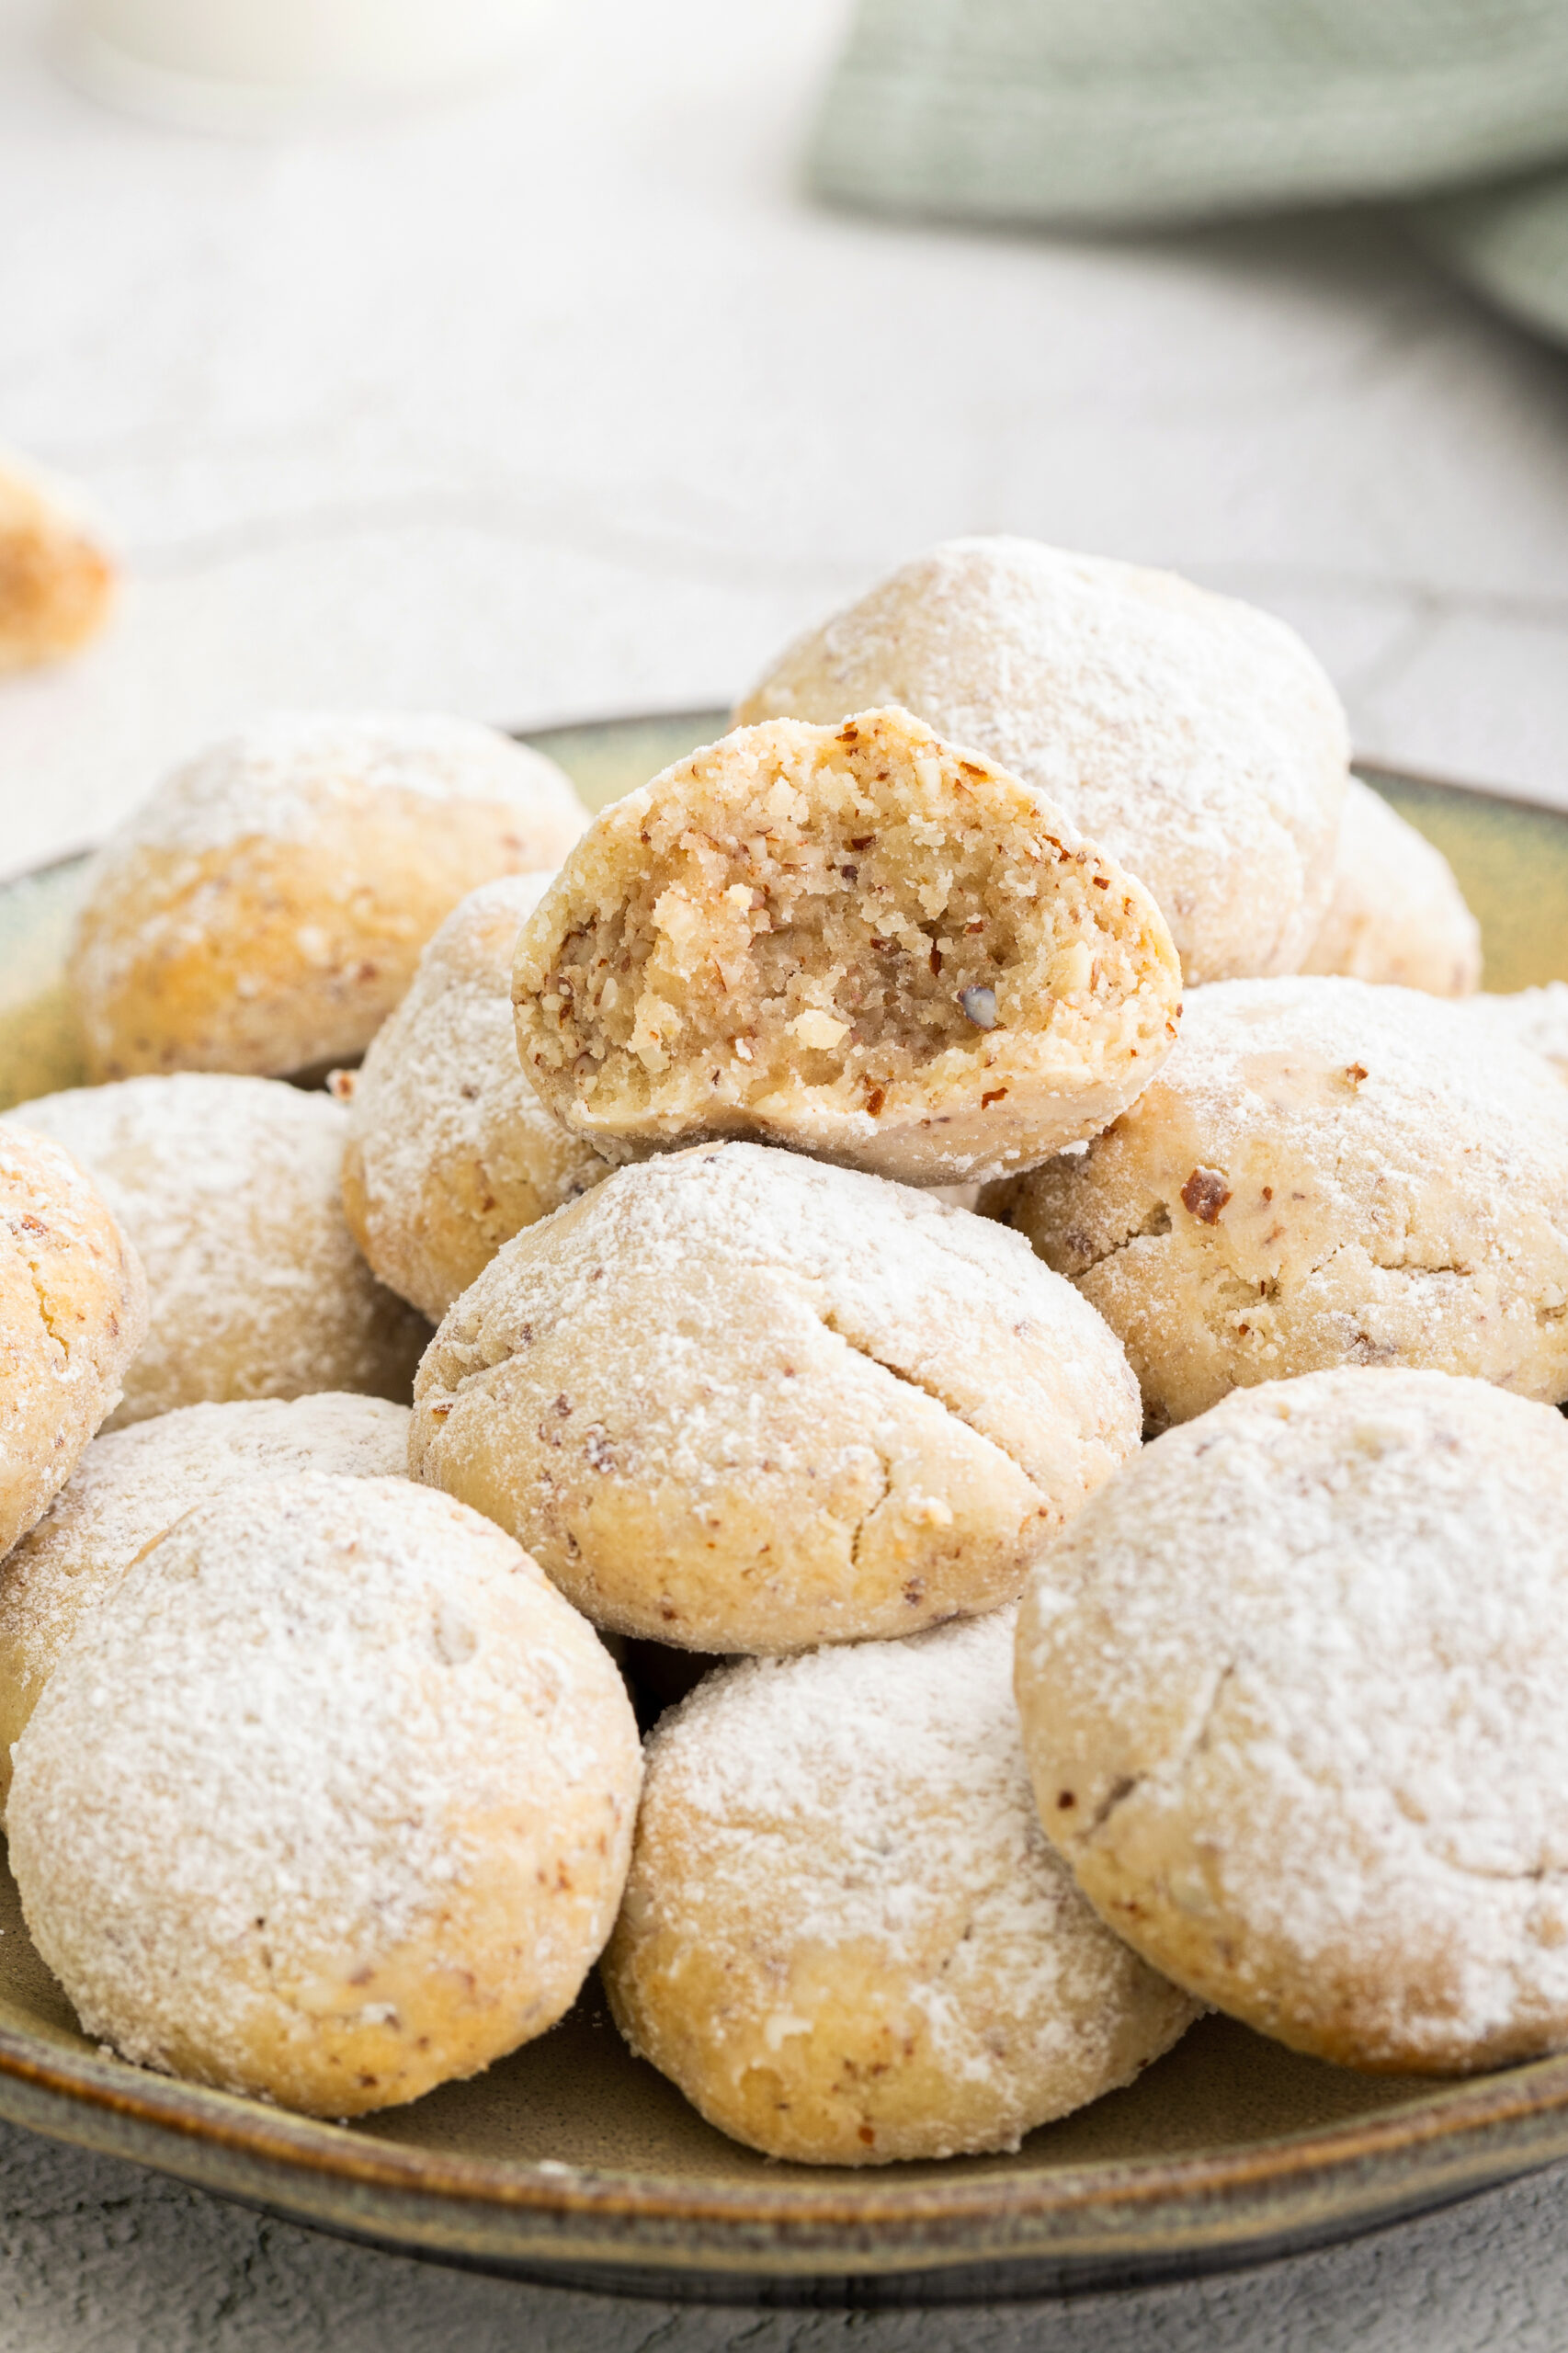
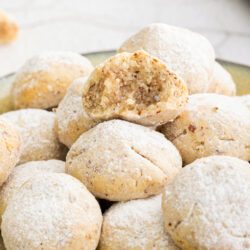
These light, sweet, nutty confections are melt-in-your-mouth delicious.
Other than the iconic chocolate chip cookie, Russian tea cakes may be the most recognizable cookies around. You may also know these classic sweet and nutty confections, often served at Christmastime, by their other names: Mexican wedding cakes, Italian wedding cookies, snowballs, and pecan sandies (just to name a few). But no matter how you know them or what you call them, Russian tea cakes are little melt-in-your-mouth wonders that are so delicious they have long been part of holiday traditions in many cultures around the world.
It’s difficult to pin down the exact origin of Russian tea cakes. Some food historians think a version of this cookie appeared in Eastern Europe during medieval times; others believe that European travelers brought the cookies to Russia, where they became an integral part of Russia’s tea drinking culture (hence the name). In 19th-century America, the cookies were served at fundraising events called “Russian tea parties,” and by the end of the Second World War, they were a holiday and wedding staple. Despite their murky history and the various names they go by, Russian tea cakes are still immensely popular today, partly because they are made from simple, familiar ingredients and are very easy to prepare.
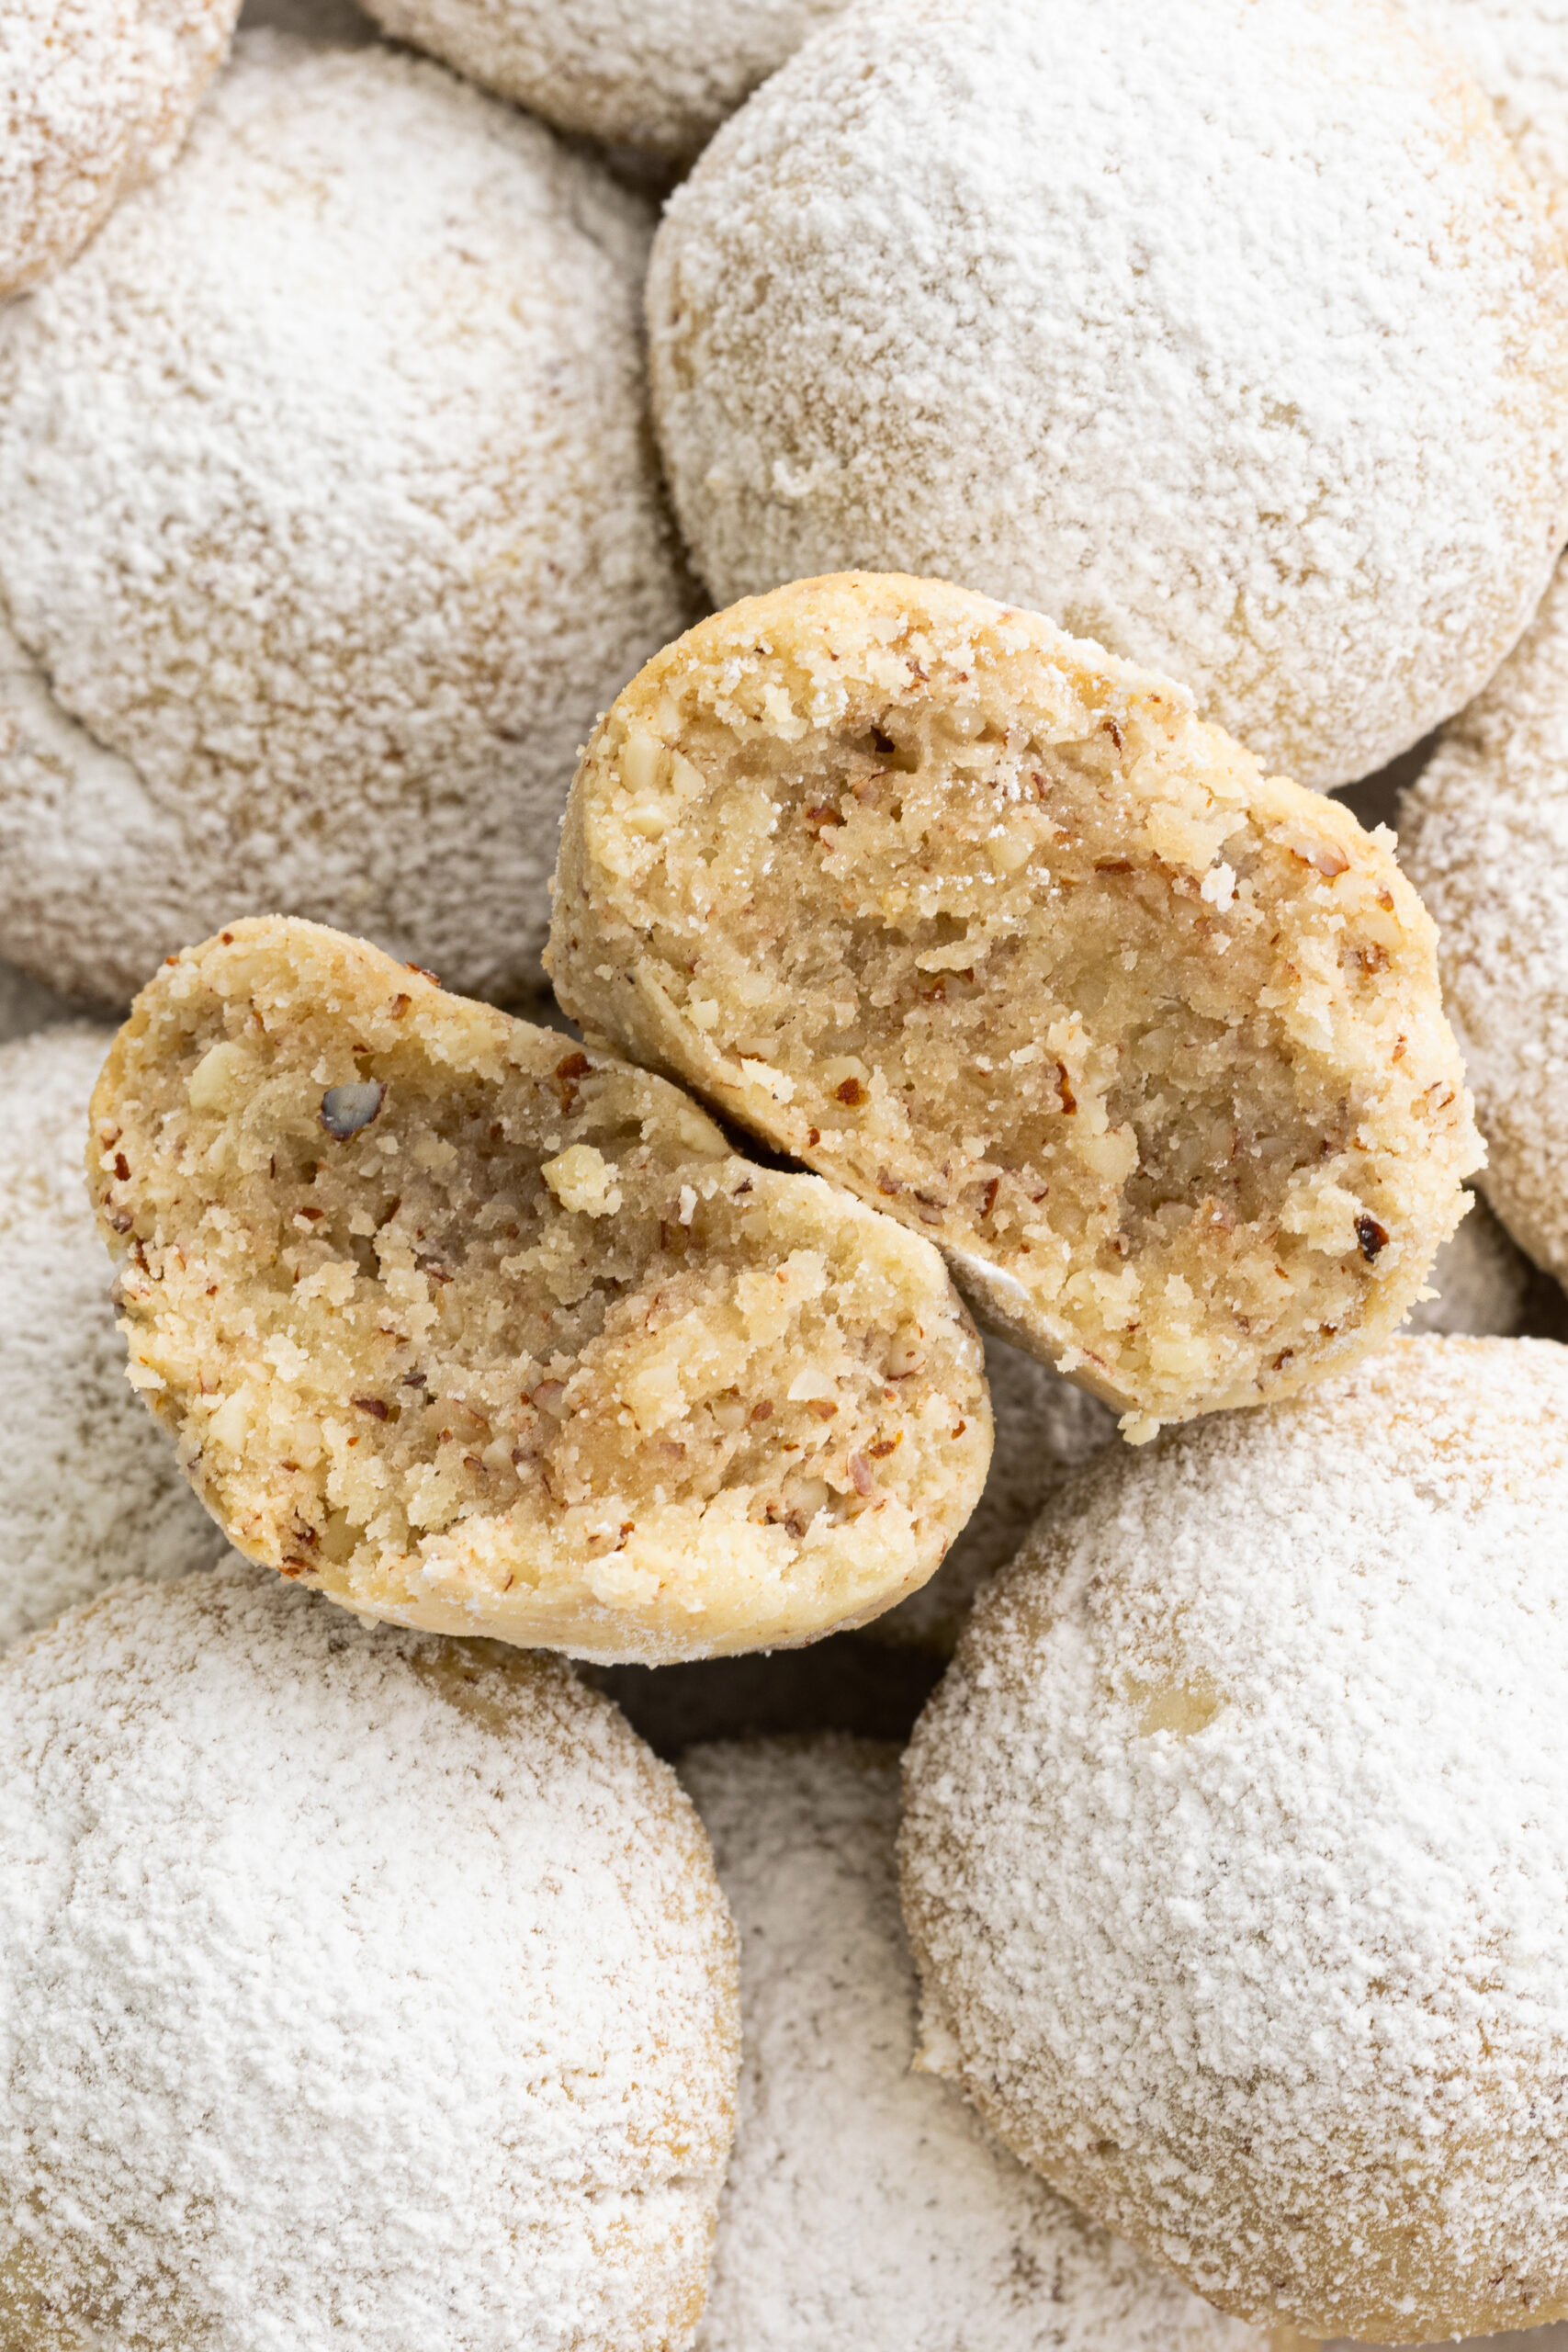
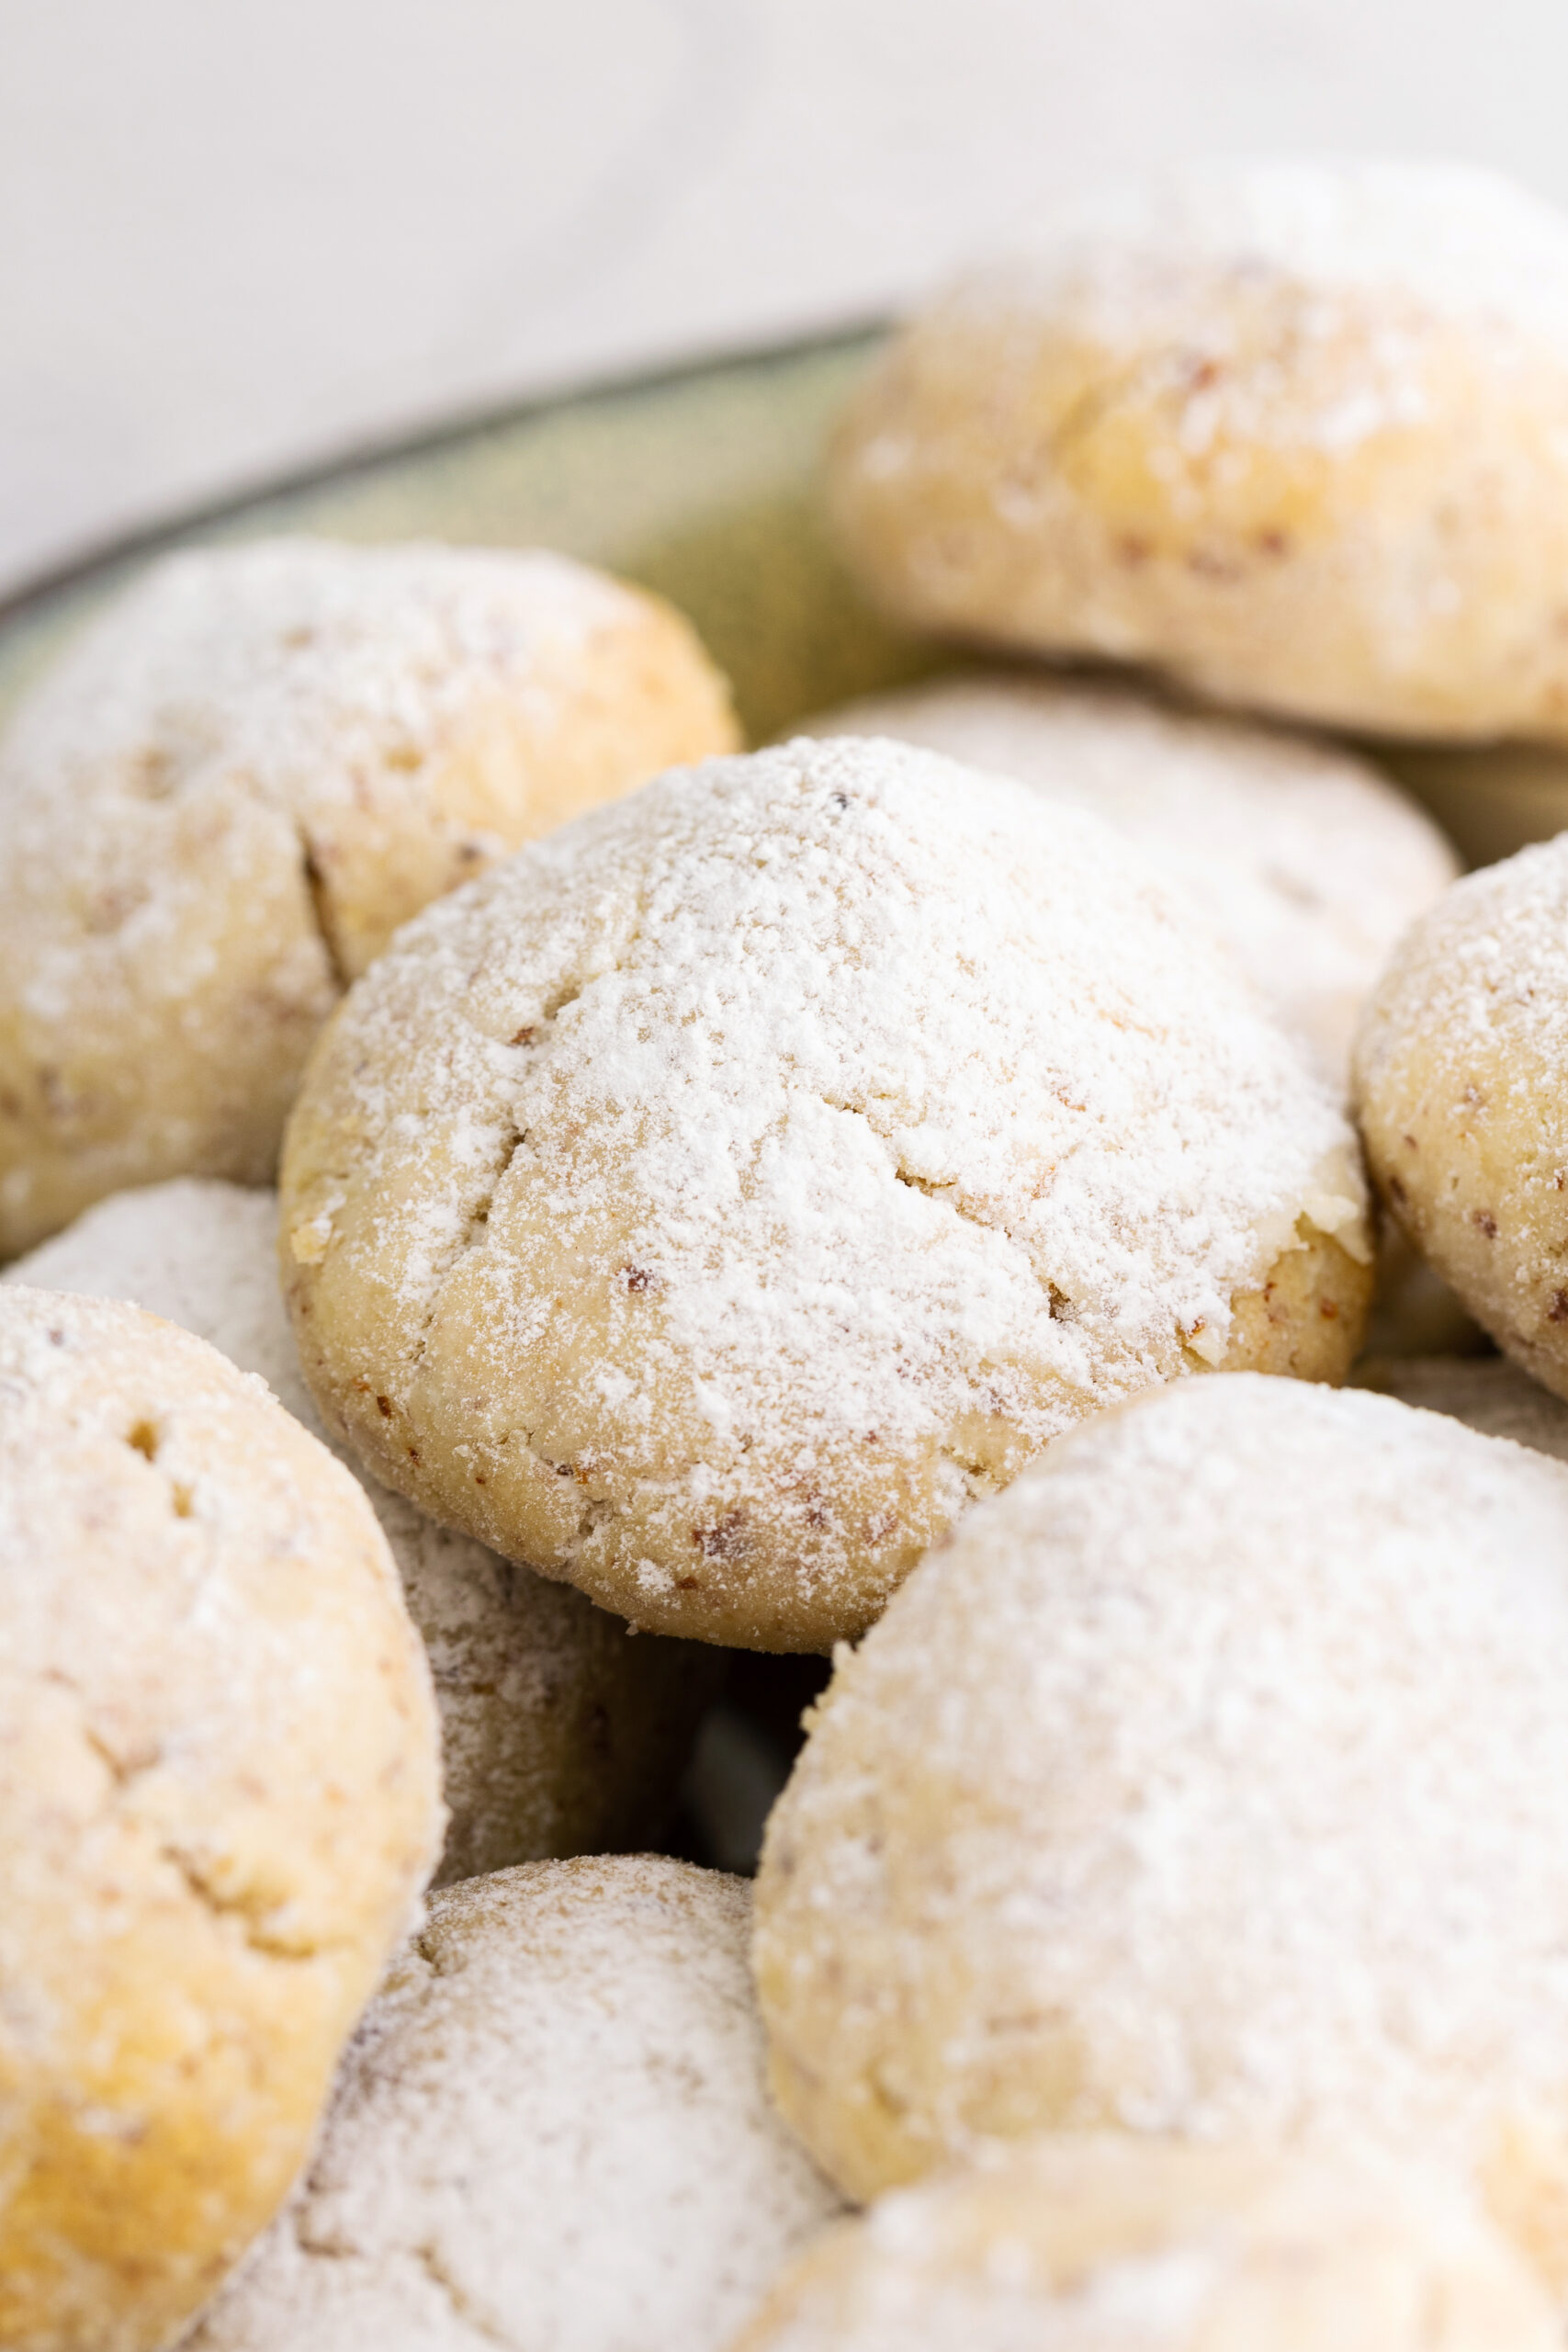
You are likely going to have everything you need to make Russian tea cakes in your pantry and fridge. In addition to butter, powdered sugar, vanilla, flour, and a bit of milk, our recipe also calls for chopped walnuts. The dough is made in one bowl (easy cleanup!), and it’s fun to roll it into the little balls. After the cookies have cooled for about 15 minutes but are still a bit warm, you’ll roll them in more powdered sugar. Next comes the hard part: trying to restrain from eating so many of them that you don’t have enough to serve!

Ground nuts or chopped nuts: which is best?
Lots of versions of Russian tea cakes call for ground nuts, while others—like ours—require finely chopped nuts. Does it matter? Only if it matters to you! Ground nuts integrate into the dough, contributing to the cookie’s soft texture and rich flavor; chopped nuts will also provide flavor in every bite, but they bring a textural contrast to the cookies. Both ground and chopped nuts work, so it really just depends on your preferences. Also, while we love walnuts in this recipe, you can also use almonds, pecans, hazelnuts, and even pistachios.
How do I store leftovers?
Completely cooled Russian tea cakes can be stored in a shallow, airtight container at room temperature for up to a week. You can also freeze them in the airtight container for up to 3 months. Thaw them in the refrigerator overnight and then re-roll them in more powdered sugar just before serving.
Serving suggestions
Russian tea cakes are delicious with coffee; I especially love them with an Iced Cappuccino or the Copycat Starbucks Vanilla Spice Latte, but a perfect drink for Russian tea cakes is none other than Homemade Russian Tea. With its cinnamon, lemon, and orange flavors, this tea is a wonderful companion to the light, nutty cookies. Or pair those warm and citrusy flavors with the buttery cookies in a more celebratory way by serving Russian tea cakes with this lovely holiday drink: the Family Stone Sipper—Cinnamon And Orange Cocktail. Since I always make these cookies for the winter holidays, a cozy and delicious treat around here is pairing Russian tea cakes with Steamed Hot Chocolate and these adorable Snowmen Marshmallow Hot Chocolate Toppers .
Russian Tea Cakes
Ingredients
- 1 cup unsalted butter softened
- 3/4 teaspoon vanilla extract
- 1 teaspoon milk plus more as needed
- 2 cups all-purpose flour
- 1 pinch kosher salt
- 6 tablespoons powdered sugar
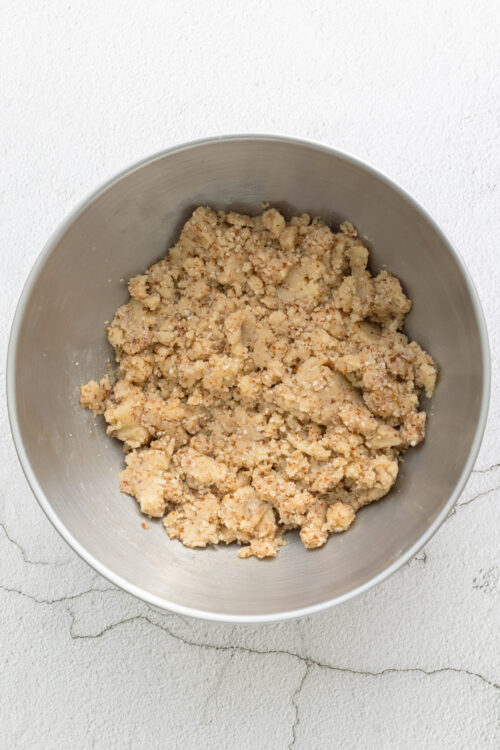
- 1 cup finely chopped walnuts
- Powdered sugar for rolling
Instructions
- Preheat your oven to 350°F. Line a cookie sheet with parchment paper.
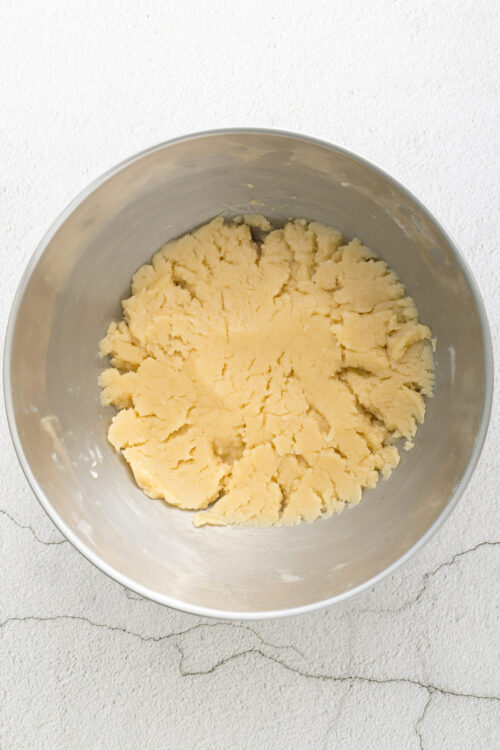
- In a medium bowl, beat the softened butter with the vanilla extract and milk until smooth.
- Add the all-purpose flour, salt, and powdered sugar. Stir until the dough just comes together. If the dough is too crumbly, add 1 teaspoon of milk at a time until it comes together.
- Stir in the finely chopped walnuts until evenly combined.
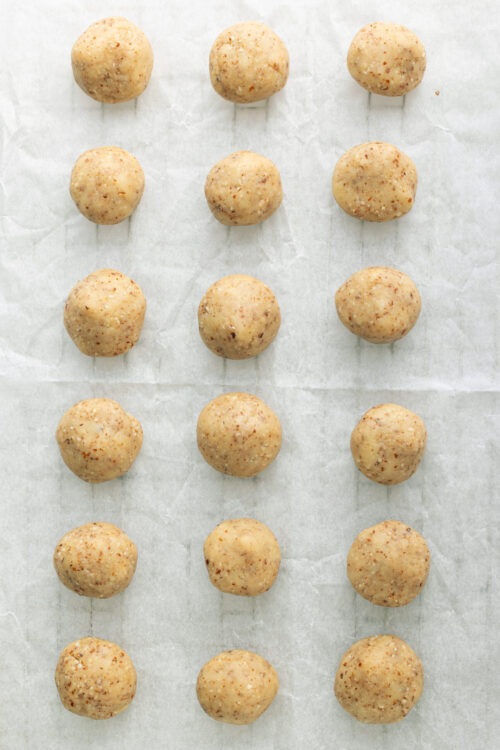
- Take small scoops of dough and roll them between your hands into 1-inch balls. Place them about 2 inches apart on the prepared cookie sheet.
- Bake in the preheated oven for about 11-13 minutes, or until the edges just begin to turn light golden.

- Transfer the cookies to a cooling rack and let them cool for about 15 minutes. While still slightly warm, roll each cookie in additional powdered sugar until well coated.
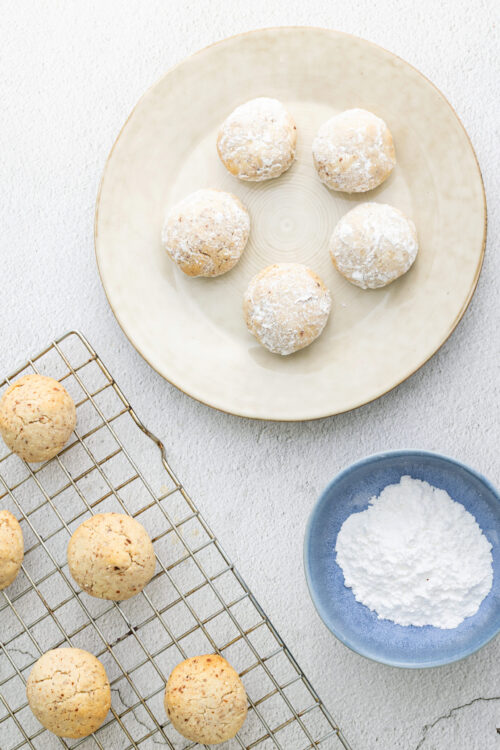
- Allow the cookies to cool completely on the rack. Once cooled, store them in an airtight container.
Leave a Comment