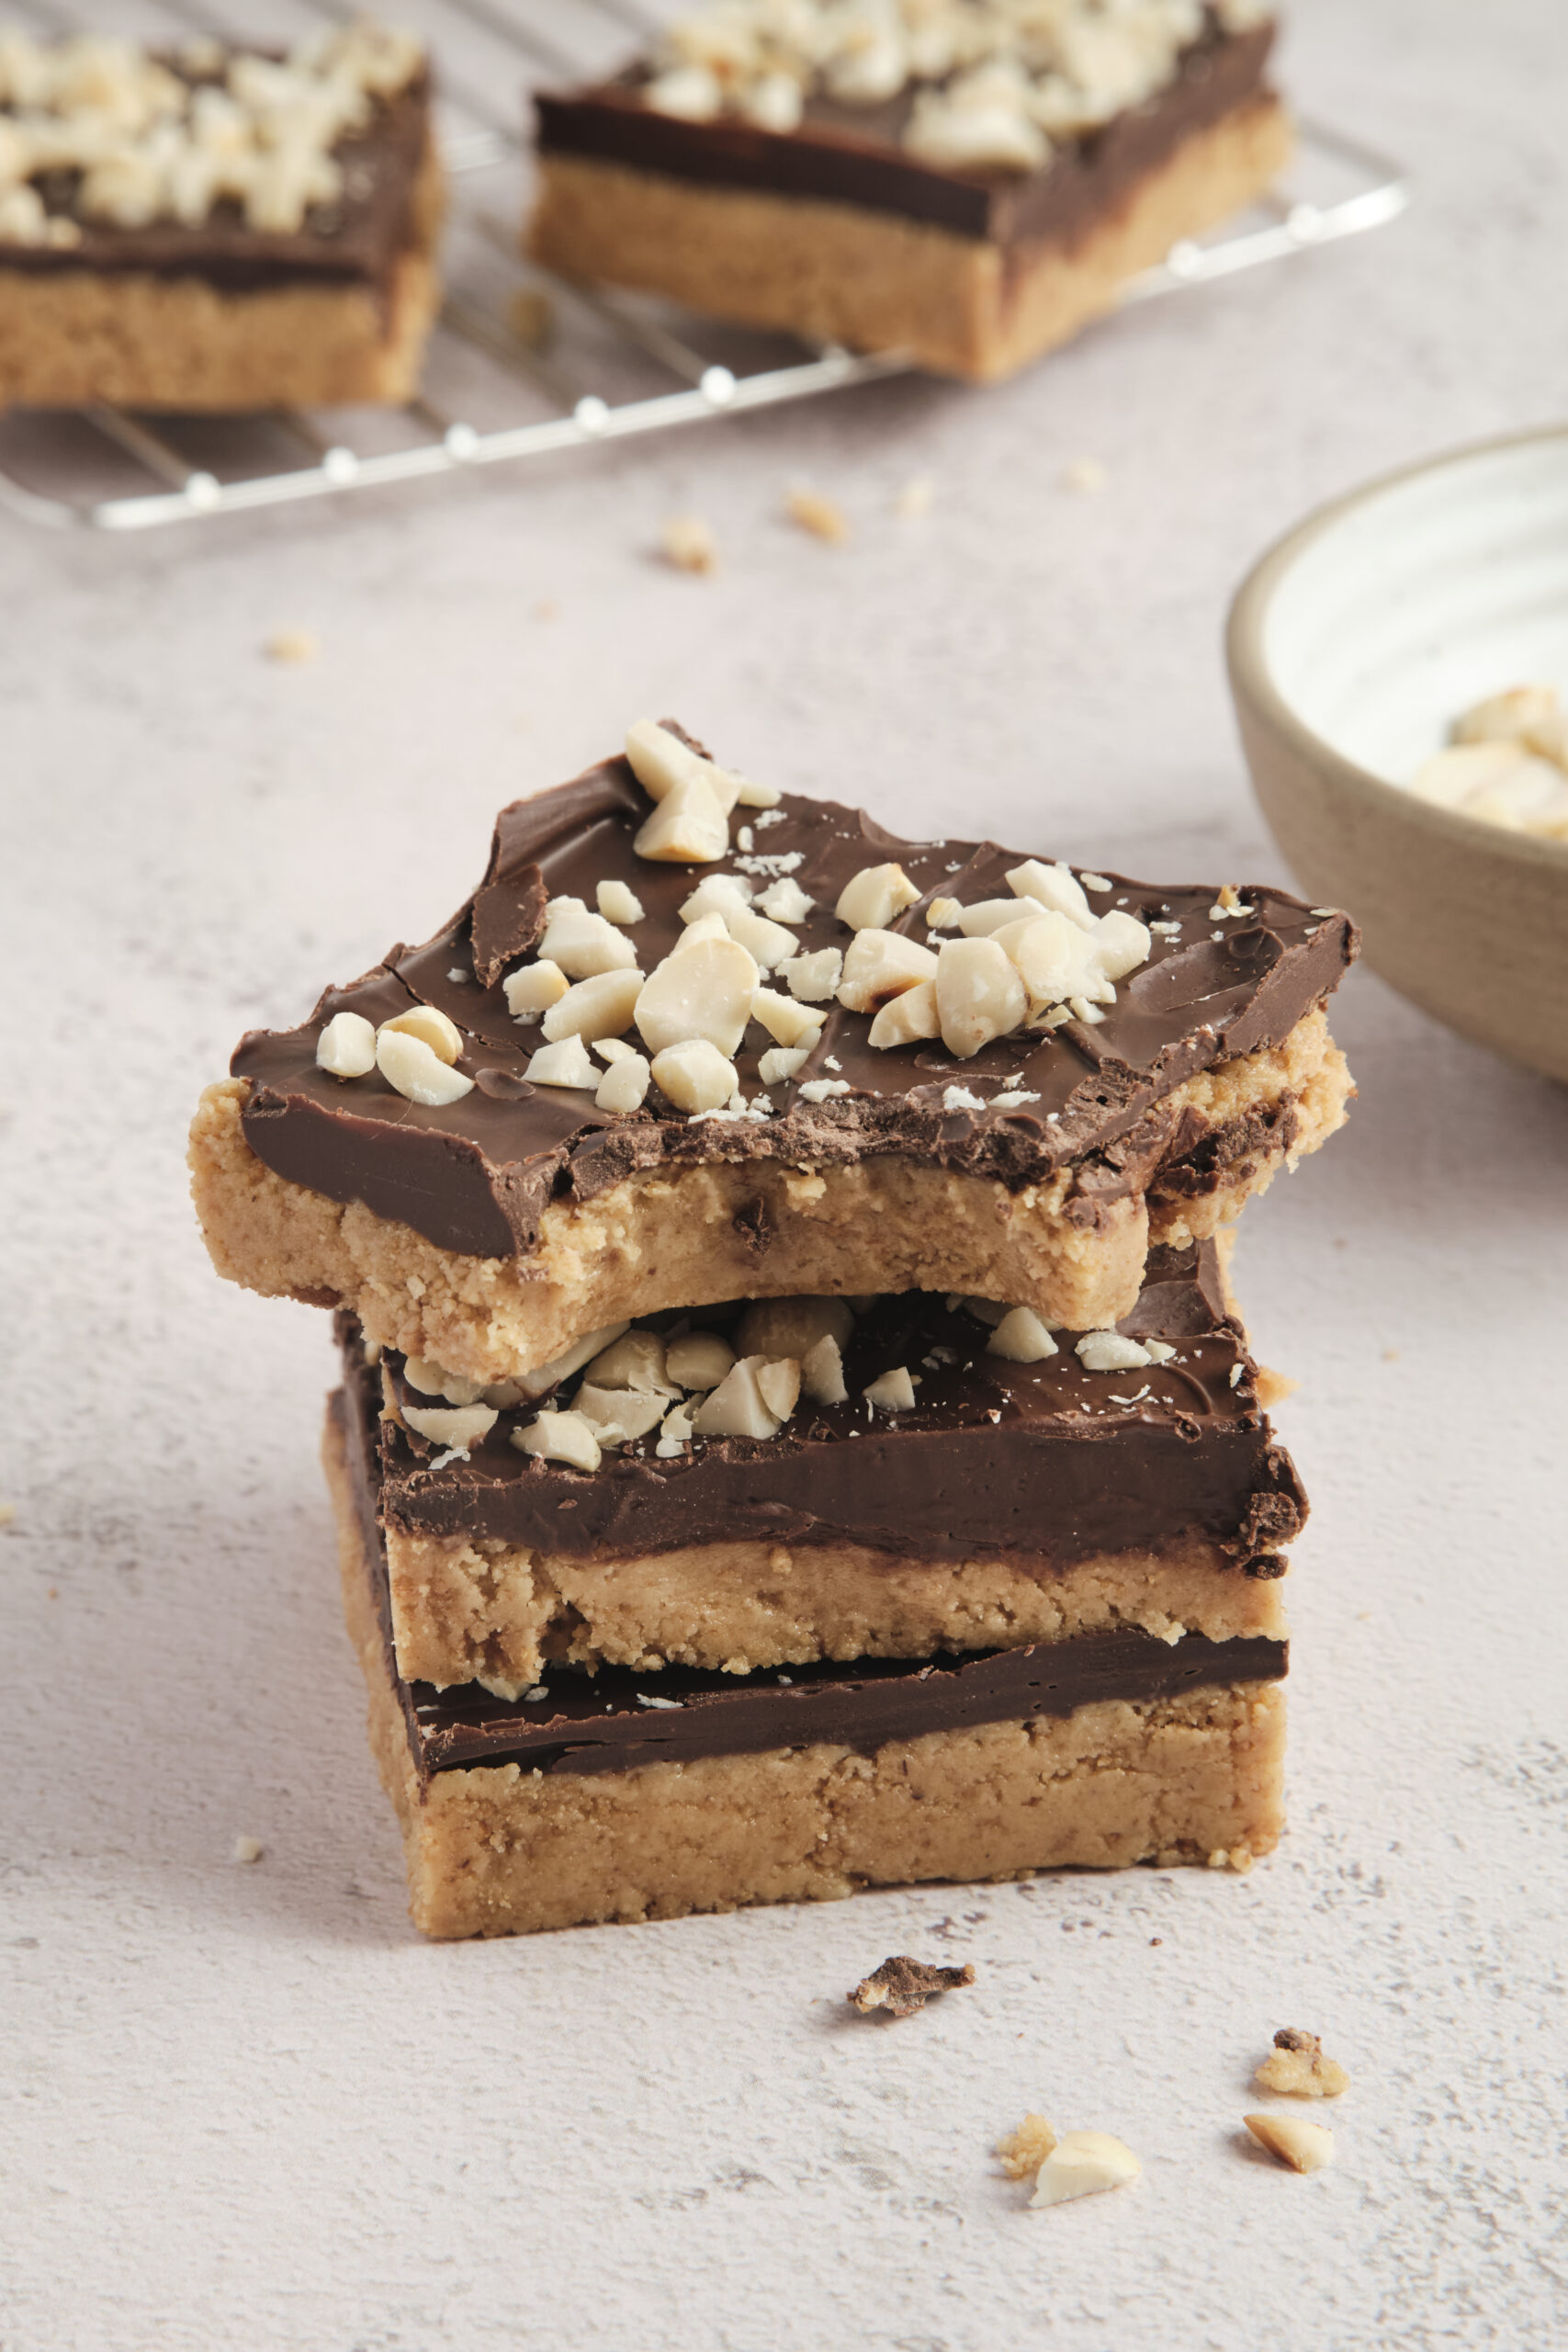
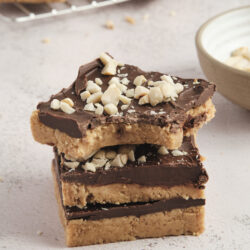
Love peanut butter cups? You will definitely want to make these scrumptious no-bake bars.
Whether it’s Reese’s peanut butter cups or buckeye candies at the holidays, I am a sucker for the peanut butter-chocolate combo. There is just something irresistible about the sweetened peanut butter and chocolate flavors. Fortunately for me, I can recreate that matchup in my own kitchen with this recipe! Peanut butter bars are a great way to enjoy my favorite flavors in easy bar form, and they’ll always disappear quickly, whether in my own kitchen or when I take them to a party or potluck.
One of the best parts of this recipe is that it’s a no-bake superstar. All you need is a microwave or a stovetop to melt the chocolate. Because of this, peanut butter bars are a great recipe to make in the summer when it’s too hot to bake or with little kiddos who want to help (and enjoy what they helped to make!).
You will love the dense texture and perfectly sweet (with a little salty!) taste of peanut butter bars. This is an easy recipe, utilizing pantry ingredients that you probably already have on hand. Because of the no-bake process, it’s one that even novice bakers can master easily, resulting in delicious, rich bars. With peanut butter bars, you get the scrumptious taste of peanut butter cups in bar cookie form; it’s up to you whether you want the added crunch of the crushed peanuts on top. Customize them just the way you like and enjoy!
Making these bars gluten-free
Converting peanut bars to a gluten-free treat is an easy process. With a simple swap of gluten-free graham crackers for the graham cracker crumbs, anyone can enjoy these bars. Look for nationally available brands like Schär for gluten-free graham crackers. The majority of creamy peanut butter is naturally gluten-free, but always double-check for cross-contamination if you are baking for someone following a gluten-free diet.
How do I store leftovers?
Peanut butter bars can be stored in an airtight container in the refrigerator for up to 10 days. They taste great chilled, or you can set them out a little ahead of time before serving. For longer storage, you can freeze them. First, place the cut bars on a baking sheet lined with parchment paper. Flash-freeze them for about 30 minutes. Then wrap each bar in plastic wrap and place them in a gallon-sized resealable freezer bag. Packed this way, the bars will keep for up to 2 months in the freezer.
Serving suggestions
Because of their similarity in taste and texture to peanut butter cup candy, peanut butter bars are a great option to serve at a Halloween party. On a platter alongside seasonal treats like Halloween Sugar Cookies and Halloween Cookies, peanut butter bars will not last long. But you don’t have to wait for Halloween to make these gems. Serve them chilled at a summer picnic or cookout, or just enjoy them with your afternoon mug of hot tea or coffee for a perfect little indulgence. For a birthday treat, cut the bars into larger squares and serve with a scoop of Vanilla Bean Ice Cream on the side.
Peanut Butter Bars
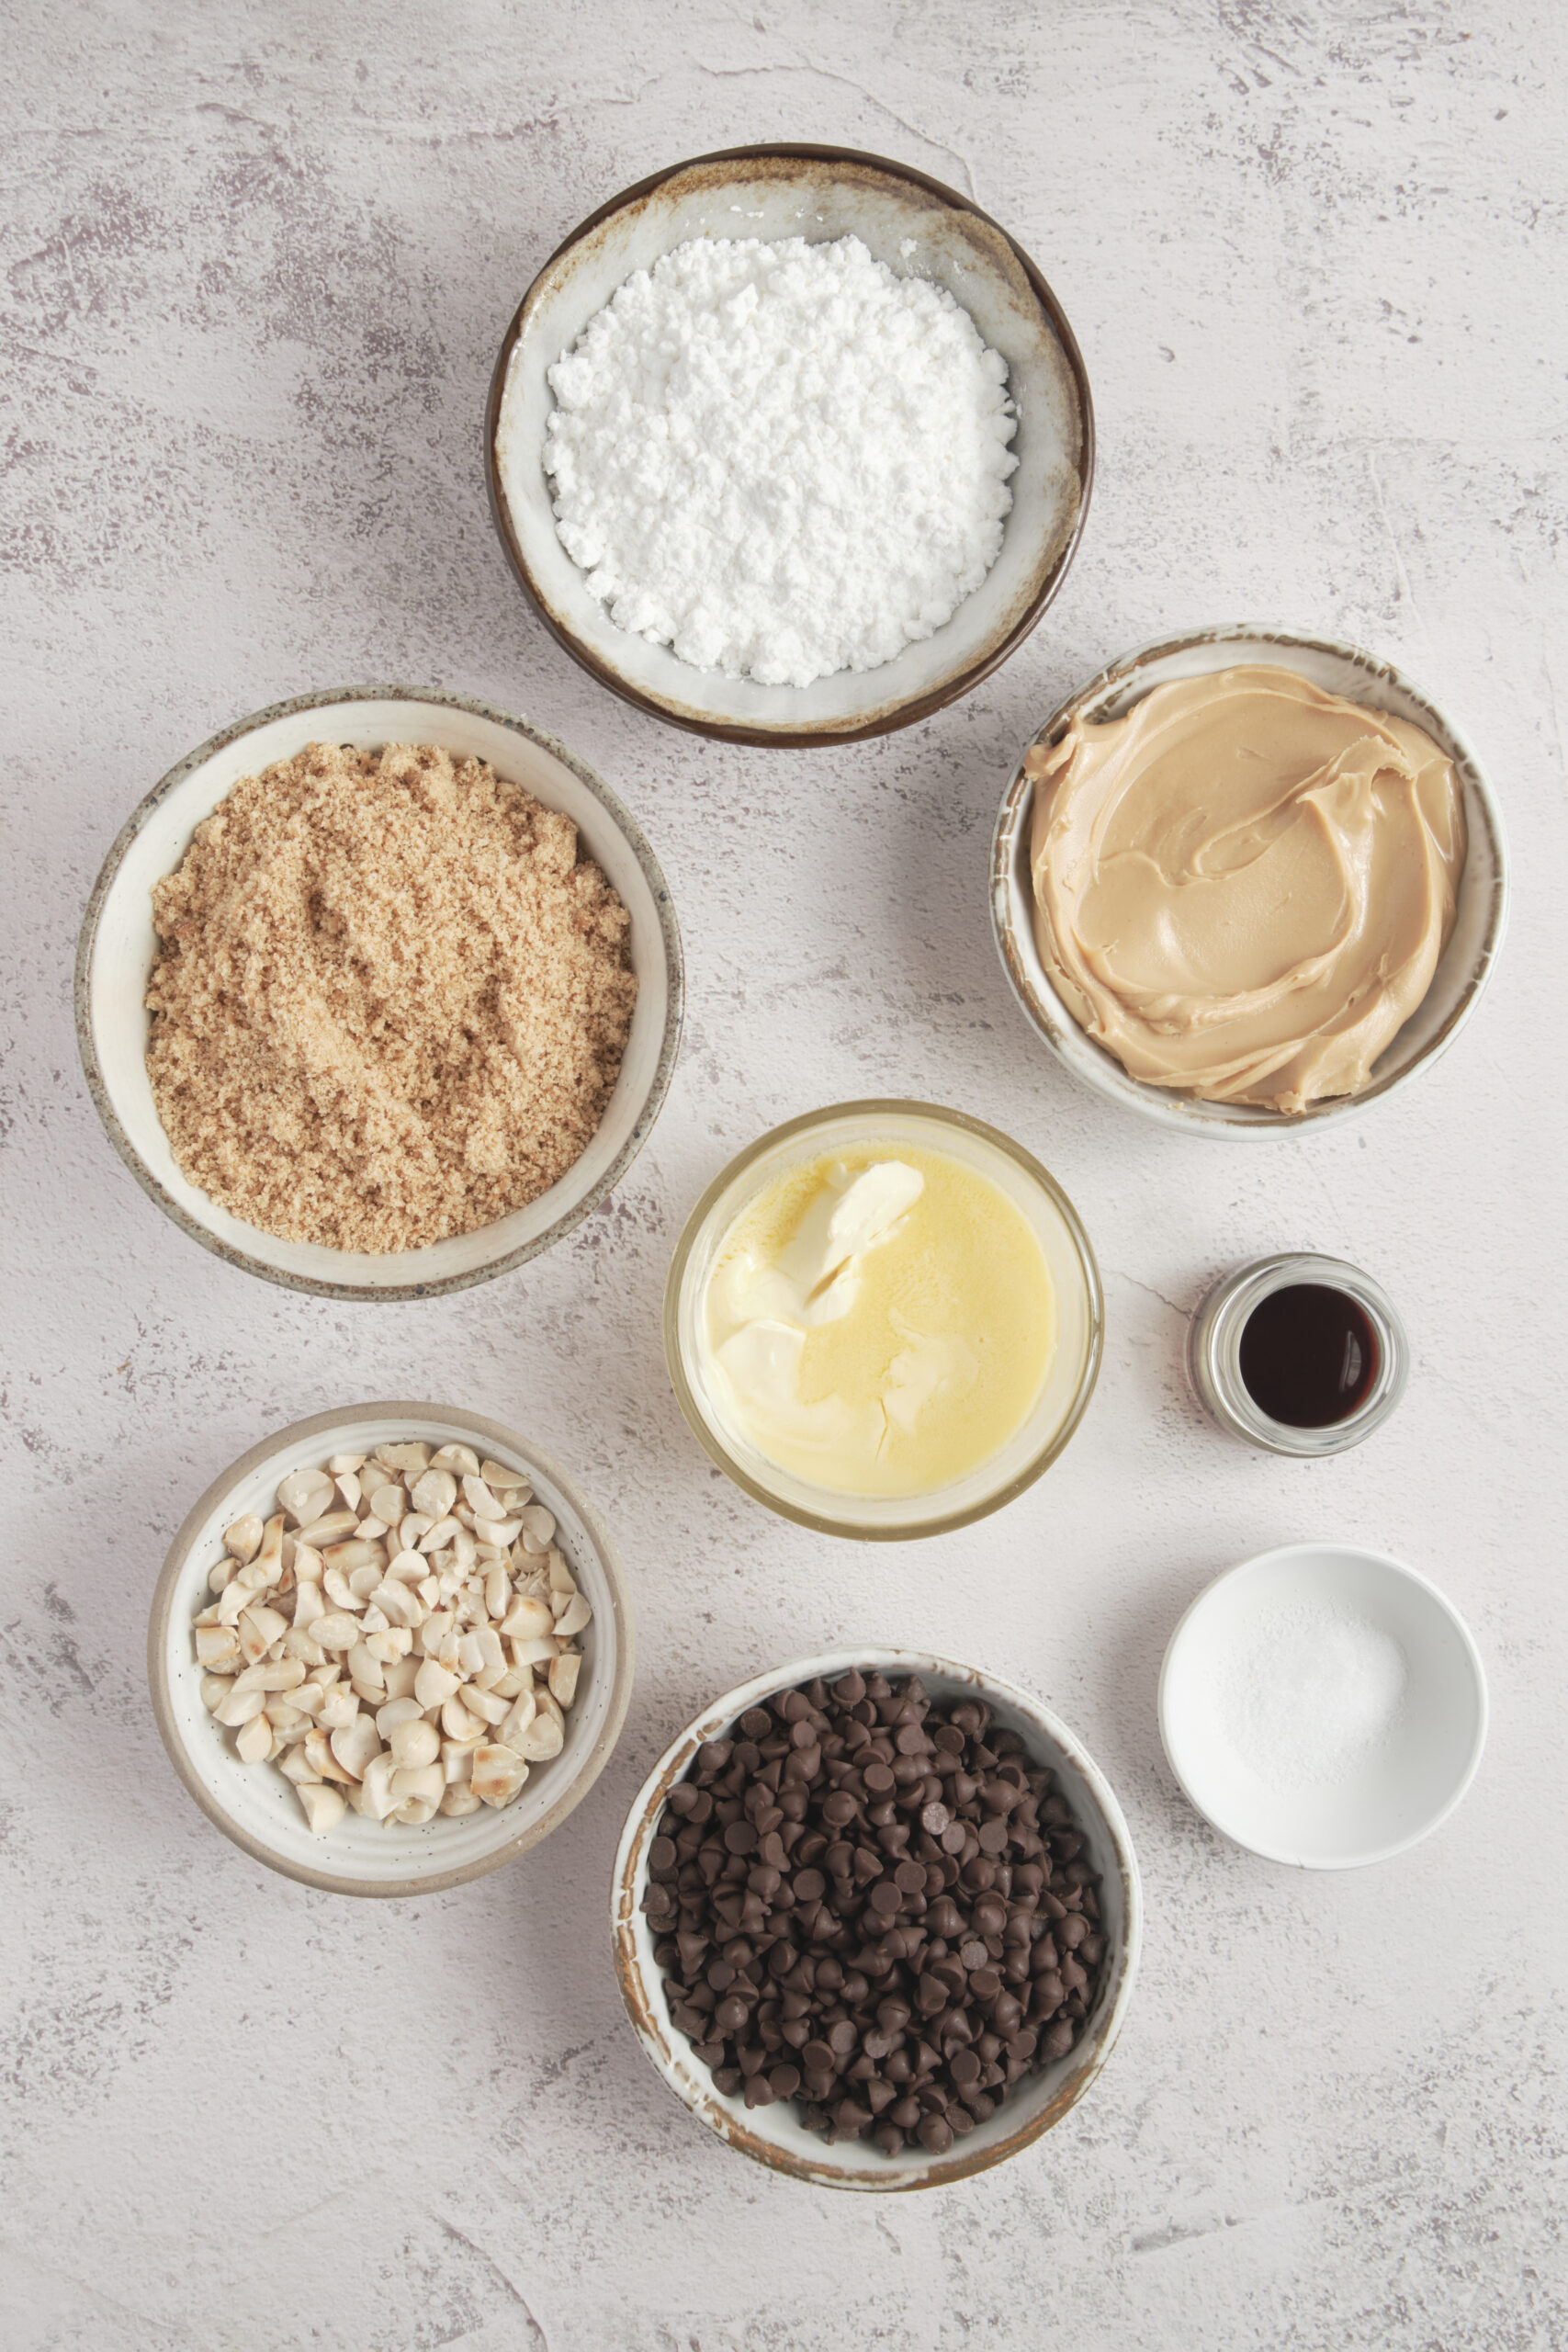
Ingredients
- 2 cups graham cracker crumbs
- 2 cups powdered sugar
- 1 cup unsalted butter melted
- 1/2 teaspoon vanilla extract
- 1 pinch kosher salt
- 1 1/4 cups creamy peanut butter divided
- 1 1/2 cups semisweet chocolate chips
- Chopped peanuts for garnish (optional)
Instructions
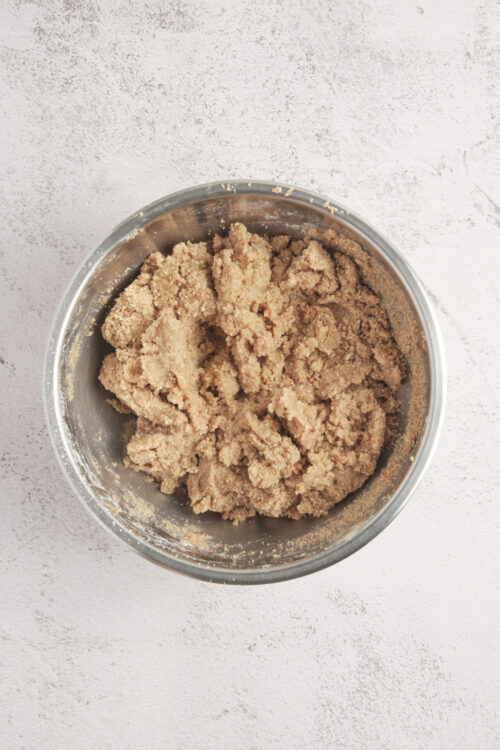
- In a medium bowl, mix graham cracker crumbs, powdered sugar, melted unsalted butter, vanilla, salt, and 1 cup creamy peanut butter until smooth and well blended.
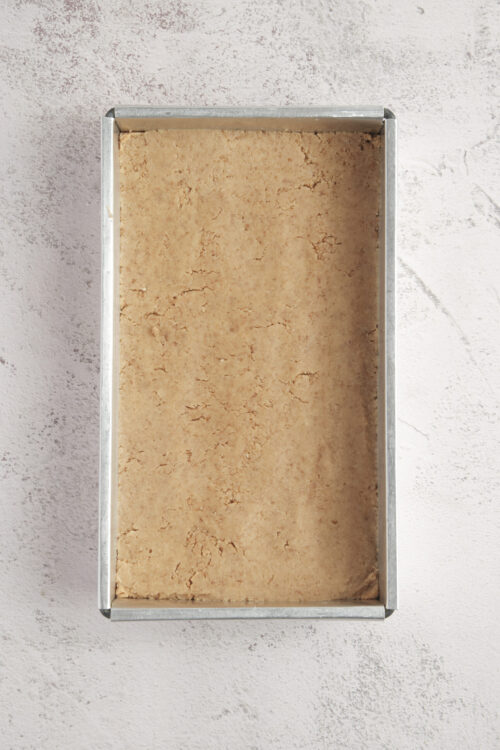
- Press the mixture evenly into the bottom of a 9×13-inch pan.
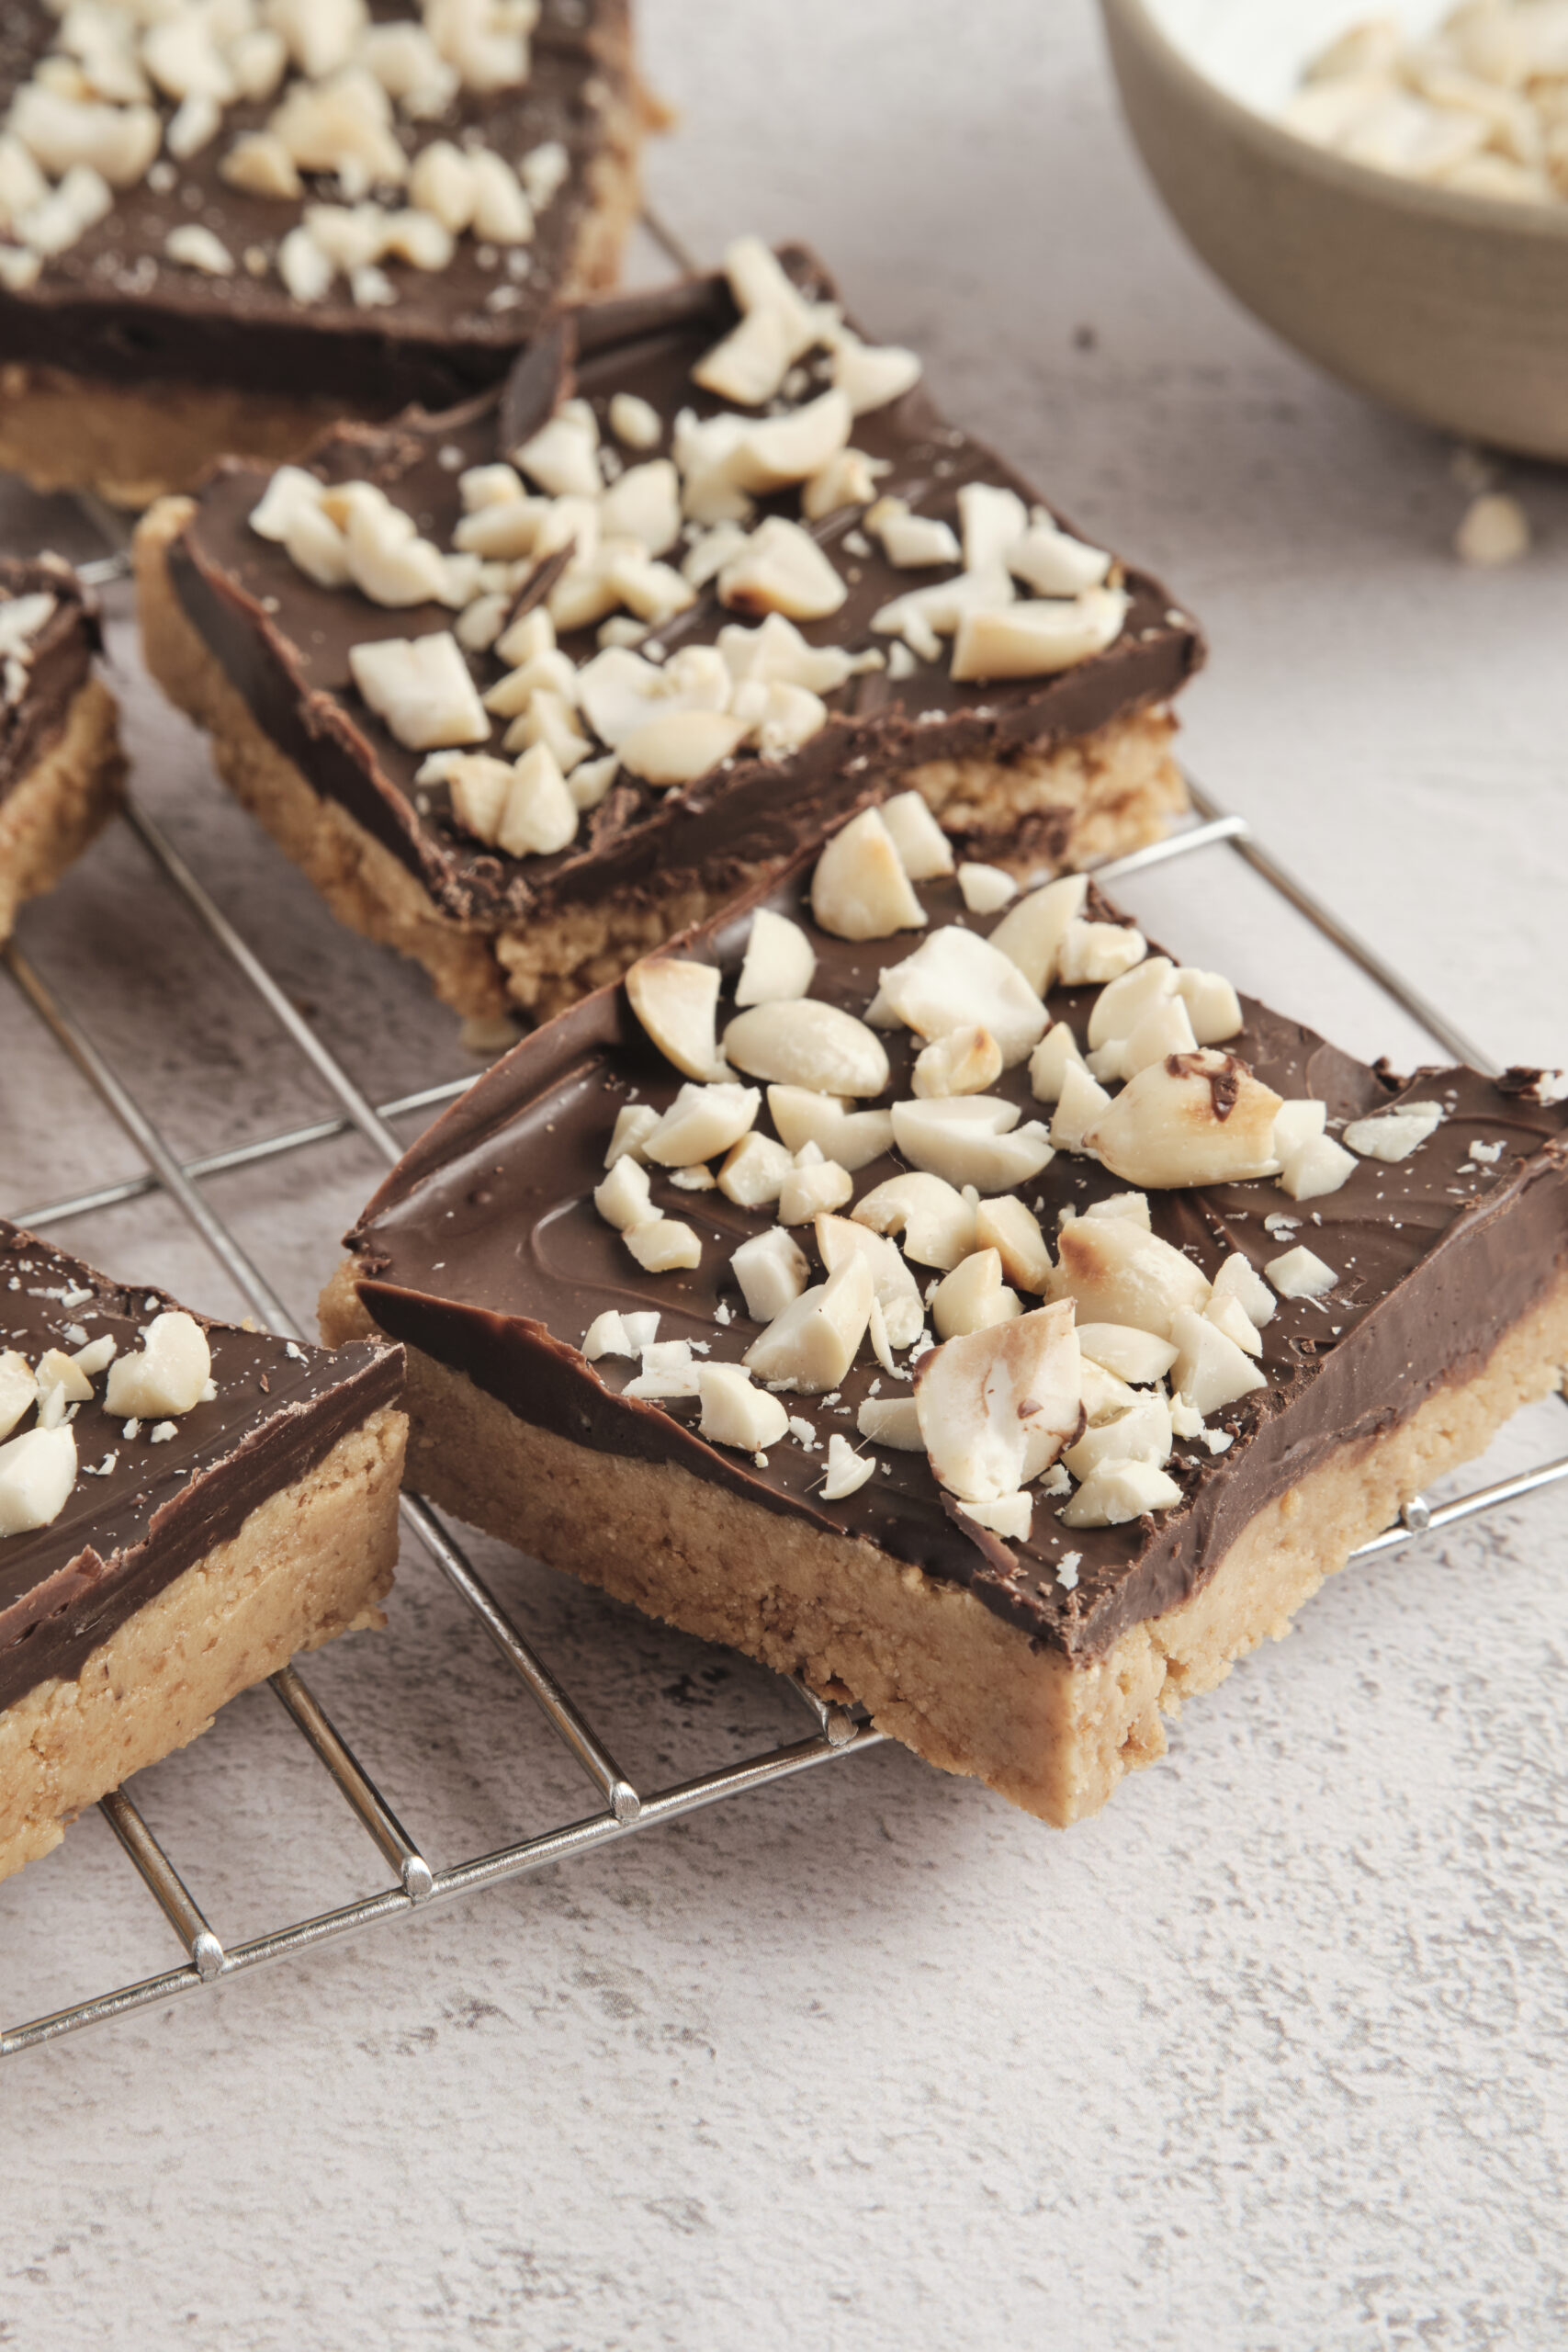
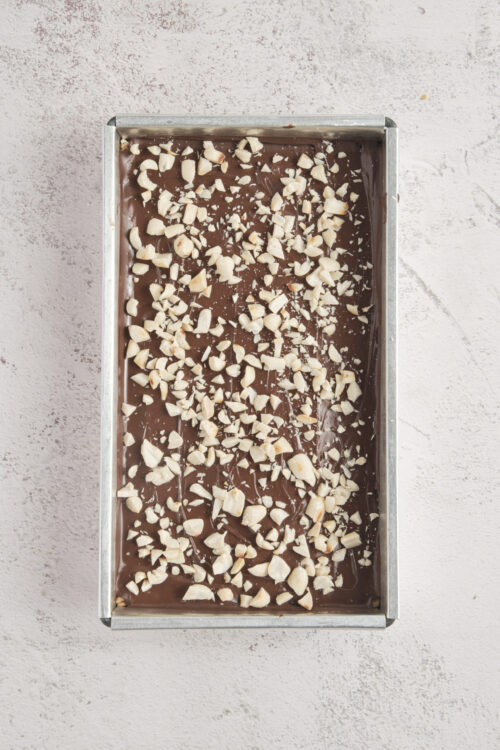
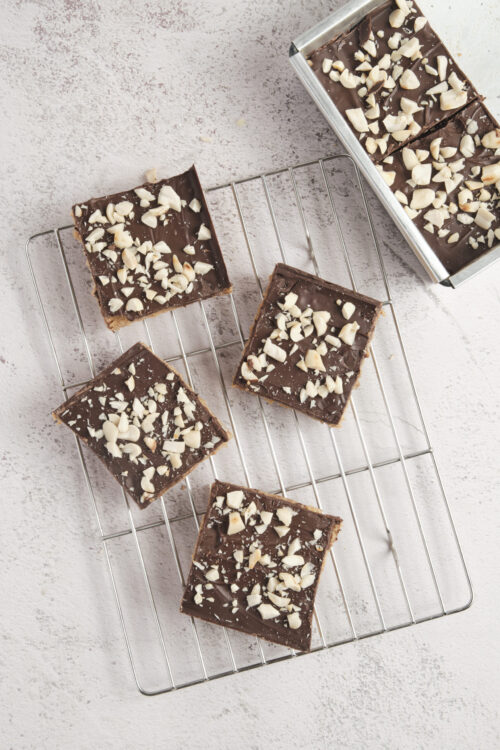
- Place semisweet chocolate chips and 1/4 cup peanut butter in a microwave-safe bowl. Microwave on high in 15-second bursts, stirring between each, until smooth. Pour the chocolate mixture over the base. If using, sprinkle with chopped peanuts and lightly press so they adhere.
- Cover and refrigerate for at least 1 hour before cutting into 15 small bars.
Leave a Comment