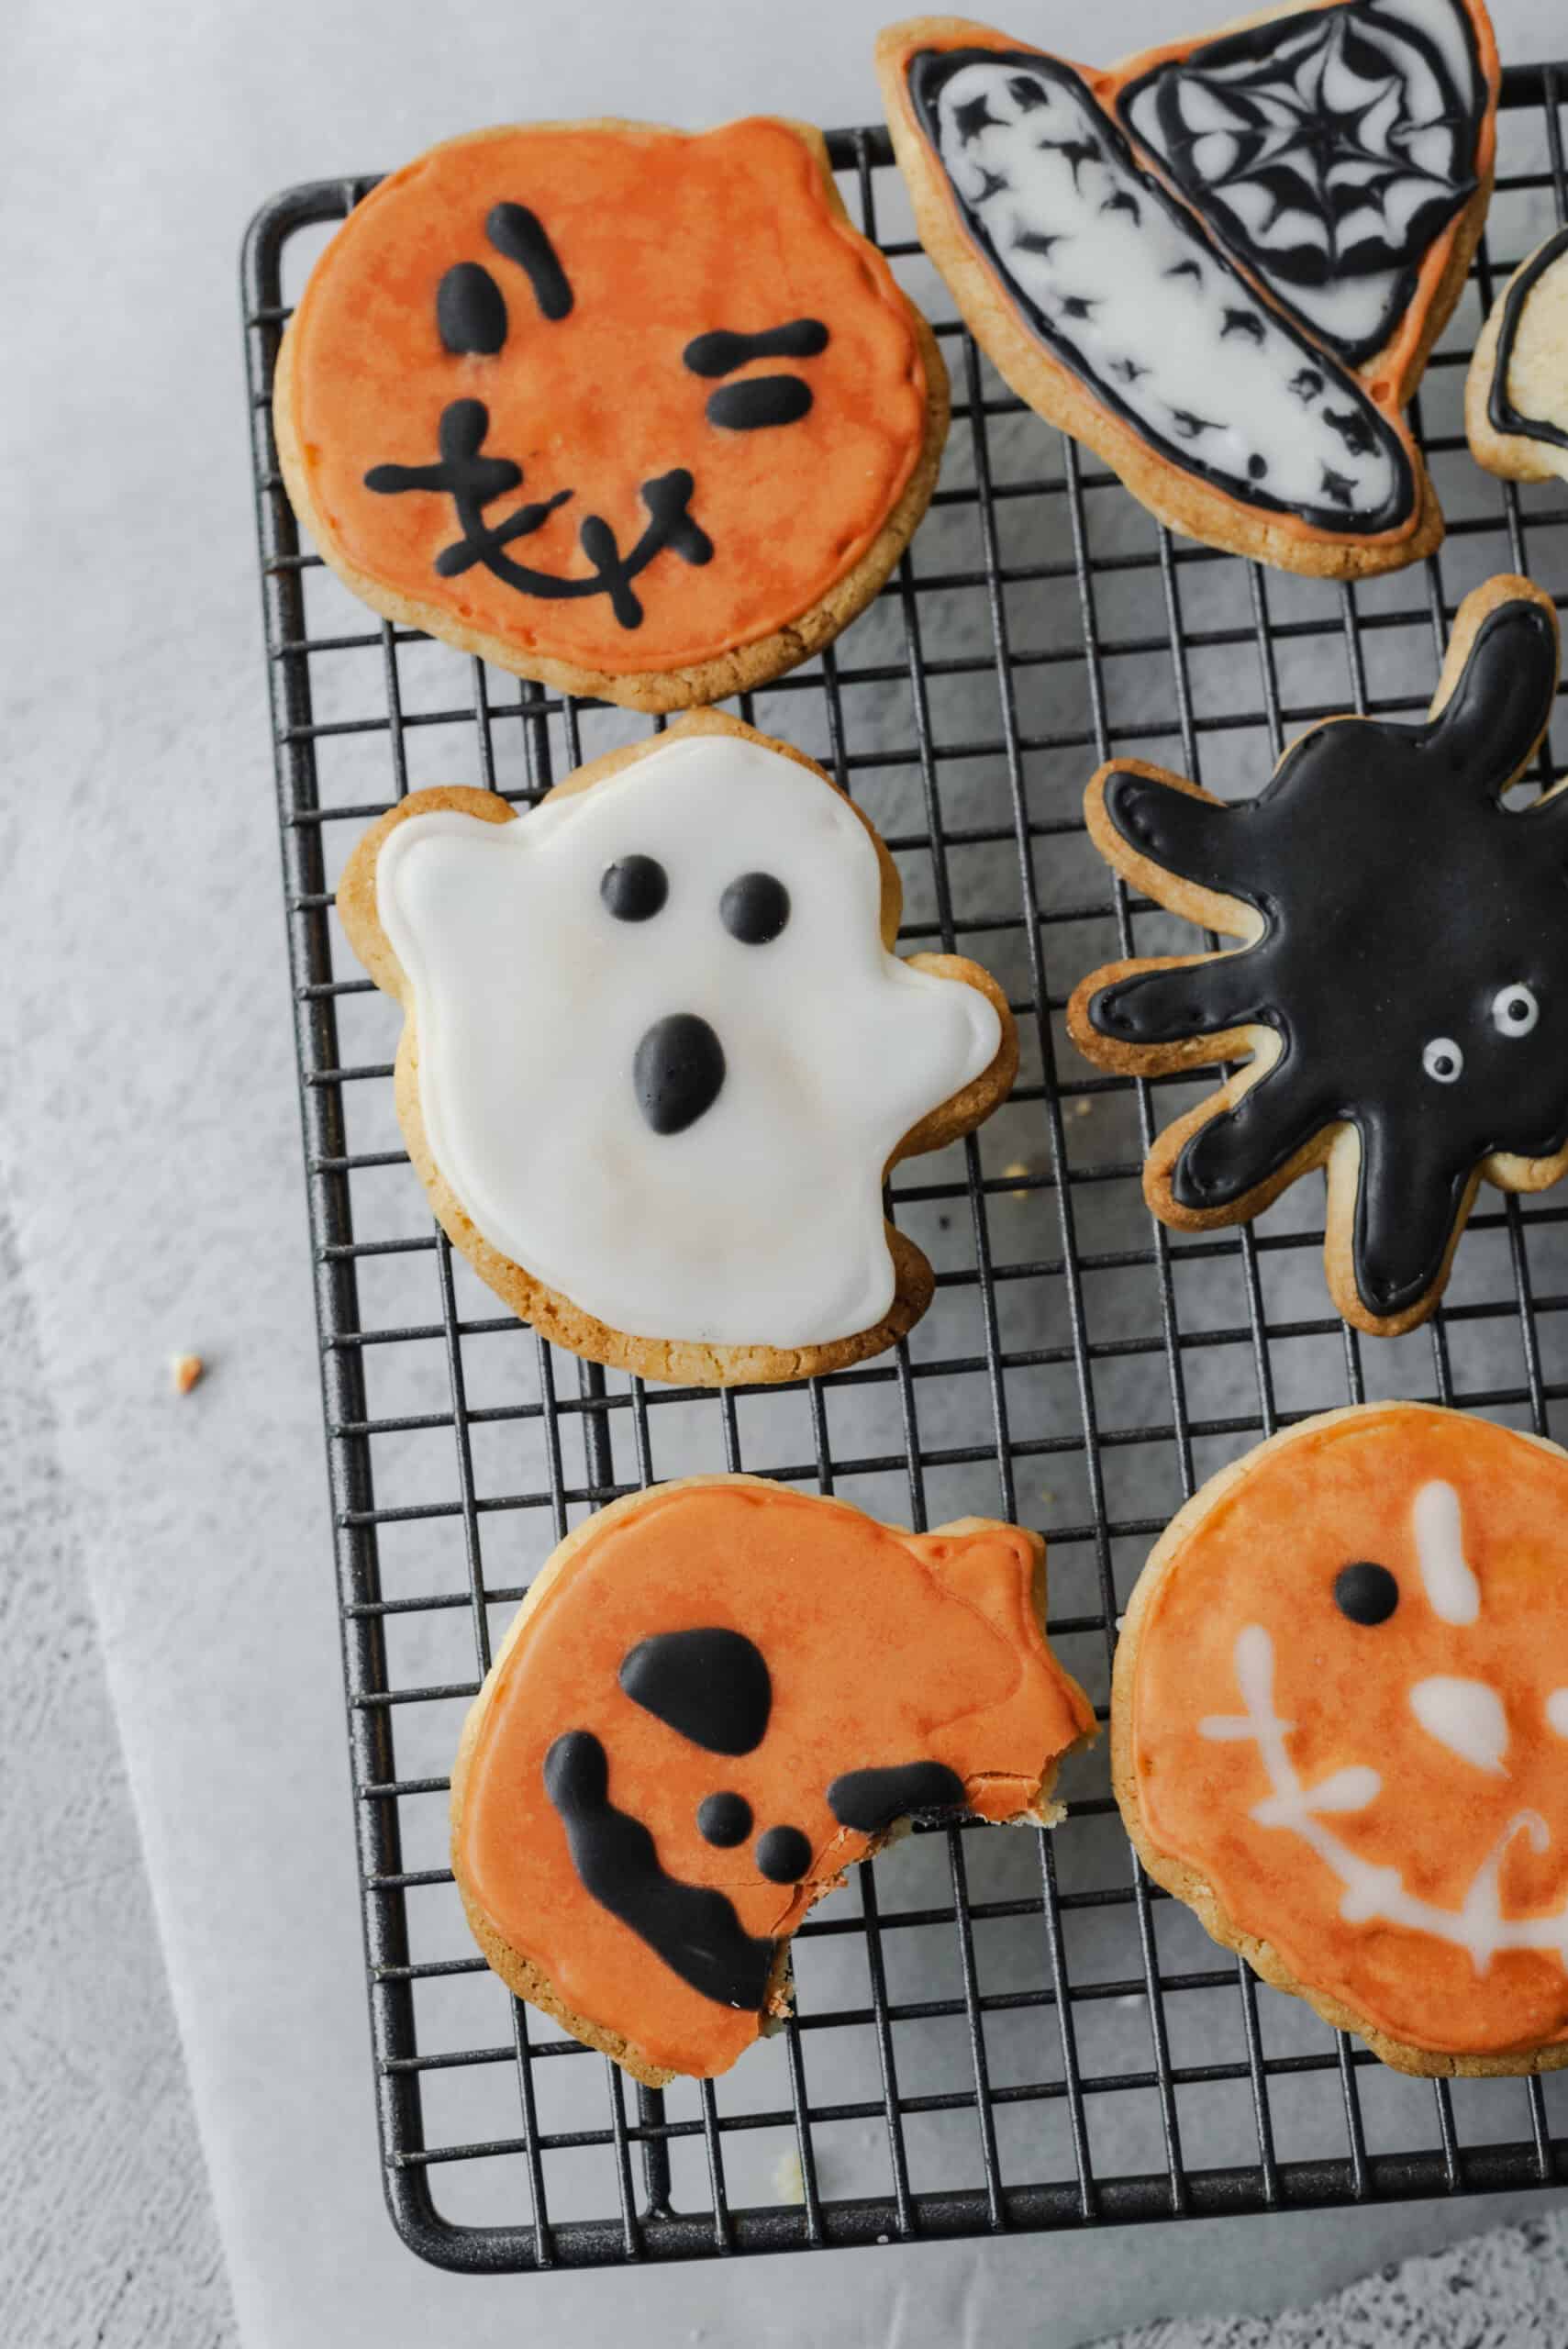
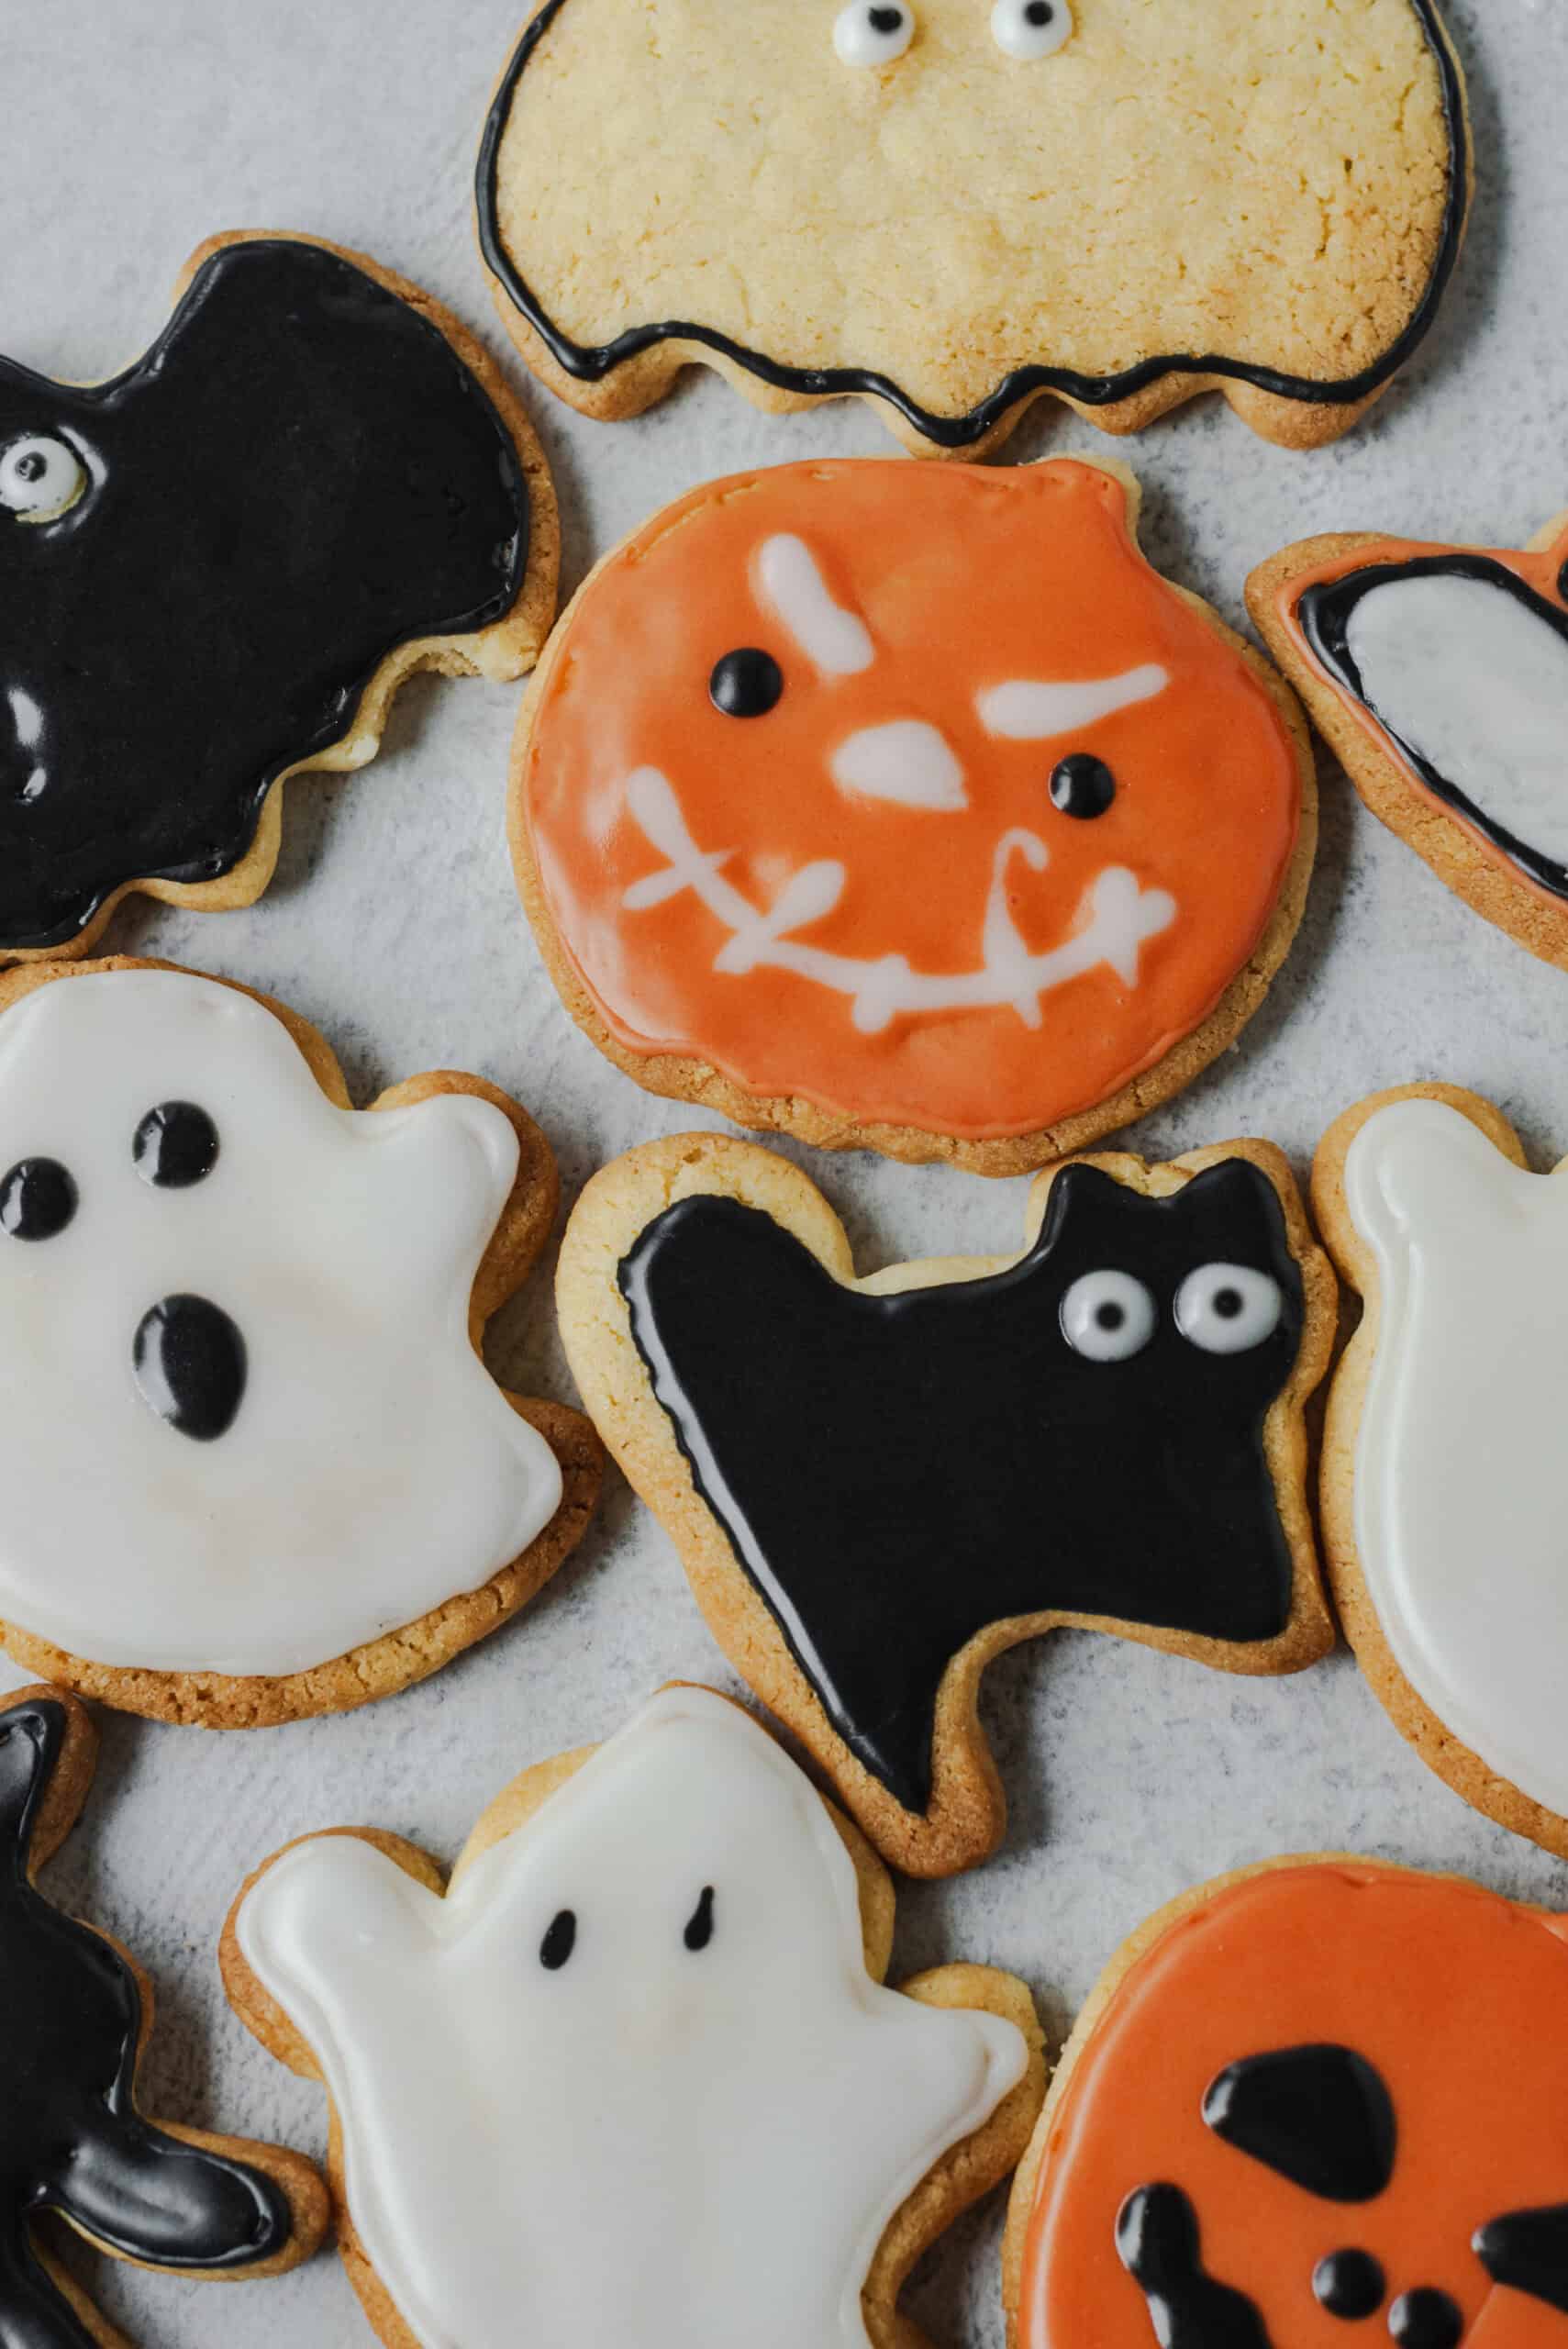
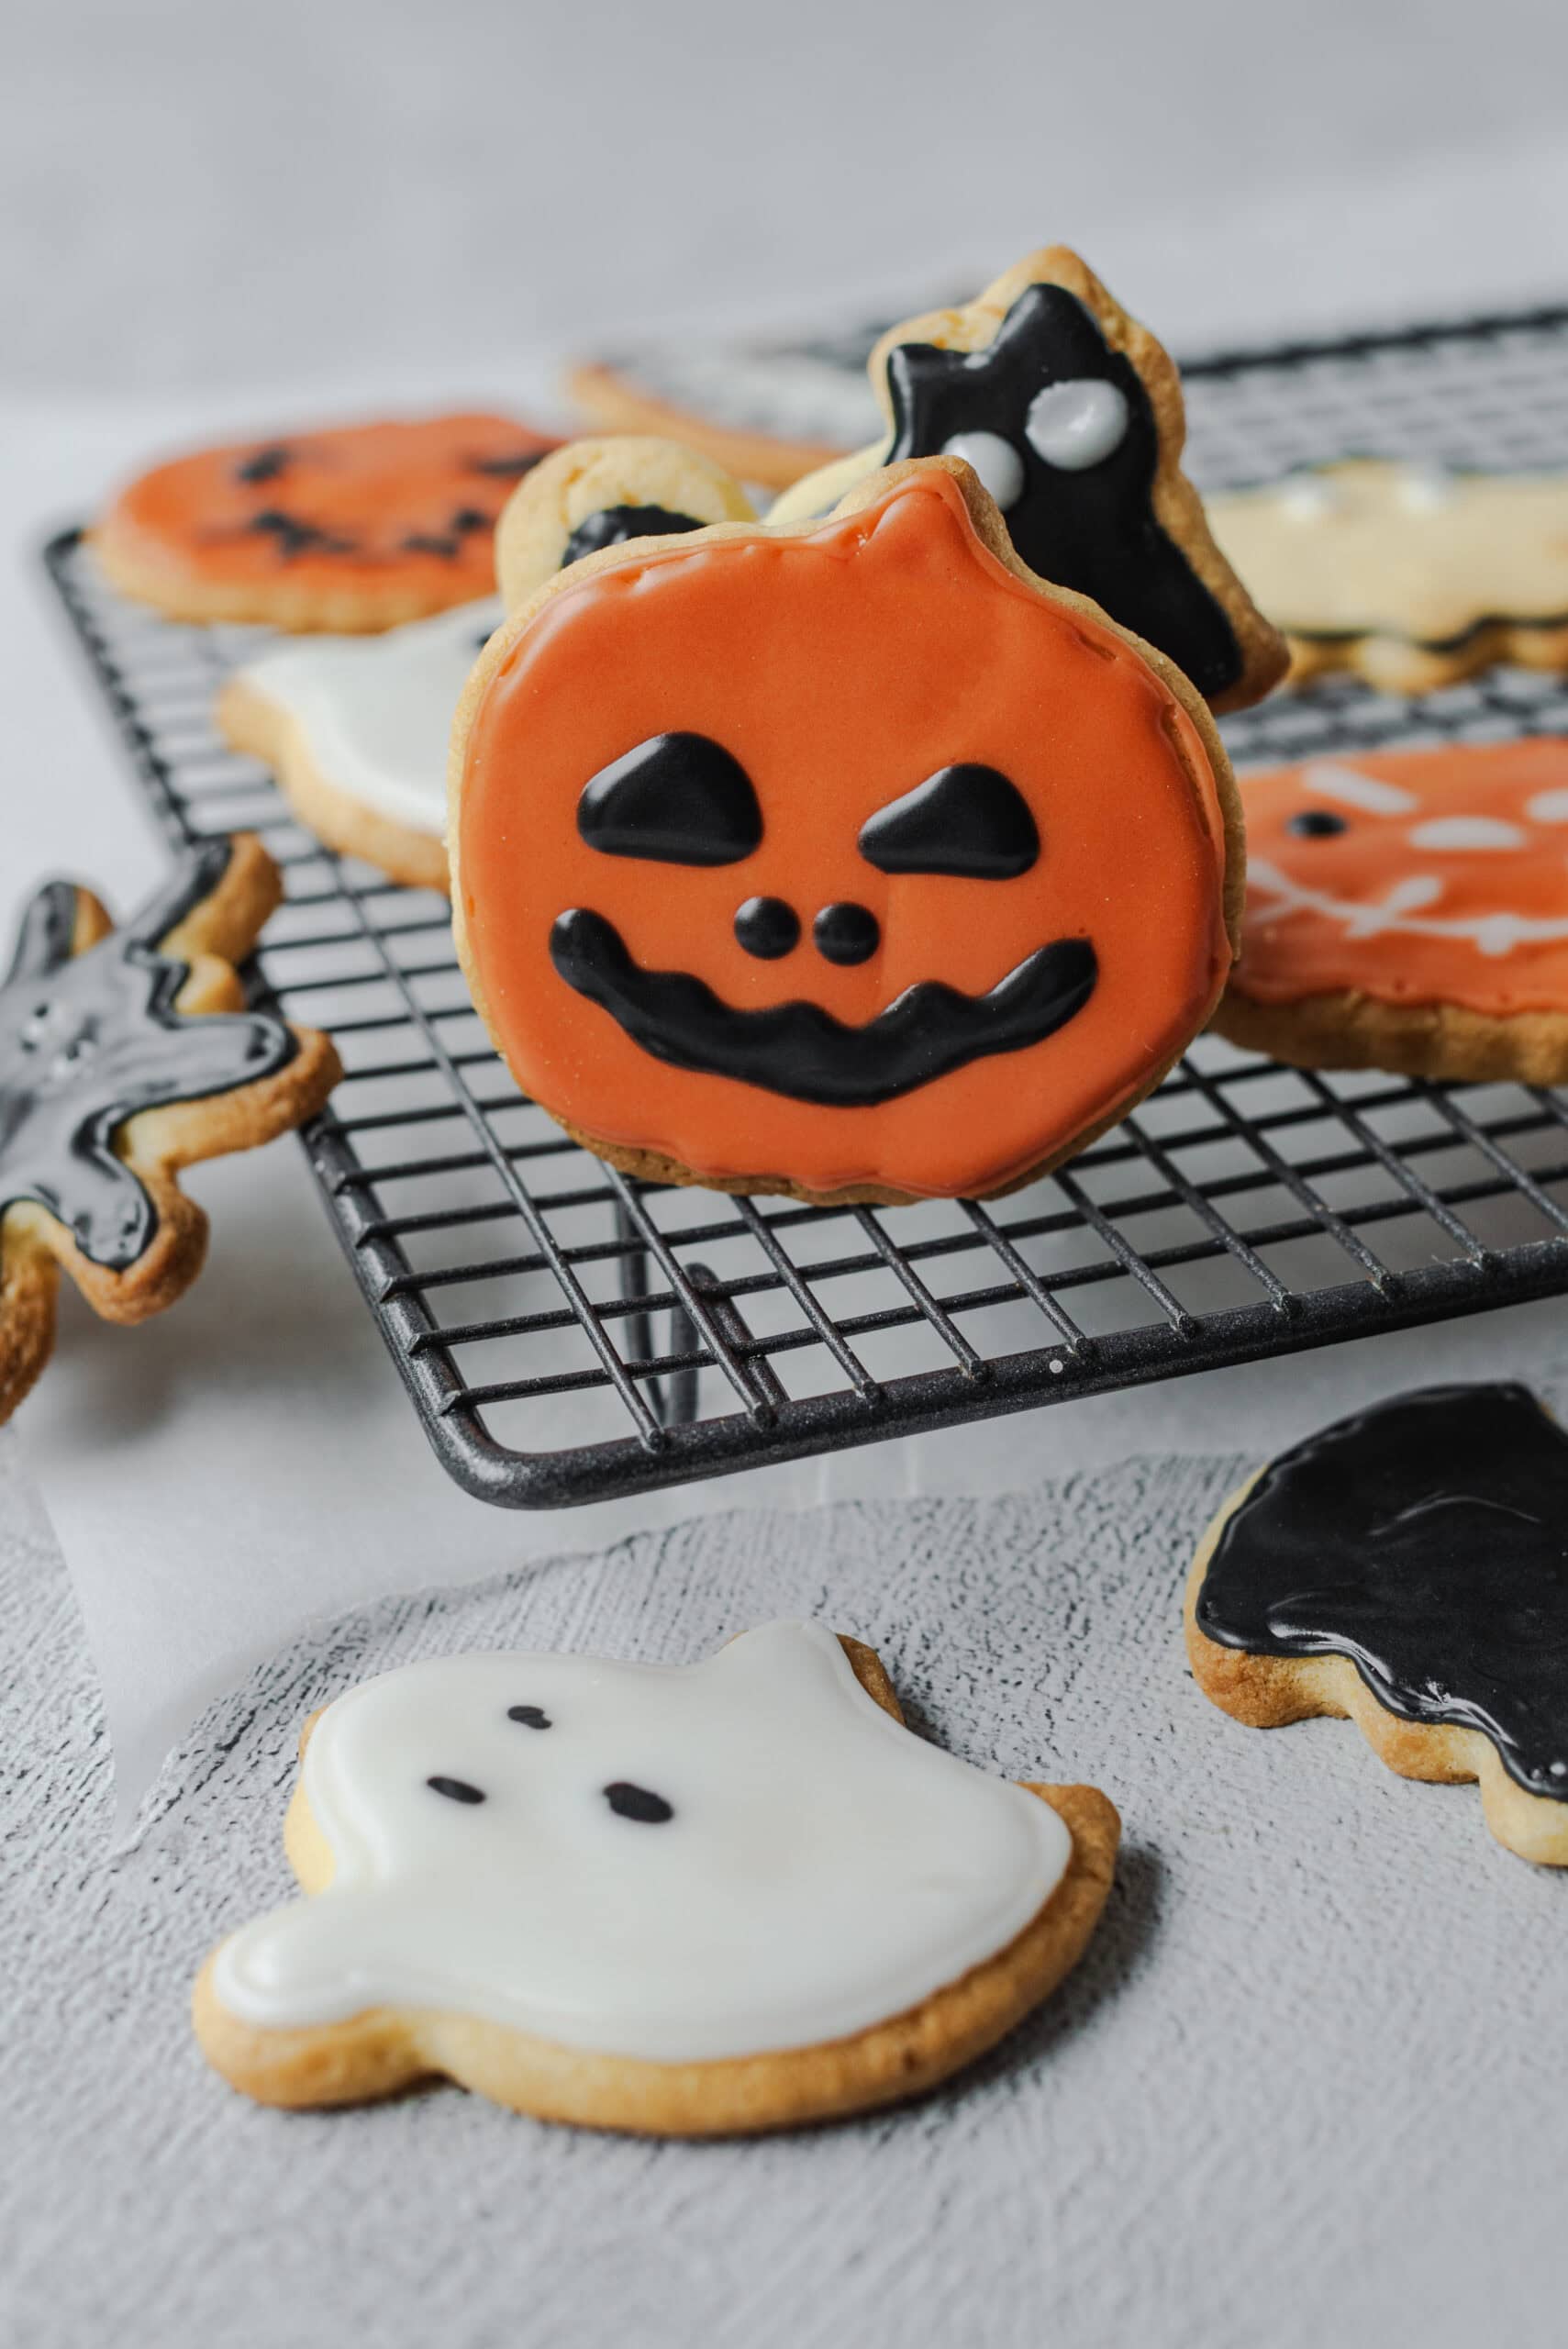
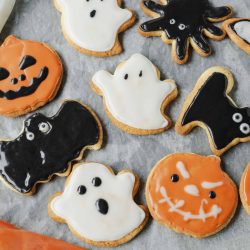
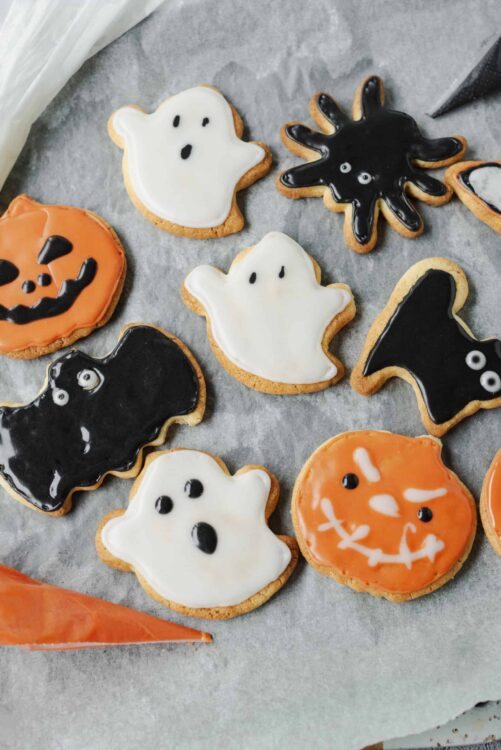
Spooky AND adorable: Halloween Cookies are easy and delicious.
Hop onto Pinterest and search for Halloween desserts and you will get dozens of ideas: dirt pudding cups with cookie “gravestones,” cake pop ideas, and the like. However, way back when, before the era of Pinterest, one of the main Halloween treats (excluding trick-or-treat candy, of course) was cutout cookies. These kinds of cookies are what I remember loving about Halloween parties at school or friends’ houses when I was a kid.
While cutout sugar cookies are typically popular at Christmas, you can find an endless variety of cookie cutters for any number of holidays: Halloween, Valentine’s Day, Easter, and even turkeys for Thanksgiving. Sugar cookies are great because they are easy to make, and the possibilities for decorating are infinite. You can add sprinkles before baking, or frost after baking, and if you frost them, you can keep it simple or go to town with detail and add-ons like sprinkles, candy, and edible decor (for Halloween, think candy eyeballs!).
You will love Halloween cookies because they are a simple but delicious treat. They’re easy to make and even better, you can make the dough ahead or make the cookies ahead and freeze them (keep scrolling for details). Not only are they festive, but they taste great: soft in the middle and a little crisp around the edges, these sugar cookies are rich and nostalgic (and, if you’re anything like me, irresistible!).
Why Cream The Butter And Sugar?
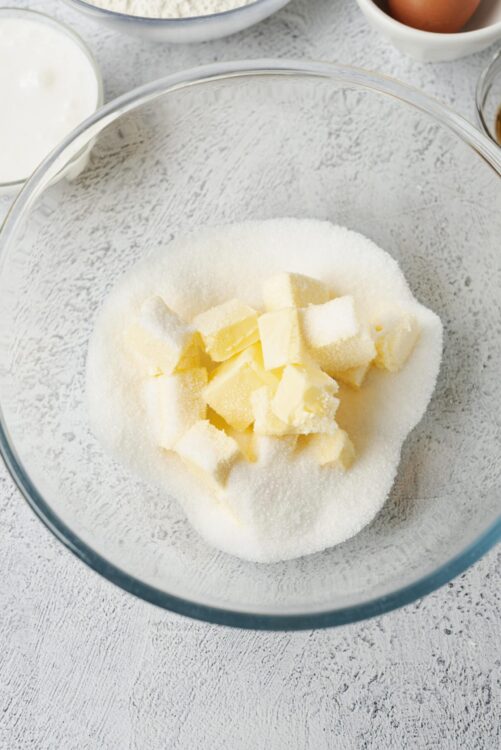
For the start of many baked goods, you begin by creaming the butter and sugar. Creaming means beating the butter and sugar together at a fairly high speed. Doing so creates little air pockets that the leavening agent(s) will fill and create rise and a light texture. This means your cookies won’t look and taste like hockey pucks! In order for these air bubbles to form, the butter needs to be just the right temperature. “Softened” means that when you press a fingertip into the top of the stick, it leaves an indentation. If you use chilled or melted butter, the aeration won’t occur, and you’ll have dense, heavy cookies.
How Do I Store Leftovers?
Leftover baked cookies will keep in an airtight container at room temperature for 2-3 days or for up to 1 week in the fridge.
Serving Suggestions
The fun part about Halloween cookies is the decorating. For classroom parties and other types of get-togethers, consider setting out the undecorated cookies and letting people decorate their own. You can set up white, orange, and black Royal Icing and a variety of decorations like sprinkles, jimmies, candy corn, and candy eyeballs. You can also frost these cookies with Buttercream Frosting if you prefer. Whichever topping you use, try gel food coloring to get vibrant colors. Finally, if you need other treats to go with the cookies, consider Spooky Witch Finger Cookies or Rice Krispies Treats.
Halloween Cookies
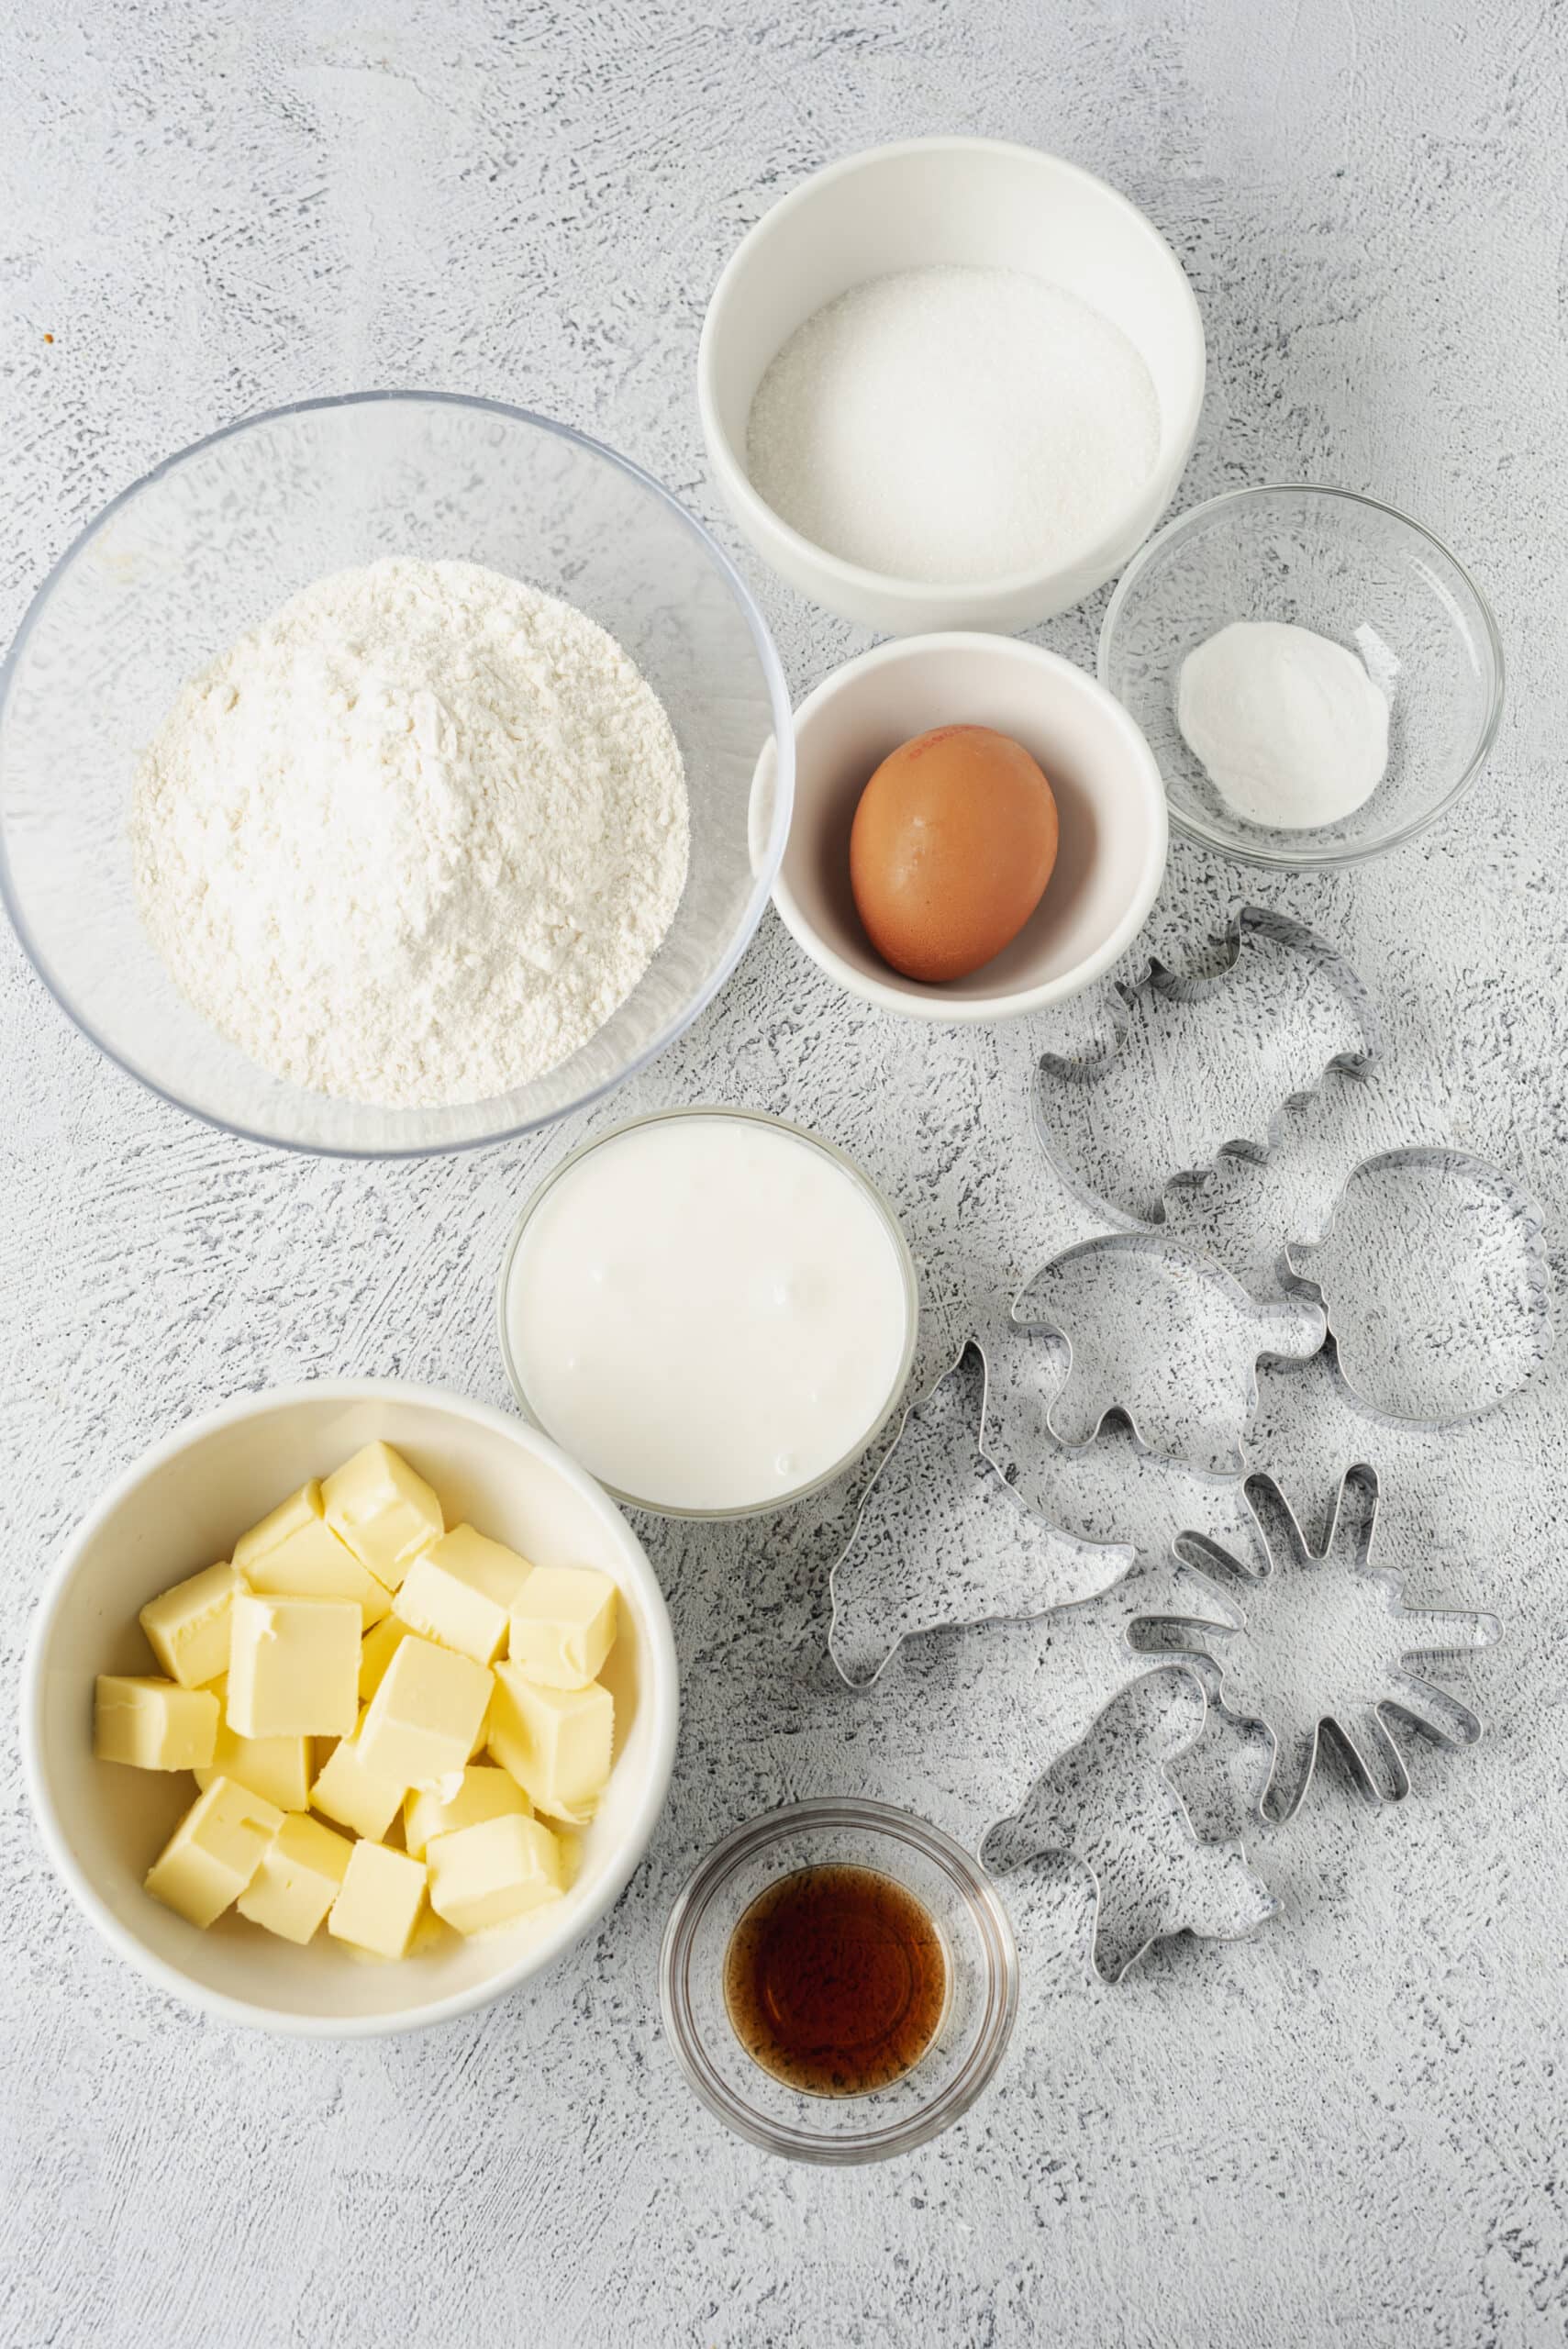
Ingredients
- 8 ounces unsalted butter softened
- 1 cup granulated sugar
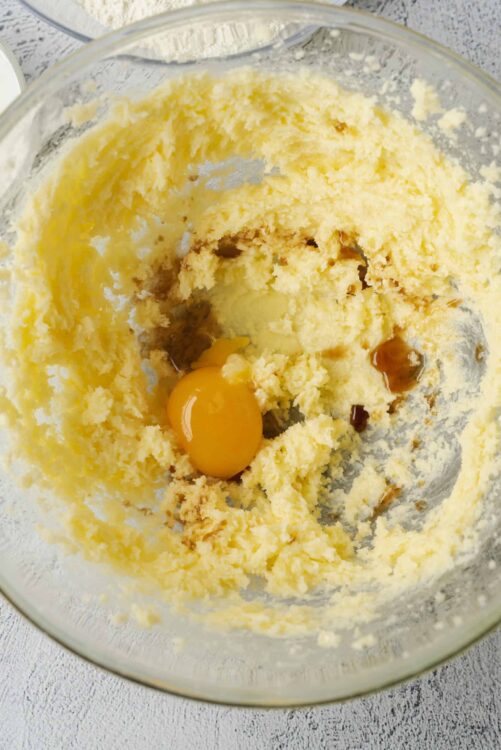
- 1 large egg
- 1 1/2 teaspoons vanilla extract
- 3 cups all-purpose flour
- 2 teaspoons baking powder
- Sugar cookie frosting as needed
- Halloween-themed cookie cutters
- Halloween sprinkles optional
Instructions
- In a large mixing bowl, cream together the softened butter and granulated sugar until light and fluffy, about 3 minutes.
- Add the egg and vanilla extract to the creamed mixture and beat until fully incorporated.
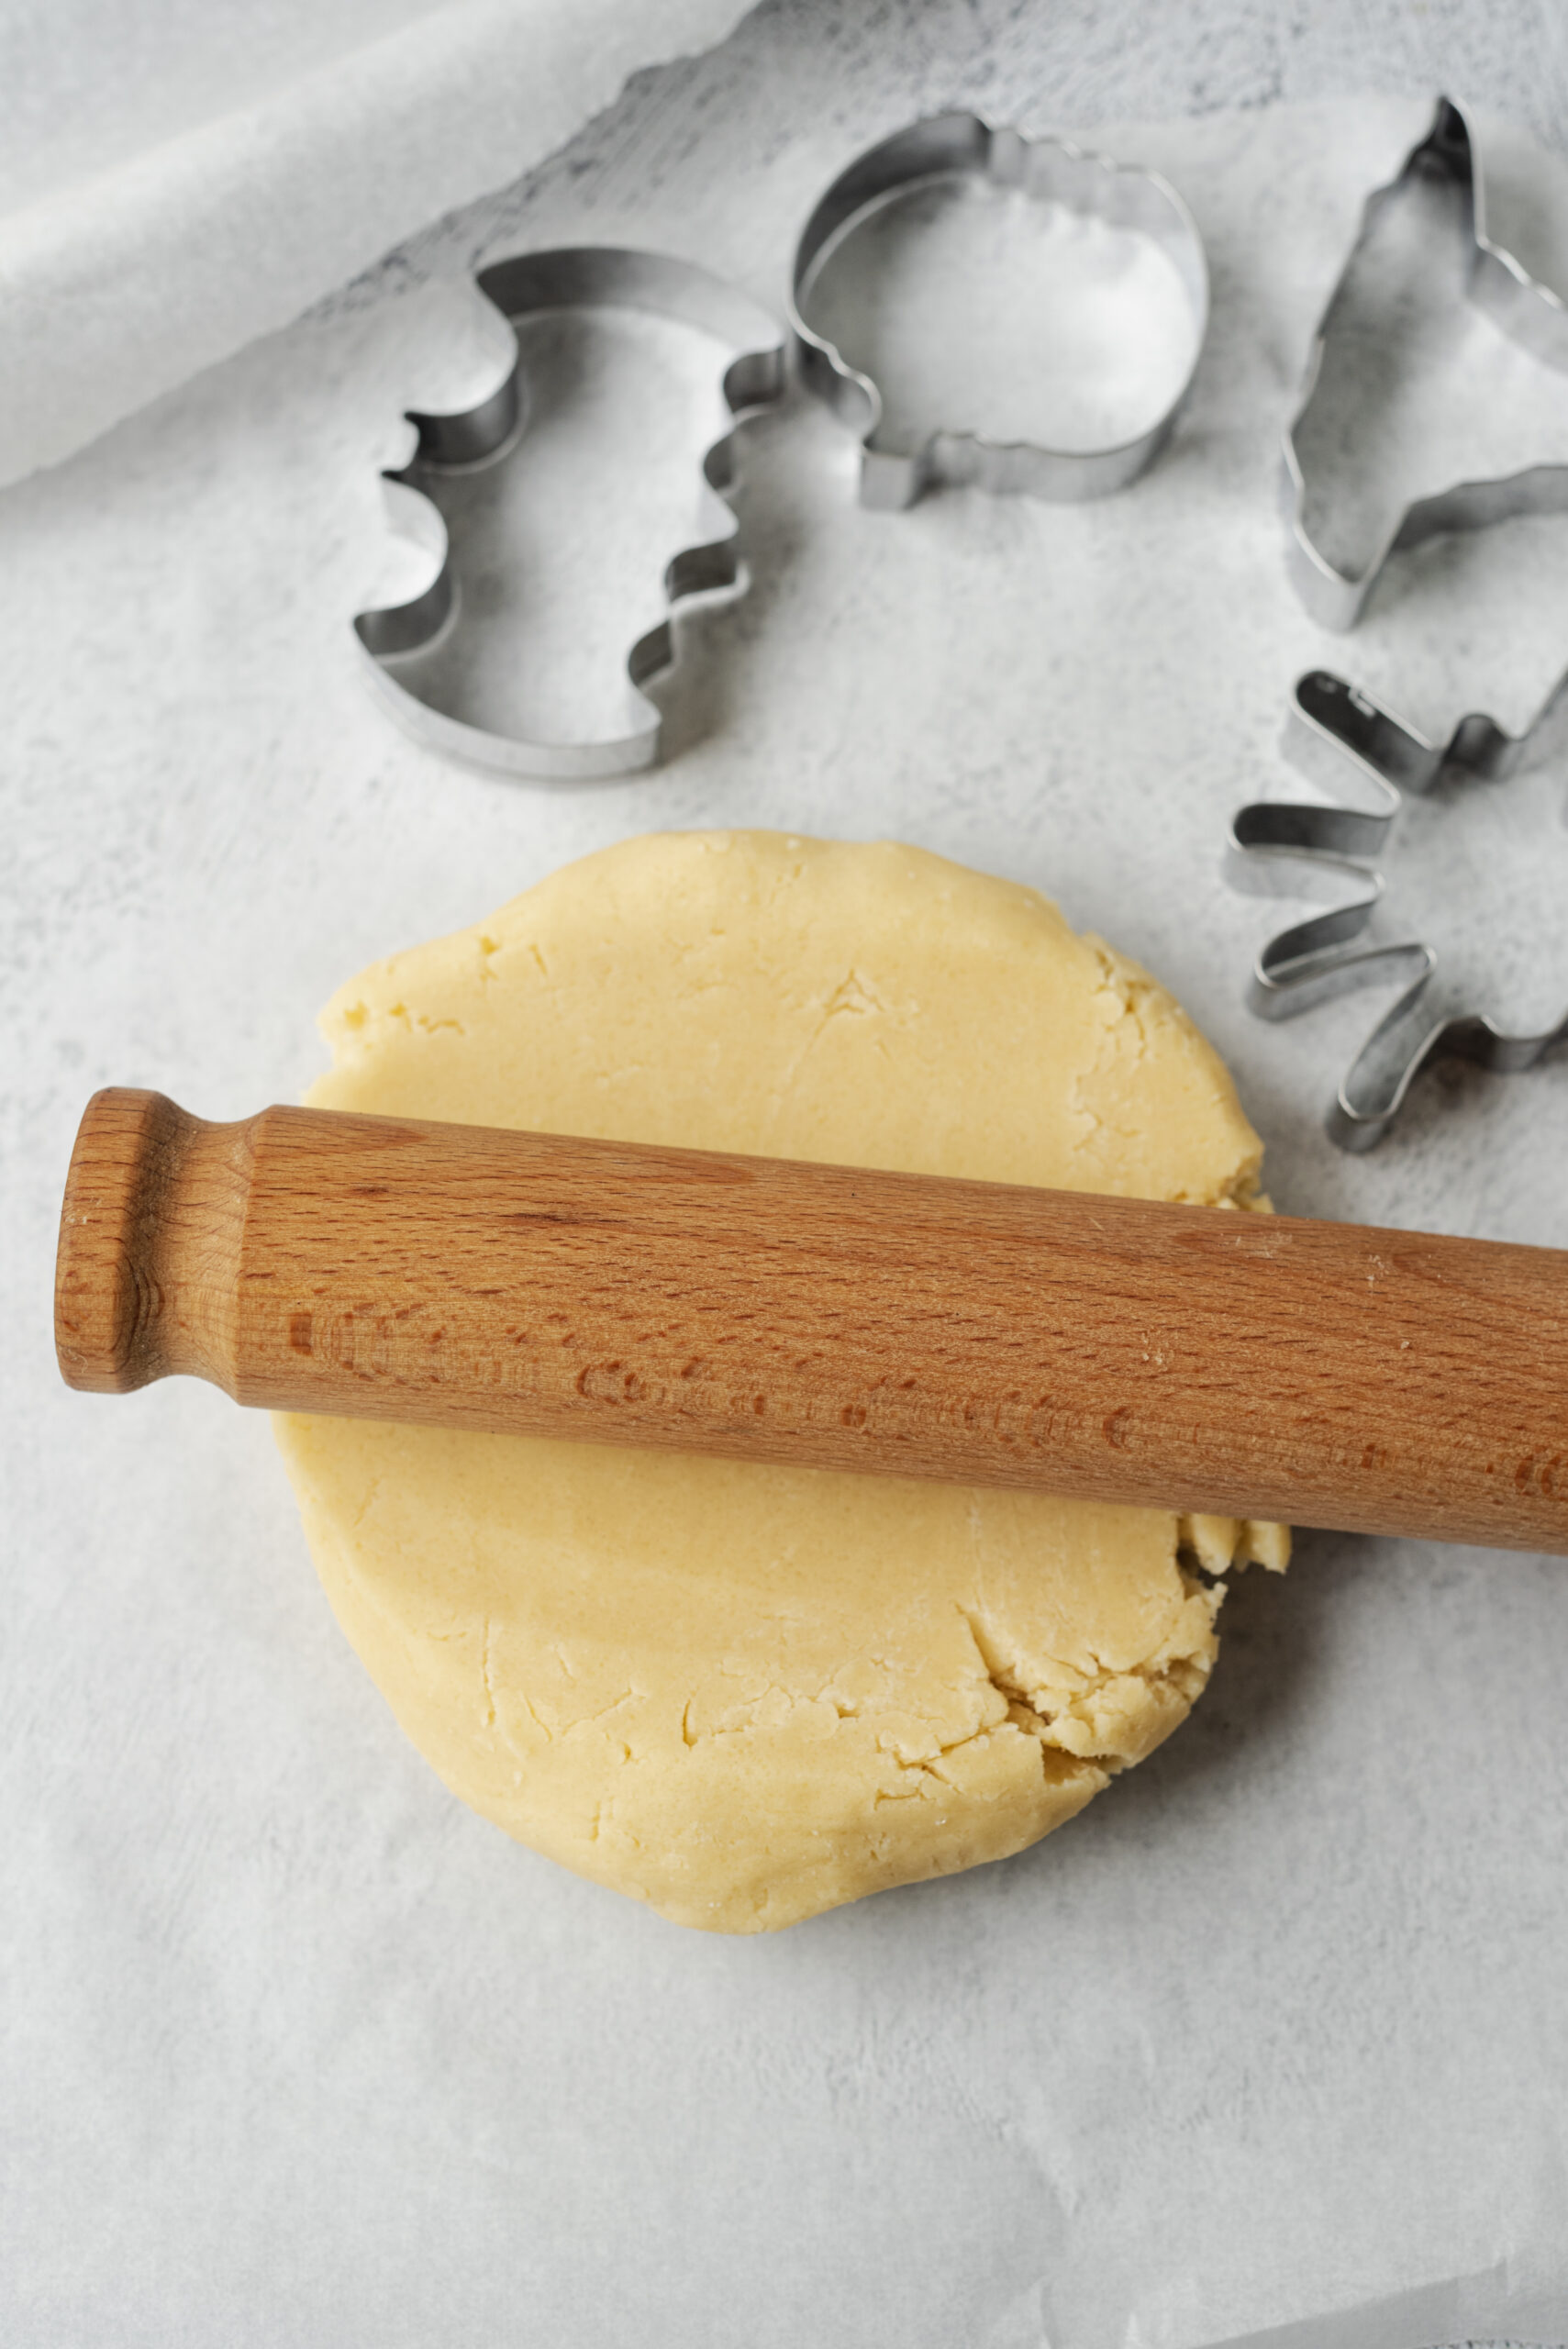
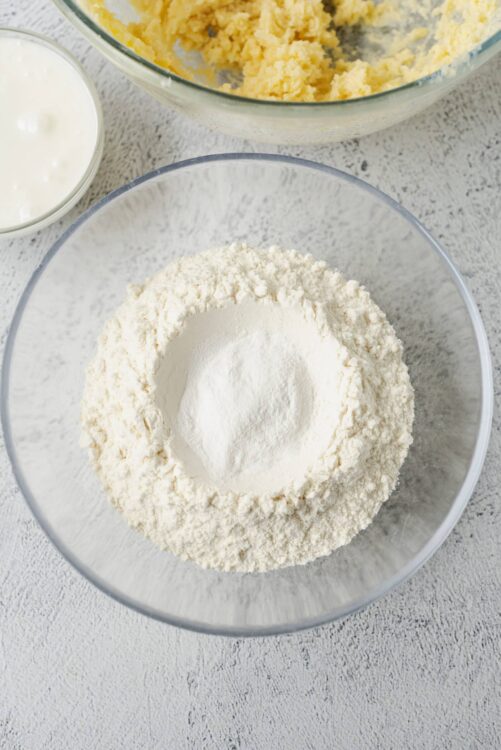
- In a separate bowl, whisk together the flour and baking powder. Gradually add the dry ingredients to the wet mixture, mixing until a dough forms.
- Turn the dough onto a floured surface and roll out to about 1/4 inch thickness. Use Halloween-themed cookie cutters to cut out shapes.

- Place the cutouts on a parchment-lined baking sheet and bake at 350°F for 8-10 minutes or until the edges are just starting to turn golden.
- Allow cookies to cool completely before decorating with sugar cookie frosting and optional Halloween sprinkles.

Leave a Comment