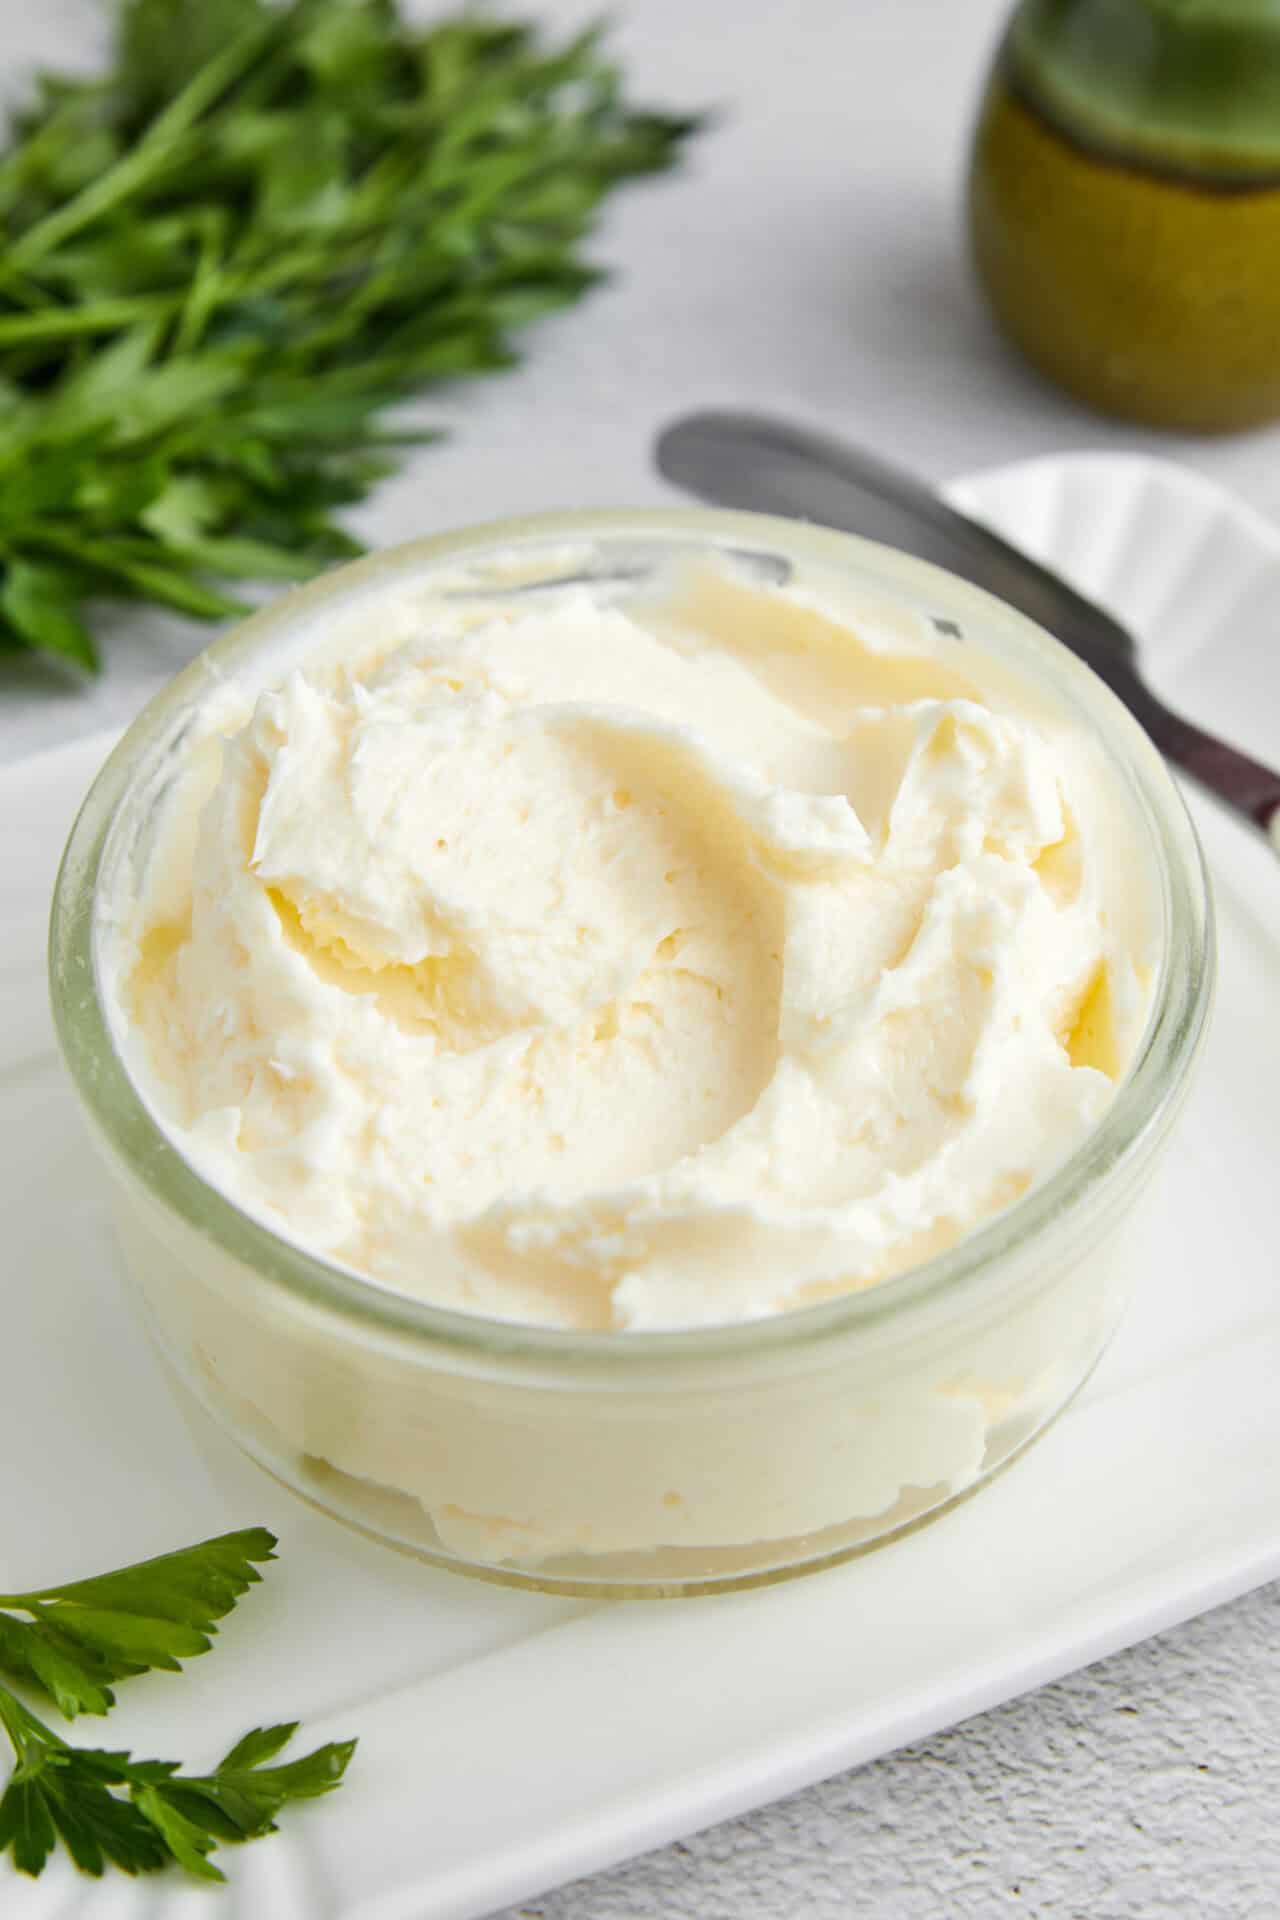
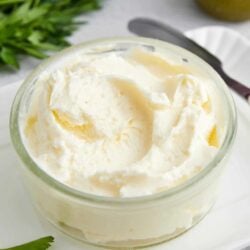
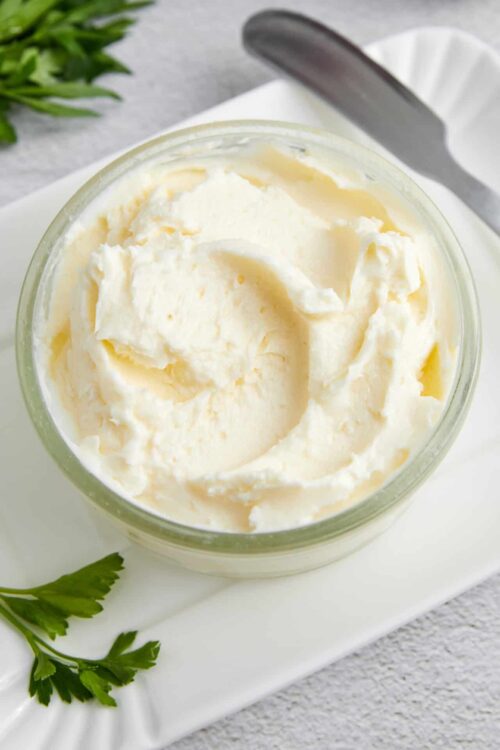
Homemade butter tastes so much better than the store-bought kind, partly because you made it yourself!
When you were in grade school, did you ever go on one of those history field trips that reenacted pilgrim or pioneer life? I did, and the thing I remember most was watching the actors dressed up as wives churn butter. Why is this image still so alive in my memory? Because when the churning (using a big barrel with a pole inserted in it) was finally done, everyone got a piece of bread slathered with that amazing butter! And now, with my trusty electric hand mixer, I do my own reenactment of the old days and make incredible Homemade Butter in my kitchen!
In the book Butter: A Rich History, author Elaine Khosrova explains that the first butter appeared in Africa in 8000 B.C. when a shepherd who carried milk in a sheepskin attached to one of his sheep discovered that as the milk was jostled during travel, it separated into a solid and a liquid, and the solid tasted really good! There is a great deal more history detailing how the butter-making process evolved from using the backs of pack animals to shake up the milk to the barrel churn and dash pole that appeared in the 18th century (if you’re interested in history, this book is fascinating), but the concept has remained the same: if you whip cream long enough, it’s going to turn into butter.
If you’ve never made butter before, I guarantee you will feel the thrill of that magic moment when the cream in your mixing bowl moves past the stiff peaks that signal whipped cream and the butter solids separate from the buttermilk. It is really exciting, especially the first time you do it! And, yes, you’ll be left not only with this wonderful, fresh-tasting butter but with homemade buttermilk, too!
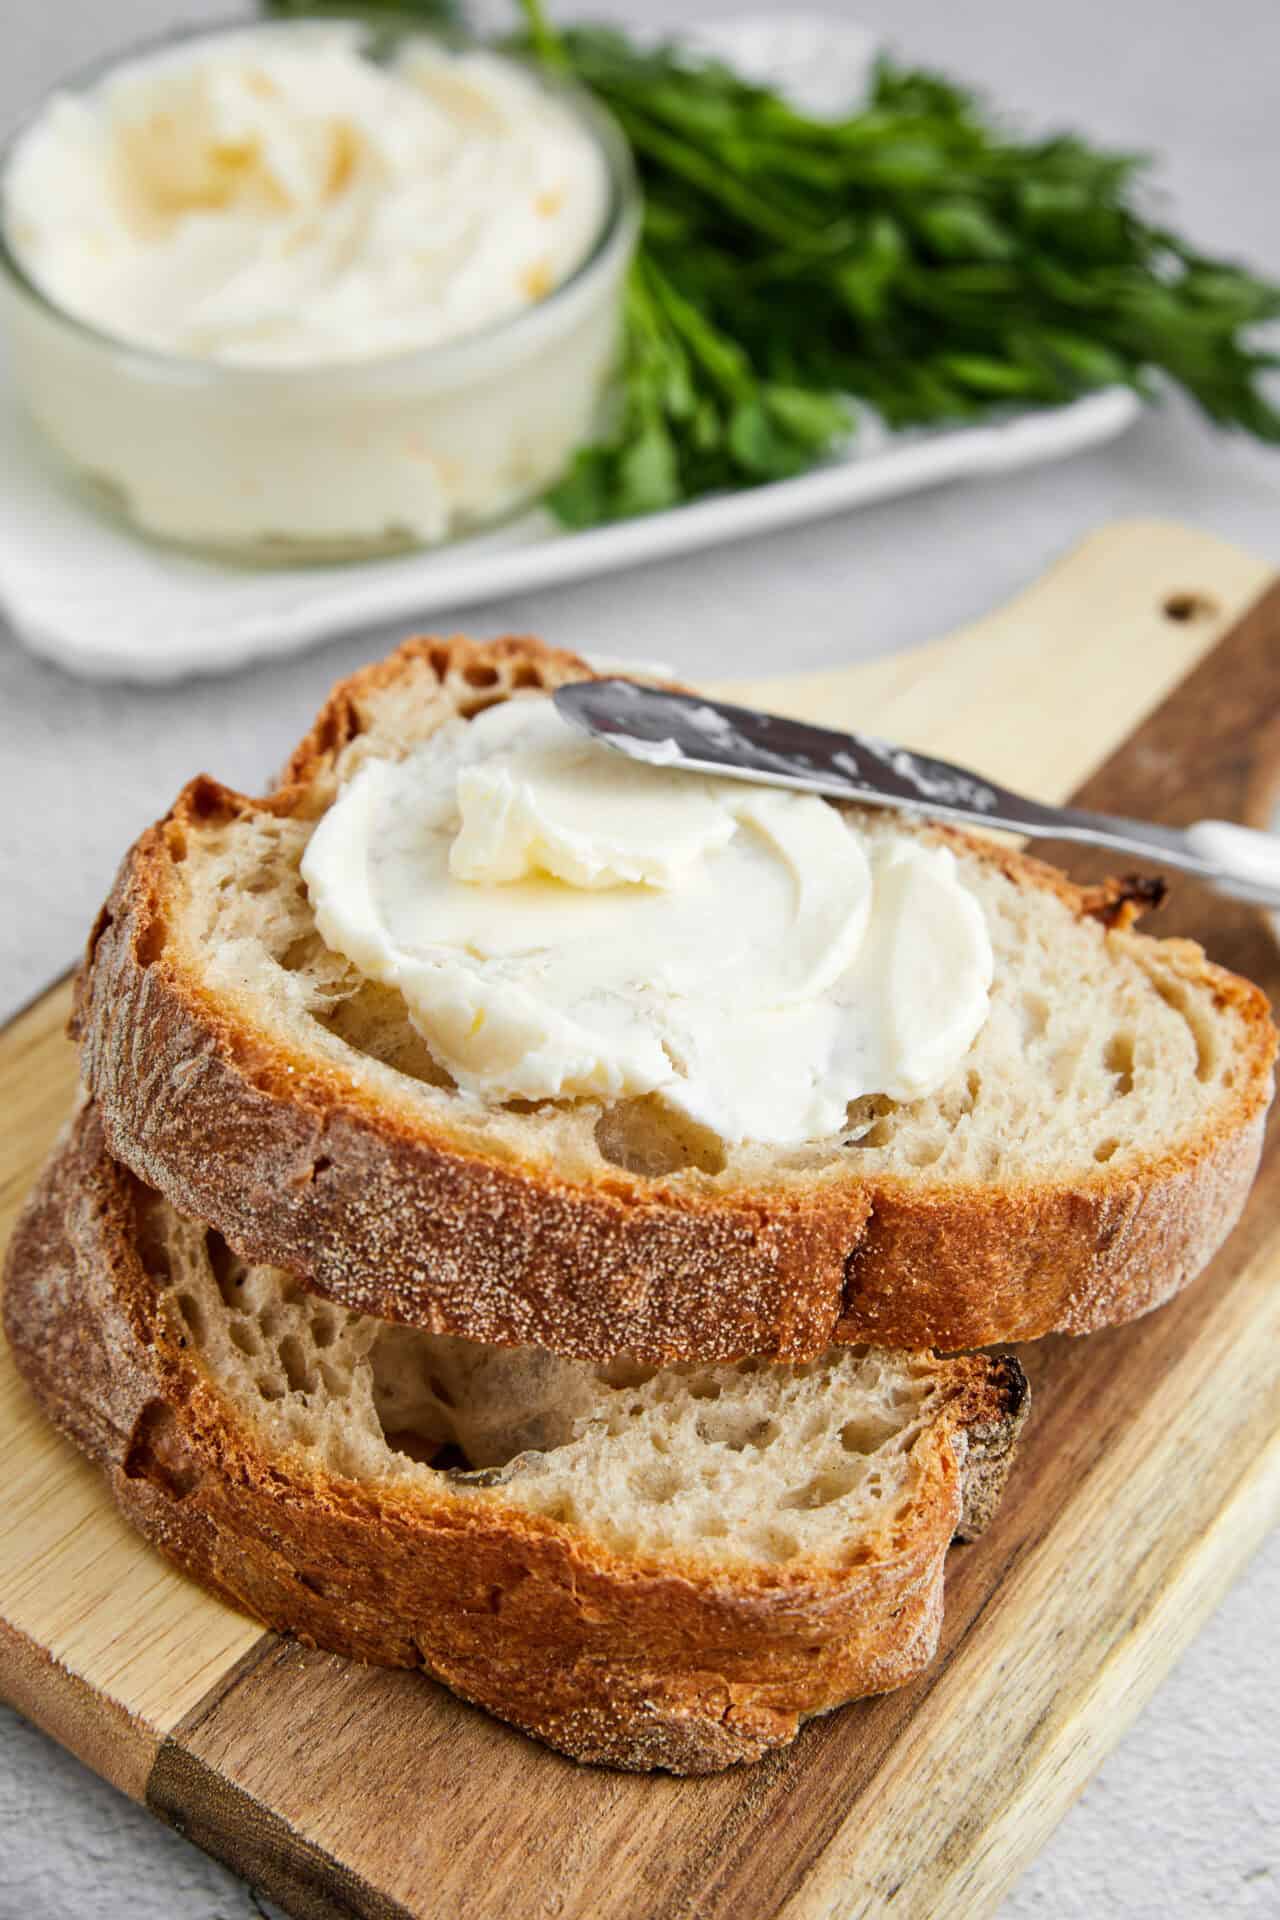
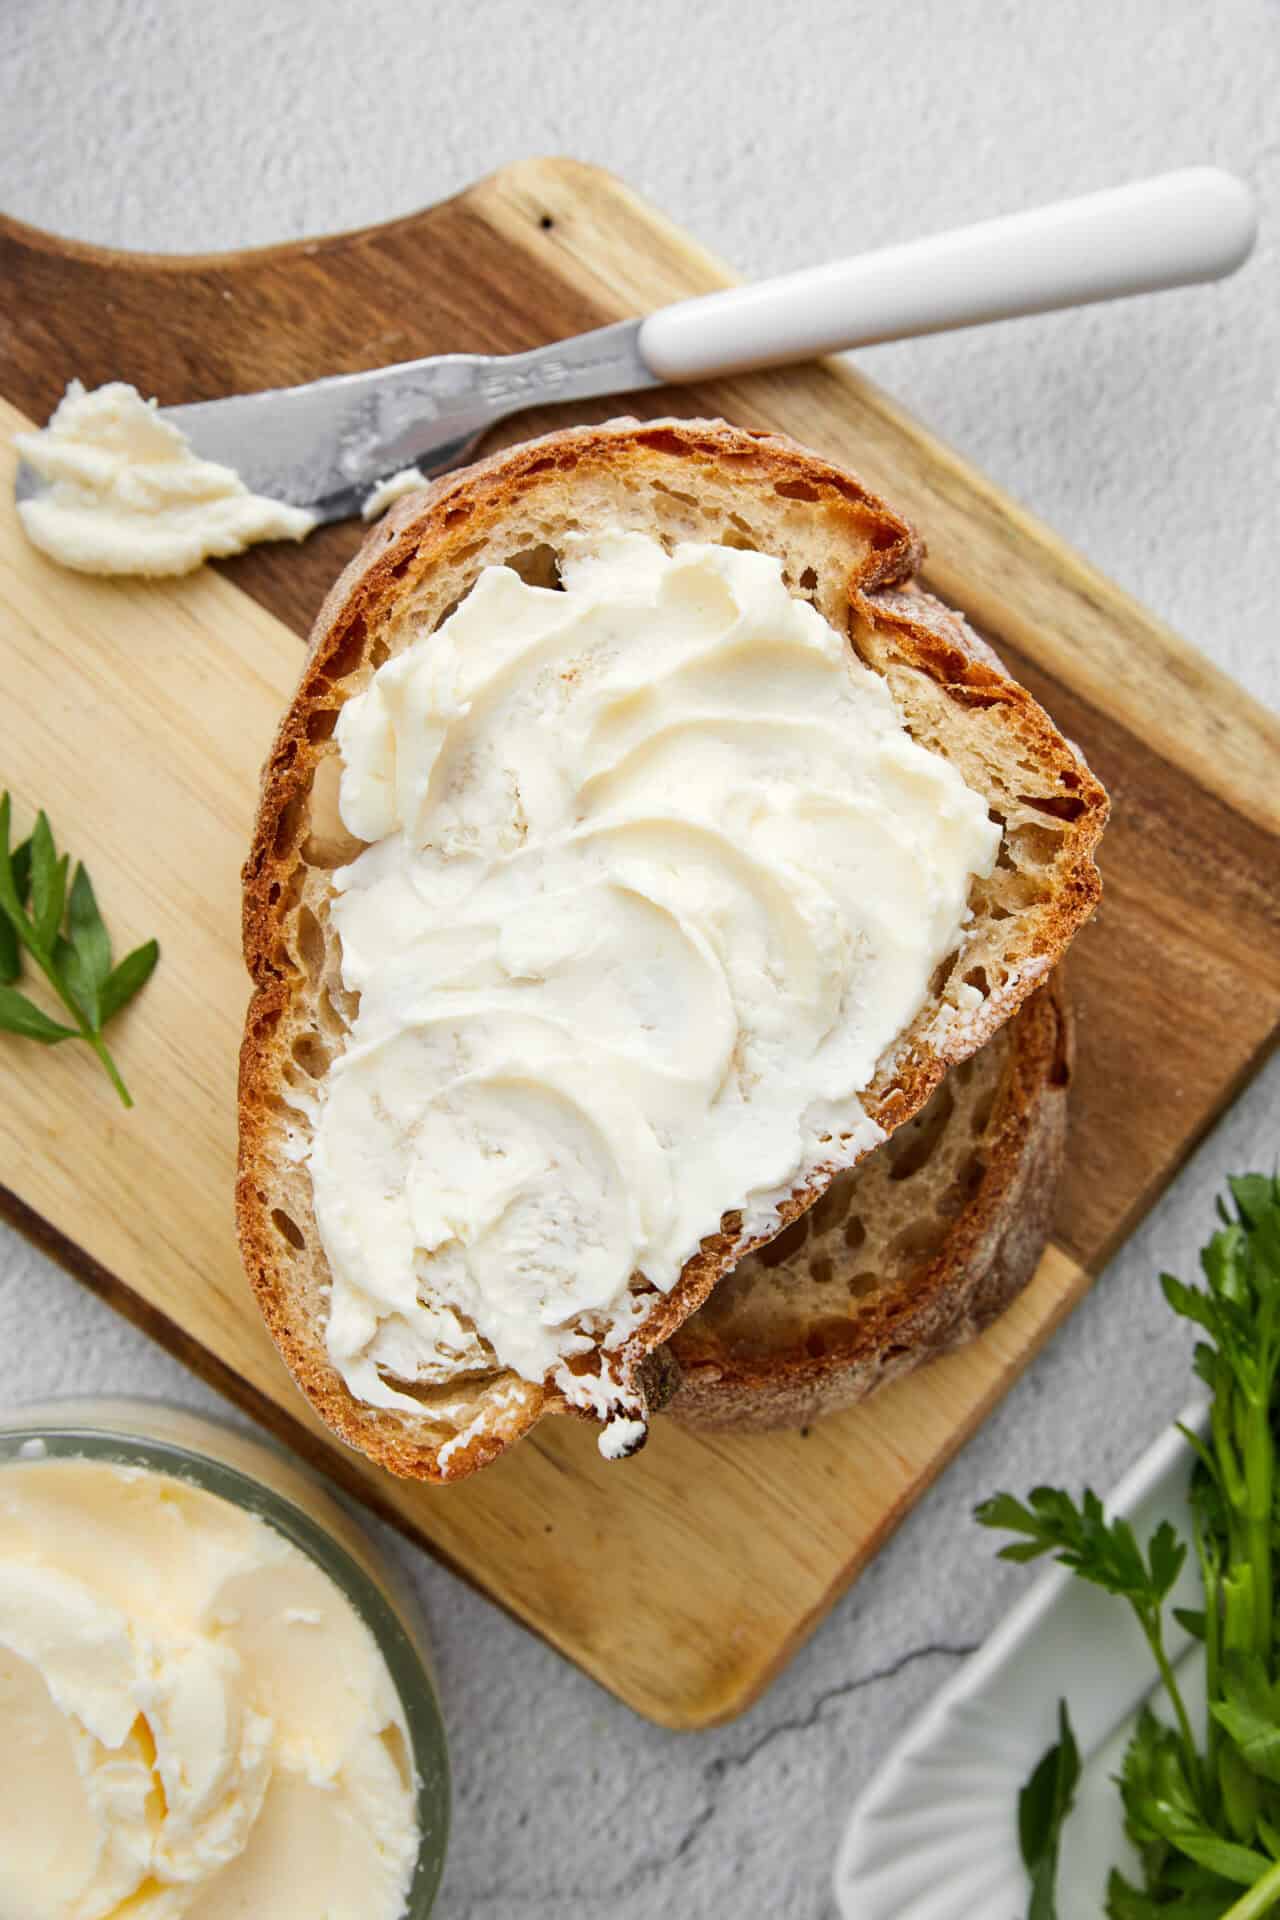
You can use your Homemade Butter in cooking, but I think the very best use of it is spread on a thick piece of toasted bread. Any kind of bread will do, but some of my favorites are Honey Wheat Sunflower Bread, Irish Soda Bread, or rich and delicious Challah, made even more delicious when topped with Homemade Butter.
Secrets for Making the Most Perfect Homemade Butter
Although this recipe for making Homemade Butter is simple, requiring only 2 ingredients and some patience!, there are still some tricks for making sure it comes out perfectly.
First, make sure your heavy cream contains 35%-50% milkfat; anything below 35% will not produce butter, no matter how long you whip it. Next, let your cream come to a temperature of about 60-65 F; cream that is too cold or too warm will not produce the desired results. Once your cream has separated into butter and buttermilk, use your hands to squeeze out all of the remaining liquid in the butter; then, rinse the butter under very cold water to wash away any remaining buttermilk — this will keep the butter fresh for a longer period of time. Then, knead the salt into your butter before storing it. Finally, enjoy your delicious homemade butter!
Ingredients
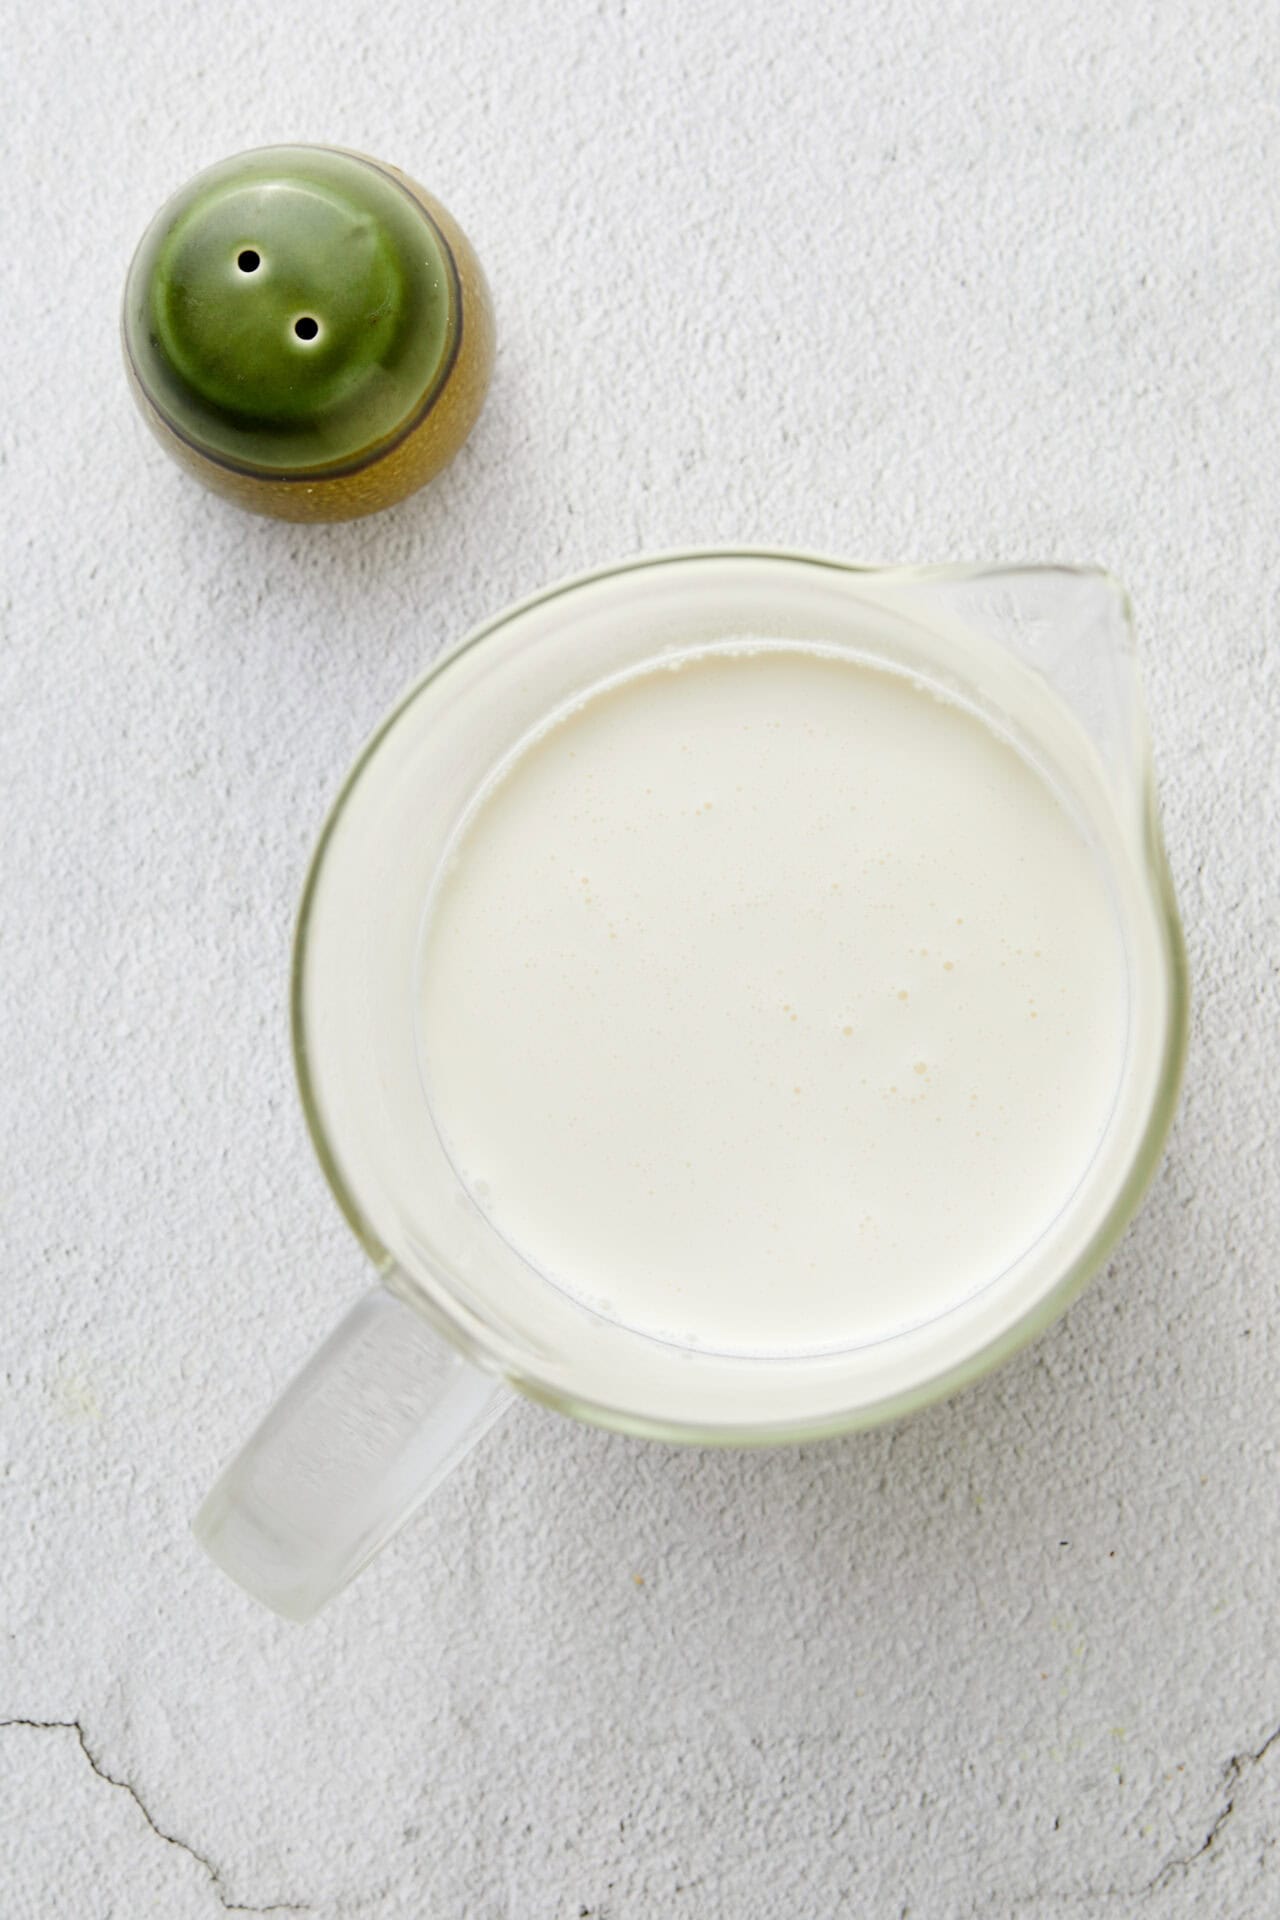
- 2 cups heavy cream
- 1/4 teaspoon salt (optional)
How to Make Homemade Butter
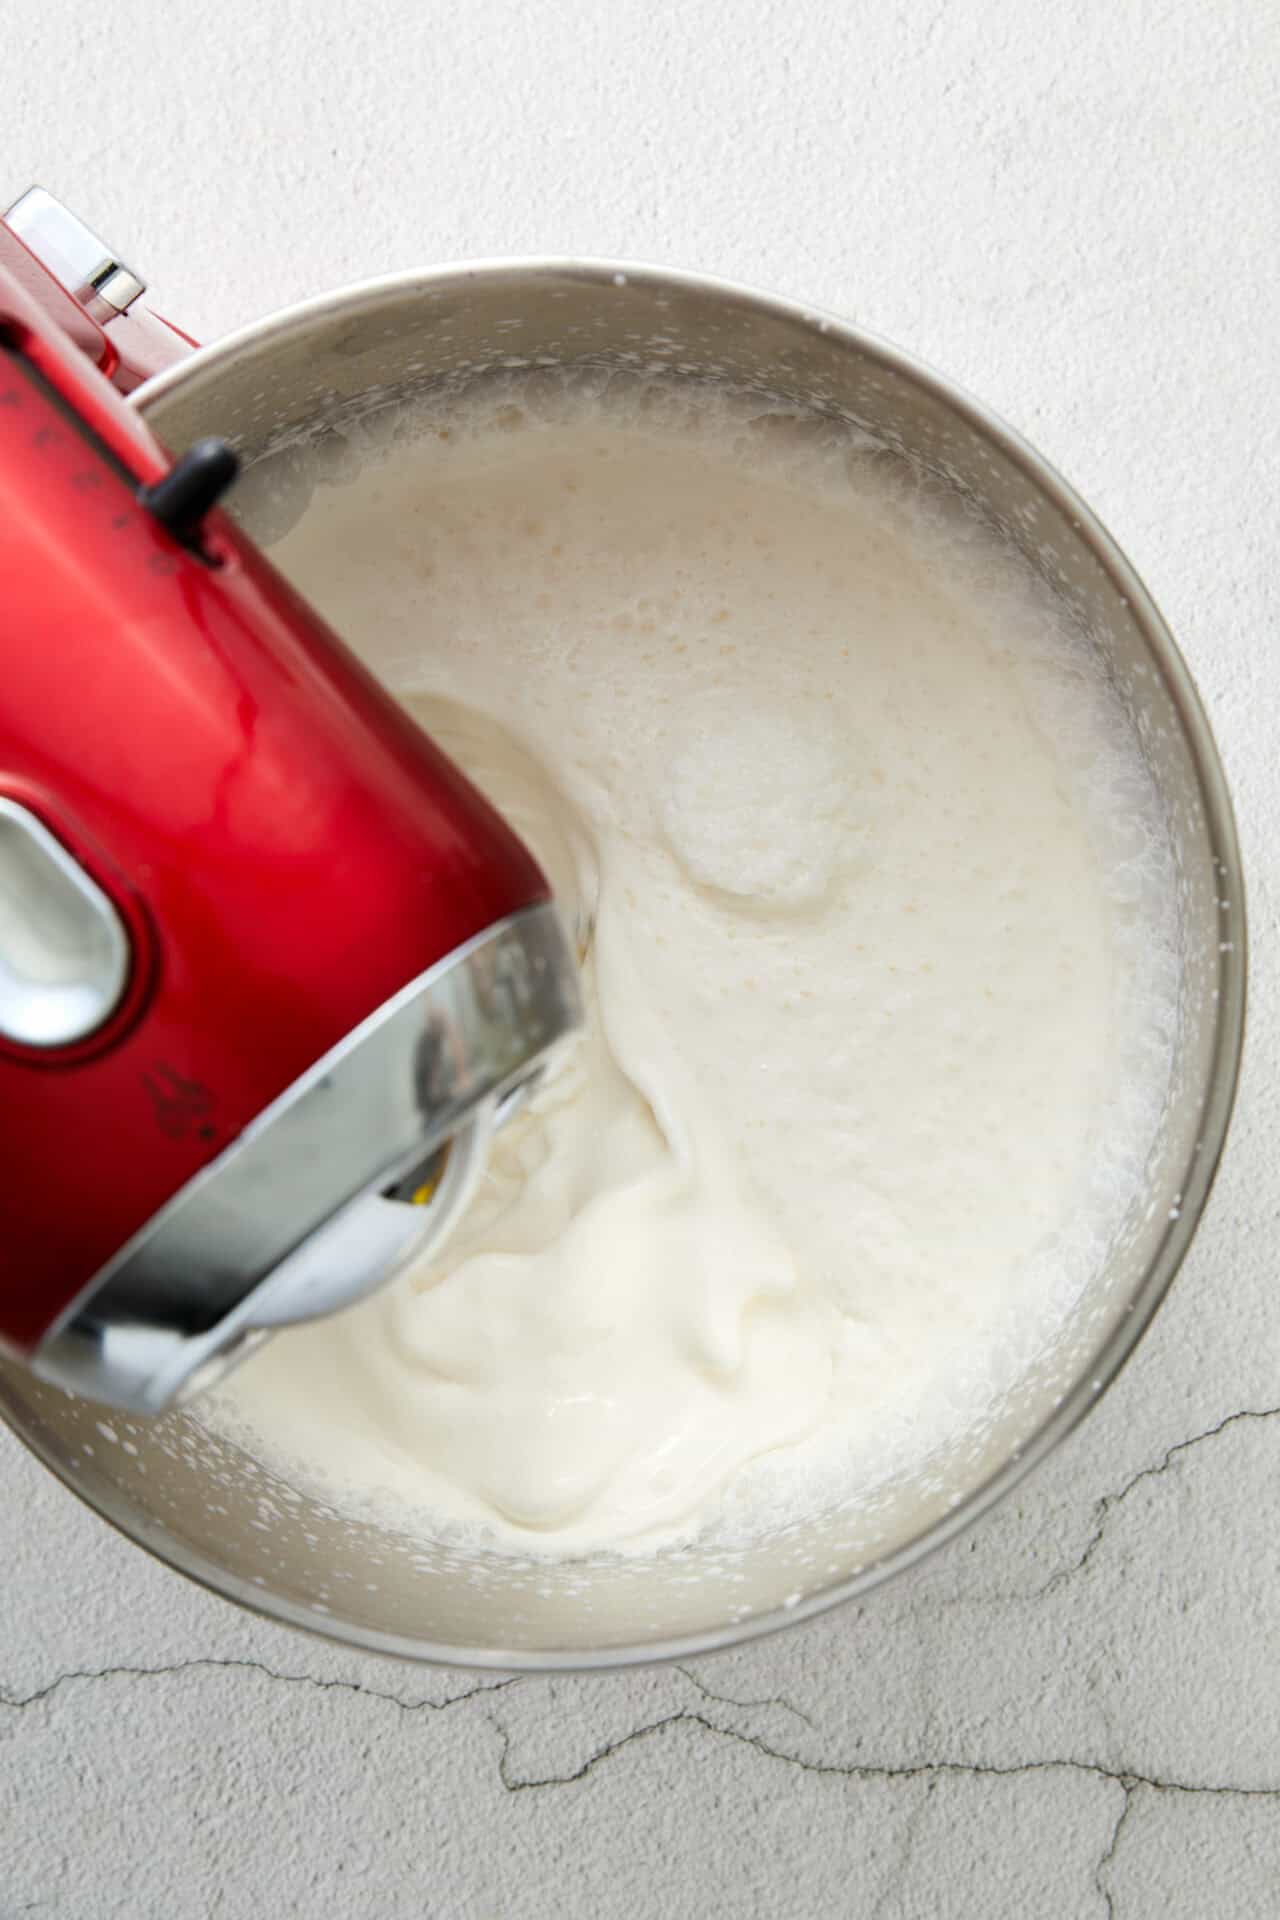
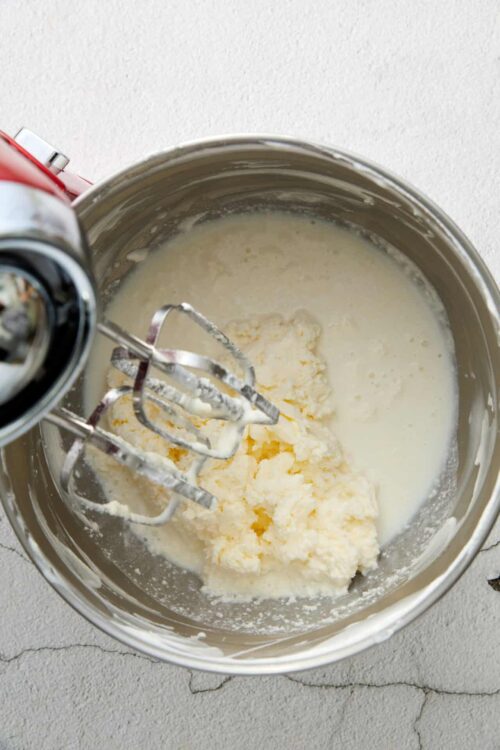
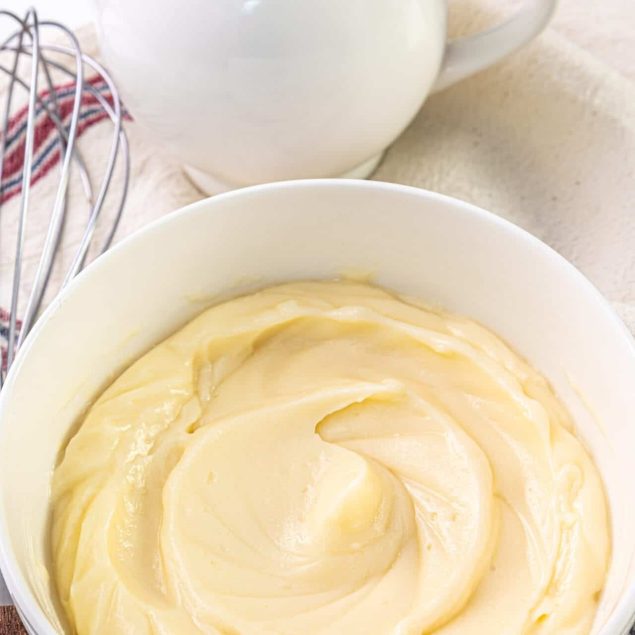
Step 1: Place the heavy cream into a large mixing bowl. Using an electric mixer, beat the cream on high speed until it thickens and starts to form peaks.
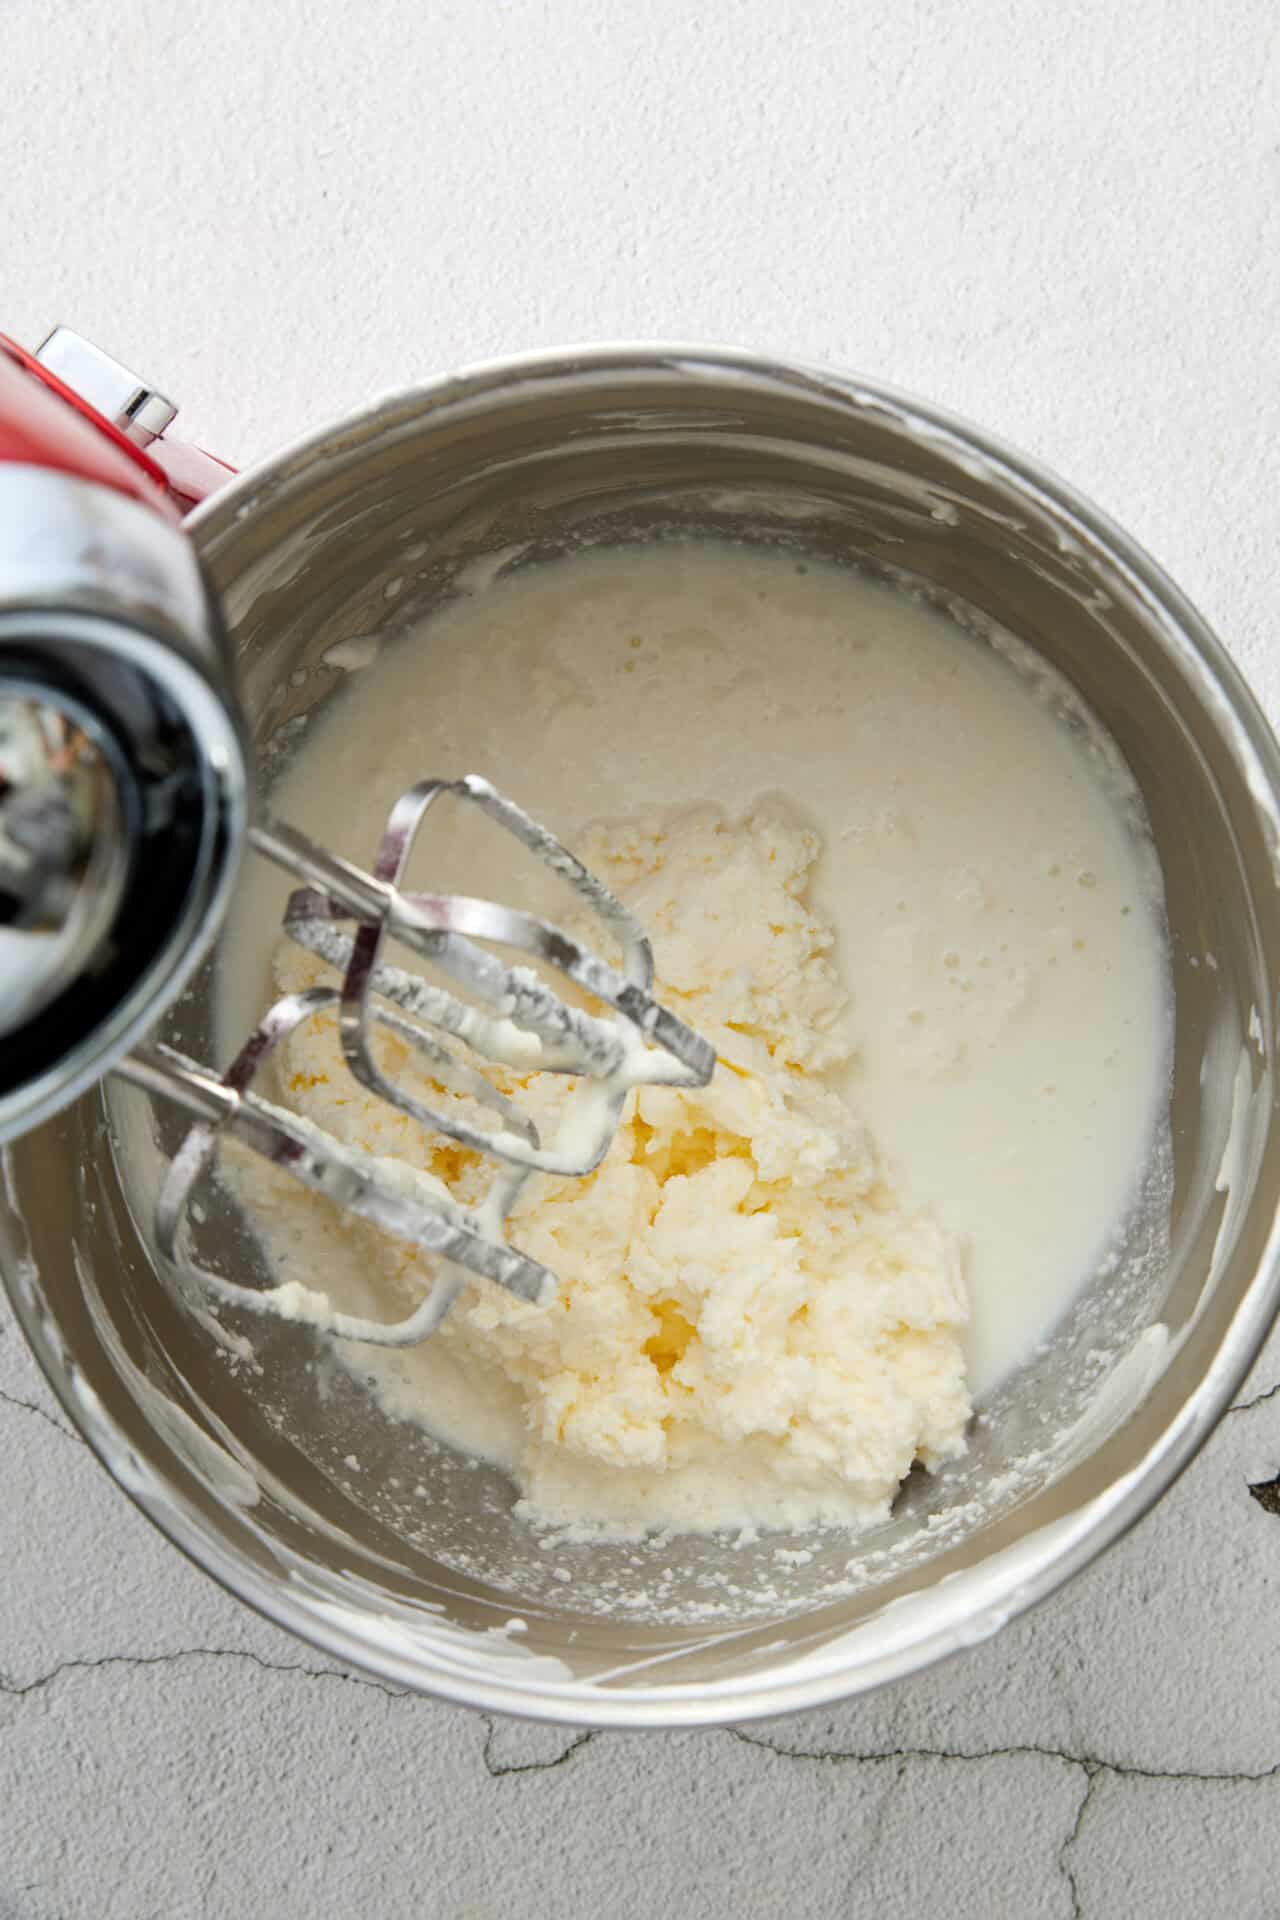
Step 2: Continue to beat until the mixture separates into butter solids and buttermilk, about 5 to 10 minutes.
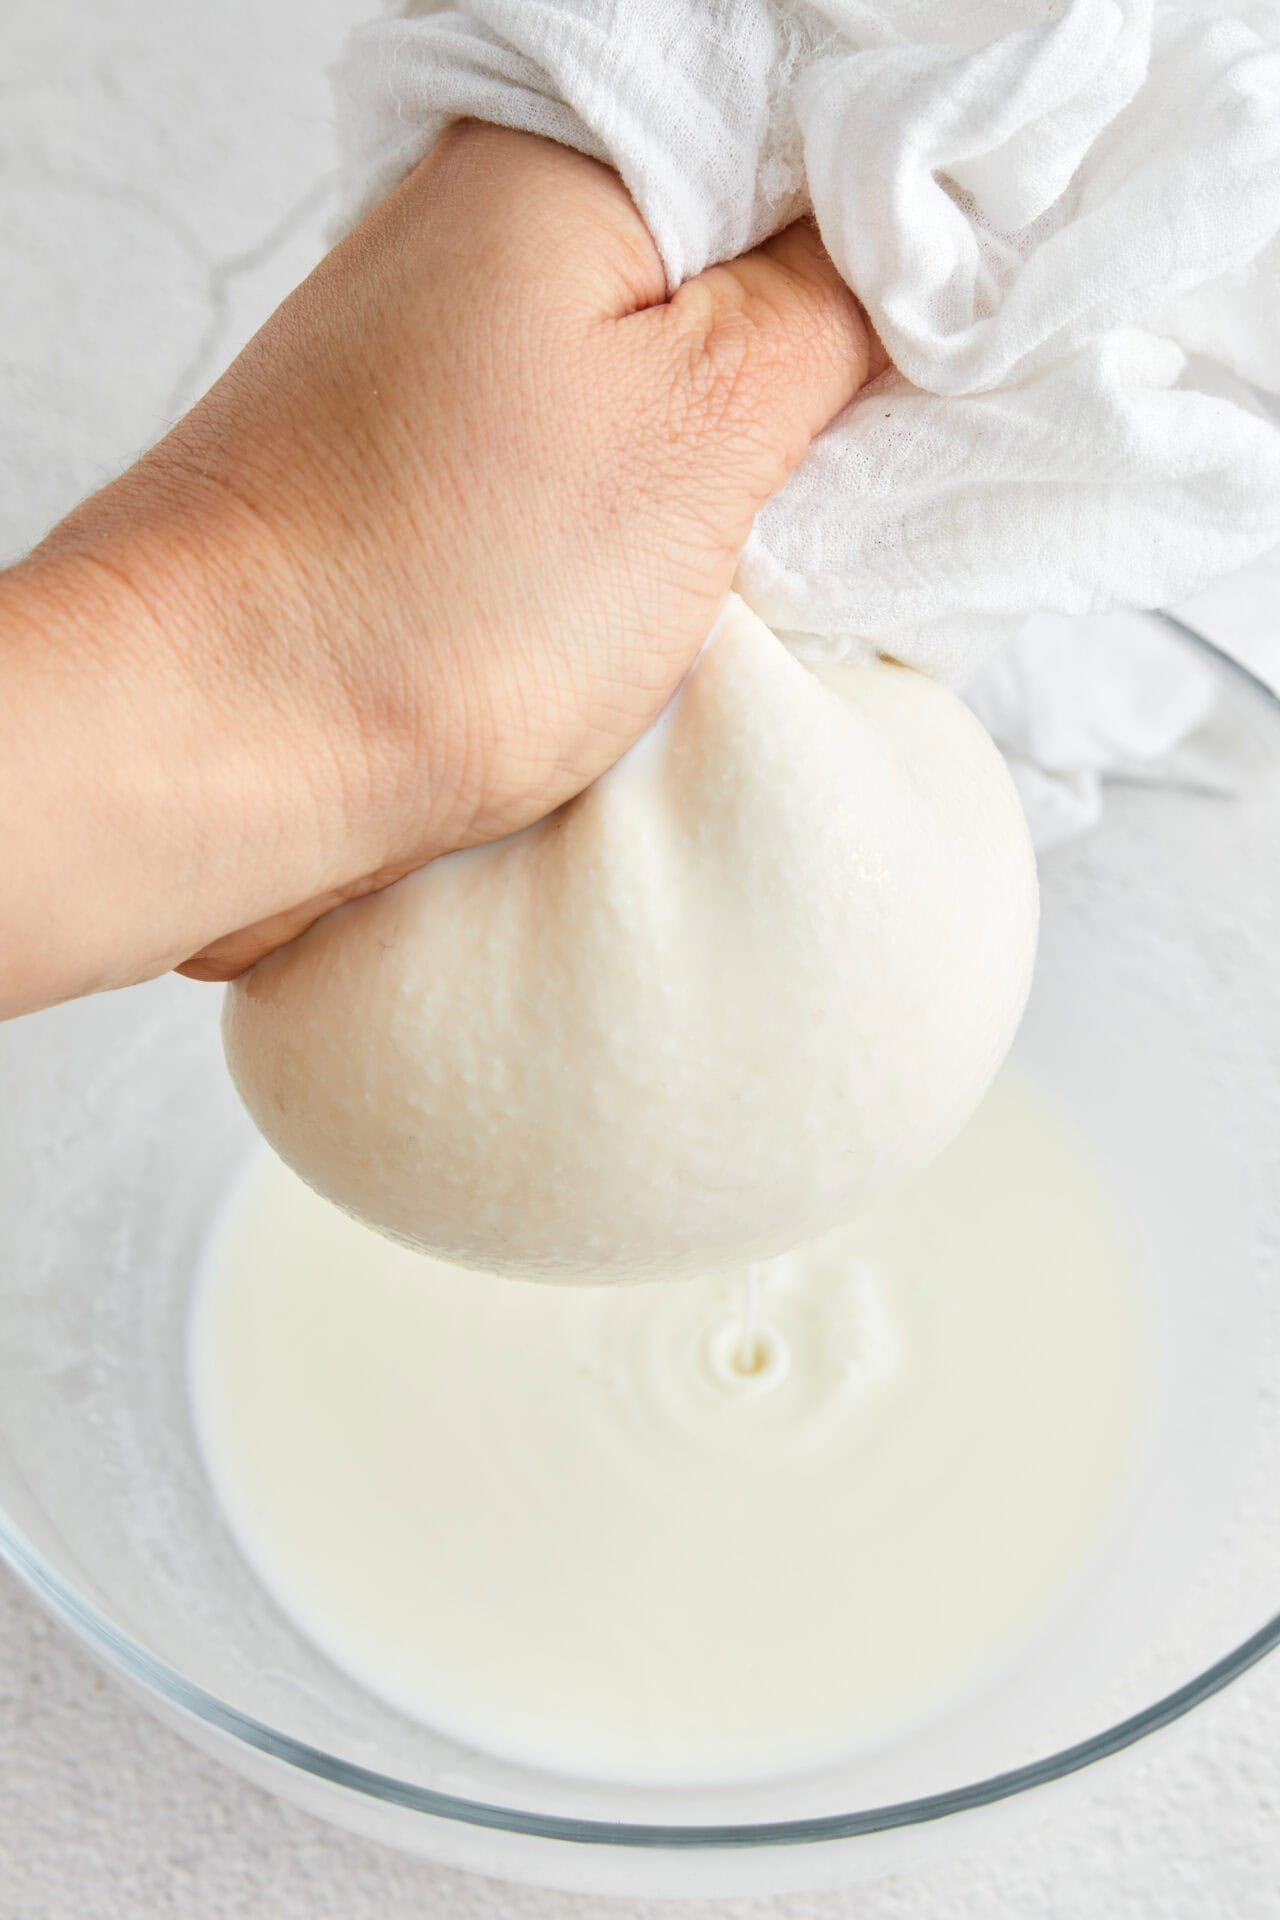
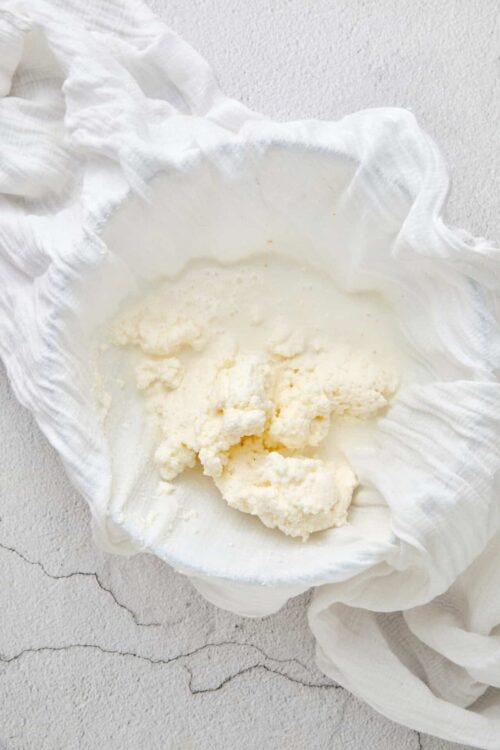
Step 3: Once separated, use a spatula to gather the butter solids and transfer them to a piece of cheesecloth or a clean kitchen towel.

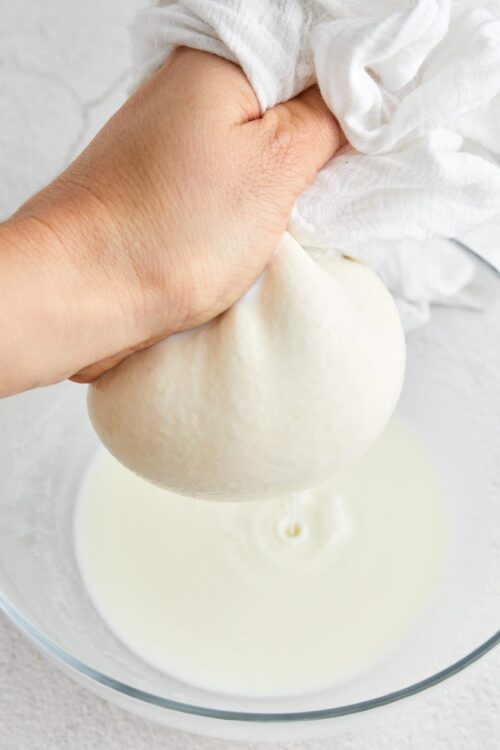
Step 4: Squeeze out the excess buttermilk by pressing and compacting the butter within the cloth.
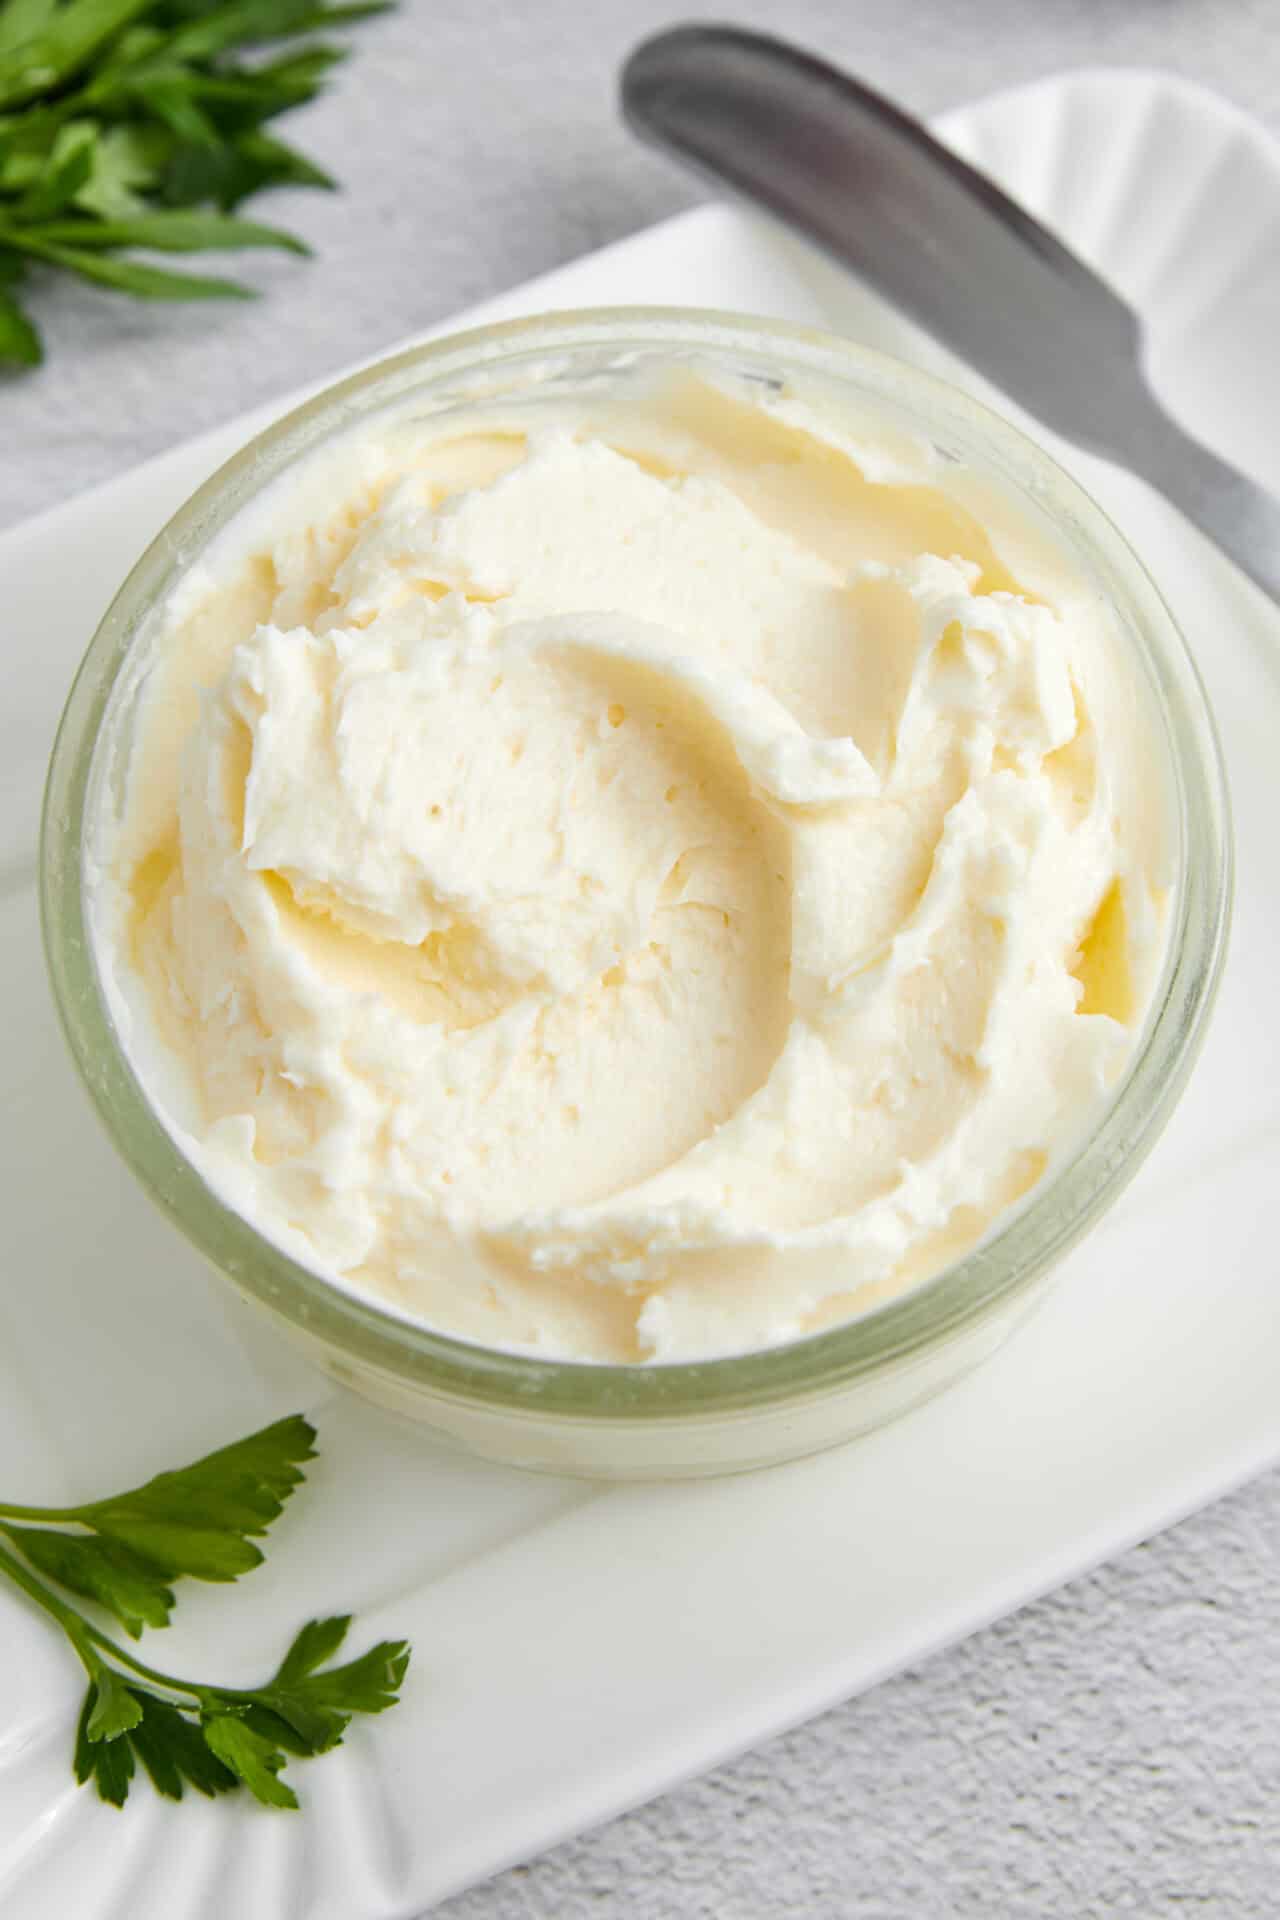
Step 5: If desired, knead in the salt to the butter for added flavor.
Step 6: Shape the butter as desired and store it in an airtight container in the refrigerator.
FAQs & Tips
How to Make Ahead and Store?
Homemade butter can be kept in an airtight container in the refrigerator for up to 3 weeks and in the freezer for up to 9 months. The buttermilk will keep in an airtight container in the fridge for up to 2 weeks.
For the best consistency…
Be sure to squeeze ALL the buttermilk out of the butter solids (you can do this by squeezing the butter solids with your hands) to ensure the best butter texture.
What’s the difference between heavy cream and heavy whipping cream?
It’s just marketing, baby! Heavy cream and heavy whipping cream are the exact same thing; the only difference is how different companies name them for marketing/selling purposes.
Serving Suggestions
Bread and butter. We’ve already established that perfect marriage. But don’t forget about biscuits! When you spread Homemade Butter onto these Cream Cheese Biscuits, especially when they’re warm, you will be transported! And if you make these Buttermilk Biscuits, you can use the buttermilk from your Homemade Butter and then spread that butter on them when they’re done. And both kinds of biscuits slathered with Homemade Butter are made even more amazing if you add this sweet Mixed Berry Vanilla Chia Seed Jam or this savory Caramelized Onion Jam.
Another great thing you can do with your Homemade Butter is flavor it so that it becomes an even better condiment for some of your favorite things. Once you’ve squeezed out all of the buttermilk and are ready to knead in the salt, knead in some other flavorings, like some ground cinnamon. Then, when you pull apart Cinnamon Rolls, spread it inside! Cinnamon Homemade Butter on top of a bowl of Pumpkin Oatmeal is terrific, too, because it picks up on the cinnamon already in that recipe. I also love to make citrus butters by adding lemon, lime, or orange zest to Homemade Butter (or all three) and then serving it with Blueberry Lemon Scones. You can make so many kinds of compound butters by adding any combination of minced herbs, like parsley and oregano for spreading onto Garlic Rolls or rosemary and thyme for melting on top of a sizzling Sirloin Steak (and don’t forget to put any of these herby Homemade Butters on your steak dinner side dishes, like Baked Potatoes and Corn on the Cob).
Homemade Butter
Ingredients
- 2 cups heavy cream
- 1/4 teaspoon salt optional
Instructions
- Place the heavy cream into a large mixing bowl. Using an electric mixer, beat the cream on high speed until it thickens and starts to form peaks.

- Continue to beat until the mixture separates into butter solids and buttermilk, about 5 to 10 minutes.
- Once separated, use a spatula to gather the butter solids and transfer them to a piece of cheesecloth or a clean kitchen towel.
- Squeeze out the excess buttermilk by pressing and compacting the butter within the cloth.
- If desired, knead in the salt to the butter for added flavor.
- Shape the butter as desired and store in an airtight container in the refrigerator.
Leave a Comment