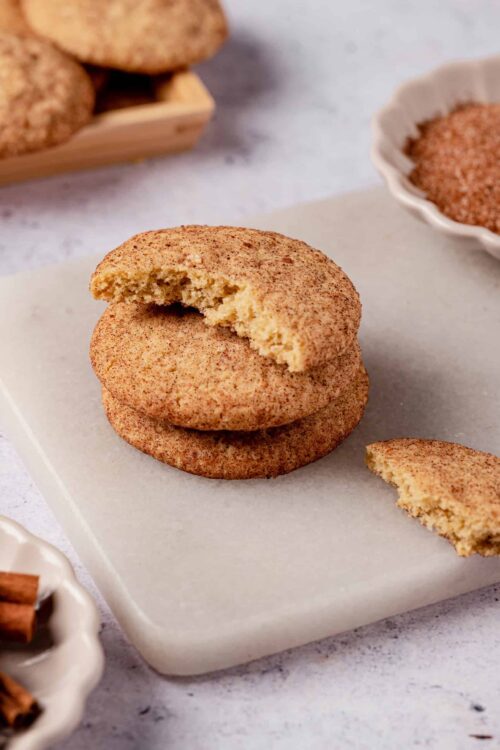
Now the cookie with the coolest name can be a gluten-free treat and a staple in your home!
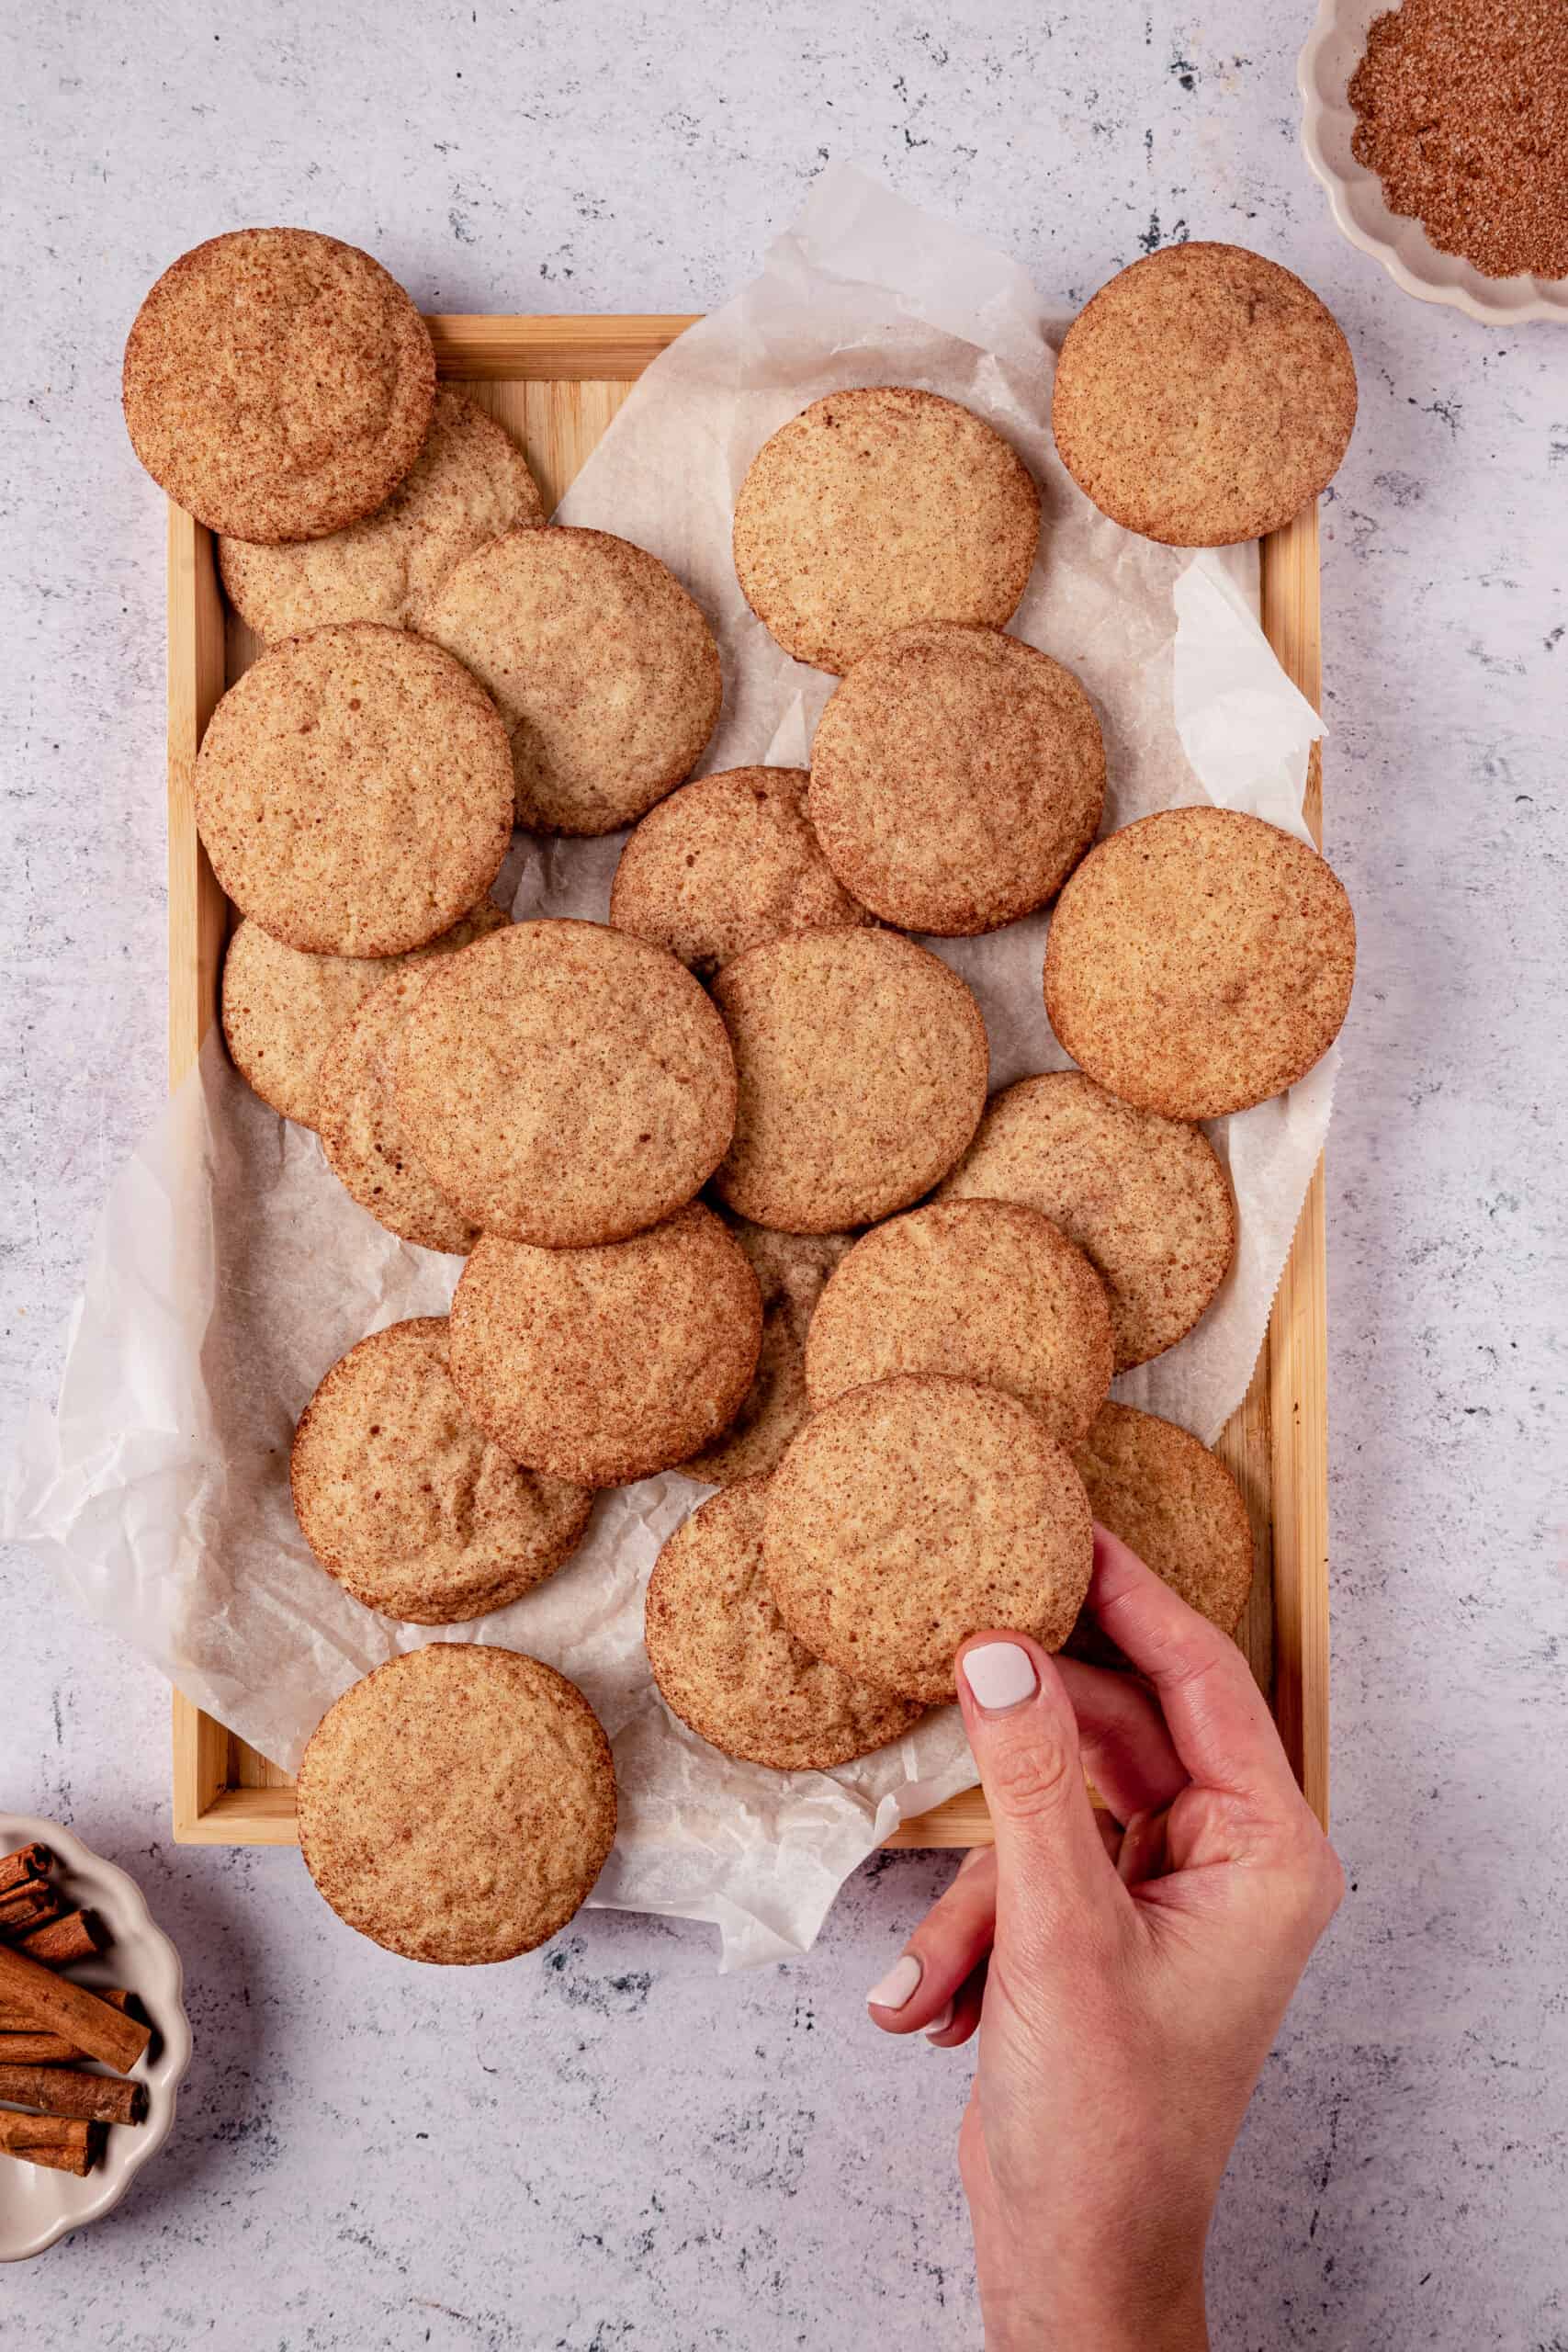
Snickerdoodles have always caught my attention because of their name. Is it possible to say “snickerdoodle” without smiling? It’s such a silly, light-hearted, and fanciful name. You can’t help but think of fun things and joy when you hear the name snickerdoodle. Yet, when you are gluten-free, you might find yourself giving up such joyful cookies. But no more! No matter your gluten or non-gluten dietary status, you will be able to enjoy a snickerdoodle with this gluten-free snickerdoodle recipe.
Snickerdoodles are a sweet that has been around a long time, as far back as the late 1800s, and may have originated in New England. The name is said to be derived from the German word Schneckennudel, a reference to a German sweet roll that looks a bit like a cinnamon bun. It’s also possible the two names are completely unrelated, and the origin of the word is simply a snickering ‘doodle’, aka a foolish person. Certainly, I snicker like a doodle at the way the name sounds!
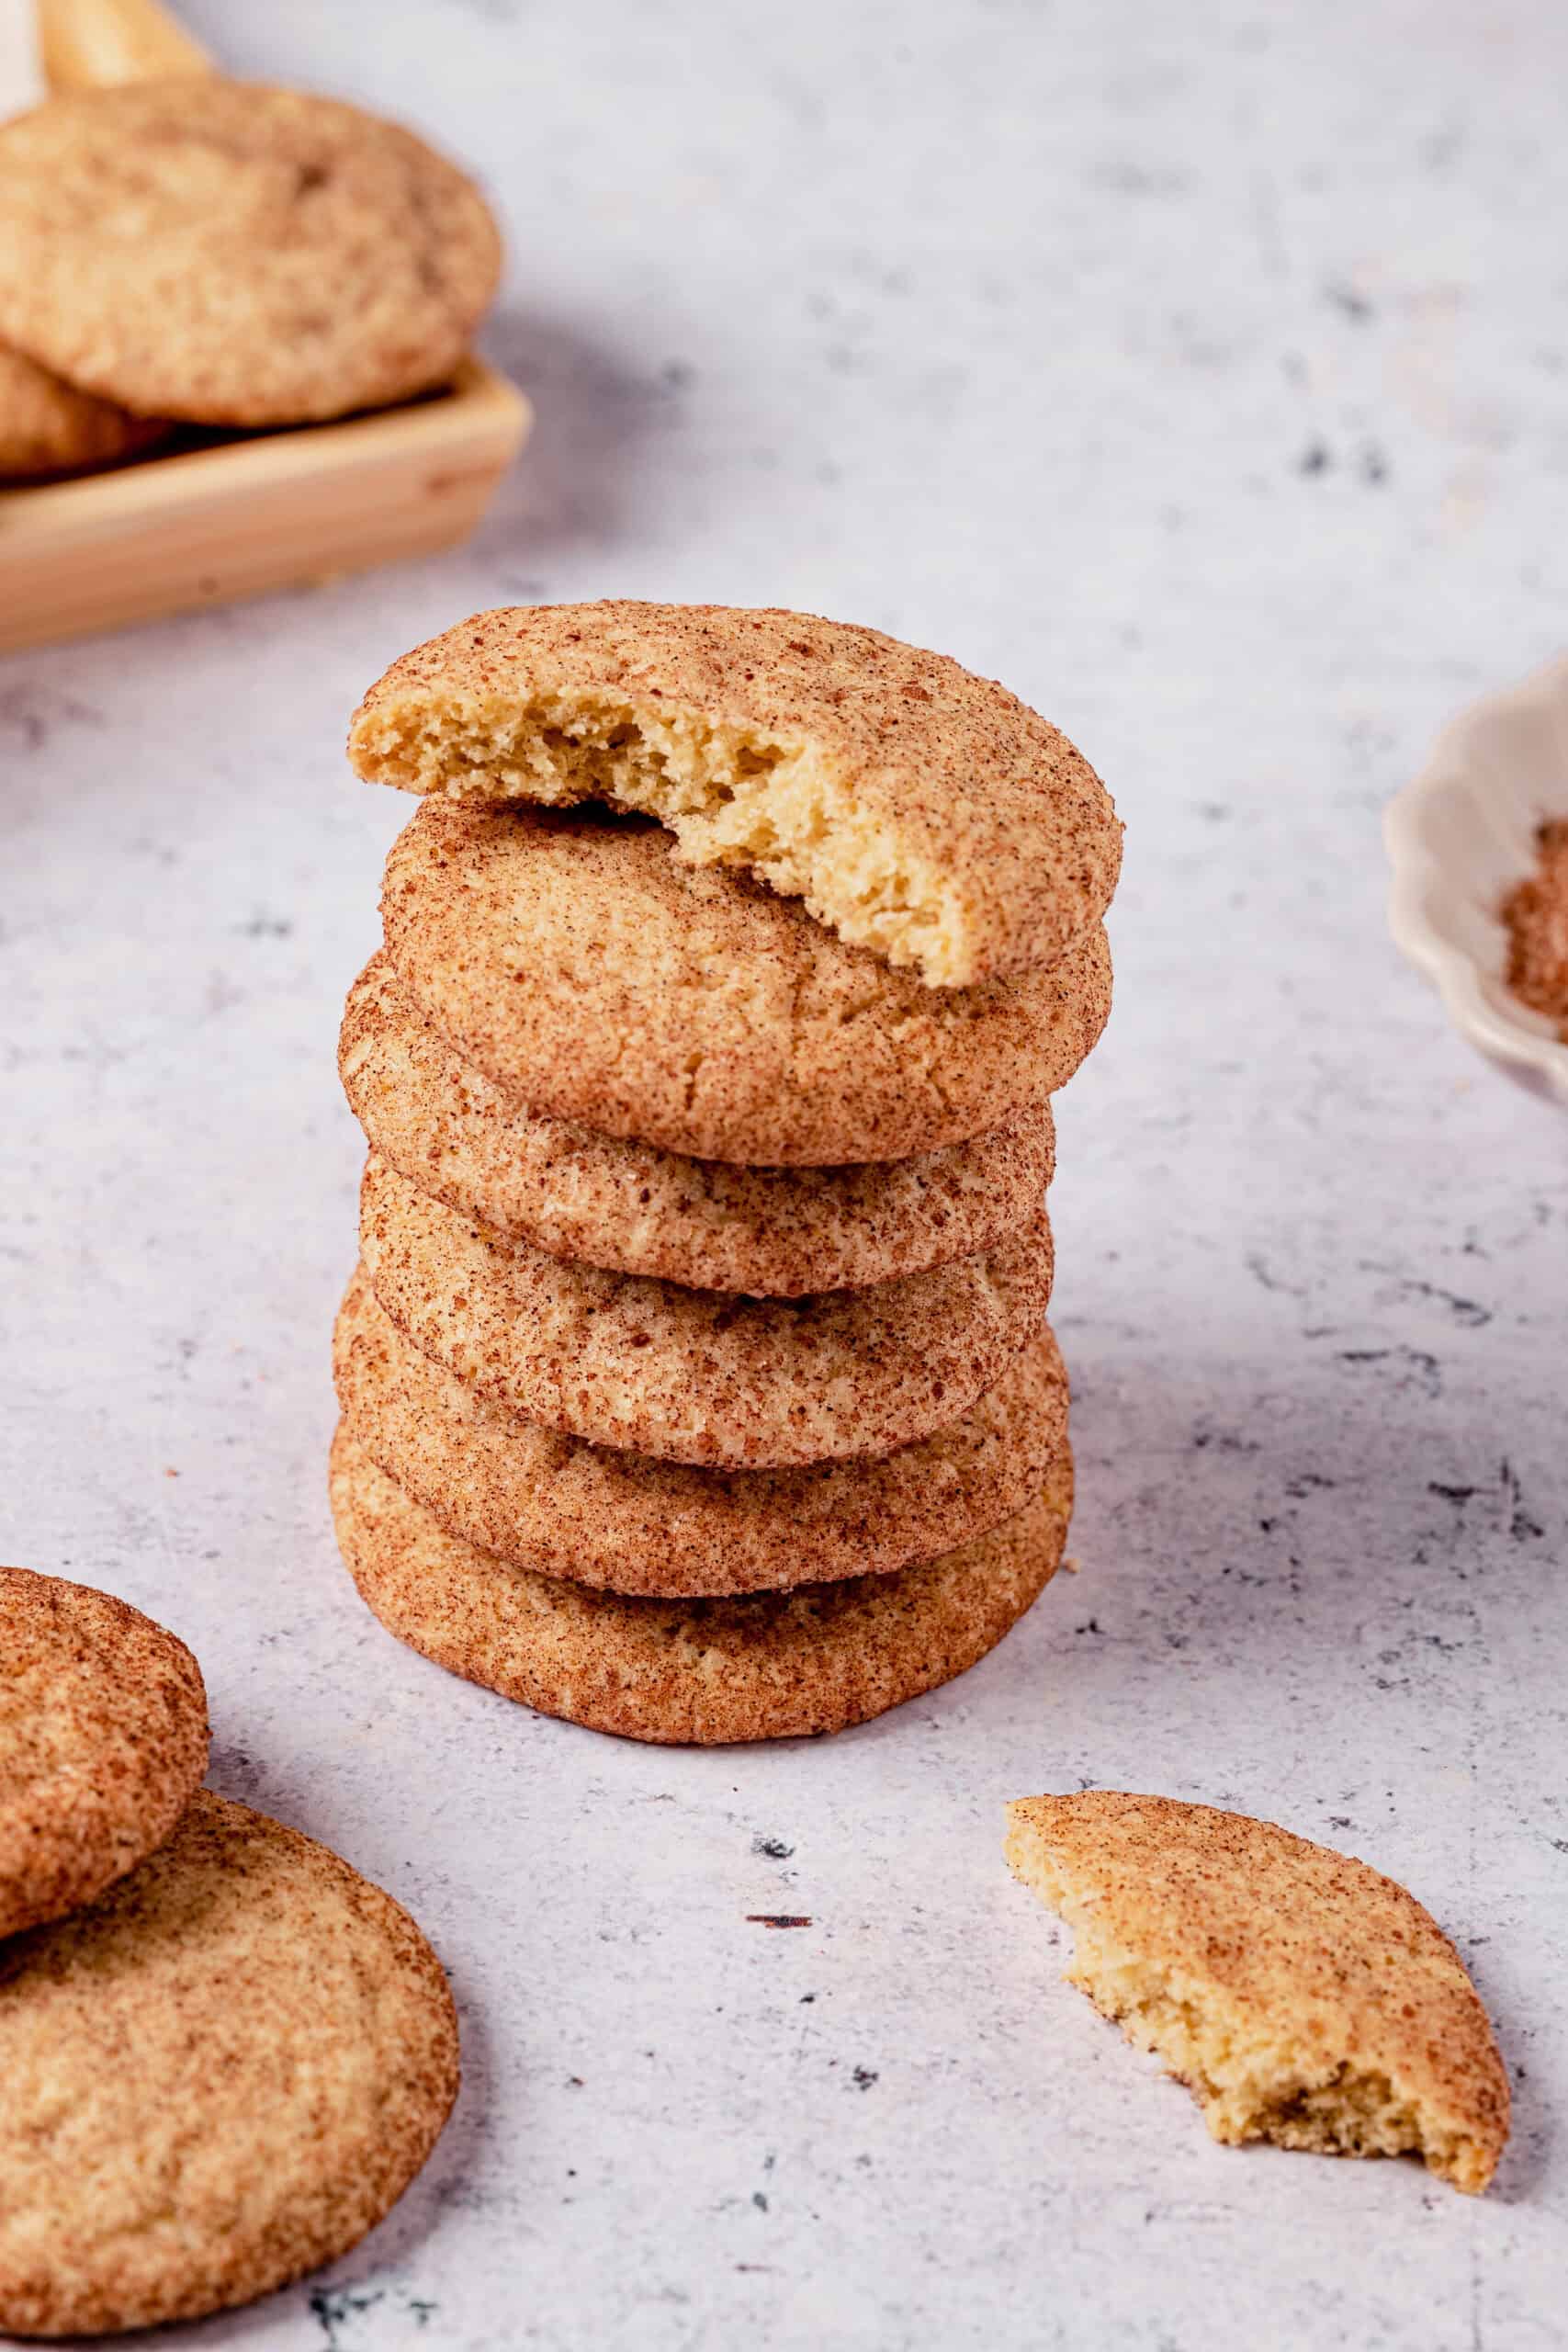
What you’re going to love about this recipe is that you can’t really tell the difference between a common gluten-full snickerdoodle and these gluten-free snickerdoodles. So often, I find that gluten-free alternatives to beloved desserts fall into the category of, “Well, I guess it’s better than nothing.” That’s simply not the case with these cookies. You can get full enjoyment from them as you would with any other cookie and satisfy your sweet tooth!

Flour Power
There are different types of gluten-free flour. What you want for this recipe is a 1:1 gluten-free all-purpose flour, rather than other specialized types, as this will work as a 1:1 substitute for the usual all-purpose flour with gluten. Don’t use other gluten-free alternatives like cornmeal or rice flour for this recipe, as they will have a different texture. If your gluten-free flour does not already contain xanthan gum, I recommend adding a ¼ teaspoon per cup of flour.

How Do I Store Leftovers?
You can store your gluten-free snickerdoodles for up to 4 days at room temperature in an airtight container. For a longer storage period, separate the layers of cookies with parchment paper to keep them from sticking together and keep them in an airtight container in your freezer for up to 3 months. When you’re ready to serve them, just let them thaw out a little, for about 30 minutes, before they’re eaten.
Butter Up!
Make sure your butter is soft before you incorporate it into the recipe. Not melted, mind you, just soft! It’s hard to measure the exact time it takes to soften butter in a microwave, rather than completely melting it. So, to get your butter softened just right for baking, leave it out at room temperature for at least an hour before you intend to use it.
Serving Suggestions
When you’re setting up a spread of cookies for a gluten-free dessert, don’t leave your snickerdoodles all alone! Put out other fun cookies, like Ricotta Cookies (which can also be made gluten-free), or, for more variety, choose a Gluten-Free Brownie and Vegan Chocolate Pudding With Whipped Coconut Cream! You can also do a Gluten-Free Tiramisu.
Gluten-Free Snickerdoodles
Ingredients
- 1 3/4 cups gluten-free all-purpose flour
- 3/4 teaspoon cream of tartar
- 1/2 teaspoon baking soda
- 1/2 teaspoon cinnamon
- 2 pinches salt
- 1/2 cup unsalted butter softened
- 1 cup granulated sugar
- 1 large egg
- 3 tablespoons granulated sugar for coating
- 1 1/2 teaspoons ground cinnamon for coating
Instructions
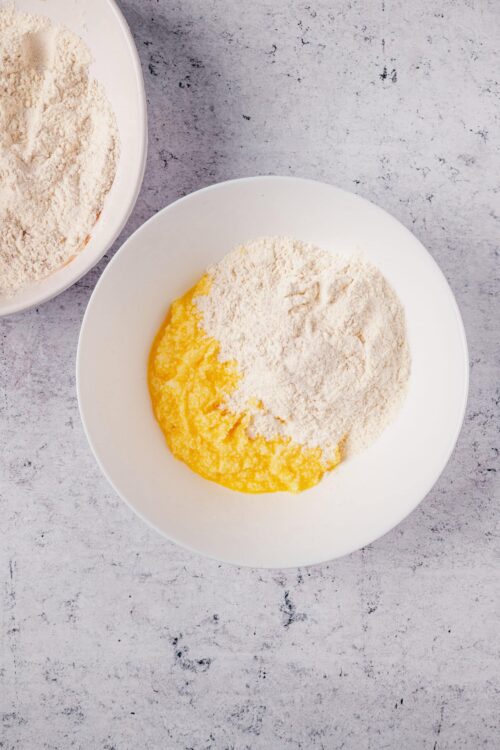
- In a medium bowl, whisk together gluten-free flour, cream of tartar, baking soda, cinnamon, and salt.
- In a large bowl, beat the softened butter and sugar until light and fluffy.
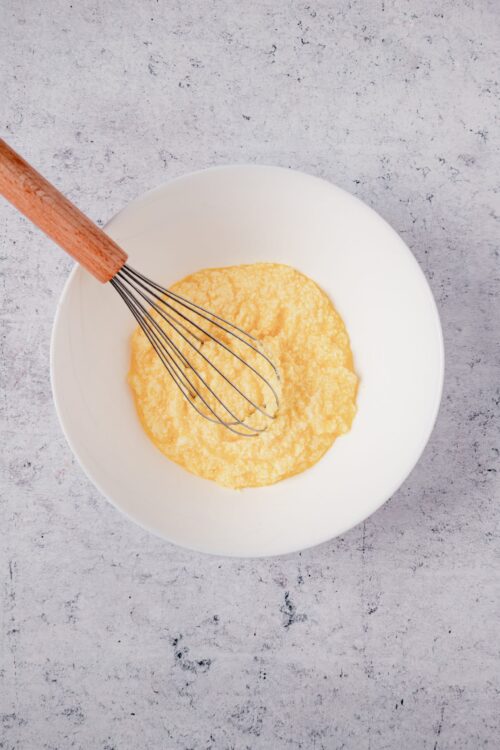
- Beat in the egg until well combined.
- Gradually add the dry ingredients to the wet ingredients, mixing until a dough forms.
- Preheat oven to 350°F. Mix coating ingredients in a small bowl. Scoop dough by 1 1/2 tablespoons, roll into balls, then roll in the cinnamon-sugar mixture.
- Place on a parchment-lined baking sheet, spacing 2 inches apart. Flatten slightly.
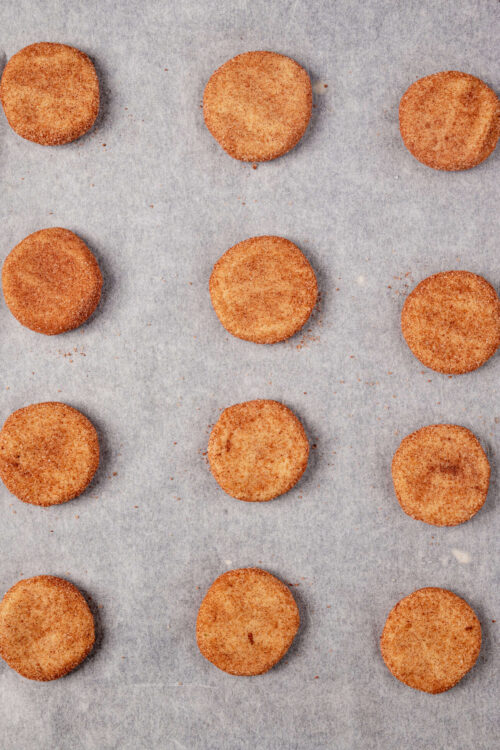
- Bake for 10-12 minutes or until edges are set but centers are soft. Cool on the baking sheet for a few minutes before transferring to a wire rack.
Leave a Comment