Traditional Christmas Cookies bring festive sweetness to your holidays!

Making Christmas Cookies is an annual event in our house, marking the beginning of the holiday season. We make a ritual of stocking up on all the baking ingredients, like good butter, eggs, all-purpose flour, the best vanilla, and all of the cookie decorations (icings, food colorings, sprinkles, colored sugars, those silver dragees that bring the sparkle!). We also, as a family, pull out all the equipment (baking sheets, parchment paper, spatulas, mixing bowls…) and clear the counters for rolling out the dough. At other times of the year, these tasks seem like work but when they are in preparation for baking these delicious Christmas Cookies, getting ready is just part of the fun!
The idea to decorate cookies seems to have begun way back in the 14th century in Switzerland, but it was the Dutch who brought the decorated Christmas cookie tradition to the United States in the 17th century, presenting neighbors and friends with the beautiful confections as a show of gratitude. It wasn’t until the Great Depression that people began leaving cookies out for Santa; during these times of extreme hardship, parents wanted to instill in their children a sense of gratitude for what they did have and leaving cookies and milk for Santa was a gesture of appreciation for all the gifts he would bring.
These sweet, buttery Christmas Cookies are both light and rich, and they can last a long time, whether it’s at room temperature, stored in the fridge, or kept in the freezer to be defrosted and eaten later (though I must confess, I do love a frozen Christmas cookie!), so I like to make them a week or two before the holidays kick off. This recipe is simple enough that it’s a great activity for kids, a good way to teach little ones about measurements, and decorating them is a perfect opportunity for everyone to express their creativity!
You know how we often break some rules at the holidays? Like eating Christmas Cookies for breakfast? Well, in our defense, it’s kind of hard to resist when Christmas Cookies are staring at you from the counter!! But you can make that Christmas Cookie breakfast a little healthier by serving them with Almond Milk Breakfast Smoothies!
Our Secrets for Perfect Christmas Cookies
To start, use high-quality unsalted butter, brought to room temperature so it is soft enough to incorporate easily, yet not too soft that you can’t pick it up (in other words, if your fingers sink right into it, the butter is too soft and needs to be chilled in the fridge for a few minutes). When we say “high quality” butter, we mean butter with the highest milk-fat content. These are usually European brands; American butters tend to have a bit more water in them, though they definitely work in this recipe. And speaking of high quality, don’t skimp on the vanilla: use pure vanilla extract (as opposed to imitation vanilla) in order to get that rich deliciousness. Always measure carefully. Baking is a science so its success depends on precise amounts of ingredients. Finally, let your cookies cool completely before decorating them so that your icing and candies don’t melt.
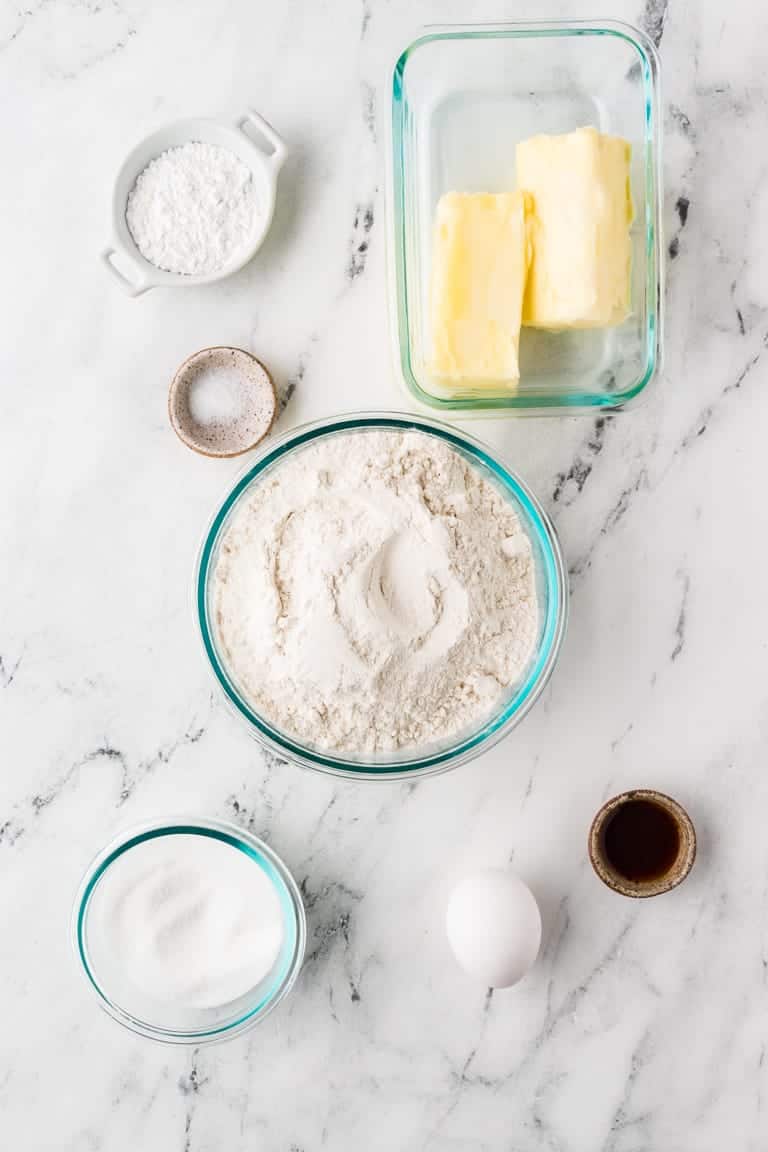
Ingredients
- 1 cup unsalted butter, softened
- 1 cup granulated sugar
- 1 large egg
- 1 teaspoon vanilla extract
- 3 cups all-purpose flour
- 1 tablespoon baking powder
- 1/4 teaspoon salt
How to Make Christmas Cookies
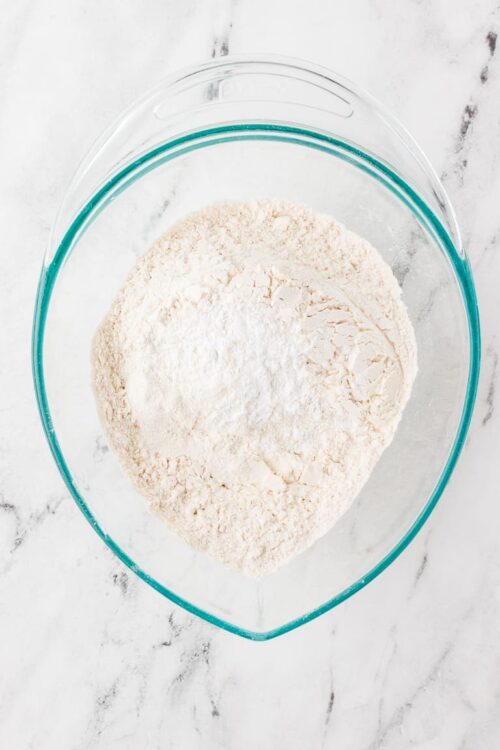
Step 1: Preheat your oven to 350°F and position the rack in the center. Whisk together the all-purpose flour, baking powder, and salt in a bowl, then set aside.

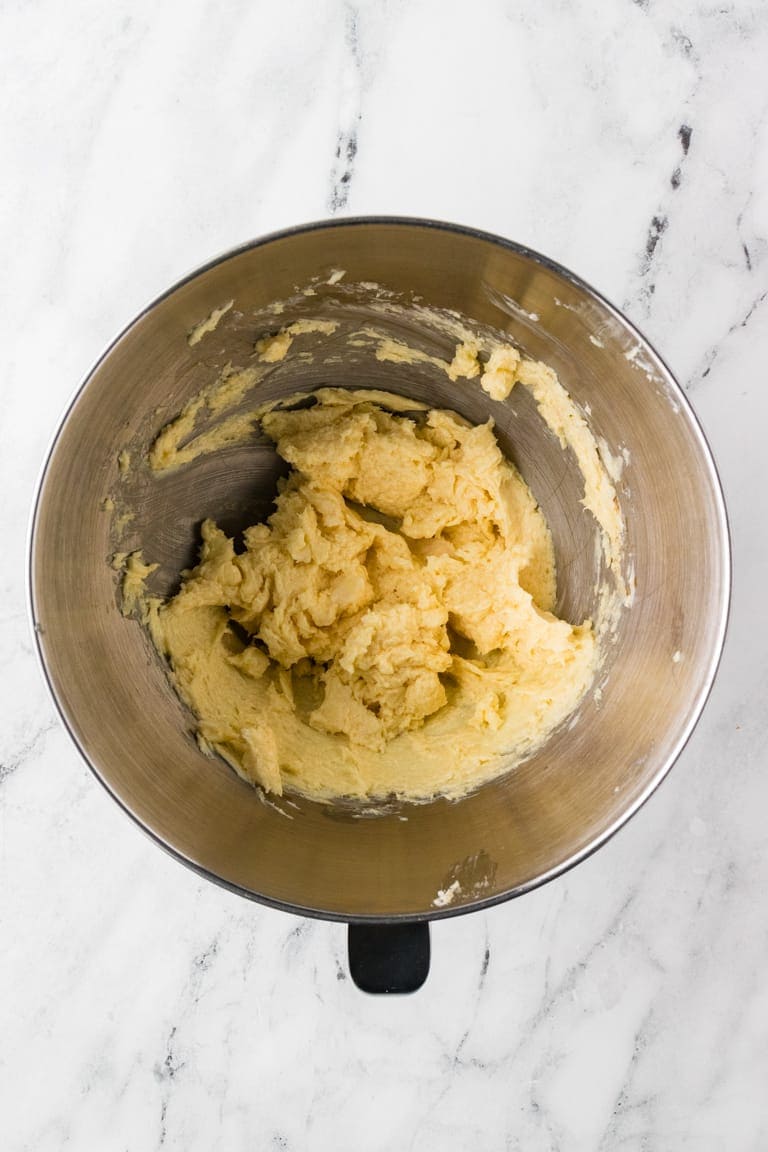
Step 2: In a mixing bowl, cream the softened butter and granulated sugar until light and fluffy. Add the egg and vanilla extract, beating until thoroughly combined.
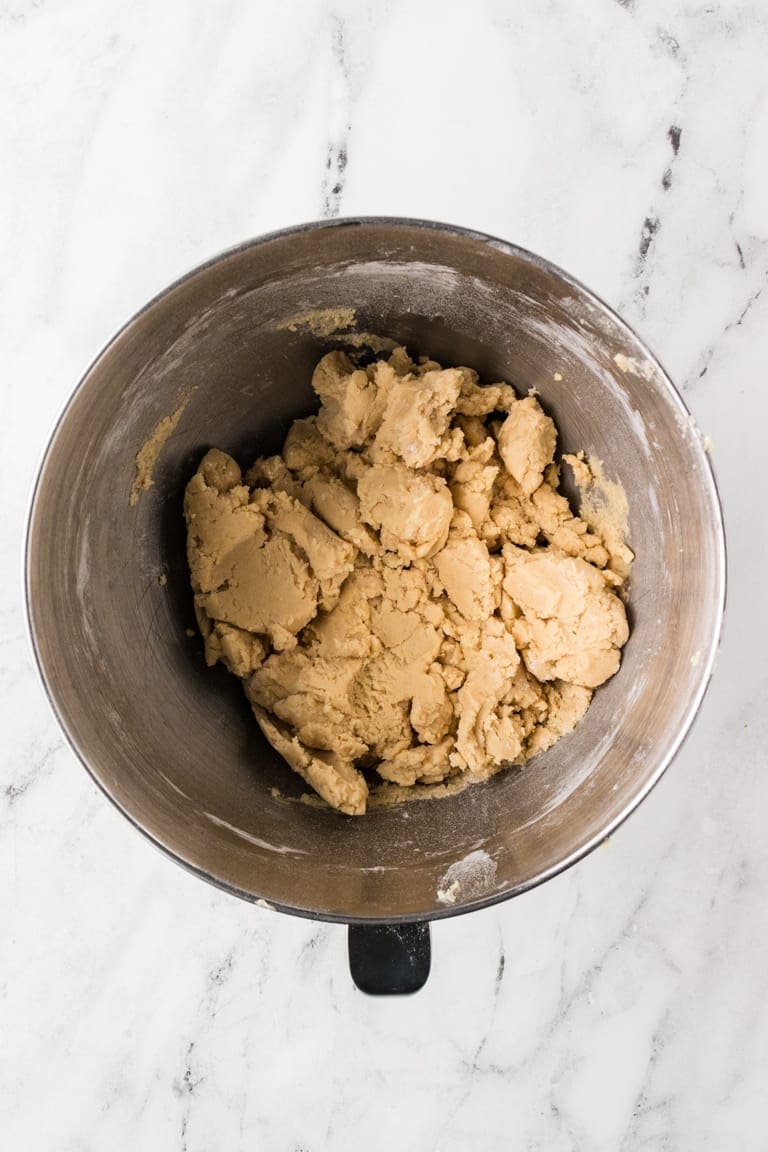
Step 3: Gradually mix in the dry ingredients to the butter mixture in three parts, ensuring each addition is fully incorporated before adding the next.
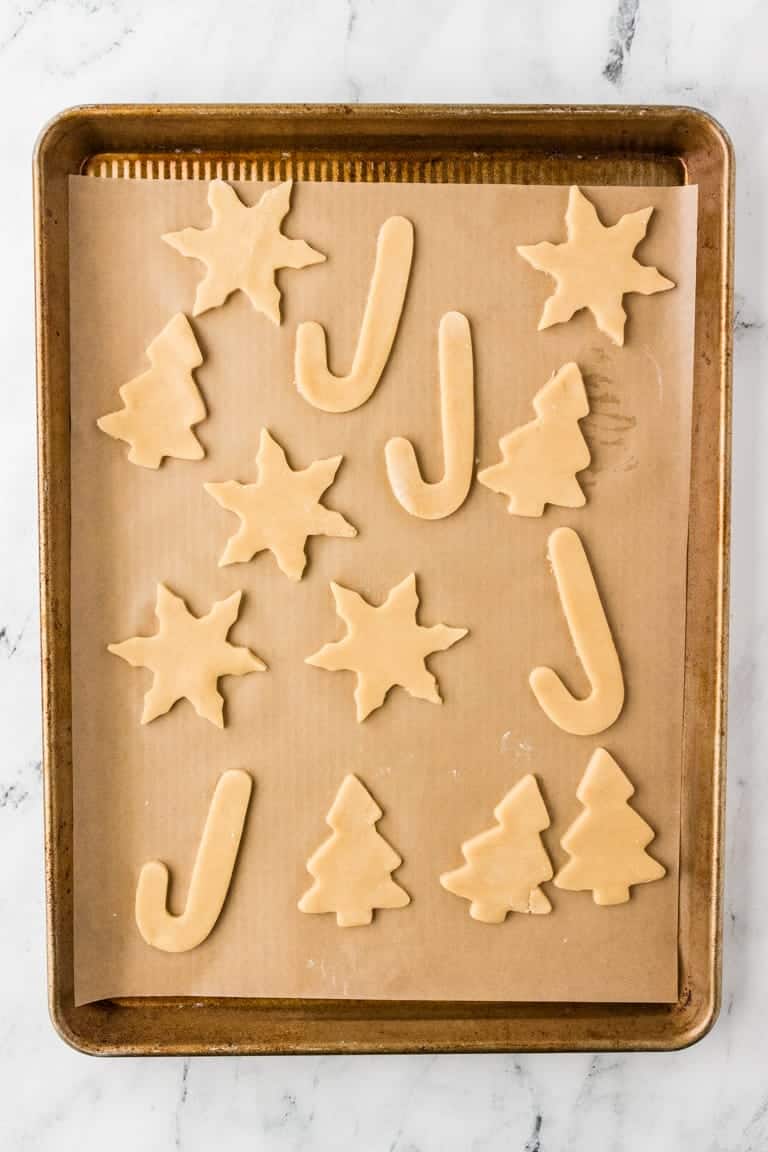
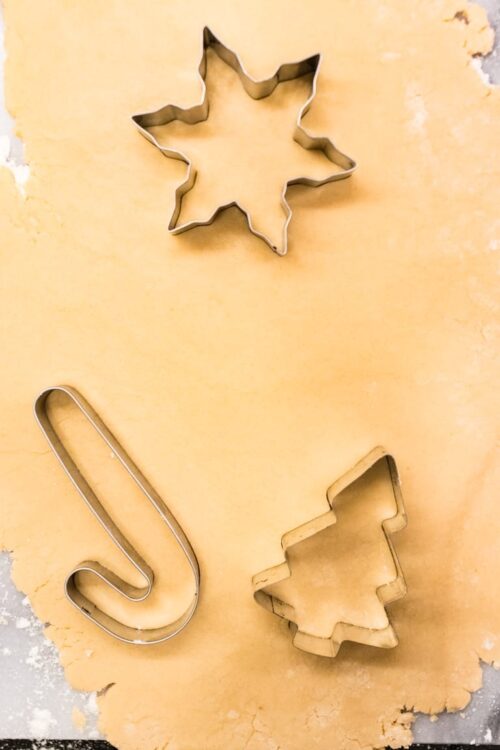
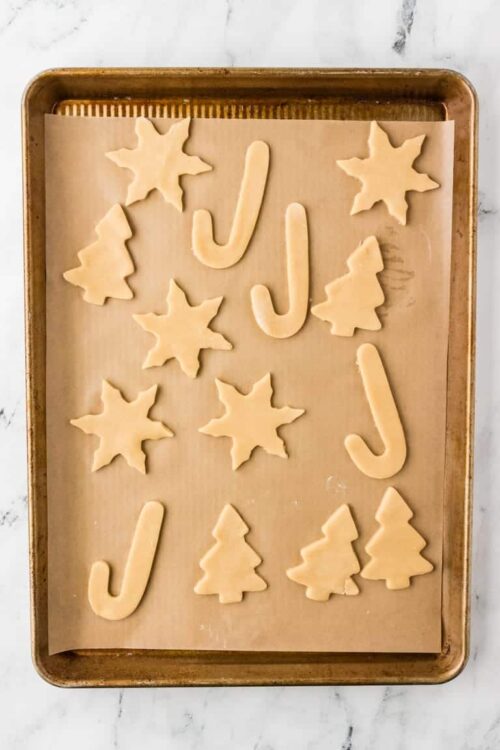
Step 4: Split the dough in half. On a lightly floured surface, roll out each half to a 1/4-inch thickness. Use festive cookie cutters to cut out shapes.

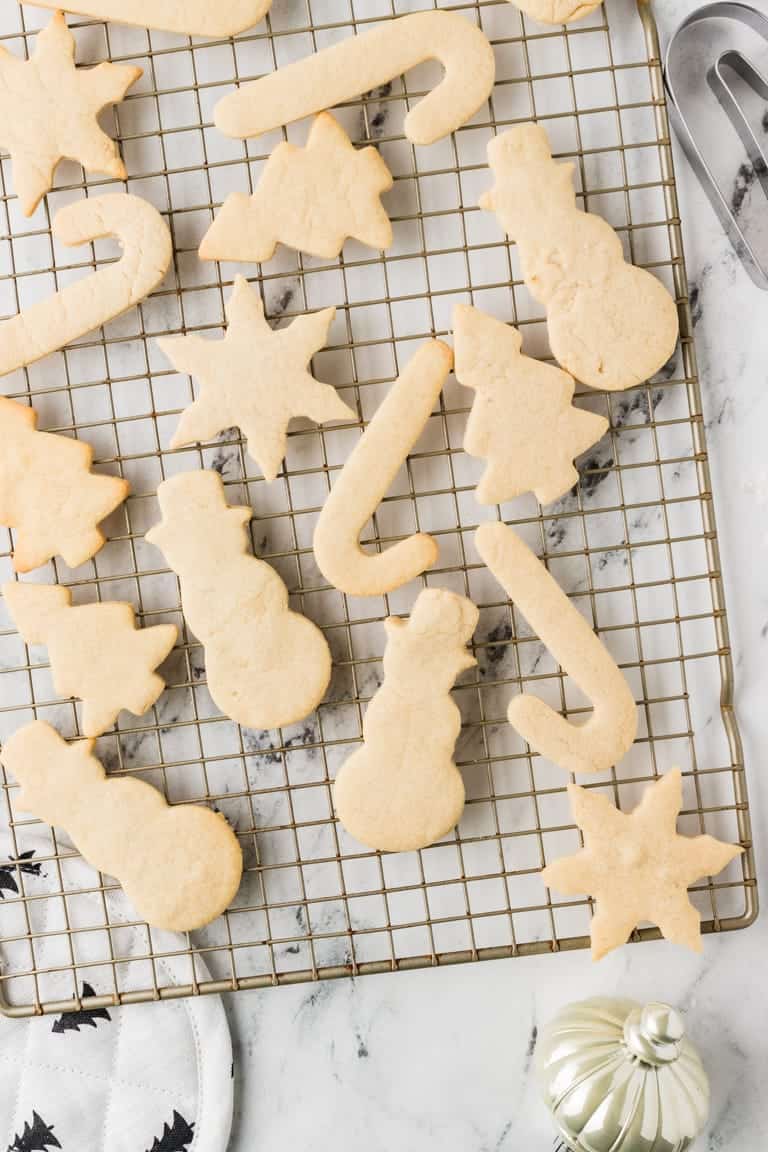
Step 5: Place the cookies on a baking sheet lined with parchment paper or a silicone mat. Bake in the preheated oven for about 10 minutes, or until the edges are just starting to turn golden.
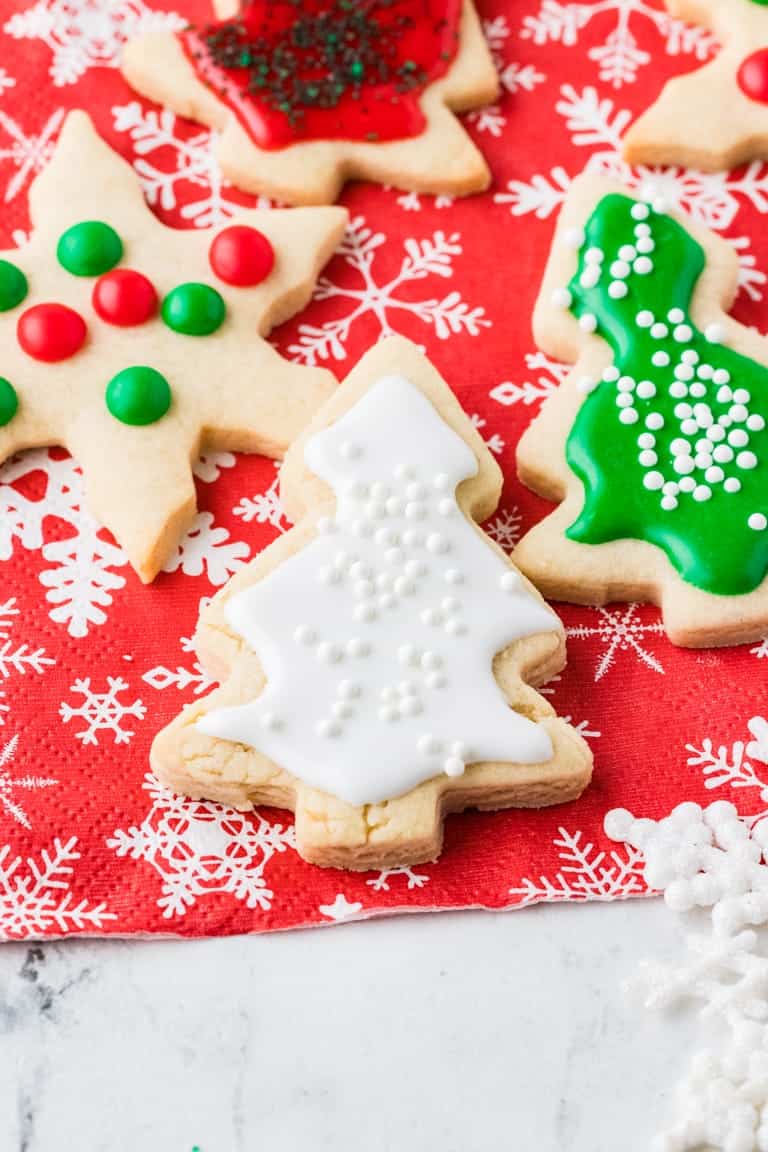
Step 6: Allow the cookies to cool on the baking sheet for 5 minutes before transferring them to a wire rack to cool completely. Once cooled, decorate as desired.
FAQs & Tips
How do I prep and store these cookies?
To prepare the Christmas Cookie dough ahead of time, complete the recipe instructions through Step 3 then divide the dough in half, flatten each half into a disc, and wrap the discs into plastic wrap. You can store the dough this way for up to 4 days in the fridge or up to 2 months in the freezer (thaw frozen dough to room temperature before rolling it out). Once baked, cooled, and decorated, the cookies will keep in an airtight container at room temperature for up to a week, in the refrigerator for up to 2 weeks, and in the freezer for up to 3 months.
Avoid over-baking
Although you might be tempted to leave your cookies in the oven until they are uniformly golden, don’t!! Remove them as soon as their edges begin to brown and they will have the perfect texture.
What does "softened" butter mean in this recipe?
Excellent question! Take your butter out of the fridge about 30 minutes before you are ready to begin making the Christmas Cookie dough; you’ll know it’s “softened” when lightly pressing a finger to it creates a dent. We want the butter to be soft enough to incorporate easily into the sugar in Step 2.
Serving Suggestions
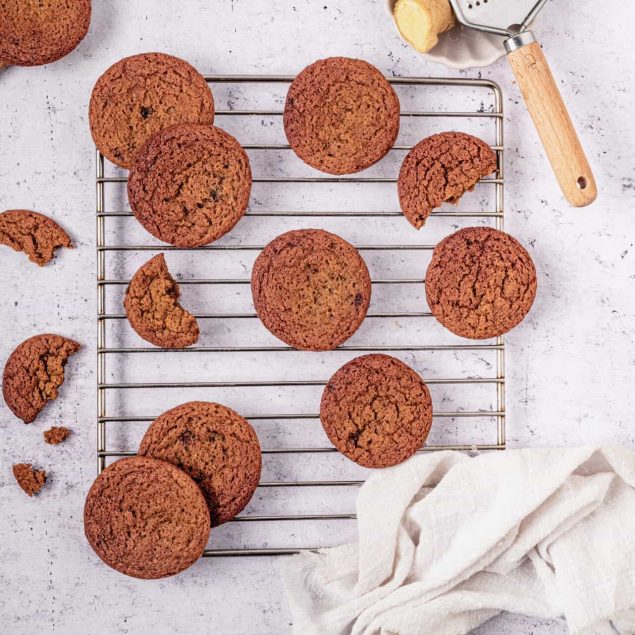
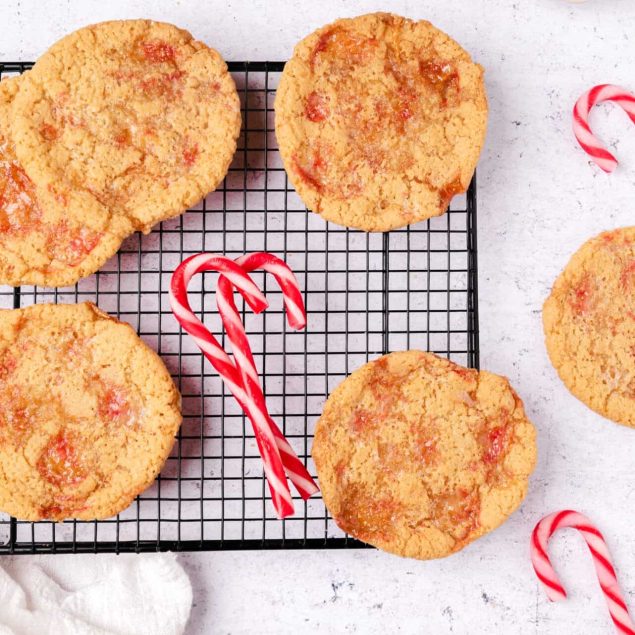
This recipe for Christmas Cookies lends itself to other holiday flavors really well—like peppermint! Try adding a bit of peppermint extract to the dough and decorating this batch with crushed-up candy canes. Serve them with White Chocolate Peppermint Mocha for a yummy, minty holiday treat! If you have a snowman-shaped cookie cutter (and you should!), mix a little ground ginger into the granulated sugar before creaming it with the butter and you’ll have little gingerbread-like men. For a really special holiday dessert, serve them alongside Ginger Mascarpone Creme Brulée.
The holidays are, of course, a prime time for entertaining. Whether it’s having people over or going to parties, both occasions are great opportunities to serve Christmas Cookies or take as gifts. When I entertain at the holidays, I often like to do a dessert buffet. It gives me a chance to show off my beautiful Christmas table decorations and to make the sweets I don’t make at any other time of year, like Christmas Chocolate Bark, these adorable Christmas Light Cupcakes, fudgy Christmas Oreo Balls, and these whimsical Grinch Cupcakes. Pair these treats with a holiday cocktail for the adults (like The Family Stone Sipper) and this Festive Eggnog Smoothie for the kids!


Christmas Cookies
Ingredients
- 1 cup unsalted butter softened
- 1 cup granulated sugar
- 1 large egg
- 1 teaspoon vanilla extract
- 3 cups all-purpose flour
- 1 tablespoon baking powder
- 1/4 teaspoon salt
Instructions
- Preheat your oven to 350°F and position the rack in the center. Whisk together the all-purpose flour, baking powder, and salt in a bowl, then set aside.
- In a mixing bowl, cream the softened butter and granulated sugar until light and fluffy. Add the egg and vanilla extract, beating until thoroughly combined.

- Gradually mix in the dry ingredients to the butter mixture in three parts, ensuring each addition is fully incorporated before adding the next.

- Split the dough in half. On a lightly floured surface, roll out each half to a 1/4-inch thickness. Use festive cookie cutters to cut out shapes.
- Place the cookies on a baking sheet lined with parchment paper or a silicone mat. Bake in the preheated oven for about 10 minutes, or until the edges are just starting to turn golden.
- Allow the cookies to cool on the baking sheet for 5 minutes before transferring them to a wire rack to cool completely. Once cooled, decorate as desired.

Leave a Comment