Try this baked version of everyone’s favorite party food!
Isn’t it the best when you get a foolproof recipe for making a favorite bar food at home? These Buffalo chicken wings are baked in a hot oven, which makes them as super crispy and crunchy as their deep-fried cousins. And the Buffalo sauce they are coated in is wonderfully tangy with just the right amount of heat. Make these wings for all of your game day celebrations, any kind of party, movie night, or just a fun family dinner.
Guess where Buffalo chicken wings are from? Yes, you’re right: Buffalo!! There are a few conflicting stories about exactly when and precisely where they were invented, but the general consensus is that Buffalo chicken wings were born at the Anchor Bar in Buffalo, NY, in 1964, when owner Teressa Bellissimo whipped some up as a snack for her son and his friends. She invented the sauce and legend has it that she served the wings with blue cheese and celery that night because that’s what she had on hand. The wings in that delicious sauce were such a big hit with Dominic Bellissimo and his pals that Teressa and her husband Frank decided to put them on the Anchor’s menu and the rest is history. Now there are Anchor Bars serving these famous wings all over Greater Buffalo, as well as in Texas, Maryland, Georgia, and Virginia.
There is just something so addictive about the way the sharp and zesty hot sauce mixes with the butter and then clings to every part of the crispy wing that it’s hard to stop eating them once you’ve started (well, in our chicken-wing-eating defense, they are small). In this recipe, we add a little sugar to the sauce, too, and that bit of sweetness balances the vinegary heat perfectly. You’ll be licking your fingers for sure.
Buffalo chicken wings are party food, so they go really well with things like Pizza and chips and dips (try this Blue Cheese Bacon Dip) for a party buffet. But you can also make them as an impromptu snack, just like Teressa Bellissimo did!

Splitting Wings and Removing Tips…
Most of the time when you buy raw chicken wings, they haven’t been split and the wing tips haven’t been removed, and both of these things should happen before you start cooking. Splitting the wings ensures a more even cook, and a more even cook means a more crispy wing. And those wing tips are basically skin, bone, and cartilage, so not very appealing.
It’s easy to split the wing into its two parts: the wingette and the drumette. On a clean cutting board (which you must remember to clean really well when you’re done because raw chicken on any surface can be dangerous), place the blade of a sharp knife on the joint where the wingette and drumette meet and press down firmly to separate them. Use this same process on the joint where the wing and the wing tip meet. You can discard the wing tips or freeze them for making stock later.

How to Make Ahead and Store?
You can prep your wings up through Step 4 and store them in a covered bowl for up to 12 hours before cooking (let them rest on the counter for about 15 minutes to get the chill off first). It’s best to make the sauce while the wings are baking since the butter will seize up if it’s refrigerated. Cooked and cooled Buffalo wings can be stored in an airtight container in the refrigerator for up to 4 days and in the freezer for up to 6 months (thaw the frozen wings in the fridge overnight before reheating).
Is This the Same Process as Making Buffalo Cauliflower?
You can definitely substitute cauliflower for the chicken wings in this recipe. And if you want the vegan cauliflower version, just use melted plant-based butter.

Serving Suggestions
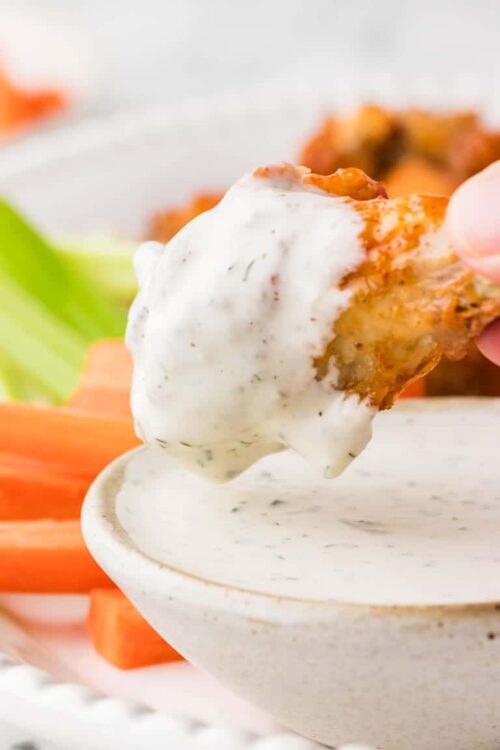
Blue cheese is a classic pairing with Buffalo chicken wings, so when I’m entertaining, I always make this Easy Blue Cheese Dip, but you know what? I also love to dip these wings into Creamy Spinach Dip and even into Queso, so when I have people over, I make a ton of Buffalo chicken wings and all the dips! Oh, and because you know I love a theme, I do love to serve these wings alongside Buffalo Chicken Pizza!
But we don’t have to only serve wings when we’re having a party: they make a really fun family dinner (everyone loves to eat with their hands!). And like all things chicken, Buffalo chicken wings go really well with so many sides, especially potato ones. I’ve served them with Twice Baked Potato Casserole, with Cheesy Potato Casserole and of course with French Fries. But since they’re baked and not fried, I also love to have them with some healthier sides like Brussels Sprout Salad or Grilled Corn Salad with Fresh Herbs. Whenever you serve these wings and whatever you serve them with, they are sure to be a big hit!


Buffalo Chicken Wings
Ingredients
- 3 lb chicken wings split and tips removed
- 1 Tbsp baking powder
- 1 tsp fine sea salt
- 2 tsp garlic powder
- 1/4 cup unsalted butter melted
- 1/4 cup hot pepper sauce
- 1 tbsp granulated sugar
Instructions
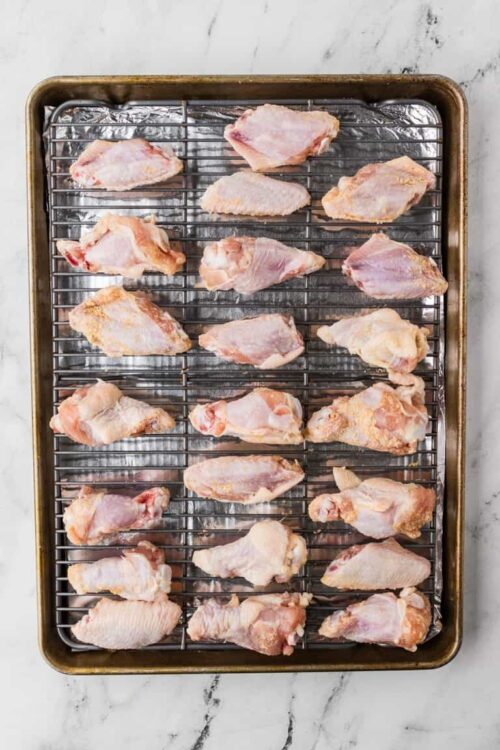
- Preheat your oven to 450°F. Line a baking sheet with aluminum foil and set a wire rack on top.
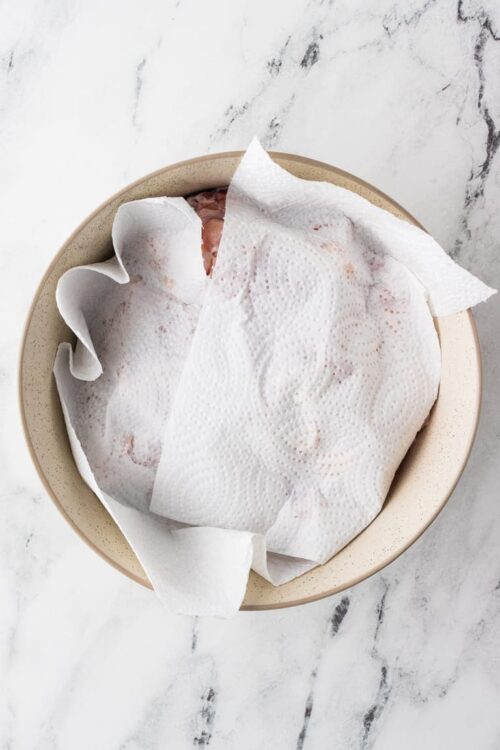
- Dry the chicken wings thoroughly with paper towels to ensure crispiness.
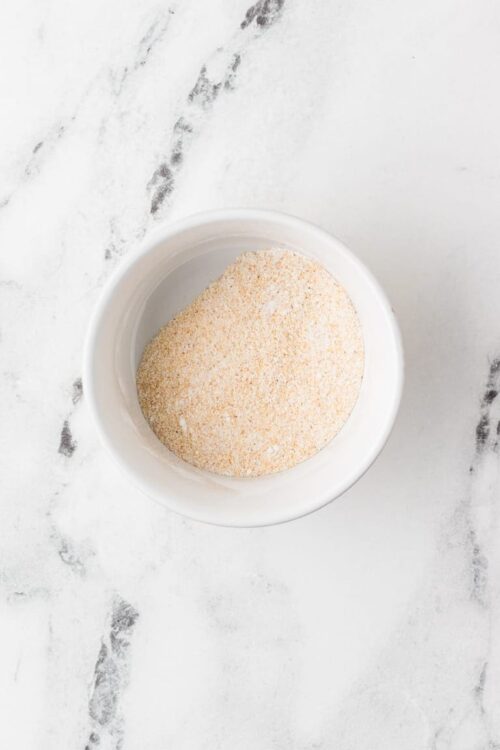
- In a small bowl, mix together the baking powder, sea salt, and garlic powder.
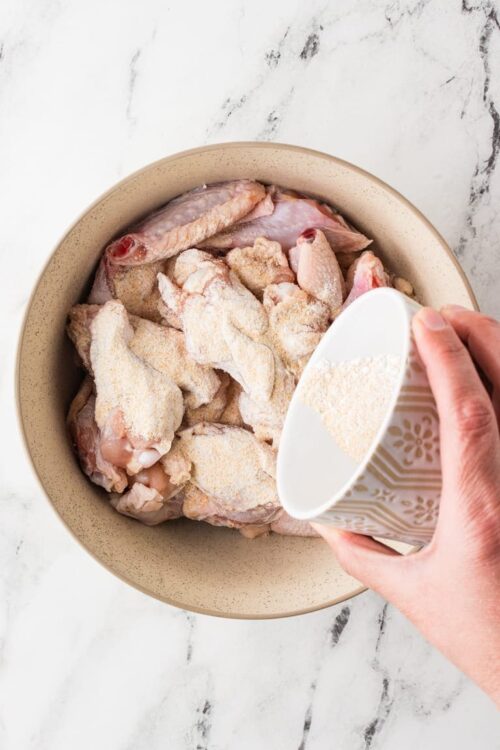
- Place the wings in a large bowl and sprinkle the dry mixture over them, tossing to evenly coat.
- Arrange the wings on the wire rack in a single layer, ensuring they do not touch for even cooking.
- Bake in the preheated oven for 25 minutes, then flip the wings and continue baking for another 25 minutes until they are golden and crispy.
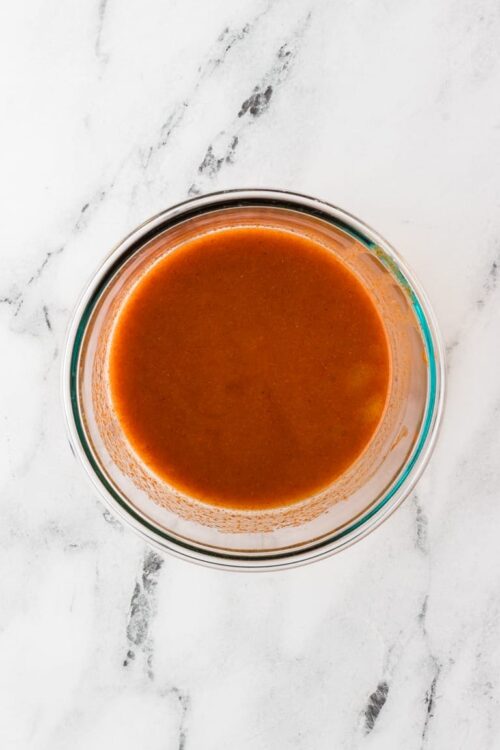
- While the wings bake, prepare the Buffalo sauce by combining the melted butter, hot pepper sauce, and sugar in a bowl.
- Once the wings are done, transfer them to a large bowl, pour the Buffalo sauce over the wings, and toss to coat thoroughly.
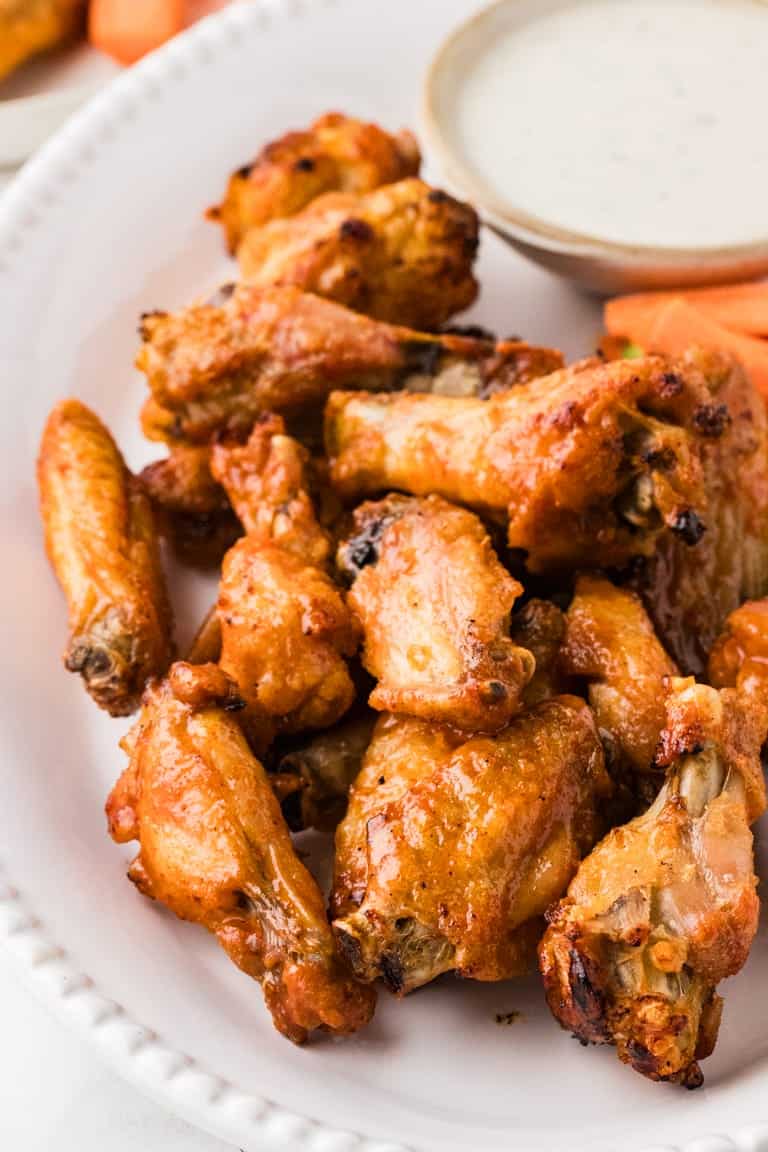
- Serve the wings hot with your choice of dipping sauce and enjoy!


Leave a Comment