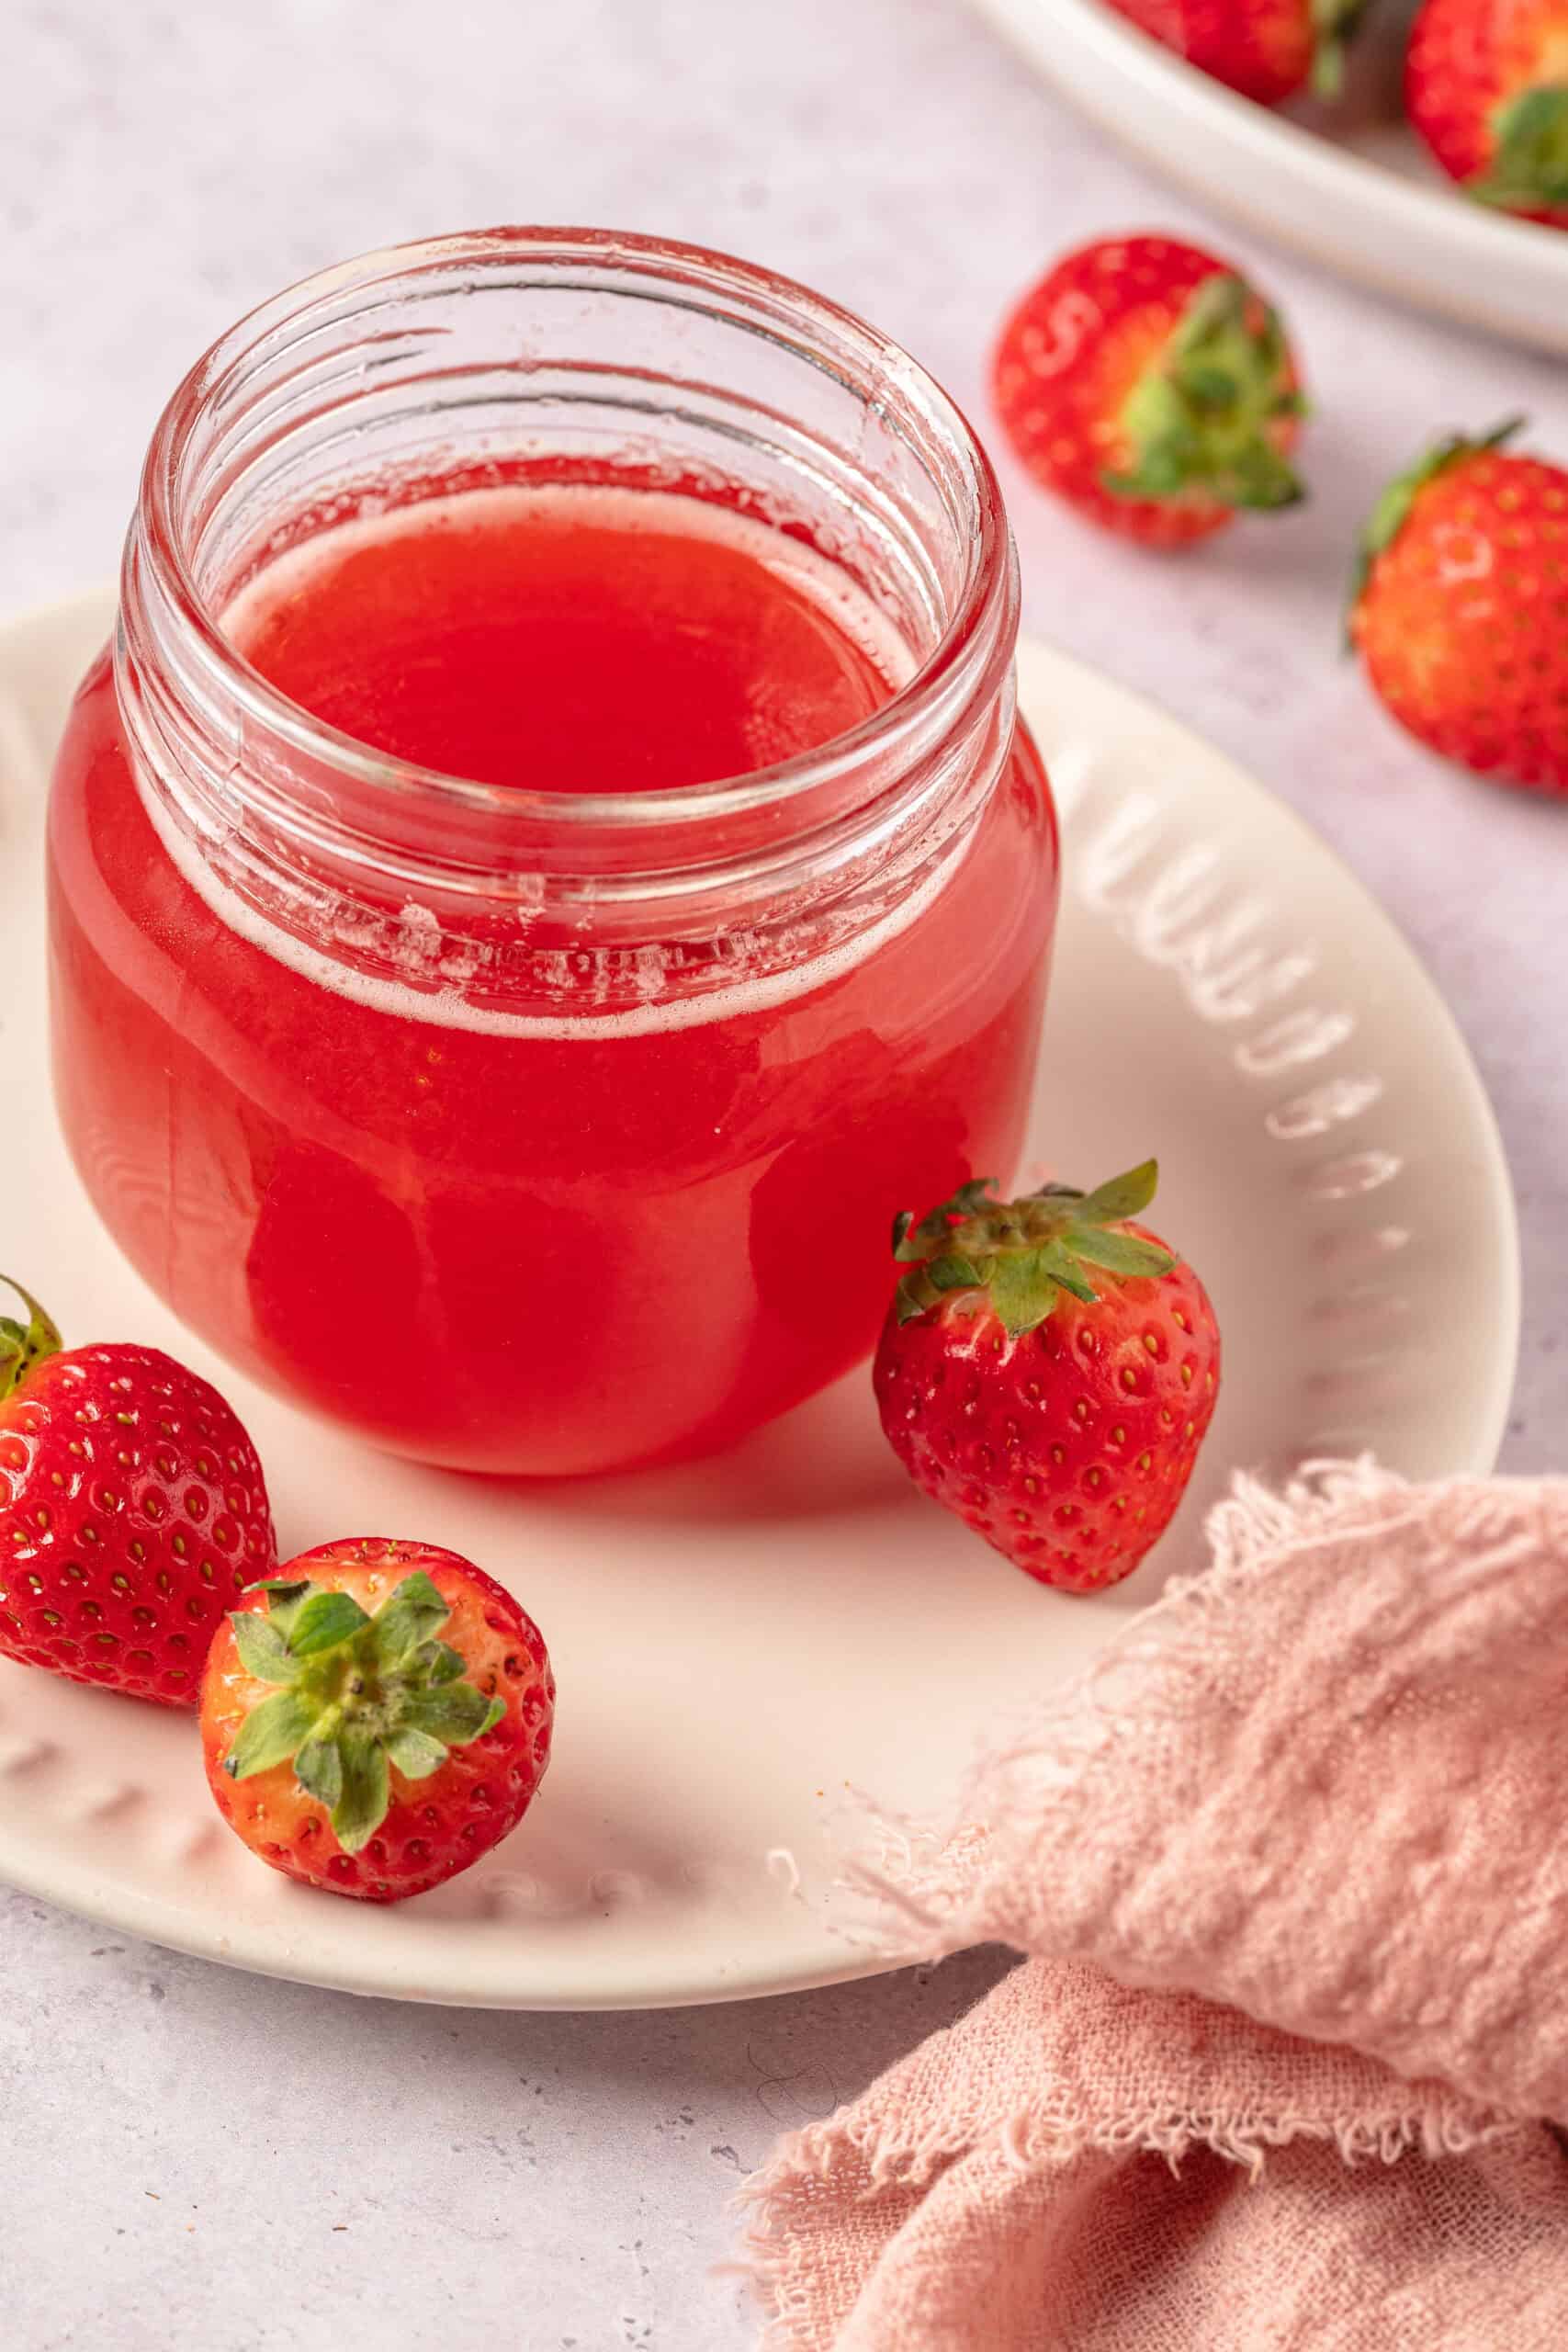
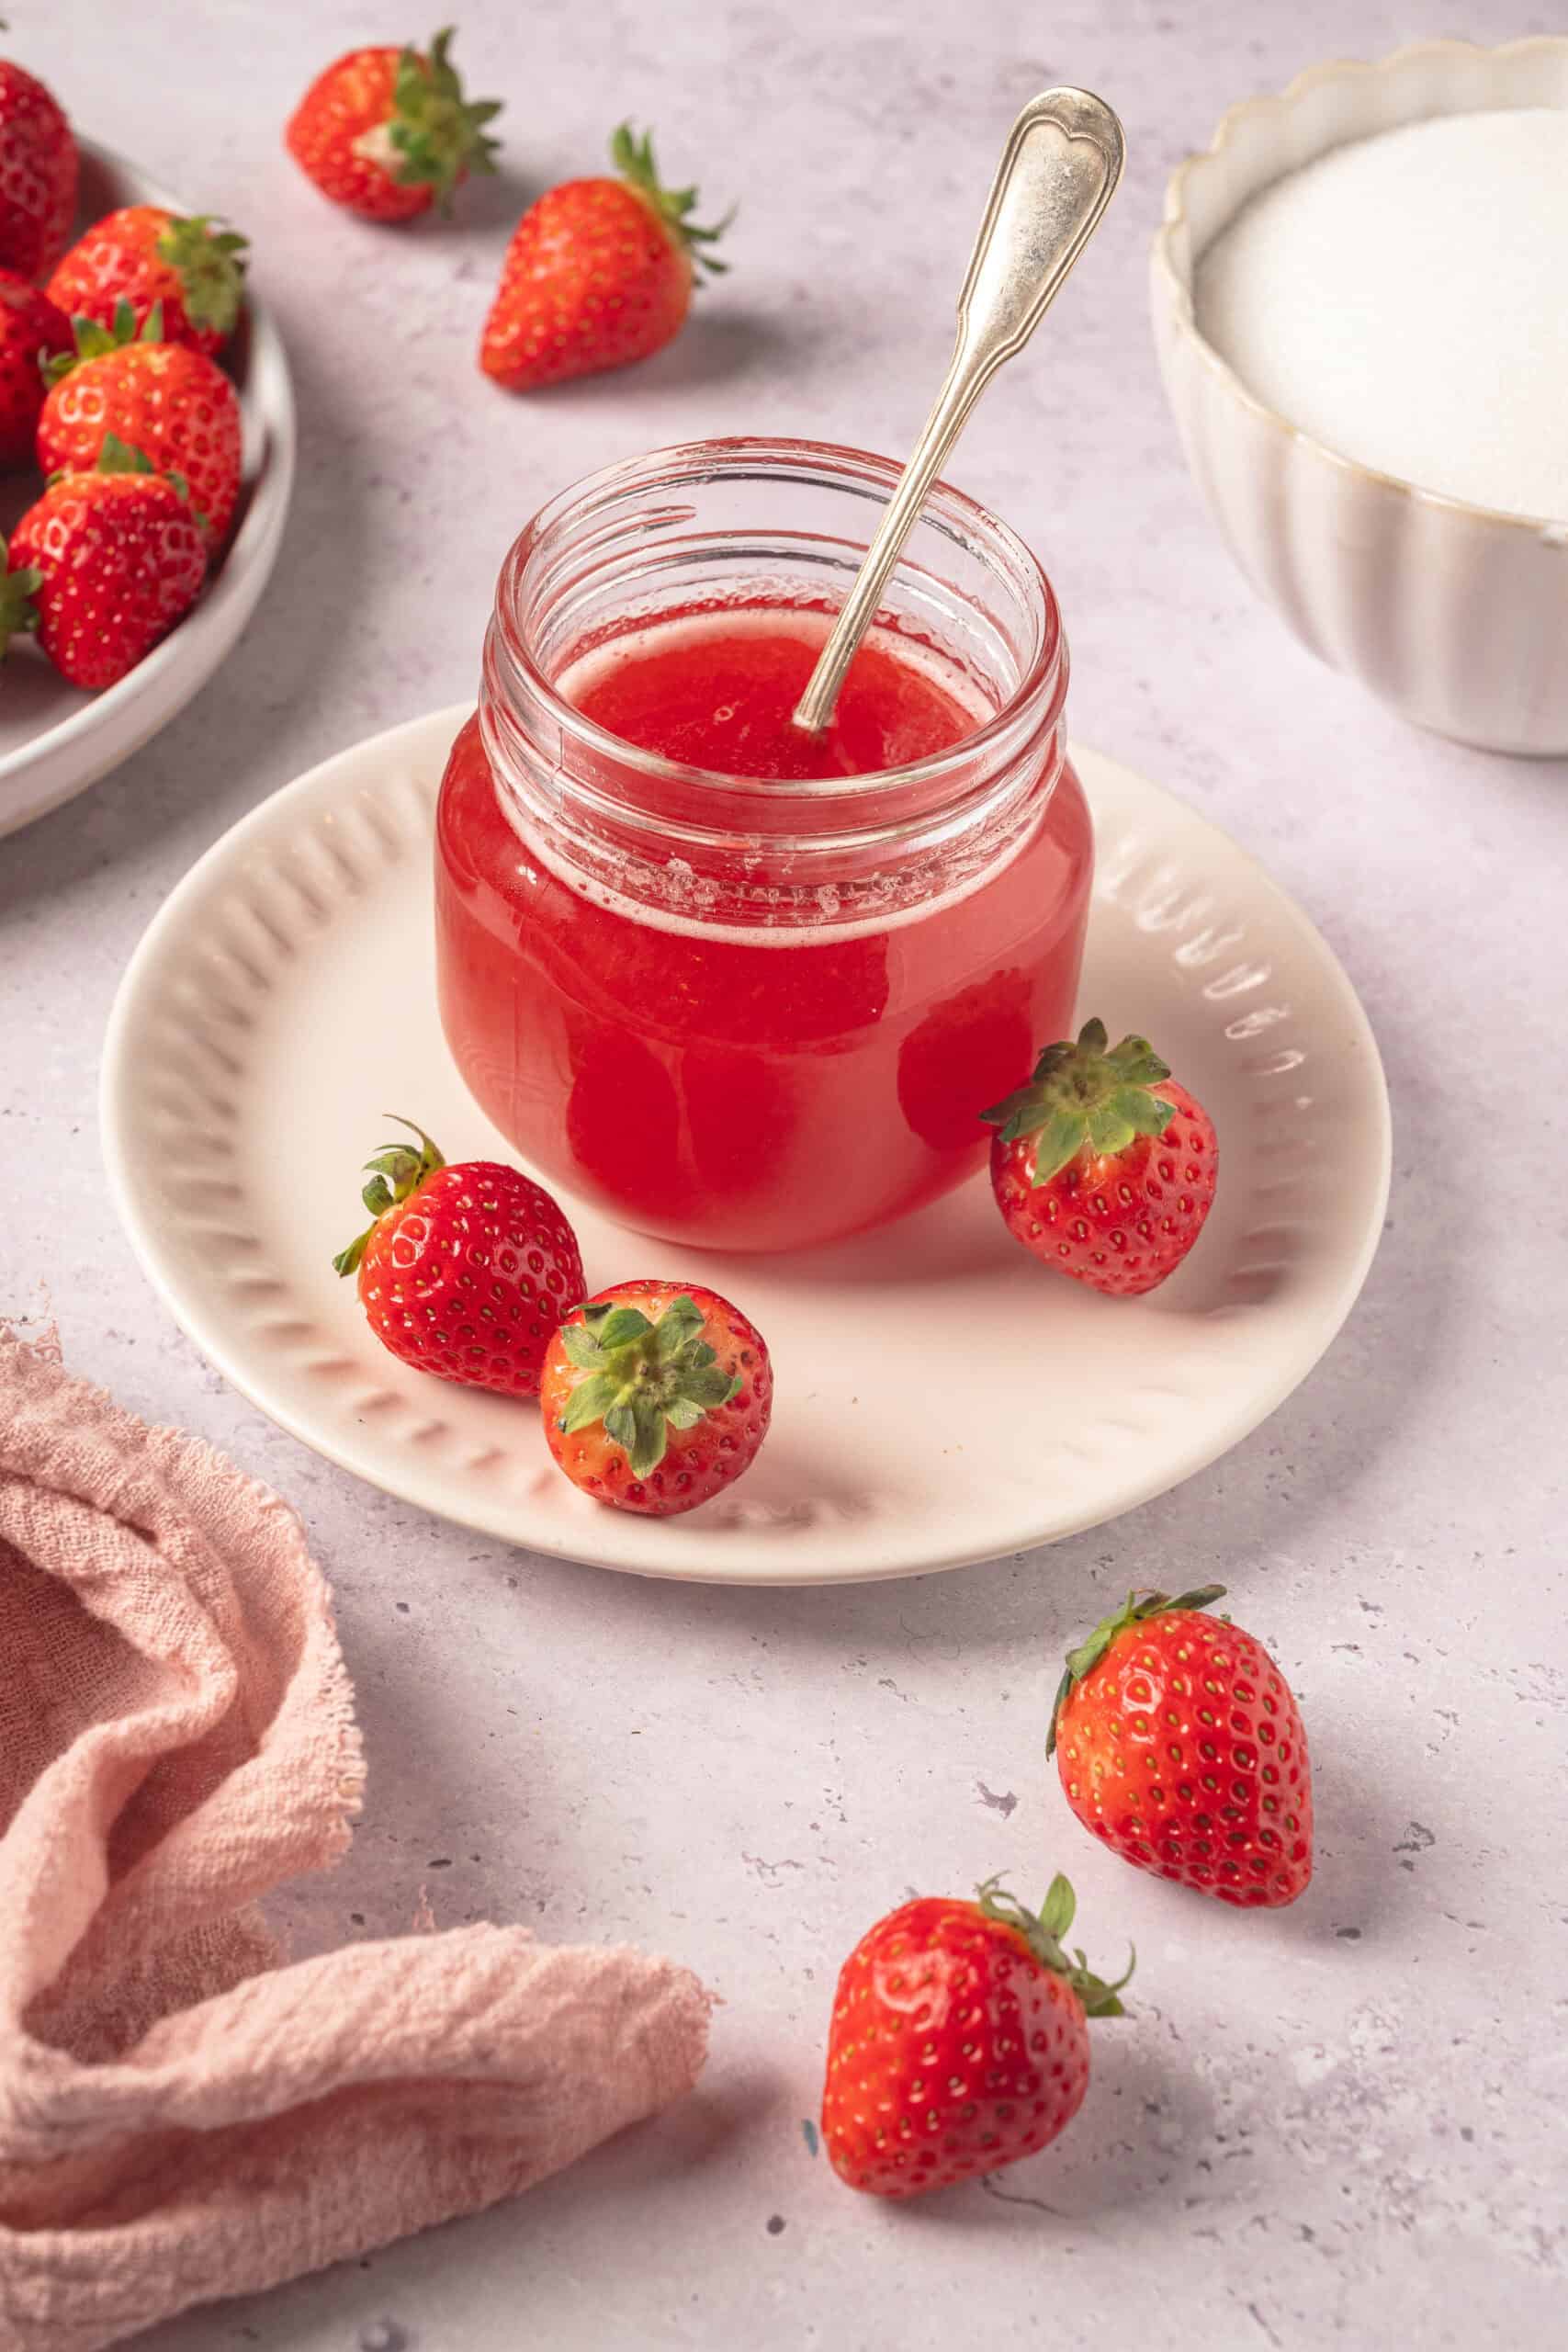
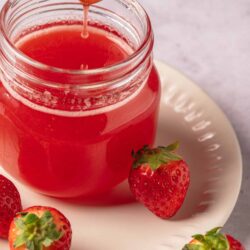
Strawberry Syrup, with its beautiful, vivid red color, tastes as good as it looks.
Have you ever been to one of those U-pick berry farms? It’s so much fun, and you end up with the most delicious, sun-ripened berries that taste way better than the ones you buy at the grocery store. One summer a couple of years ago, my family and I hit up a local strawberry farm, and once we got home with our harvest, I realized we’d have to eat strawberries at every meal since we had so many! Strawberry preserves seemed like a good idea but also a lot of work. Strawberry syrup, however, was the perfect answer.
Strawberry syrup is an easy way to preserve a bumper crop of strawberries or simply enjoy a taste of summer past the peak season. The ruby-red syrup looks gorgeous in glass jars, stores well, and has a lovely consistency that pours well onto (or into) wherever you’re using it. While making this syrup was born out of a panicky moment after our trip to the U-pick farm, it has become a family favorite!
You will love strawberry syrup’s bright, fresh taste that is free from any artificial sweeteners or dyes; the strawberry flavor is incredible. Additionally, it’s simple to make and can be used in a variety of ways. Our favorite use is poured on top of pancakes or Belgian waffles (followed by a dollop of whipped cream!). Even if you’ve never made anything like this before, it’s nearly foolproof, and you don’t need any special equipment. No Mason jars? No worries. You can store strawberry syrup in leftover pasta sauce jars or any glass container with a tight-fitting lid.
Hulling strawberries 101
When prepping strawberries, it might be tempting to just lop off the green tops and start slicing. However, hulling them is an easy but important step. Hulling means removing the green top as well as the white inner core that can sometimes taste bitter. To do this and still use the most berry, simply insert a paring knife at an angle just under the green leafy top. Cut around the top of the berry in a circle to remove the green top, and the inner core should pop out as well. If not, just nudge it out with the tip of your knife. Proceed with slicing once you’ve hulled the berries.
How do I store leftovers?
A single batch of this recipe will keep in the fridge for up to 3 weeks. If you want to freeze it, just make sure it’s tightly sealed and freeze for up to 2 months. You can also freeze it in ice cube trays. The texture will thicken a bit, but it is still delicious once thawed.
Serving suggestions
As I mentioned above, my family loves strawberry syrup at breakfast and brunch. I pour it into a syrup jar with a hinged lid so we can drizzle it all over Homemade Buttermilk Pancakes or waffles. Topped with a dollop of Whipped Cream, it makes for an amazing breakfast!
However, strawberry syrup is not limited to breakfast. Mix a few tablespoons into homemade lemonade for a refreshing cooler or even a tiny teaspoon into your sparkling water for a flavor boost. Strawberry syrup is also delicious poured over Vanilla Ice Cream or Whipping Cream Pound Cake for an elegant, summery dessert.
Strawberry Syrup
Ingredients
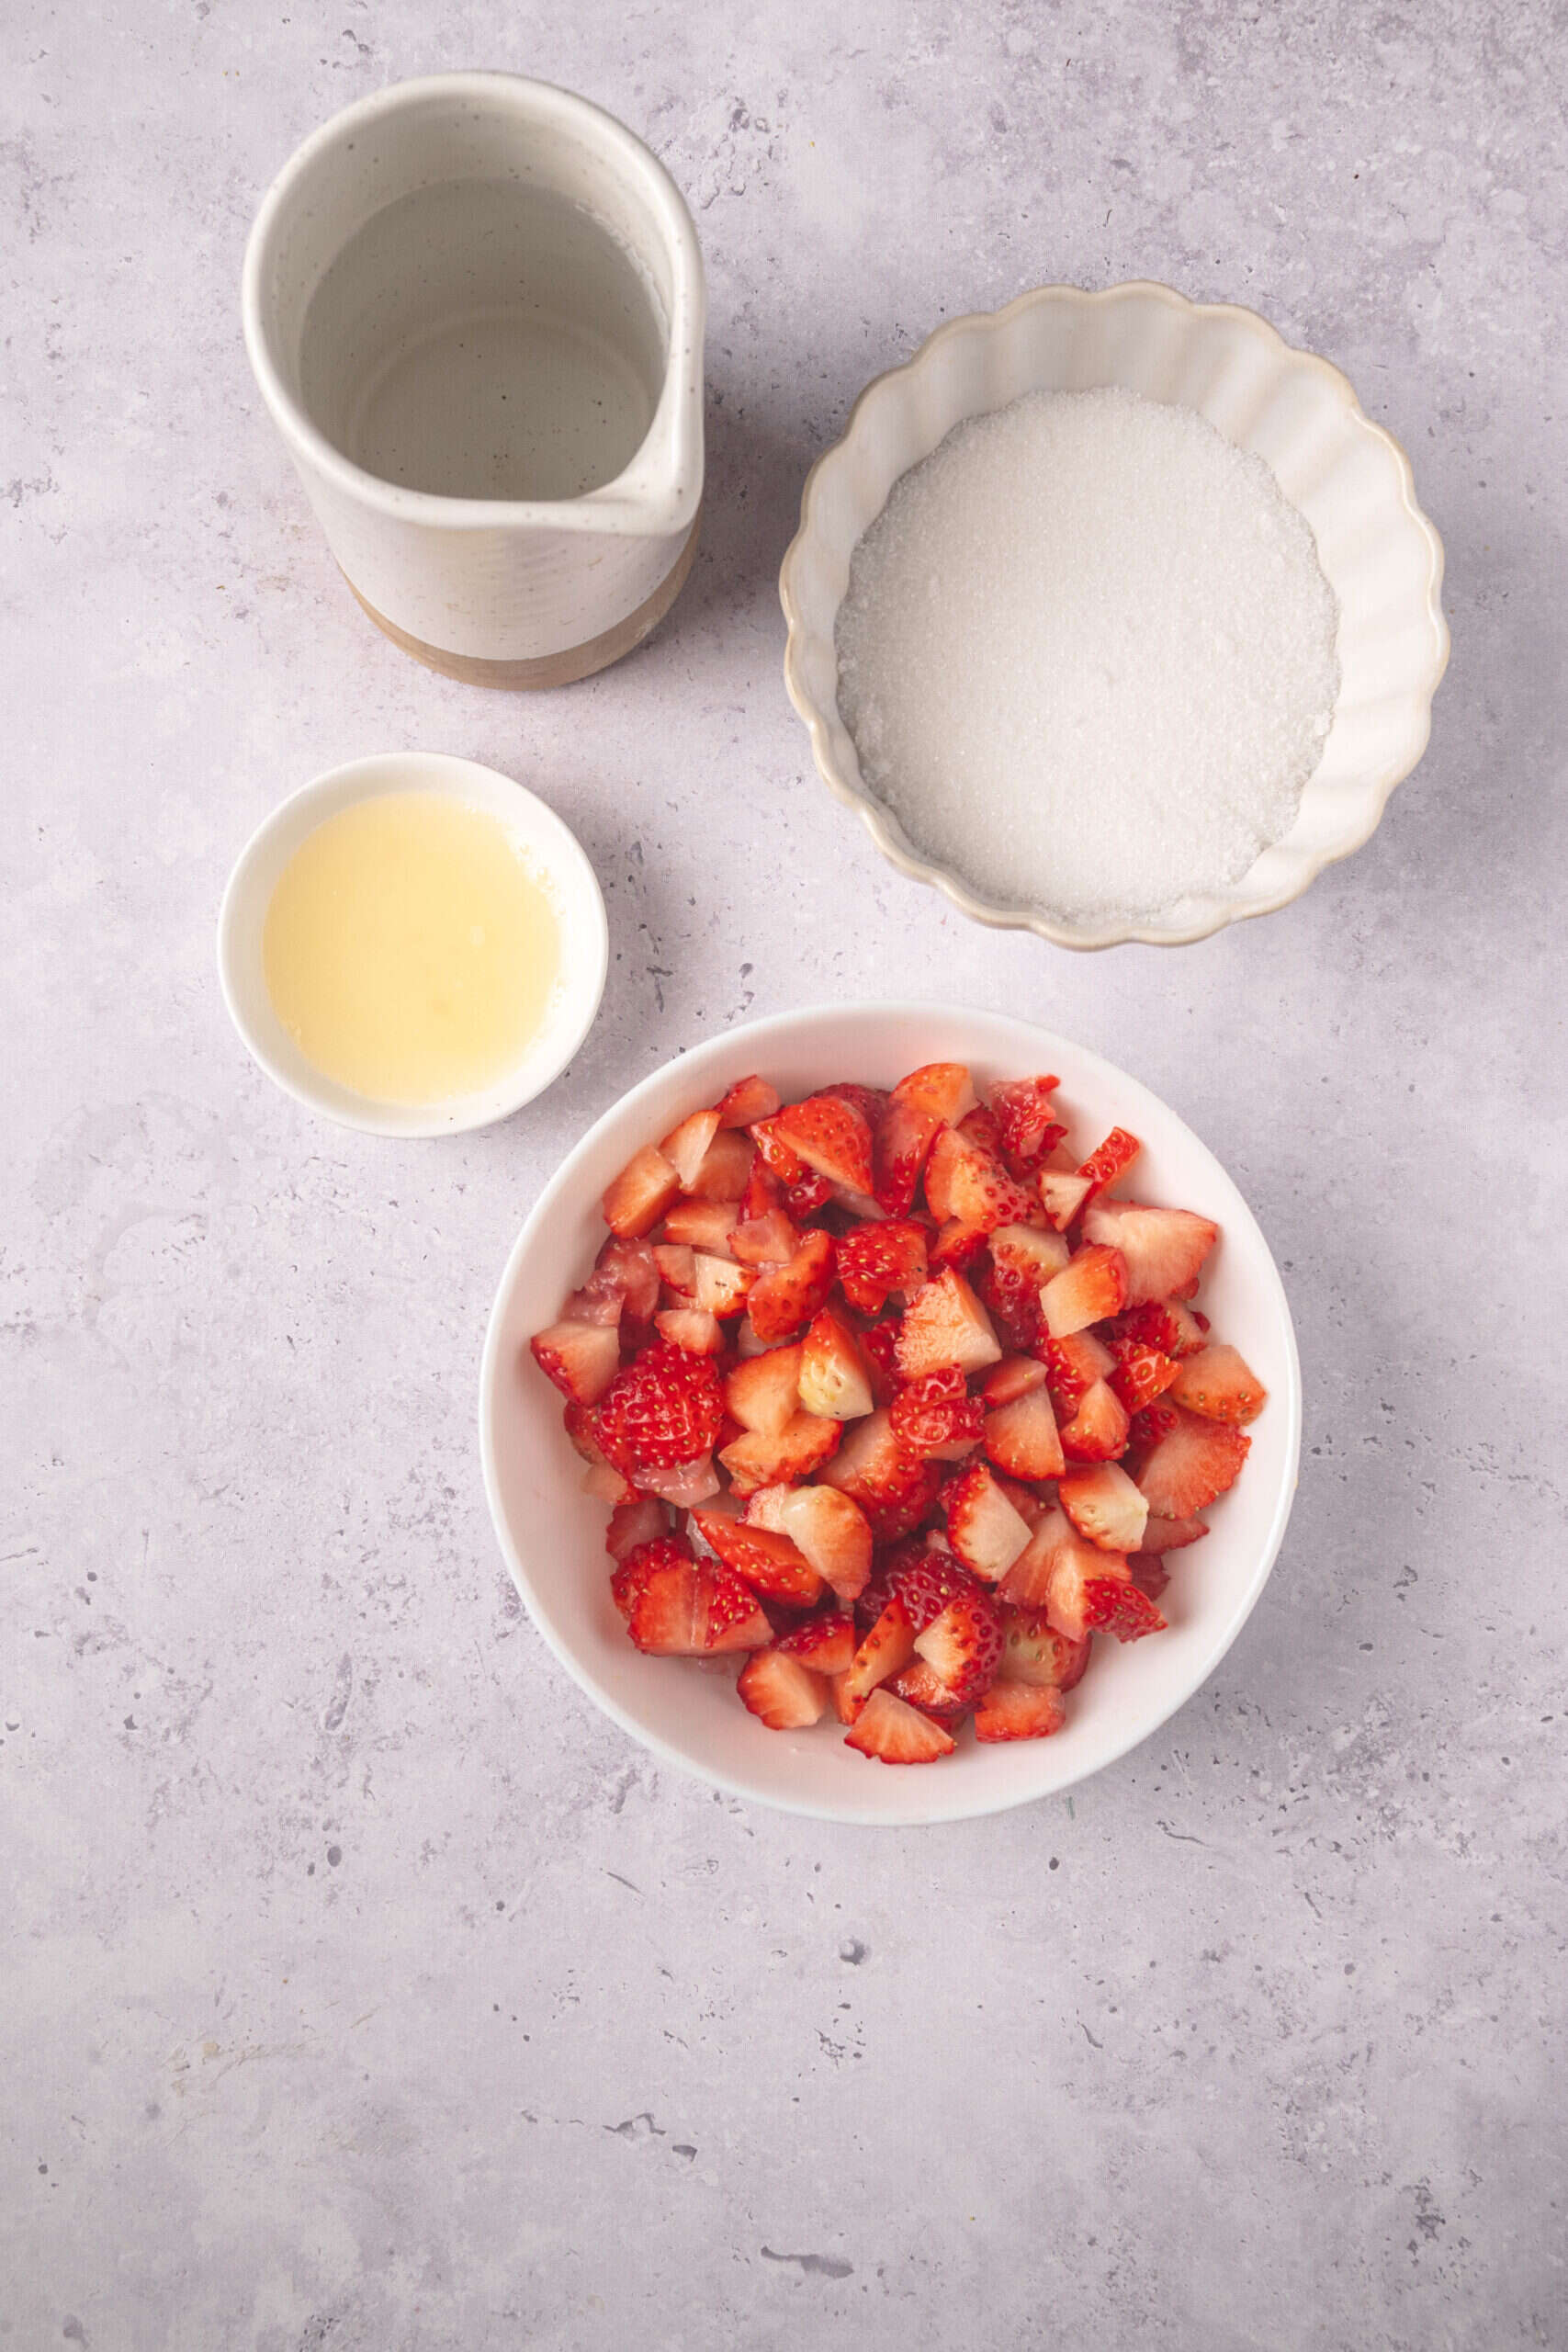
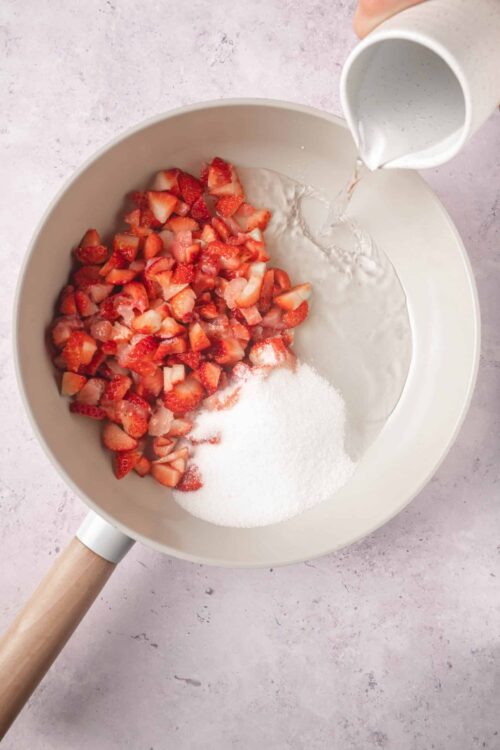
- 2 cups fresh strawberries hulled and sliced
- 3/4 cup granulated sugar
- 1 cup water
- 2 1/2 teaspoons lemon juice
Instructions
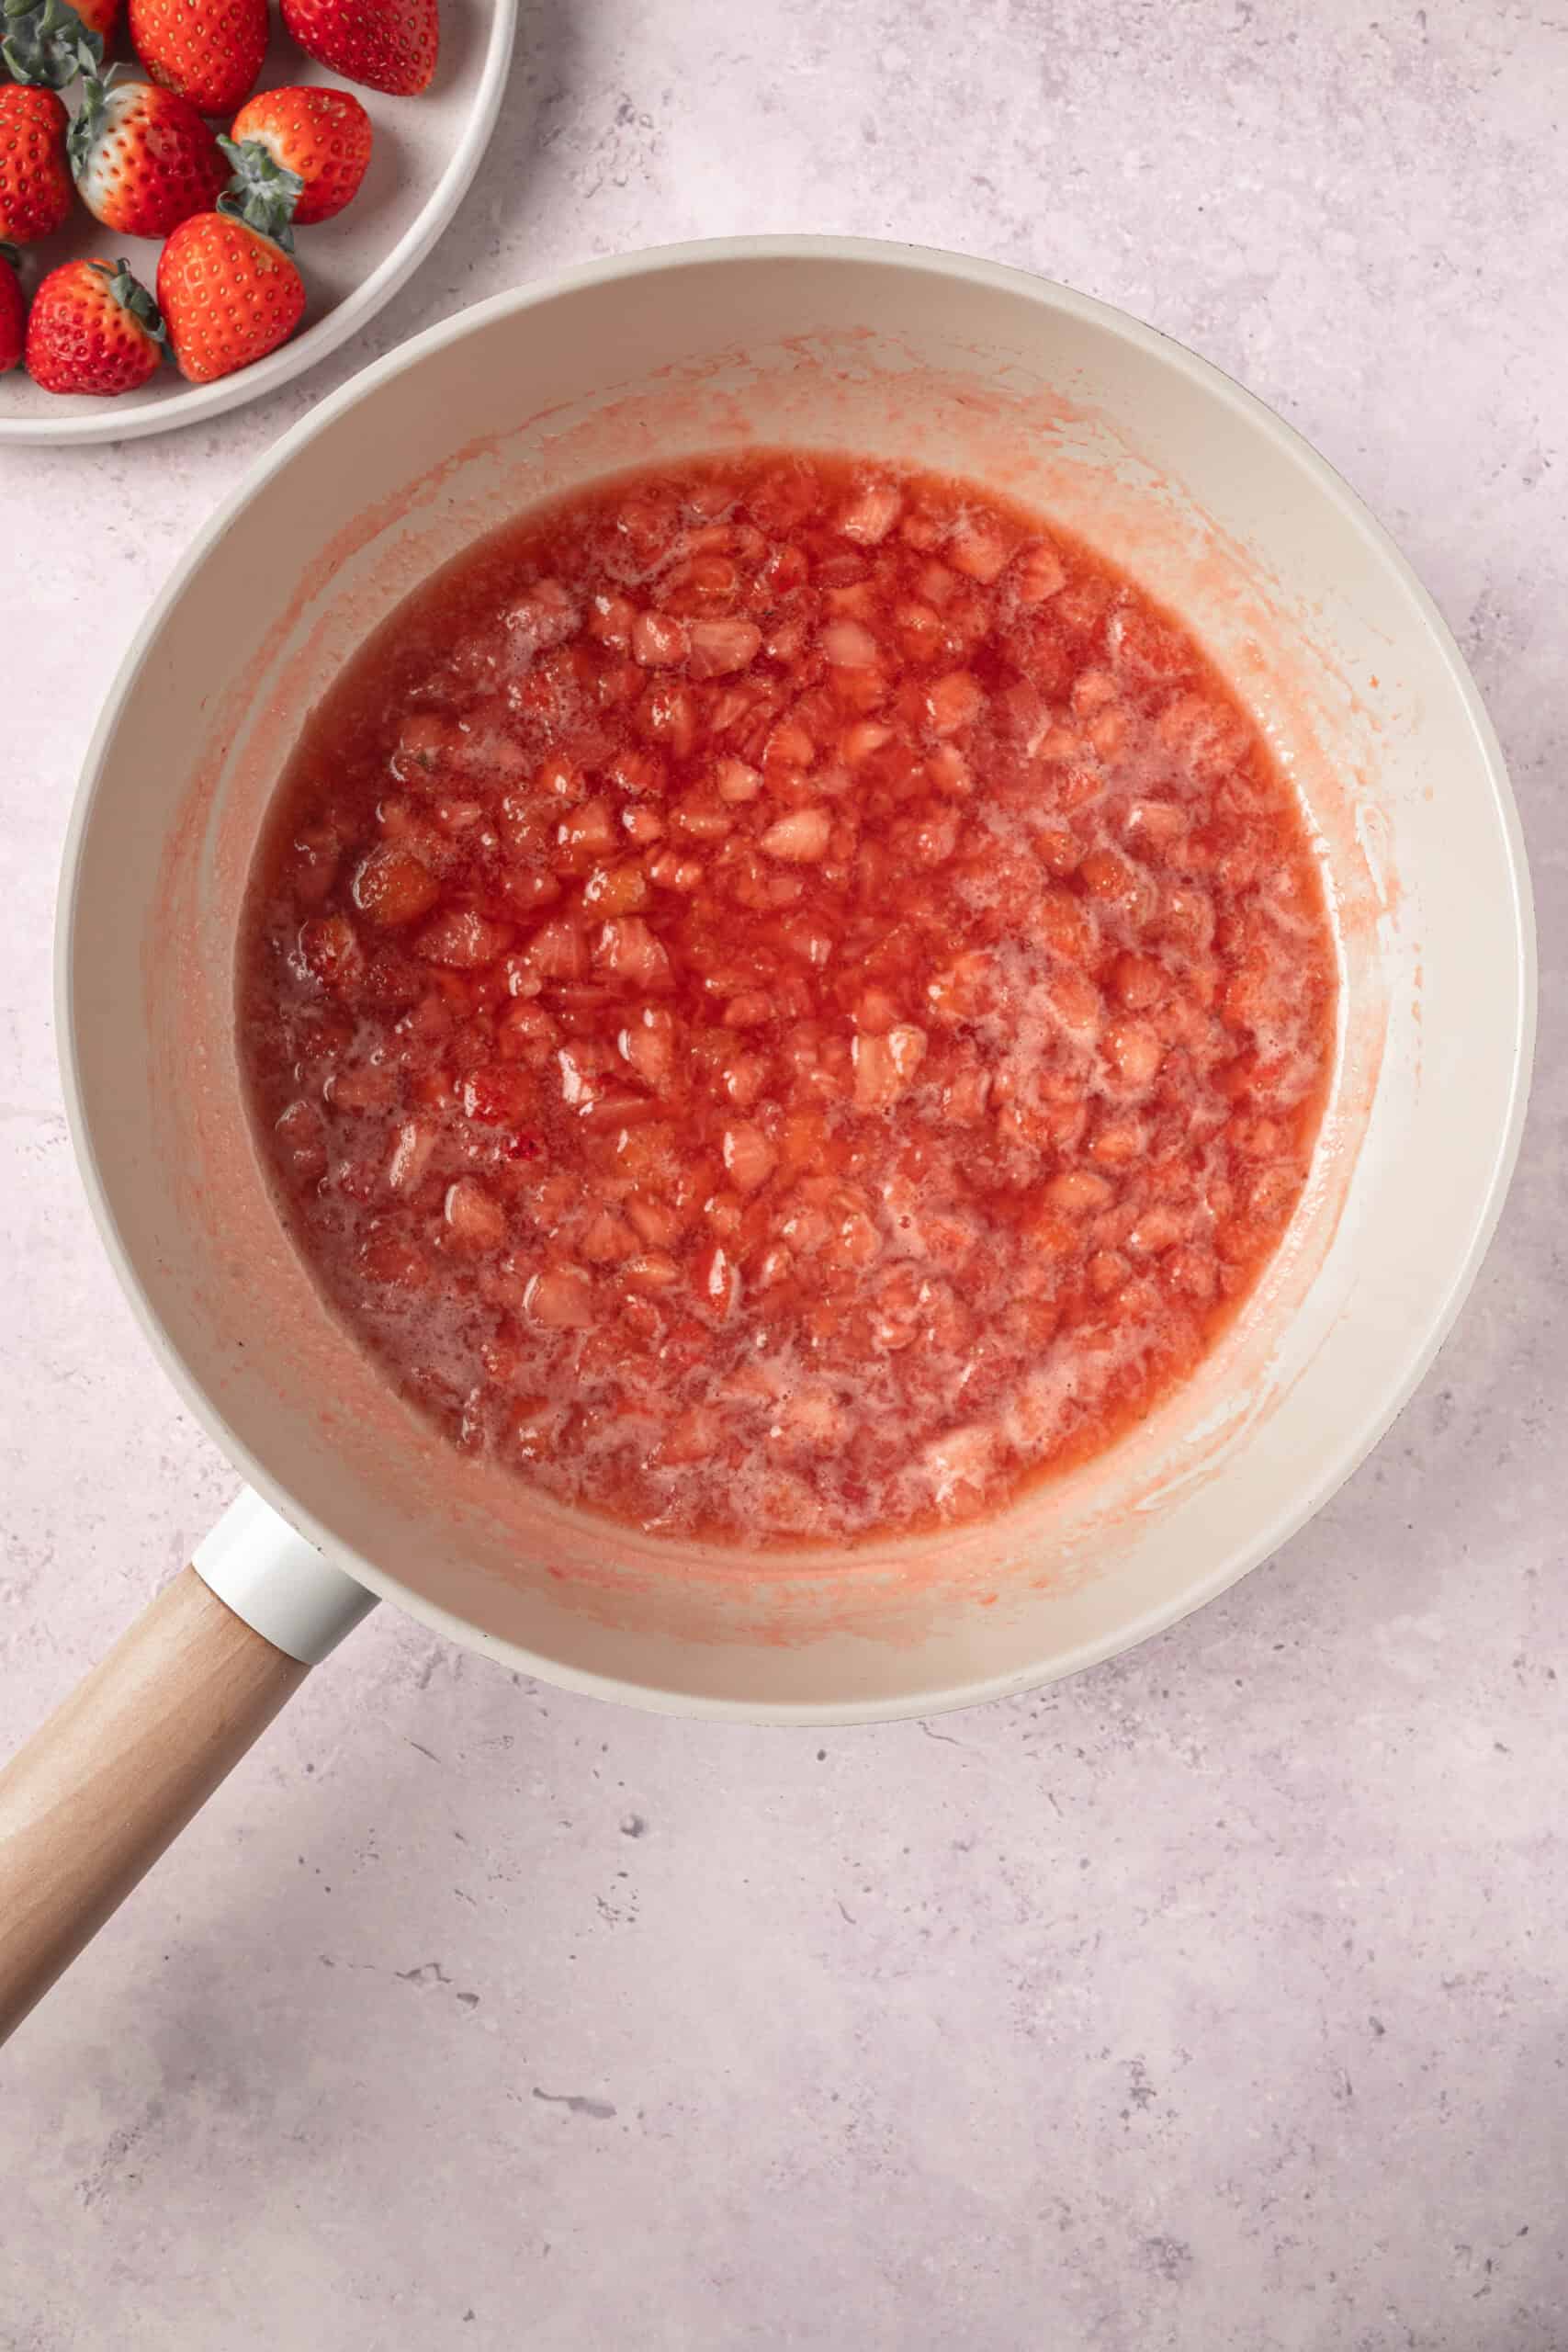
- In a medium saucepan, combine strawberries, sugar, water, and lemon juice.
- Heat the mixture on medium-high until it boils, stirring occasionally until the sugar is fully dissolved.
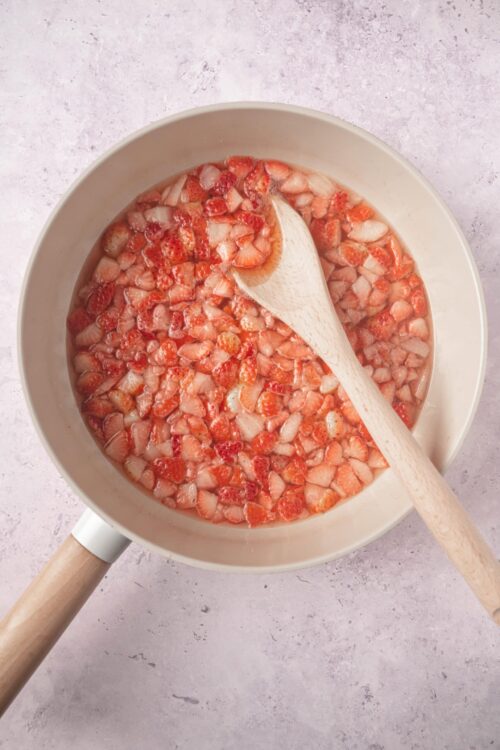
- Reduce heat to medium-low and simmer for 15-20 minutes, until strawberries are soft and the syrup thickens.

- Remove from heat and let it cool slightly.
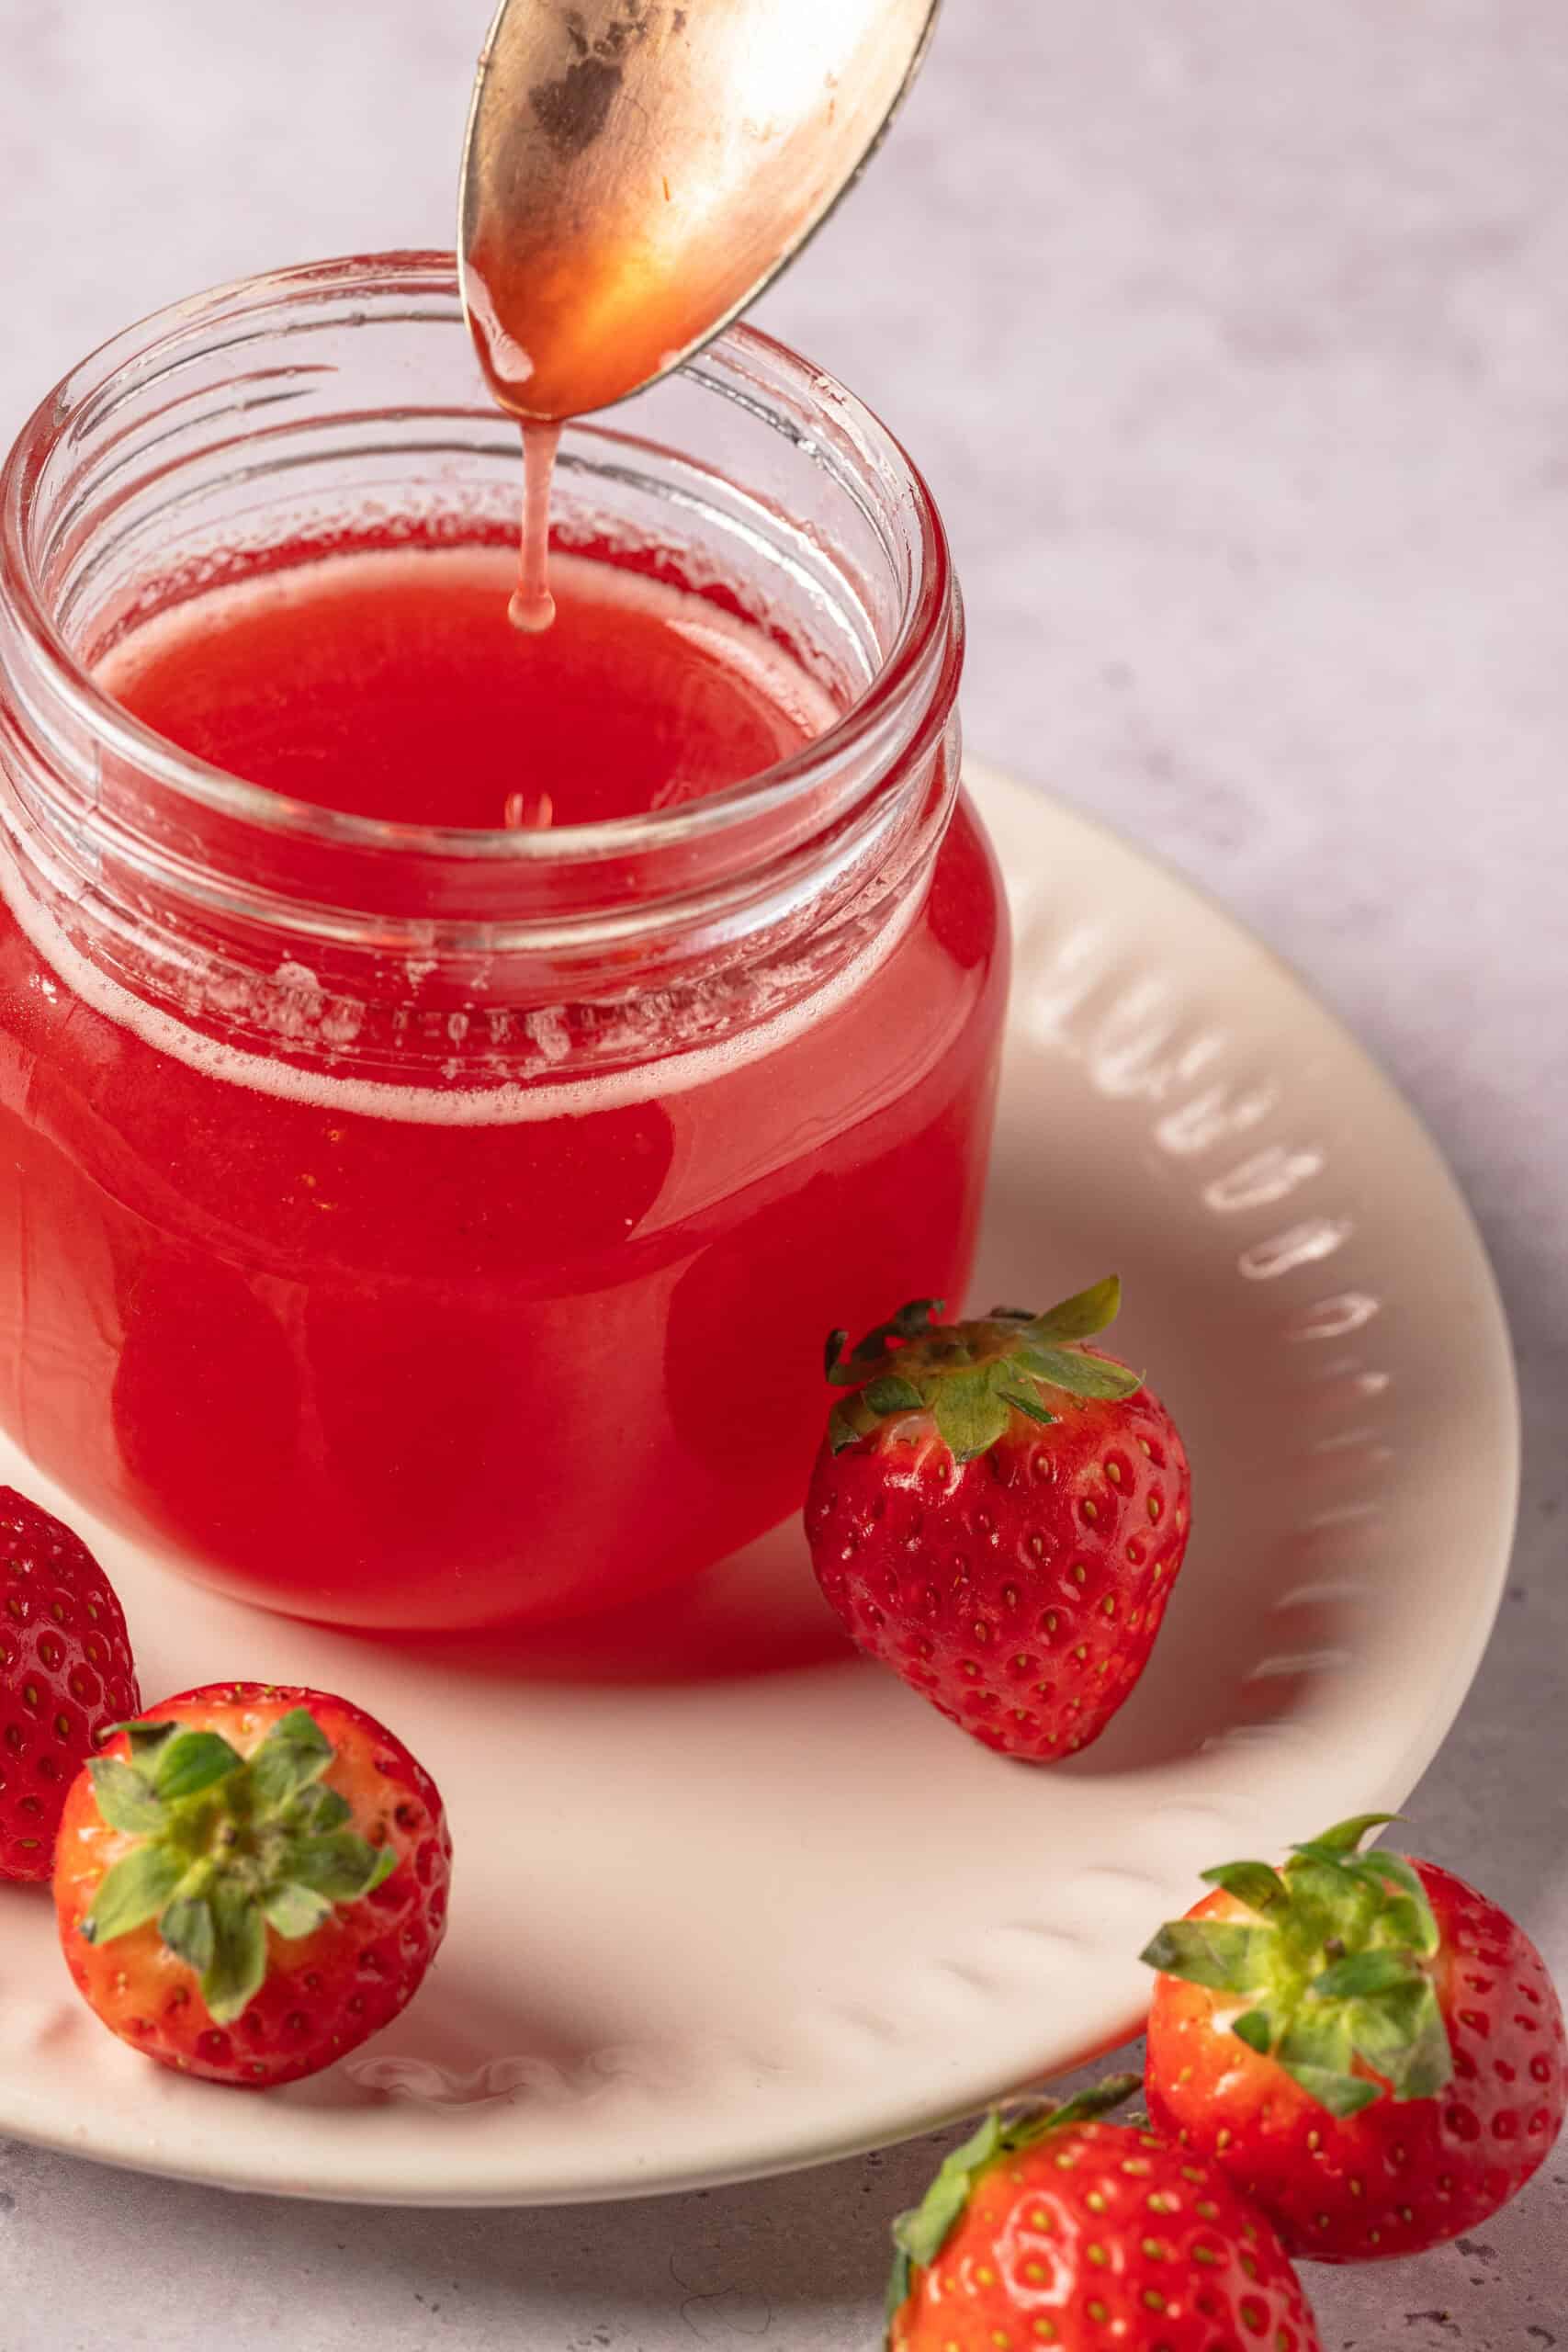
- Pour the mixture through a fine mesh sieve into a clean container, gently pressing to extract the syrup. Discard the solids.
- Let the syrup cool completely before storing it in the refrigerator.

Leave a Comment