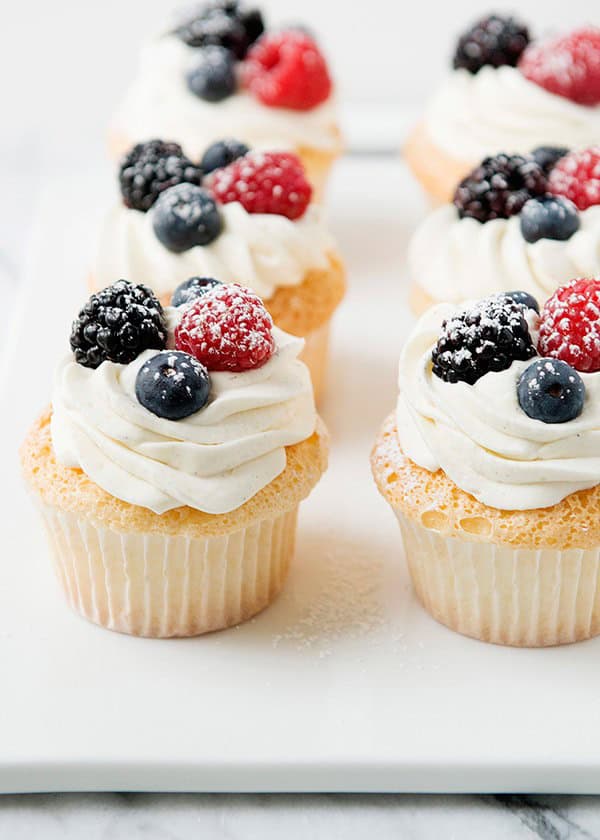
Whipped cream is a beautiful thing. You can keep it simple. Or you can dress it up. It can really take something simple and make it elegant and over the top. And there is a secret to make it last longer, you can stabilize it!
I used to work in a restaurant where we had to whip cream by hand. Every night. Sometimes more than once. In August. It would be ungodly hot. My arms would burn. I would whine. And complain. After what felt like forever, the cream would finally come together and make soft peaks. It was a beautiful thing. I am not sure why the chef was so adamant about the cream being whipped by hand, but he was. He was sort of crazy. But I loved working there and learned so much about food from them.
Anyway, back to whipped cream. Whipped cream is pretty much the perfect accompaniment for any dessert. It is light and fluffy and sweet and full of vanilla or whatever flavor you want it to taste like. It is perfection on ice cream, a pie, a cobbler, or a bowl of berries. Or straight up on a spoon.
- Apple pie with cinnamon whipped cream? Yes, please.
- Blueberry cobbler with a lemon cream? Oh yeah.
- Pumpkin pie with bourbon whipped cream? Bring it on.
Why I Decided to Make This Recipe?
I know what you are thinking. Do we really need a recipe for whipped cream? No, of course, you don’t. But for some reason, I didn’t know that you could make whipped cream even better than it already is. You can make it last longer. You can stabilize it to keep its shape and so much easier to work with. Why didn’t someone tell me this ages ago?
There are a few ways that you can do this:
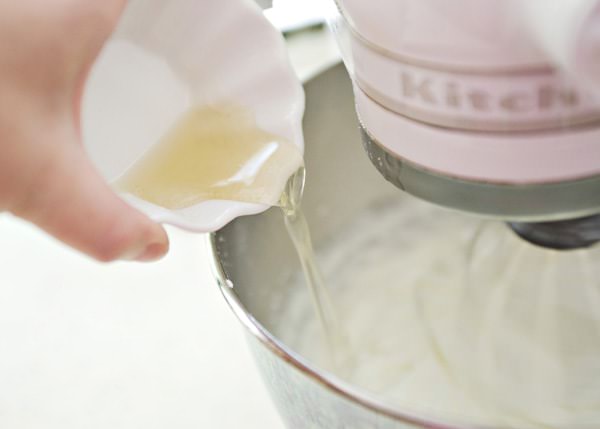
- You can use the gelatin method, this is what I have done in this recipe. Add one teaspoon of bloomed gelatin to peaked whipped cream.
- You can use a packaged stabilizer like Whip-it. I happen to love this product. You just sprinkle the Whip-it over the cream and let it go. It works some sort of magic.
- You can go with the cornstarch method. Add a Tablespoon of cornstarch to every cup of cream and add the cornstarch after the cream comes to soft peaks.
Tips & Tricks
- You can either just dollop it on things, or you can be fancy and put it in a pastry bag and pipe it.
- When you stabilize the whipped cream, you get more time out of it before it starts to get watery.
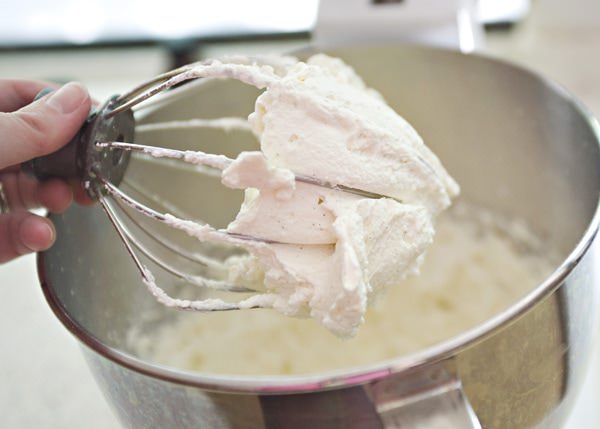
- Do not over whip the whipped cream or it will start to curdle. The cream is done when peaks hold.
Seriously, why didn’t anyone tell me about this years ago?

Homemade Whipped Cream
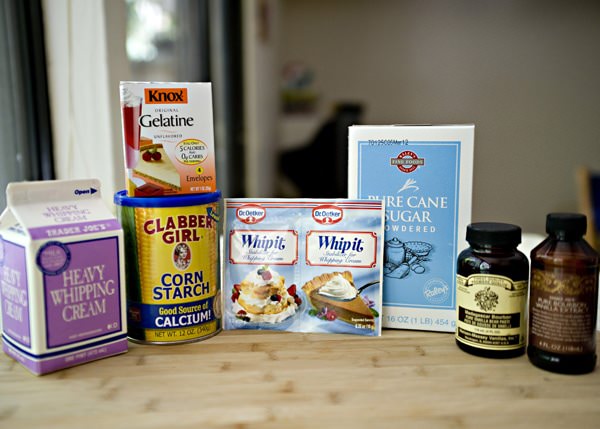
Ingredients
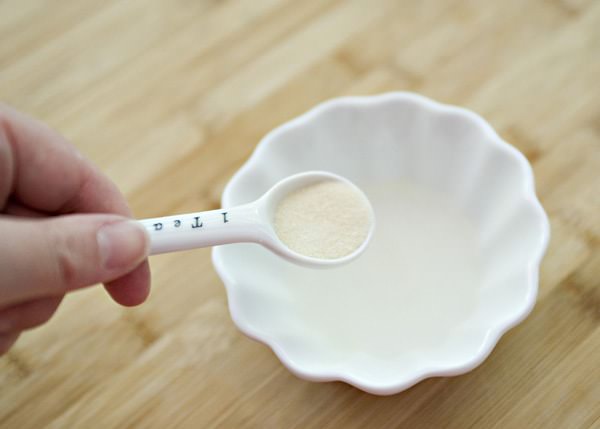
- 1 teaspoon unflavored gelatin
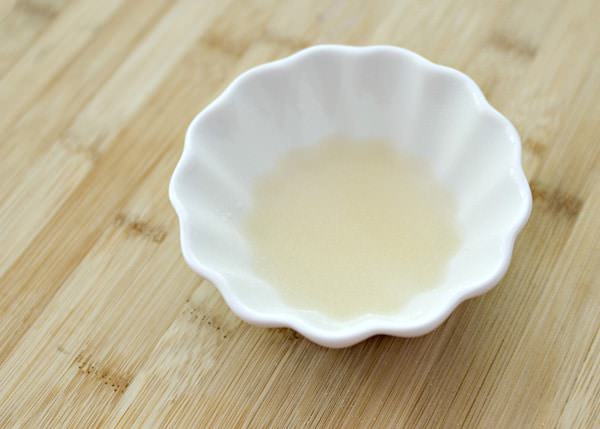
- 1 tablespoon cold water
- 1 cup cold heavy or whipping cream
- 3 tablespoons sugar
- 1 teaspoon vanilla
Instructions
How To Make Bloomed Gelatine
- Sprinkle the gelatin over cold water.
- Let the gelatin stand for a minute or so until the gelatin is absorbed by the water.
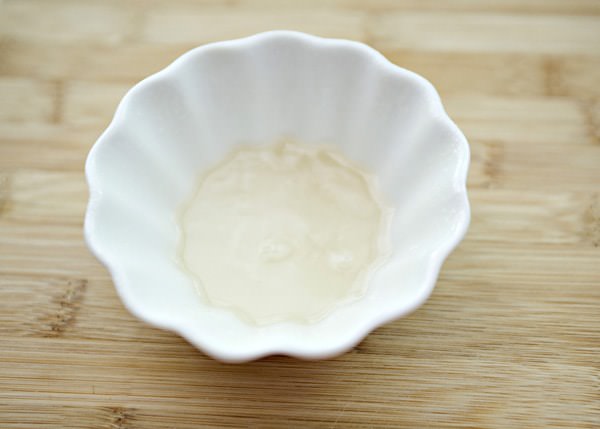
- Microwave the gelatin for about 30 seconds at high heat. The gelatin will be clear and melted. Now you can use it to stabilize your whipped cream.
How To Make Stabilized Whipped Cream
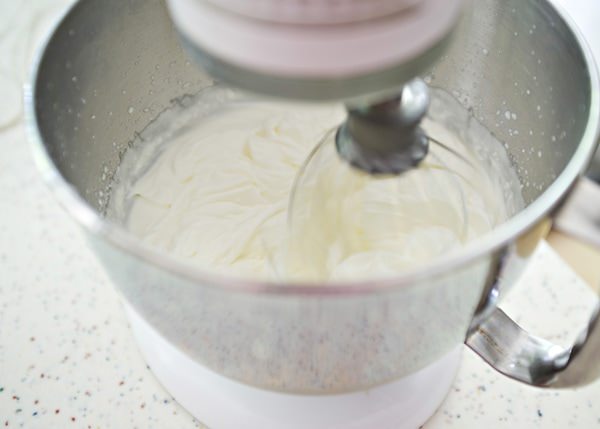
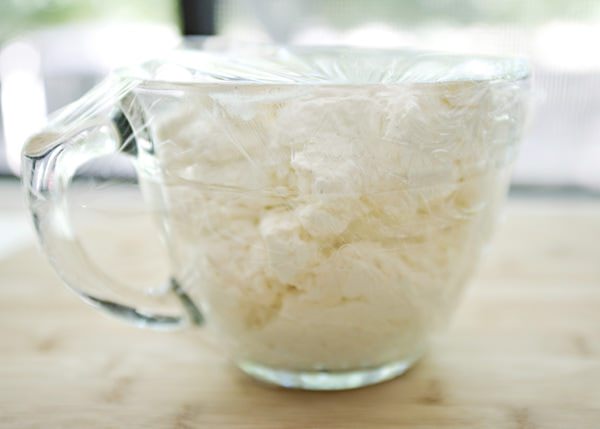
- In the bowl of a mixer, beat the cream until it gets thick and starts to form peaks. Gradually make your way to high speed otherwise you will be wearing it. And so will your counters, ceiling, floors, you get the idea.
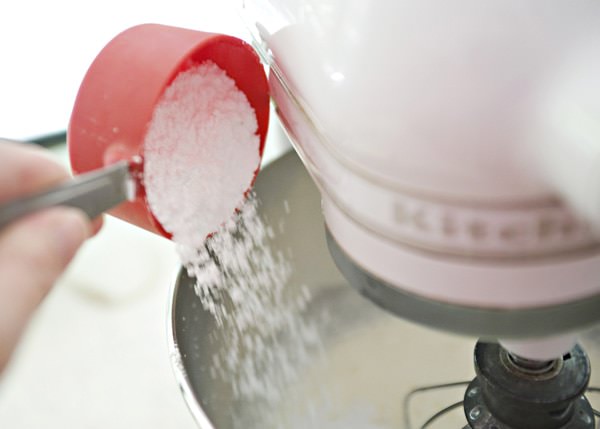
- Gradually add in your sugar. I used confectioners sugar here, but usually I am too lazy and use plain old granulated sugar.
- Add in your stabilizing agent of choice. (If you are using Whip-it though, that goes in first.)
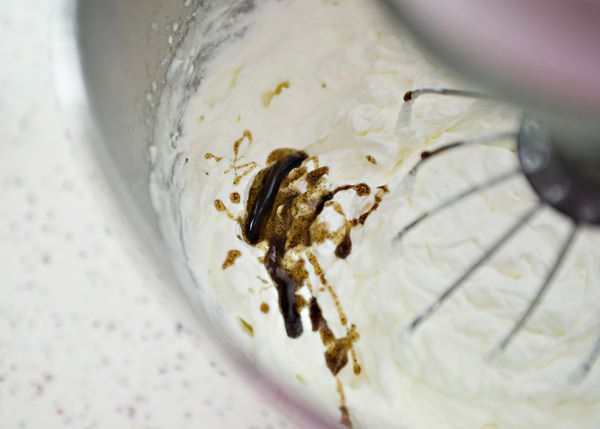
- Flavor it however you want. I am loving vanilla bean paste right now so I am using it in everything.

Leave a Comment