Love red velvet cake? Then you will adore Red Velvet Cookies!
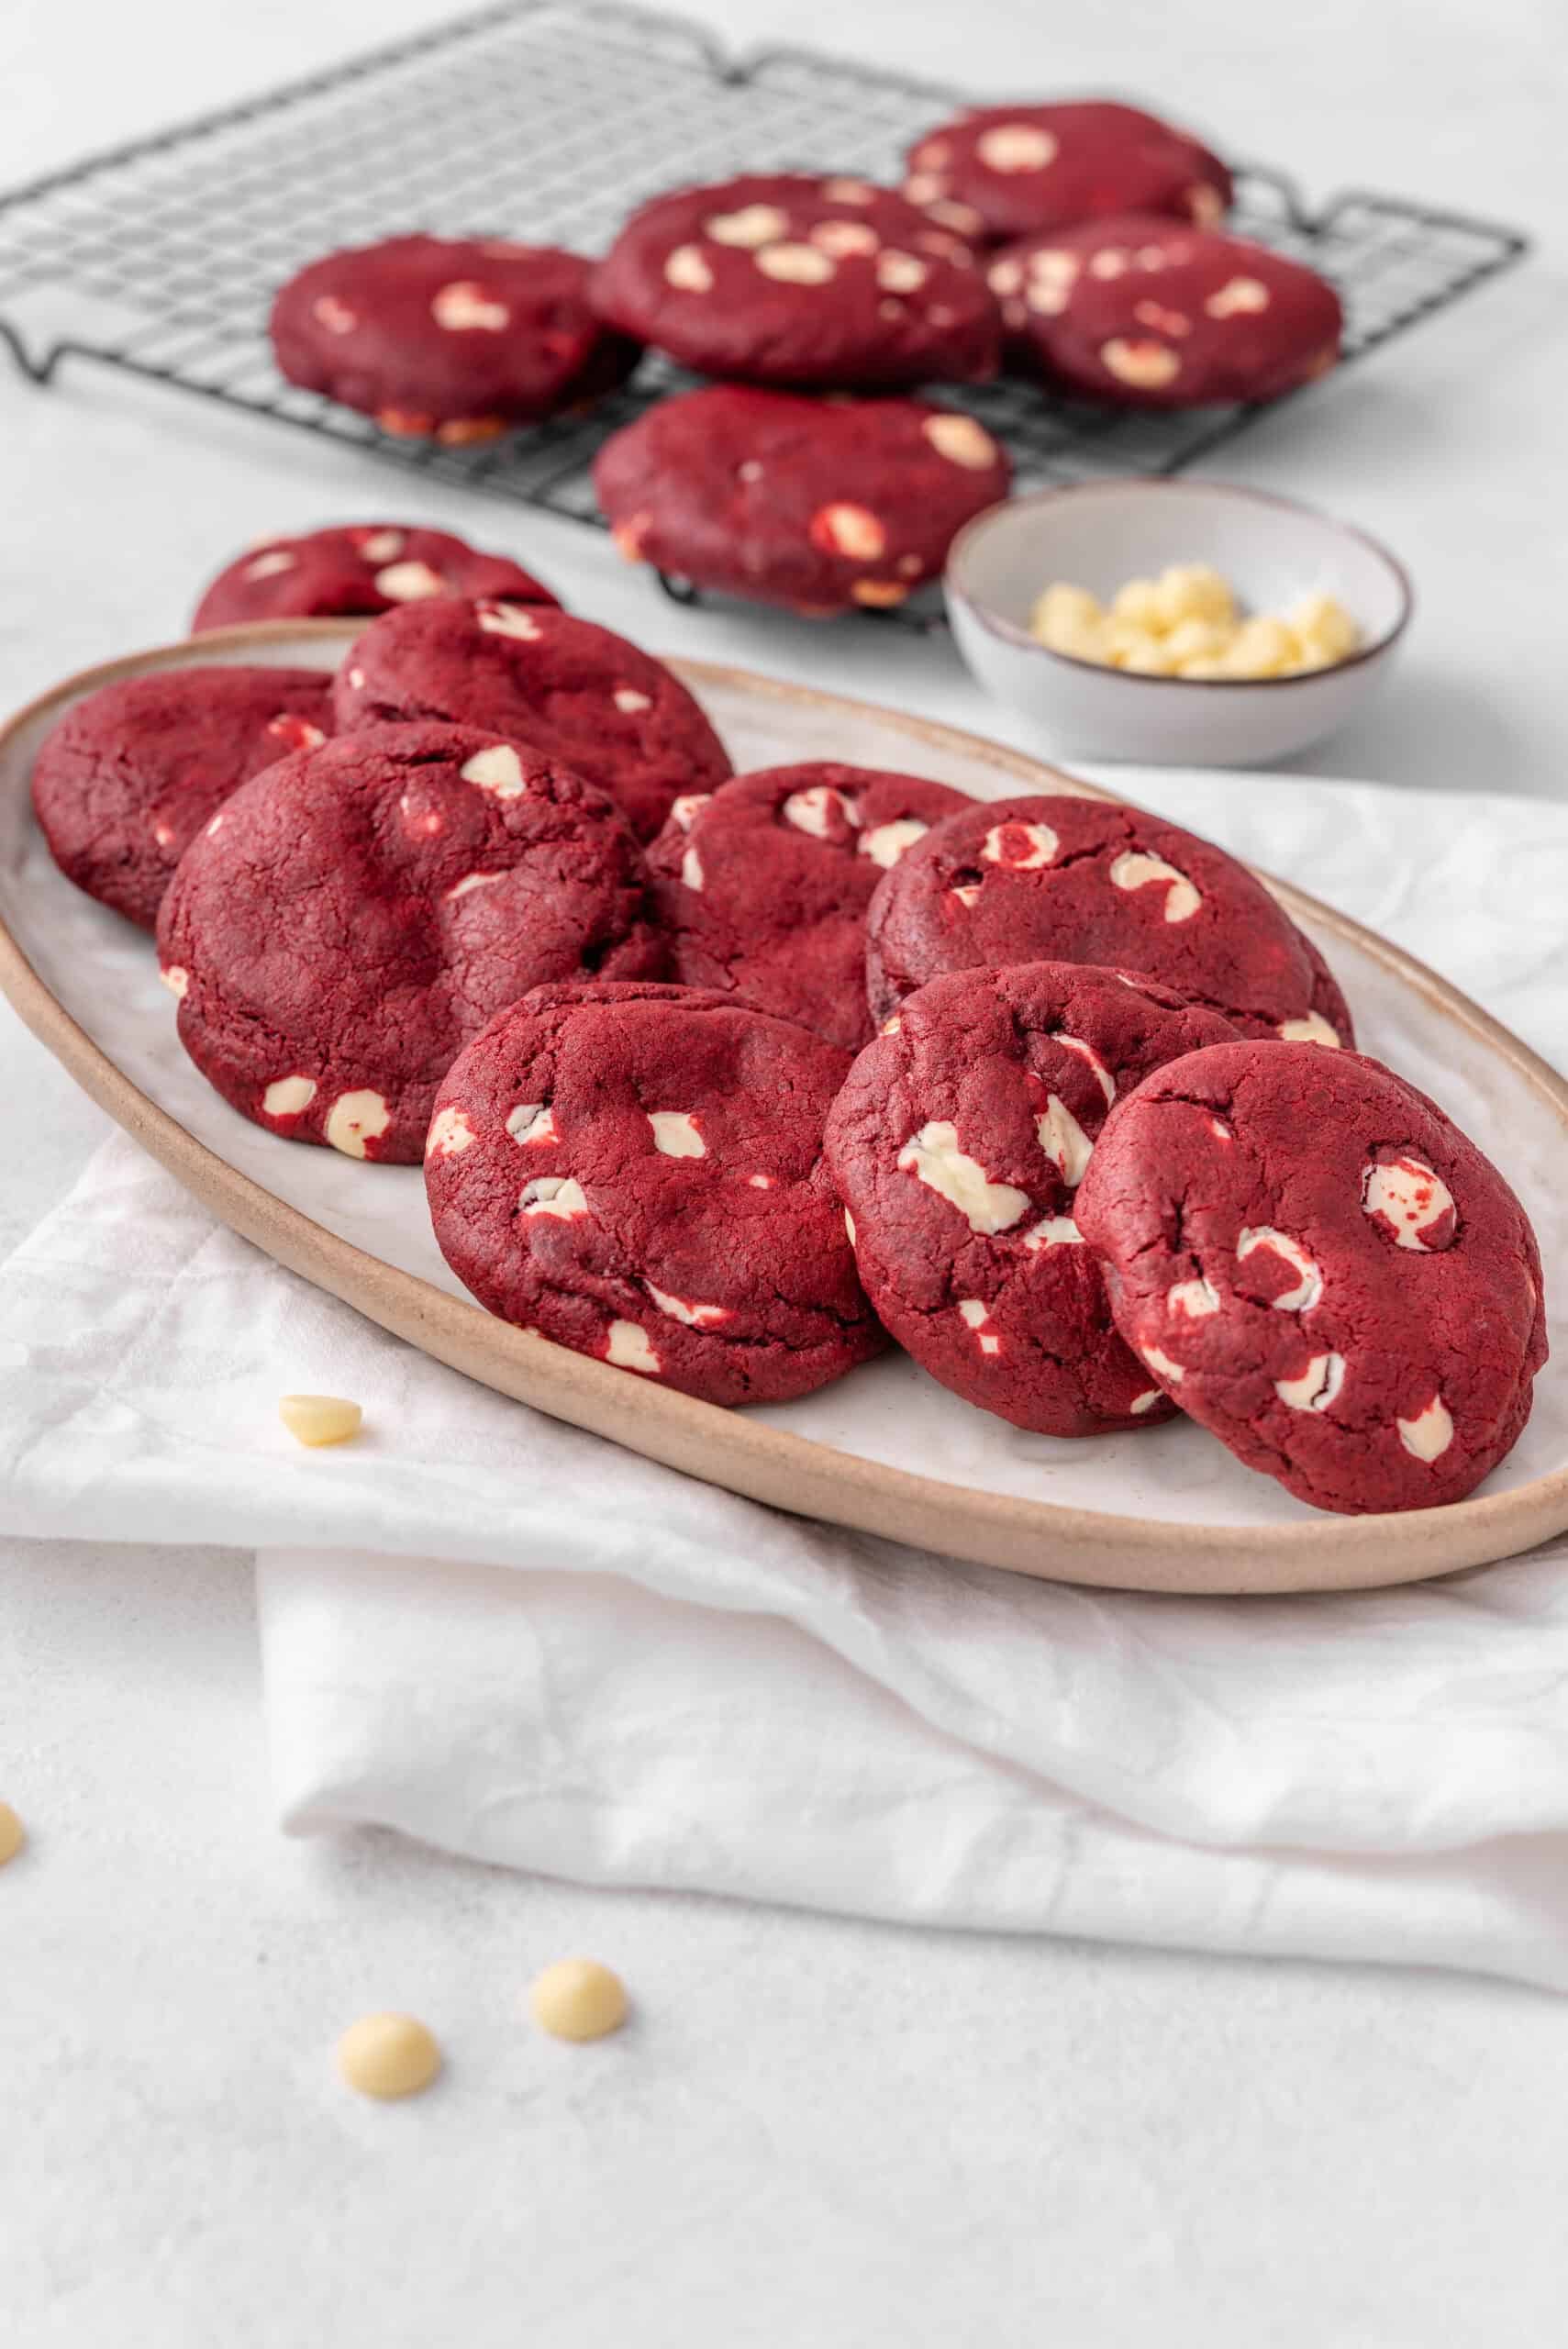
If you love that Southern classic, red velvet cake, with its smooth texture and chocolaty undertones, then you have to try red velvet cookies. These cookies have the flavors of red velvet cake but the texture of a perfectly baked chocolate chip cookie, so you get the best of both worlds: cake and cookie! Because sometimes a cookie or two is all you want, versus an entire cake (not that I couldn’t chip away at an entire cake!).
The basis for these cookies, red velvet cake, has a long and winding history stretching back to the Victorian era. Baking experts have different theories on its origins and development. Basically, the “velvet” part of its name is because of the soft crumb it’s known for, which was much smoother than the traditional yellow cakes of the 19th century. The “red” part of its name has sparked various theories, but in the end it also has less to do with its flavor and more to do with a hallmark of the cake itself. The cookie version is a newer but welcome descendant of the classic cake.
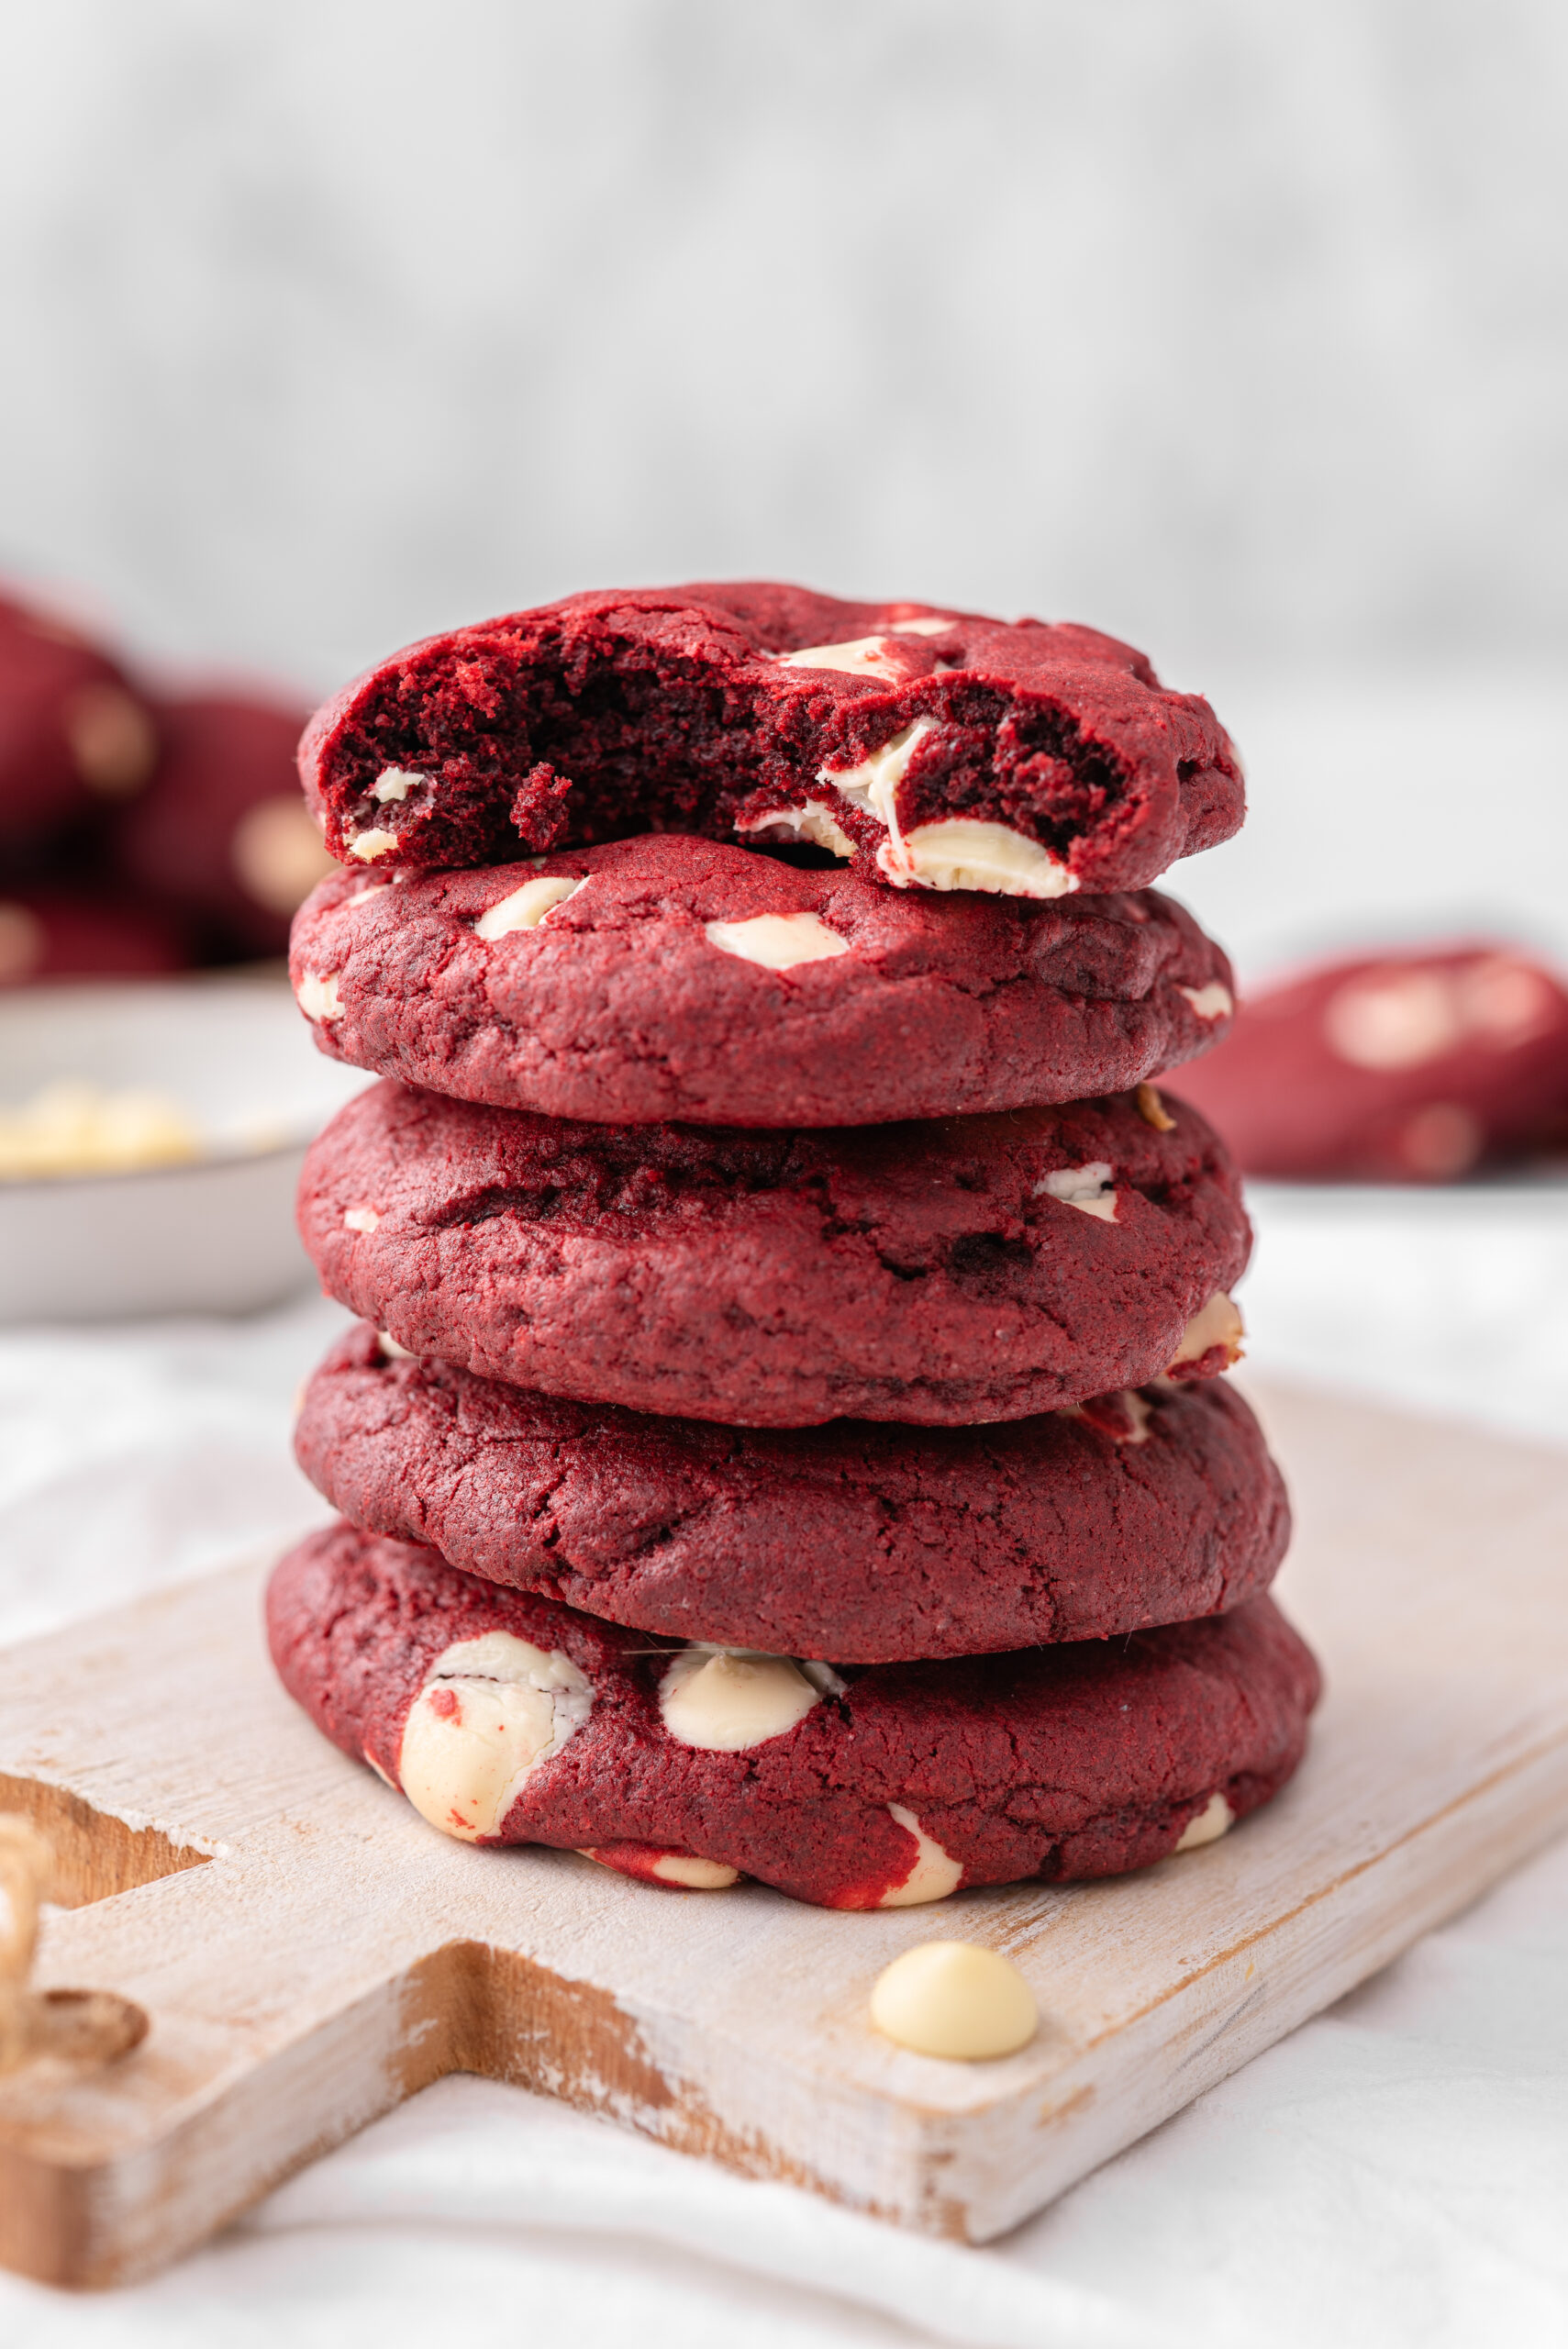
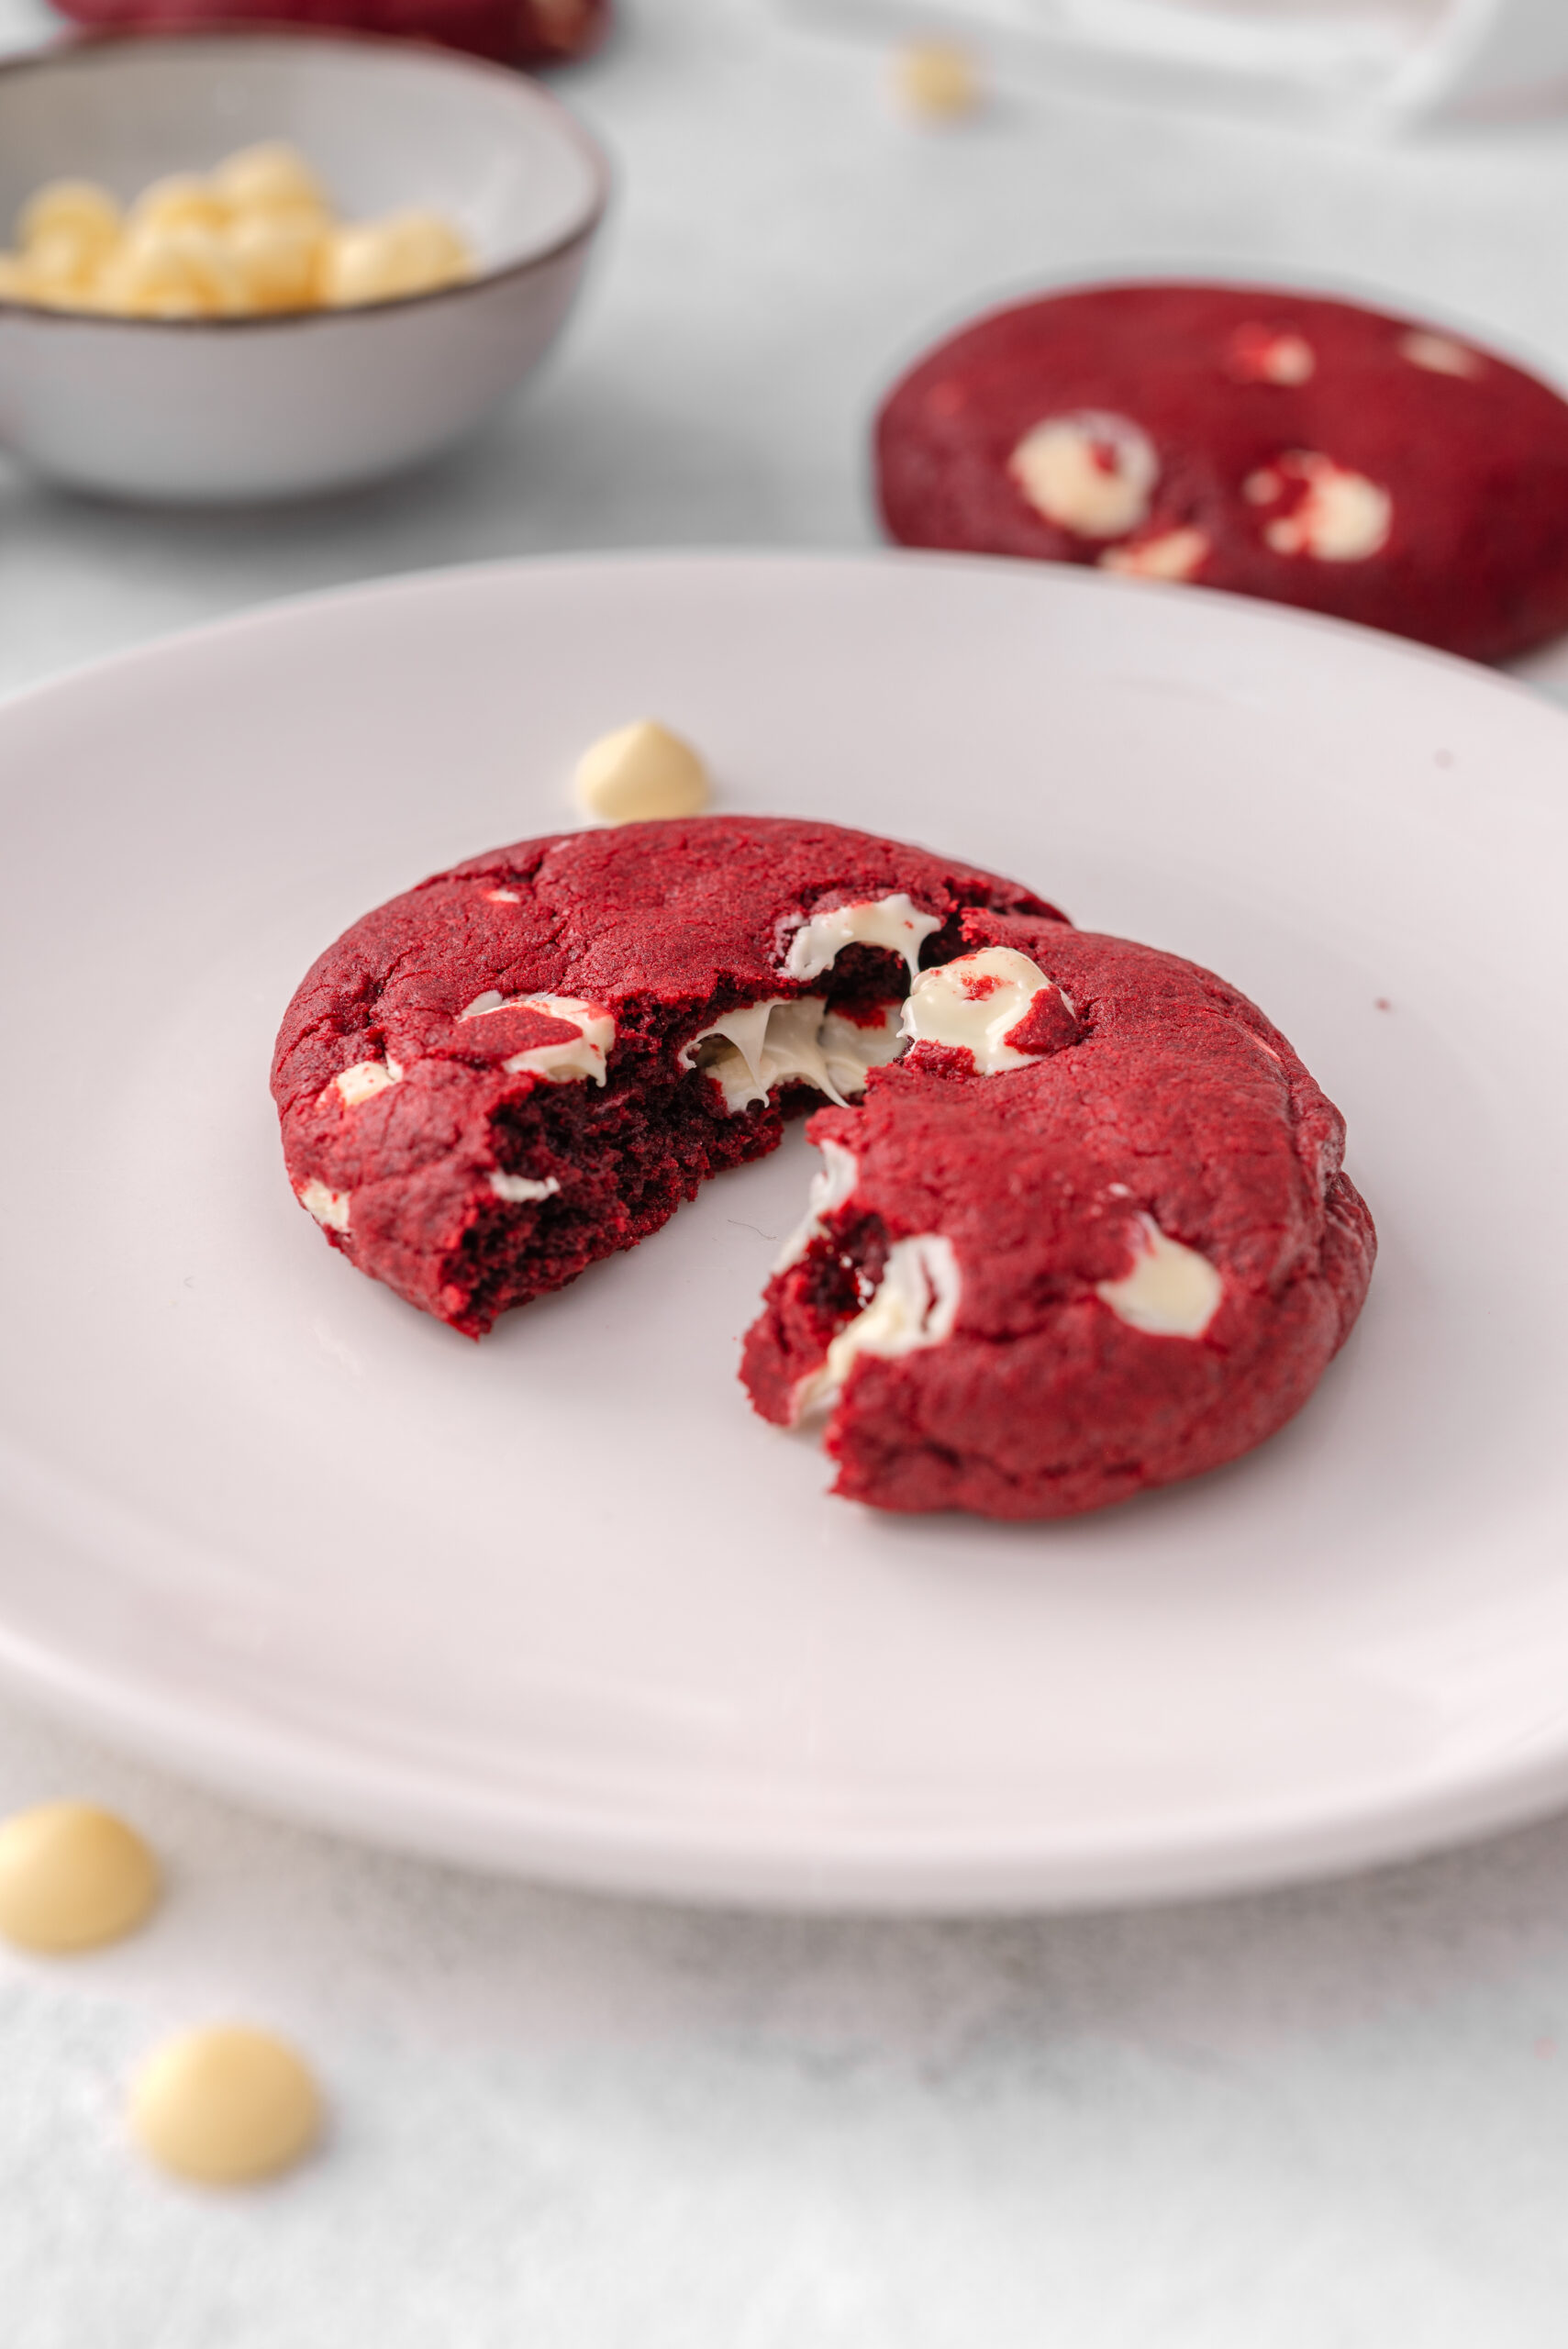
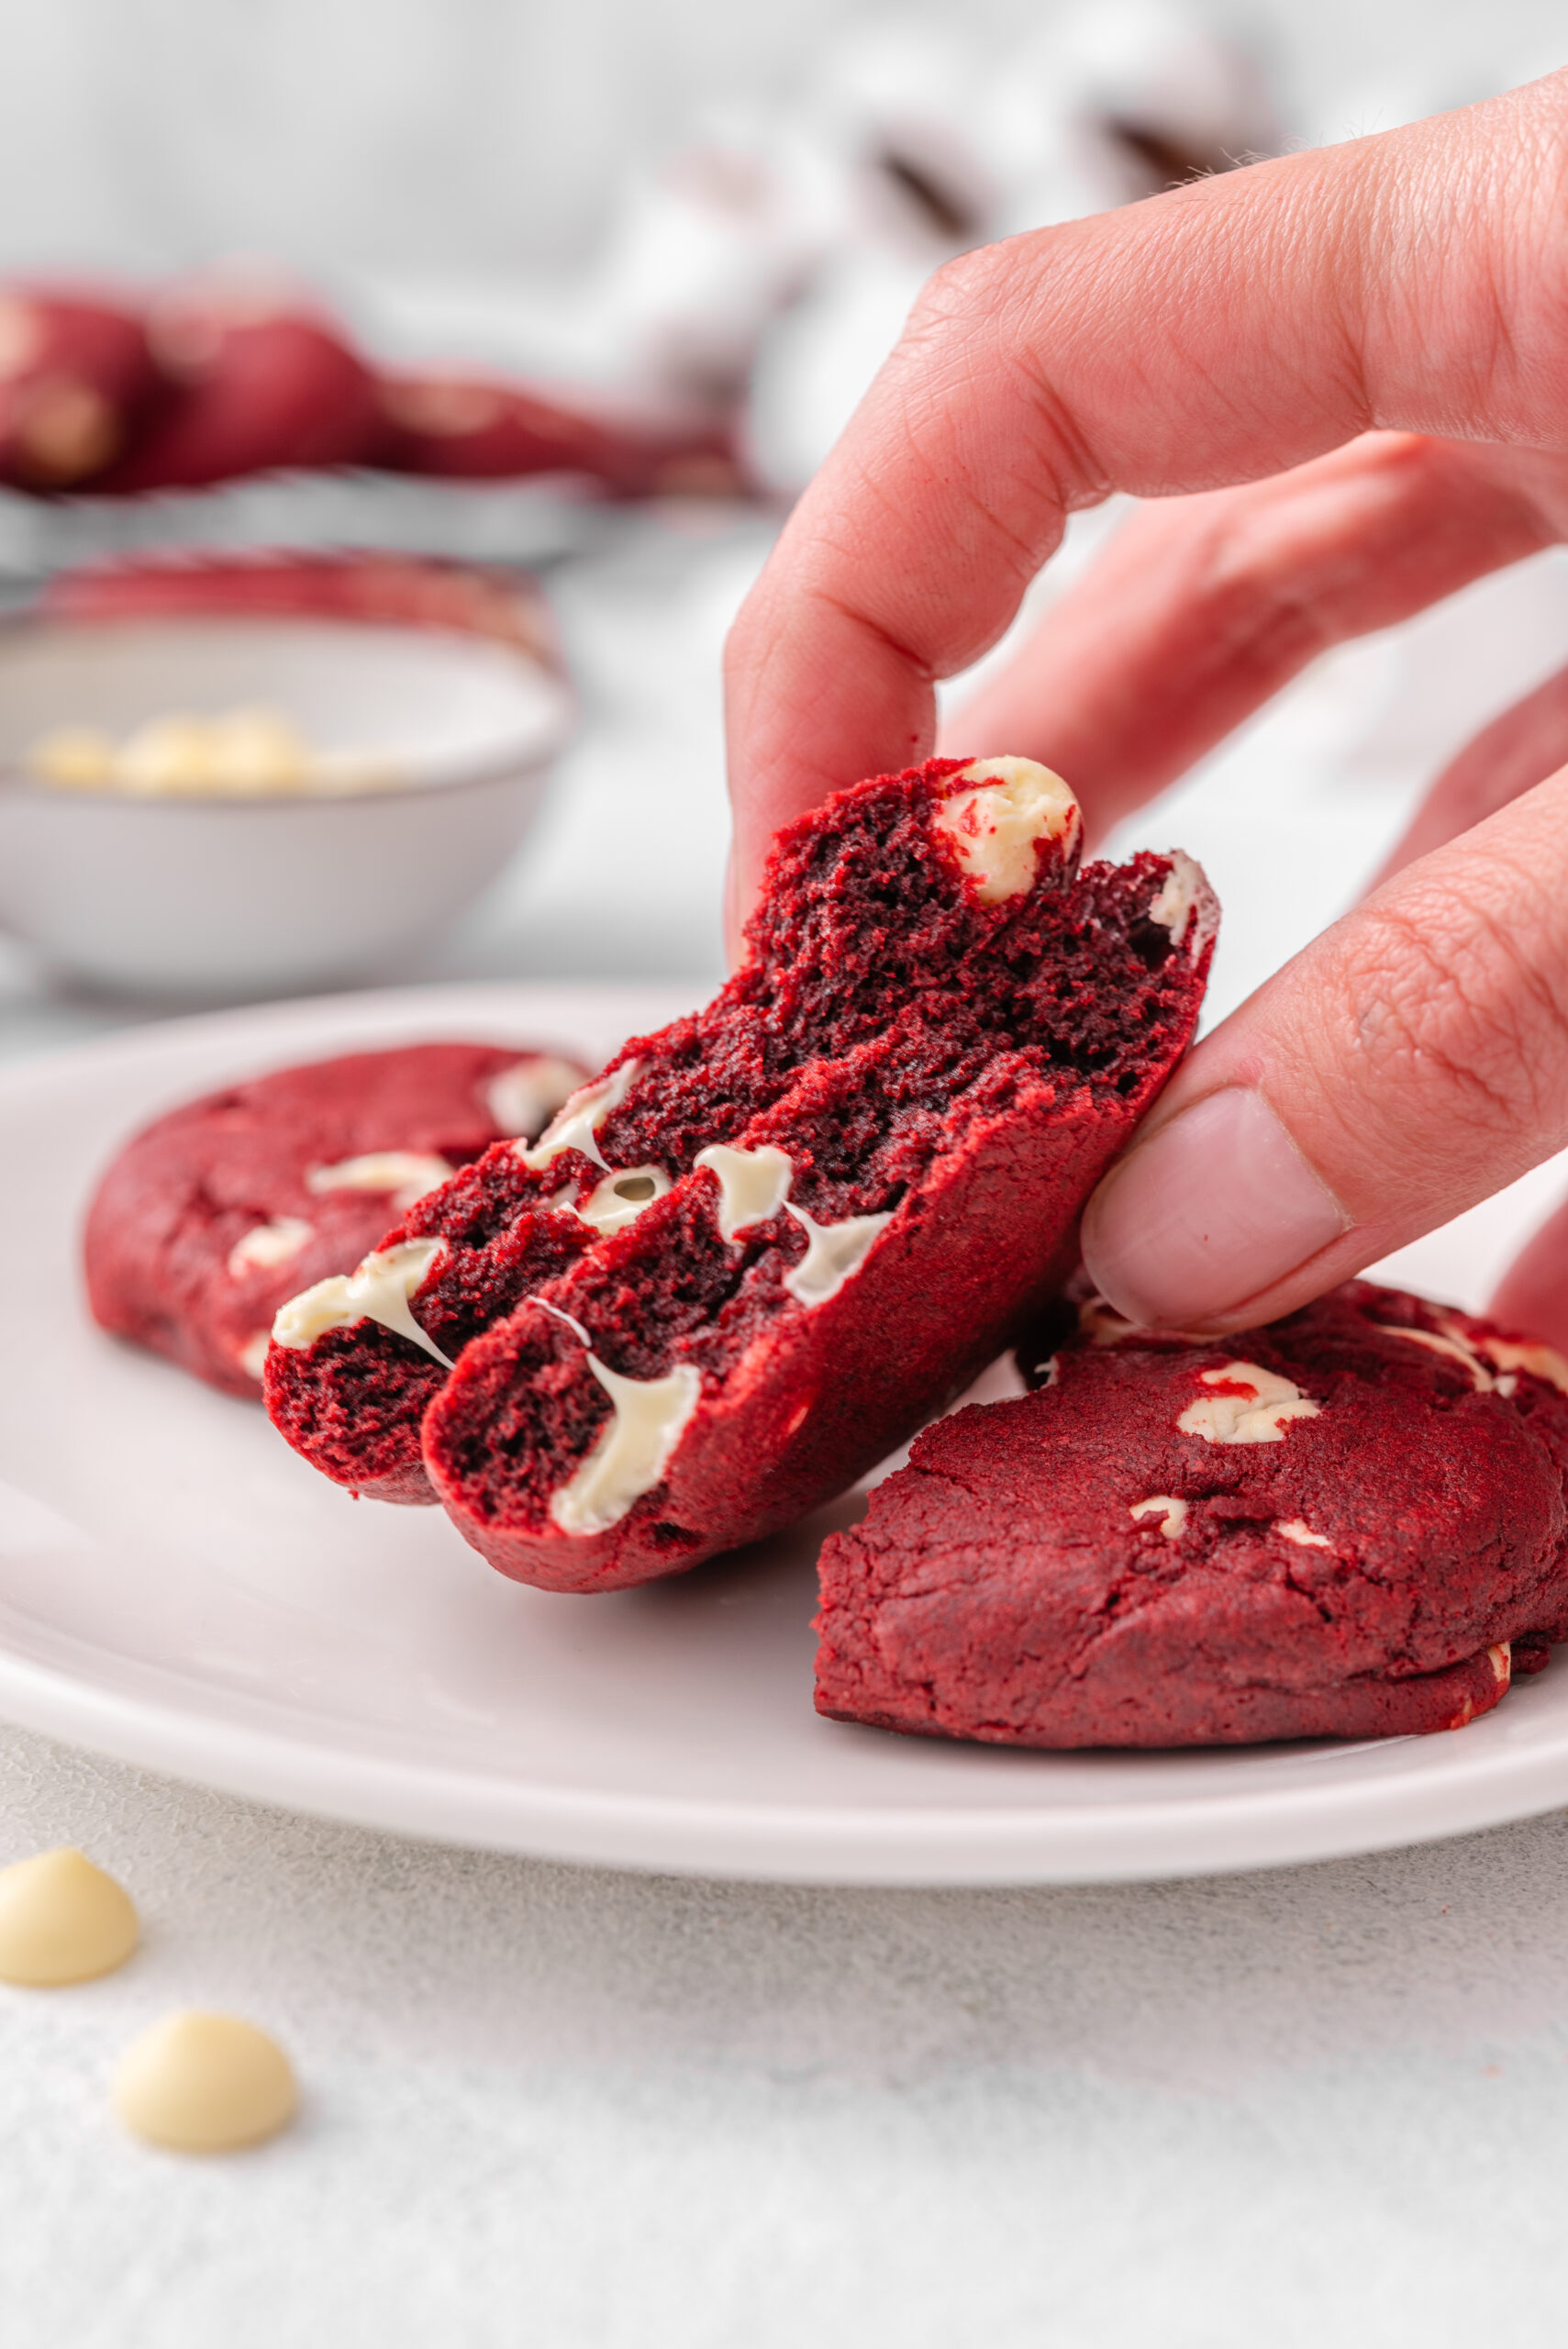
You will love making red velvet cookies because it’s a super-easy process (hint: no chilling time required!), the rich, chocolate flavor of the cookie is punctuated by the sweet white chocolate chips, and the texture is so good. The insides stay soft and chewy, while the outer edges crisp up just perfectly. Bonus: these cookies store in the freezer very well, so you can make a big batch and freeze some to enjoy later!

Cocoa powder 101
When you cook with cocoa powder, you can always reach for the standard unsweetened cocoa powder, like Hershey’s classic powder. This cocoa powder is perfectly acceptable for the majority of baked goods calling for it. However, if you want to boost the chocolate flavor, consider Dutch process unsweetened cocoa powder. This is a slightly different product than Hershey’s. The “Dutch-process” refers to how the cocoa powder is made, and it results in a less acidic, less fruity chocolate flavor, closer to what we might call dark chocolate. For red velvet cookies, Dutch-process cocoa powder also produces a slightly redder color, which is a good thing, too!
How do I store leftovers?
Red velvet cookies will freeze very nicely. Simply place the baked, cooled cookies on a baking sheet and flash freeze for about 45-60 minutes. Then place them into a resealable freezer bag or airtight container. Freeze for 4-6 weeks. Thaw at room temperature before serving. For storing leftovers, you can keep them at room temperature for about 1-2 days. You can also place them in the fridge, where they will keep for 4-5 days.
Serving suggestions
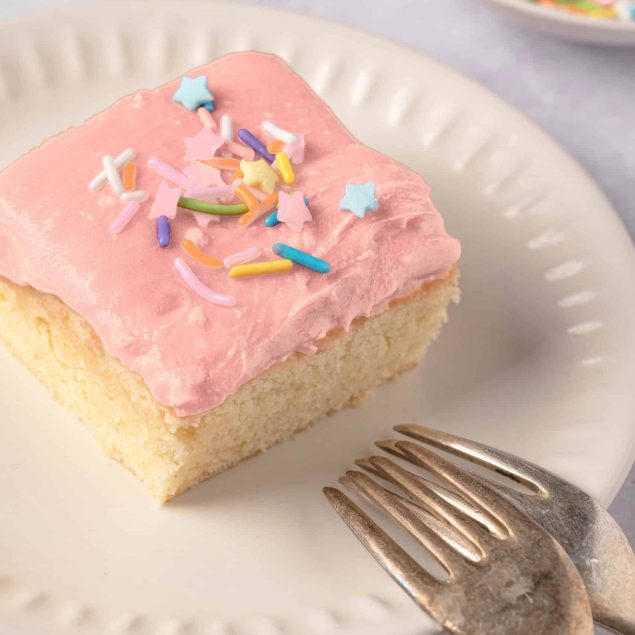
Red velvet cookies can be a little luxury treat with your afternoon coffee, or dress up a bake sale with their beautiful color. They also make for a wonderful Valentine’s treat for your sweetie or to take to school or work for a festive treat on the holiday. If you want to add frosting for a decadent touch, top with a dollop of Whipped Cream Cheese Frosting. For a holiday party, you can even toss a few sprinkles on top right after frosting for an adorable add-on.
As far as other cookies that pair well with red velvet cookies, it depends on the occasion, but good candidates include Frosted Sugar Cookies or Rocky Road Bars. For a Valentine’s treat, make a platter that includes red velvet cookies and chocolate-dipped strawberries for a beautiful presentation and delicious dessert.

Red Velvet Cookies
Ingredients
- 2 cups all-purpose flour
- 1/4 cup unsweetened cocoa powder
- 1 1/4 teaspoons baking soda
- 1/4 teaspoon salt
- 4 ounces unsalted butter softened
- 1 cup granulated sugar
- 1 large egg
- 2 1/2 teaspoons pure vanilla extract
- 1 tablespoon red food coloring
- 2 cups white chocolate chips
Instructions
- Preheat oven to 350°F. Line baking sheets with parchment paper.
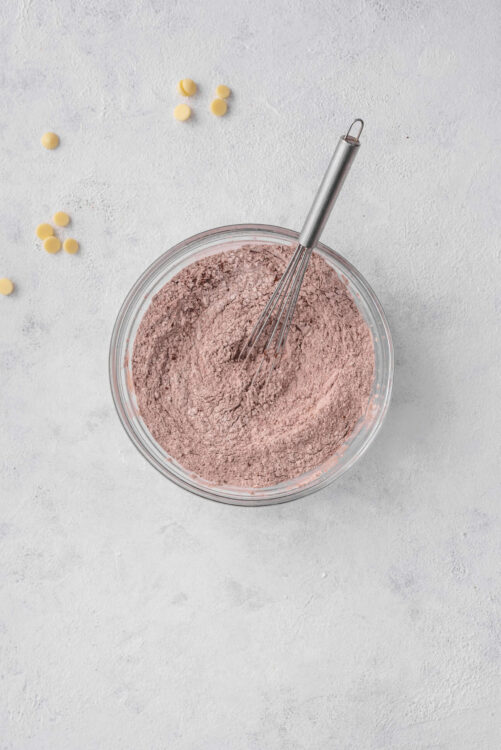
- In a medium bowl, whisk together the flour, cocoa powder, baking soda, and salt.
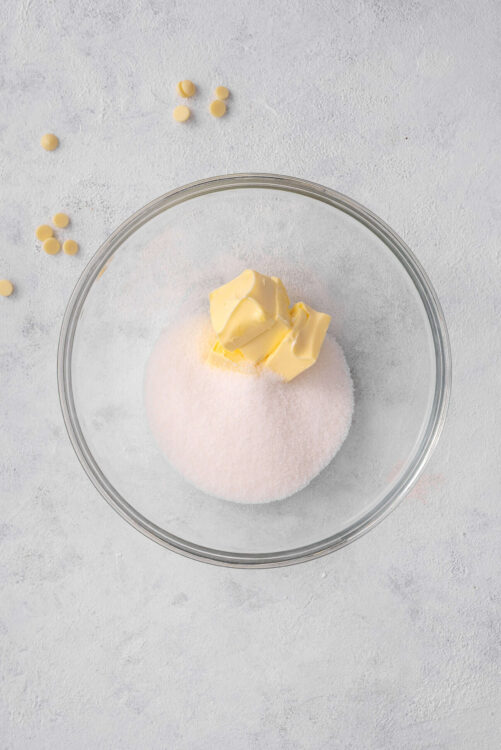
- In a large bowl, beat the softened butter and granulated sugar until creamy.
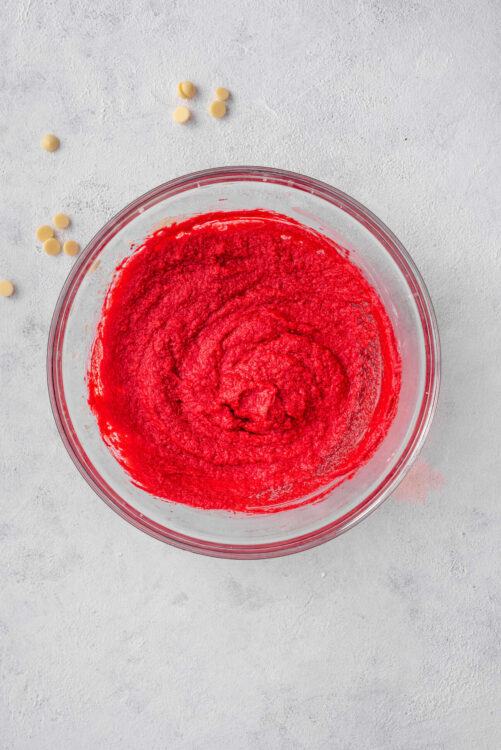
- Beat in the egg, then mix in vanilla extract and red food coloring until combined.
- Gradually add the dry ingredients to the wet ingredients, mixing until just combined.
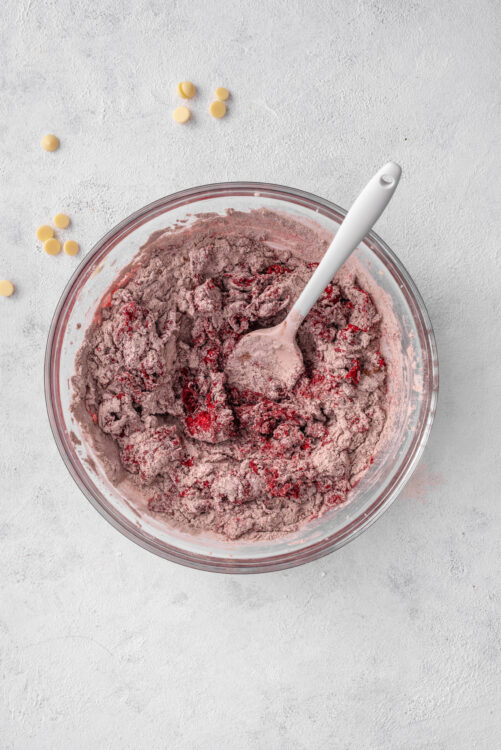
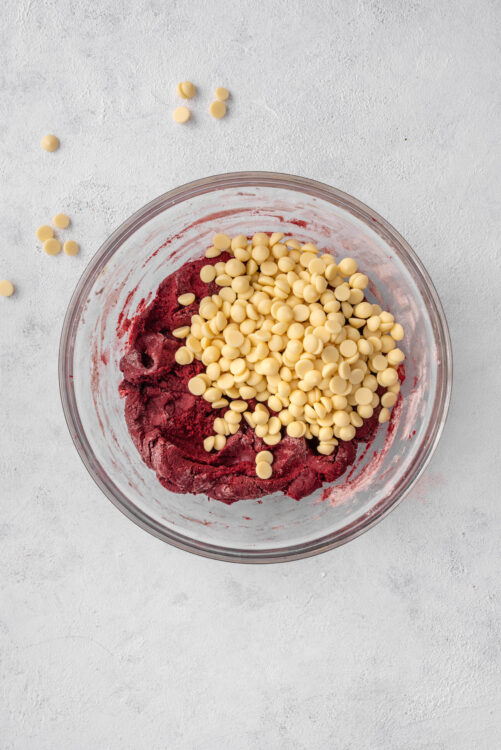
- Fold in the white chocolate chips.
- Drop tablespoon-sized balls of dough onto the prepared baking sheets, spacing them about 2 inches apart.
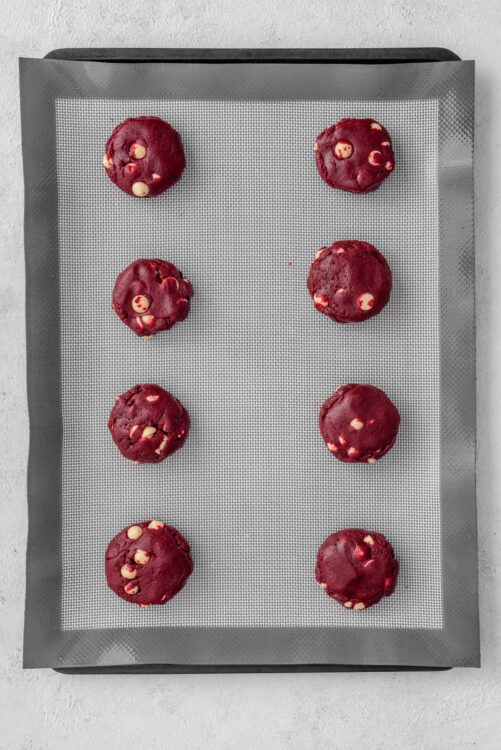
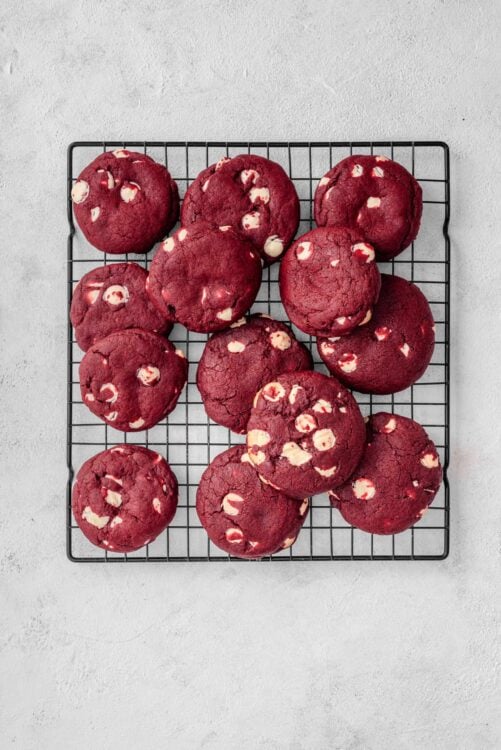
- Bake for 10–12 minutes or until the edges are set. Allow cookies to cool on the baking sheet for 5 minutes, then transfer to a wire rack to cool completely.

Leave a Comment