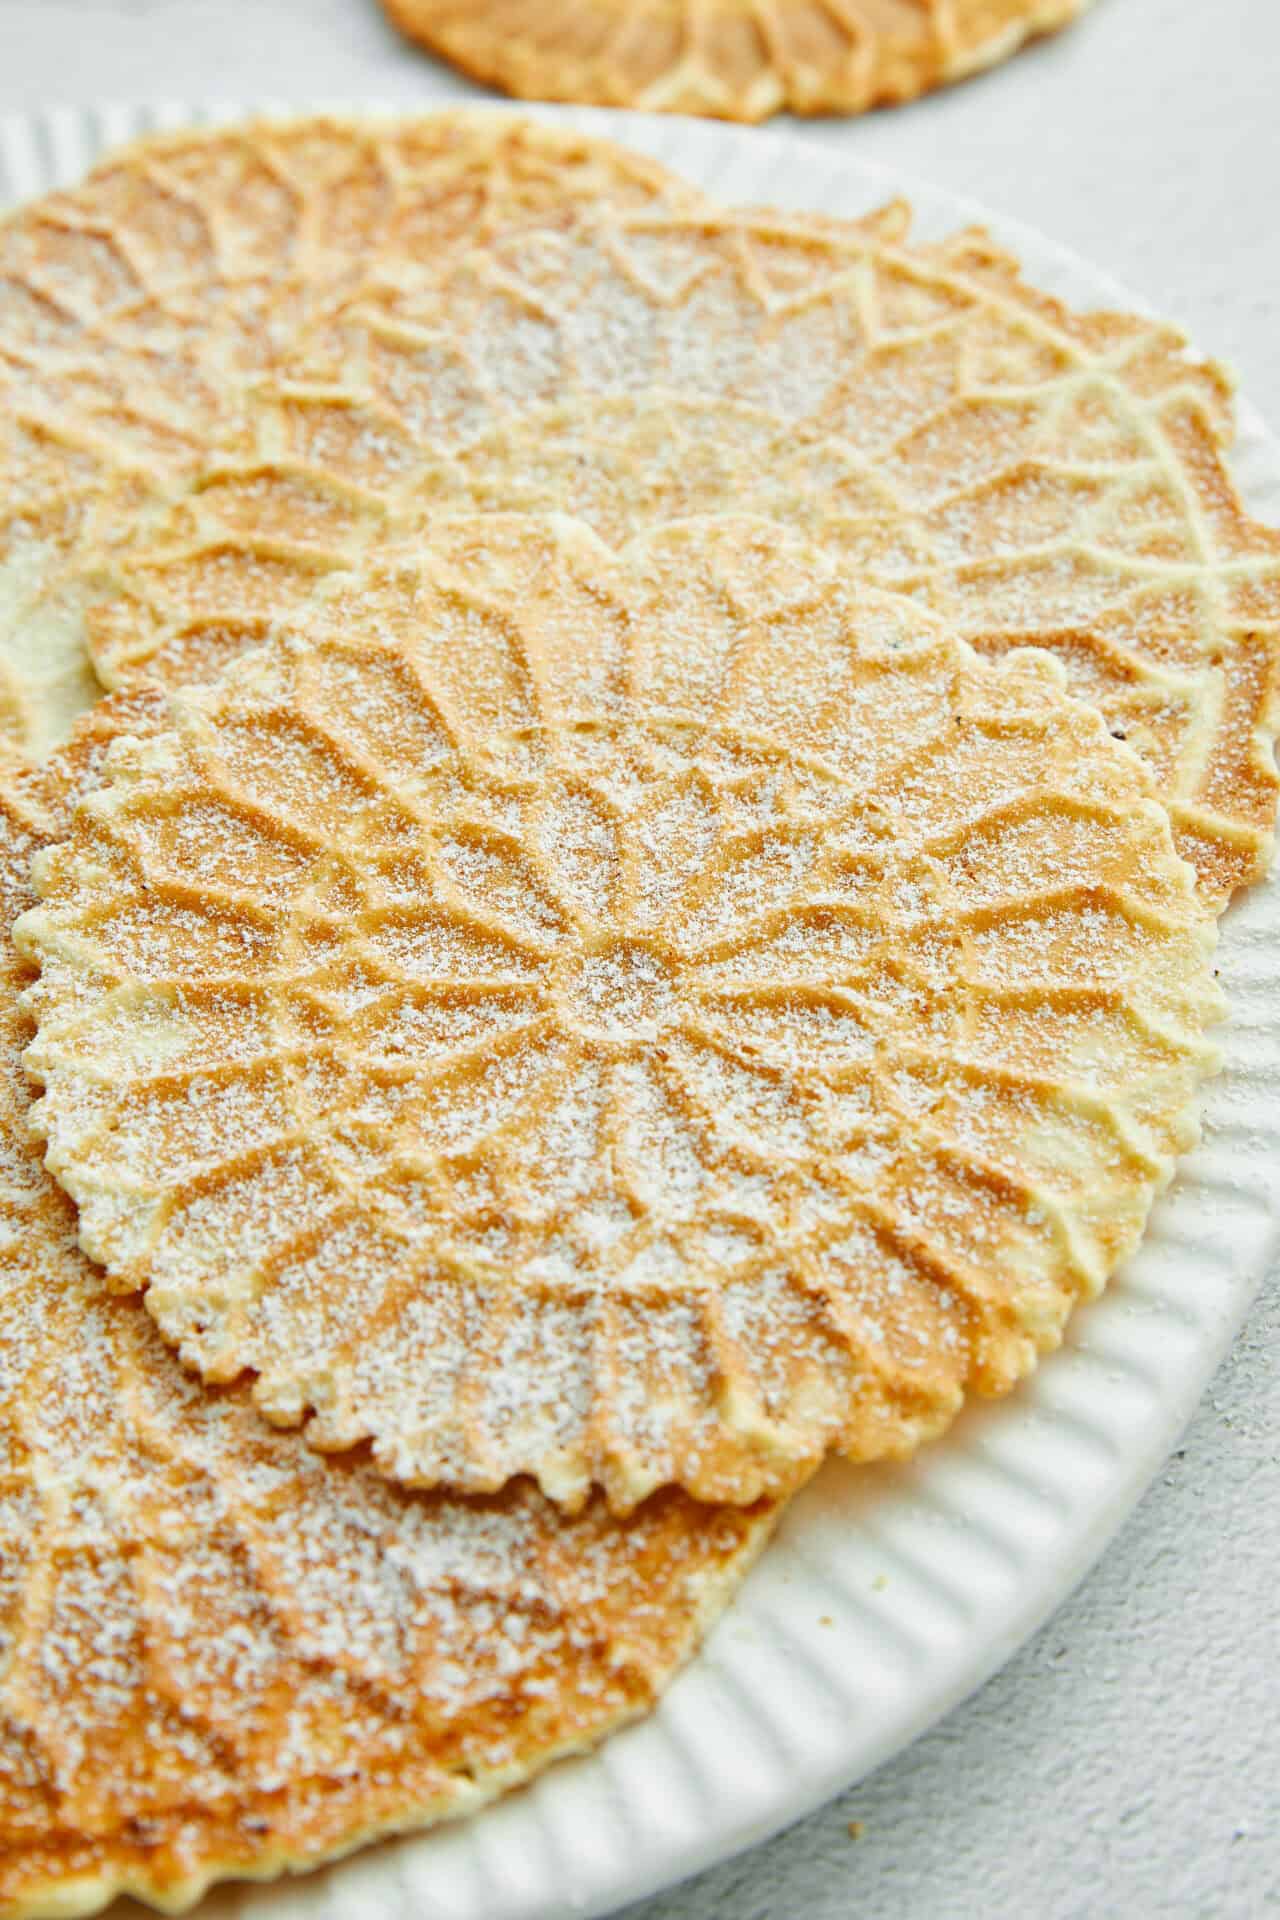
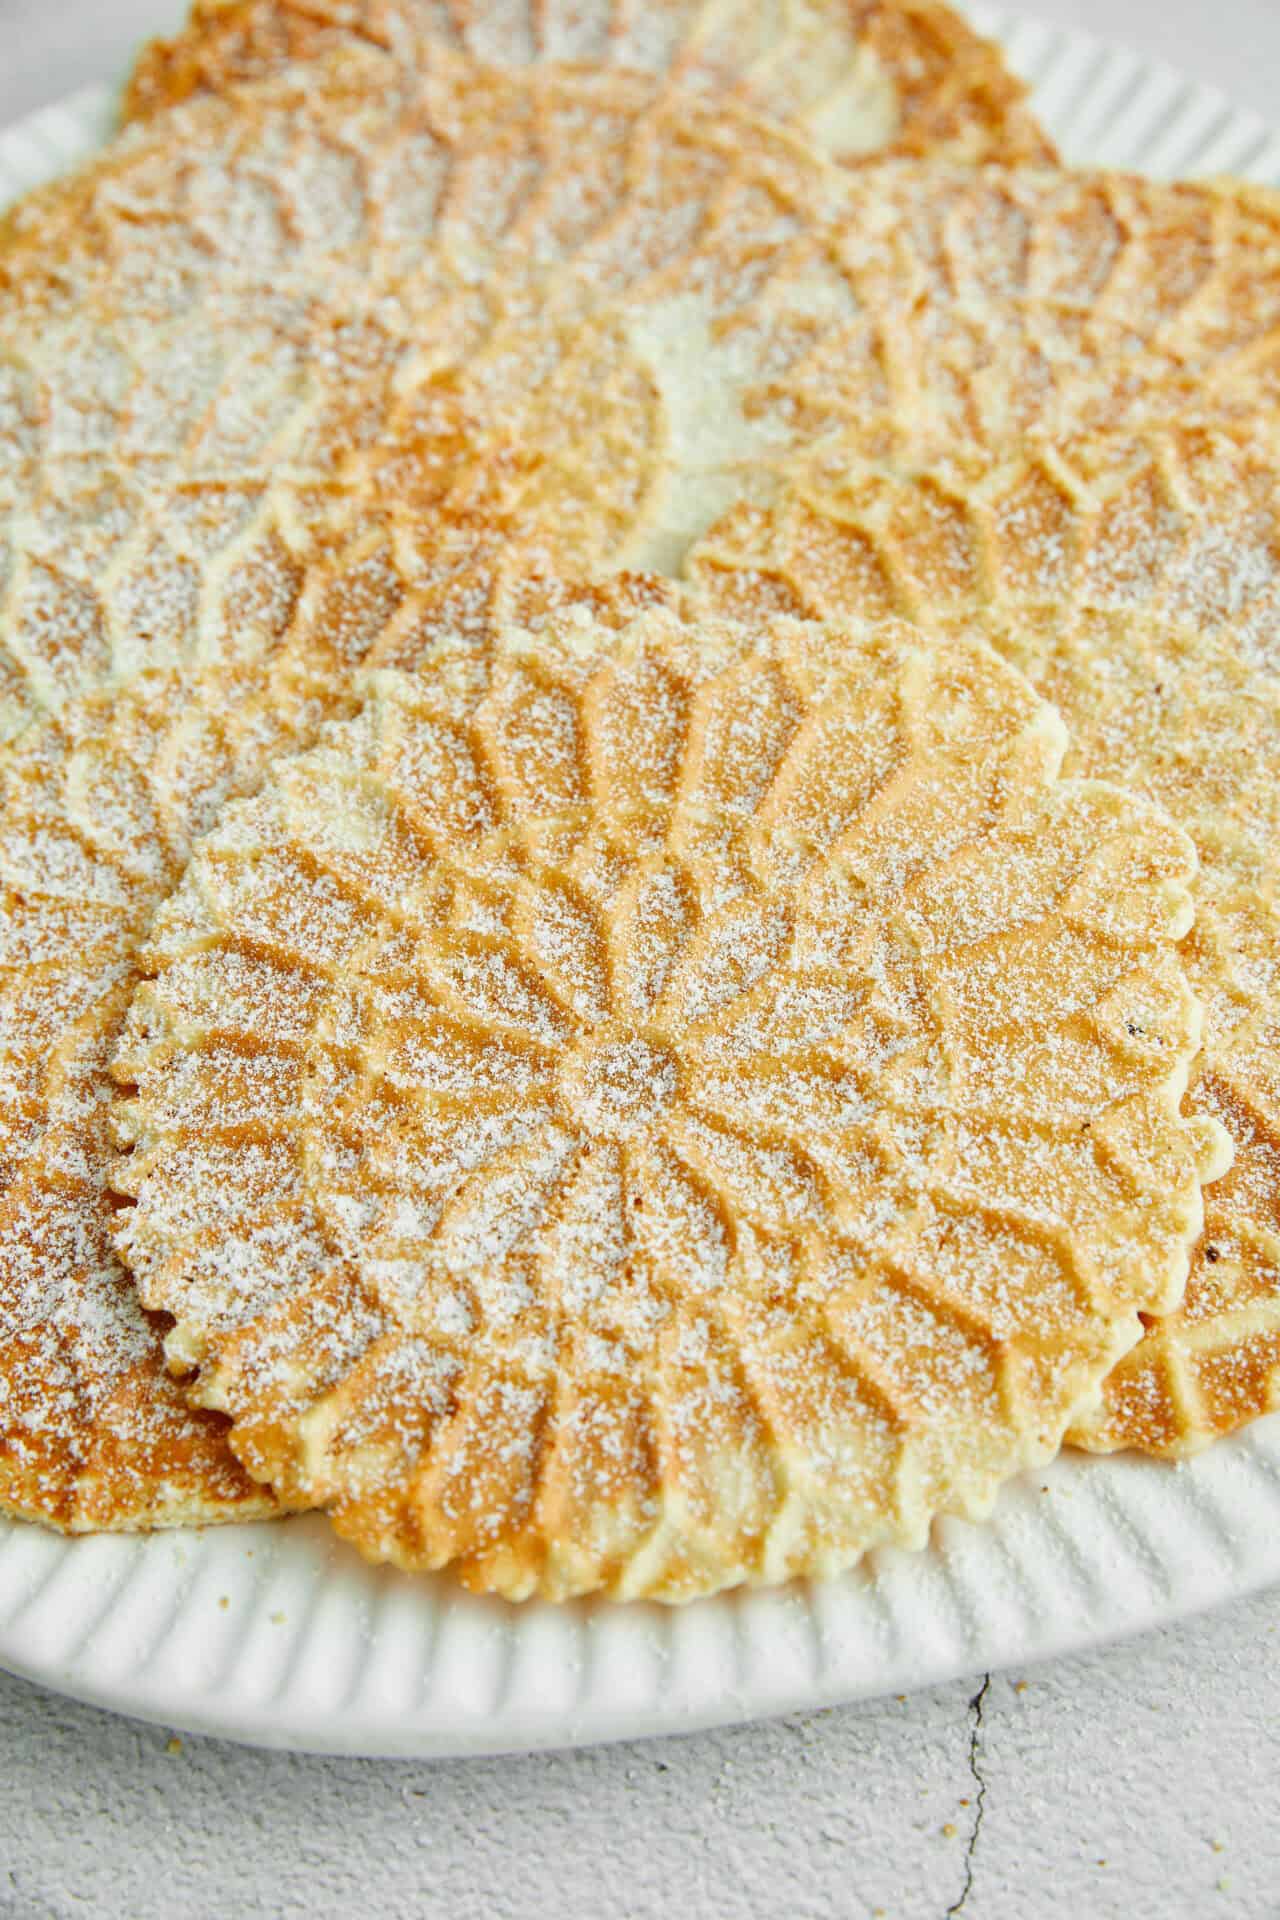
These Classic Italian treats are Super Easy to Make at Home: Light, delicious Pizzelle!
My dear husband, who has exactly zero Italian heritage and nearly a zero when it comes to a sweet tooth, loves Pizzelle. For him, it’s the nostalgia and the taste. Growing up, he had a friend whose family was proudly Italian and made their own Pizzelle. Sometimes, he got to help with them when he was over at his friend’s house, and this family, the Giglias, often sent Pizzelle to school to be shared during the holiday season. The sweetness and texture of the pizzelle are also appealing to him since he’s kind of a weirdo with sweets (I’m a chocoholic: go figure). The sweetness is not overpowering, and the texture is not too rich. Everything about Pizzelle is light, crispy, and delicious.
I’m guessing back in his elementary school days, my hubby didn’t know that Pizzelle were once associated with a festival of snakes! A festival in Cocullo, Italy, celebrating the removal of snakes (thanks to divine intervention), that is. The festival of snakes during the early Medieval period is just one of the oldest mentions of Pizzelle. Italians have celebrated holy days, marriages, and holiday celebrations with these delicious round cookies for a long time. The name may sound similar to “pizza” and that’s no accident, as both pizzas and Pizzelle are round. In fact, the literal translation of the word “pizzelle” is “little pizza,” not because of its taste but because of its shape.
You will love this Pizzelle recipe because it is actually so simple and produces truly delicious cookies. No fancy ingredients required. The flavor options are pretty great too. While Anise is the traditional flavoring, you can simply omit and let the vanilla be the main flavor, or you can substitute almond or lemon extract for the anise extract. Finally, as evidenced by my husband’s childhood memories, these are great cookies to make with kiddos. Even little ones can help with the pizzelle iron with proper supervision!
Do I Really Need a Pizzelle Iron?
The short answer is yes. Fortunately, you have a couple of options. First, if you’ve never made Pizzelle before, ask around or post on social media to see if you can borrow one locally. Alternatively, you can usually find inexpensive single pizzelle irons online pretty easily. If you’re all in, go for one of the irons where you can make 3 or 4 at a time! But there’s really no getting around the pizzelle iron itself: for centuries, the intricate, pressed design has been the hallmark of Pizzelle.
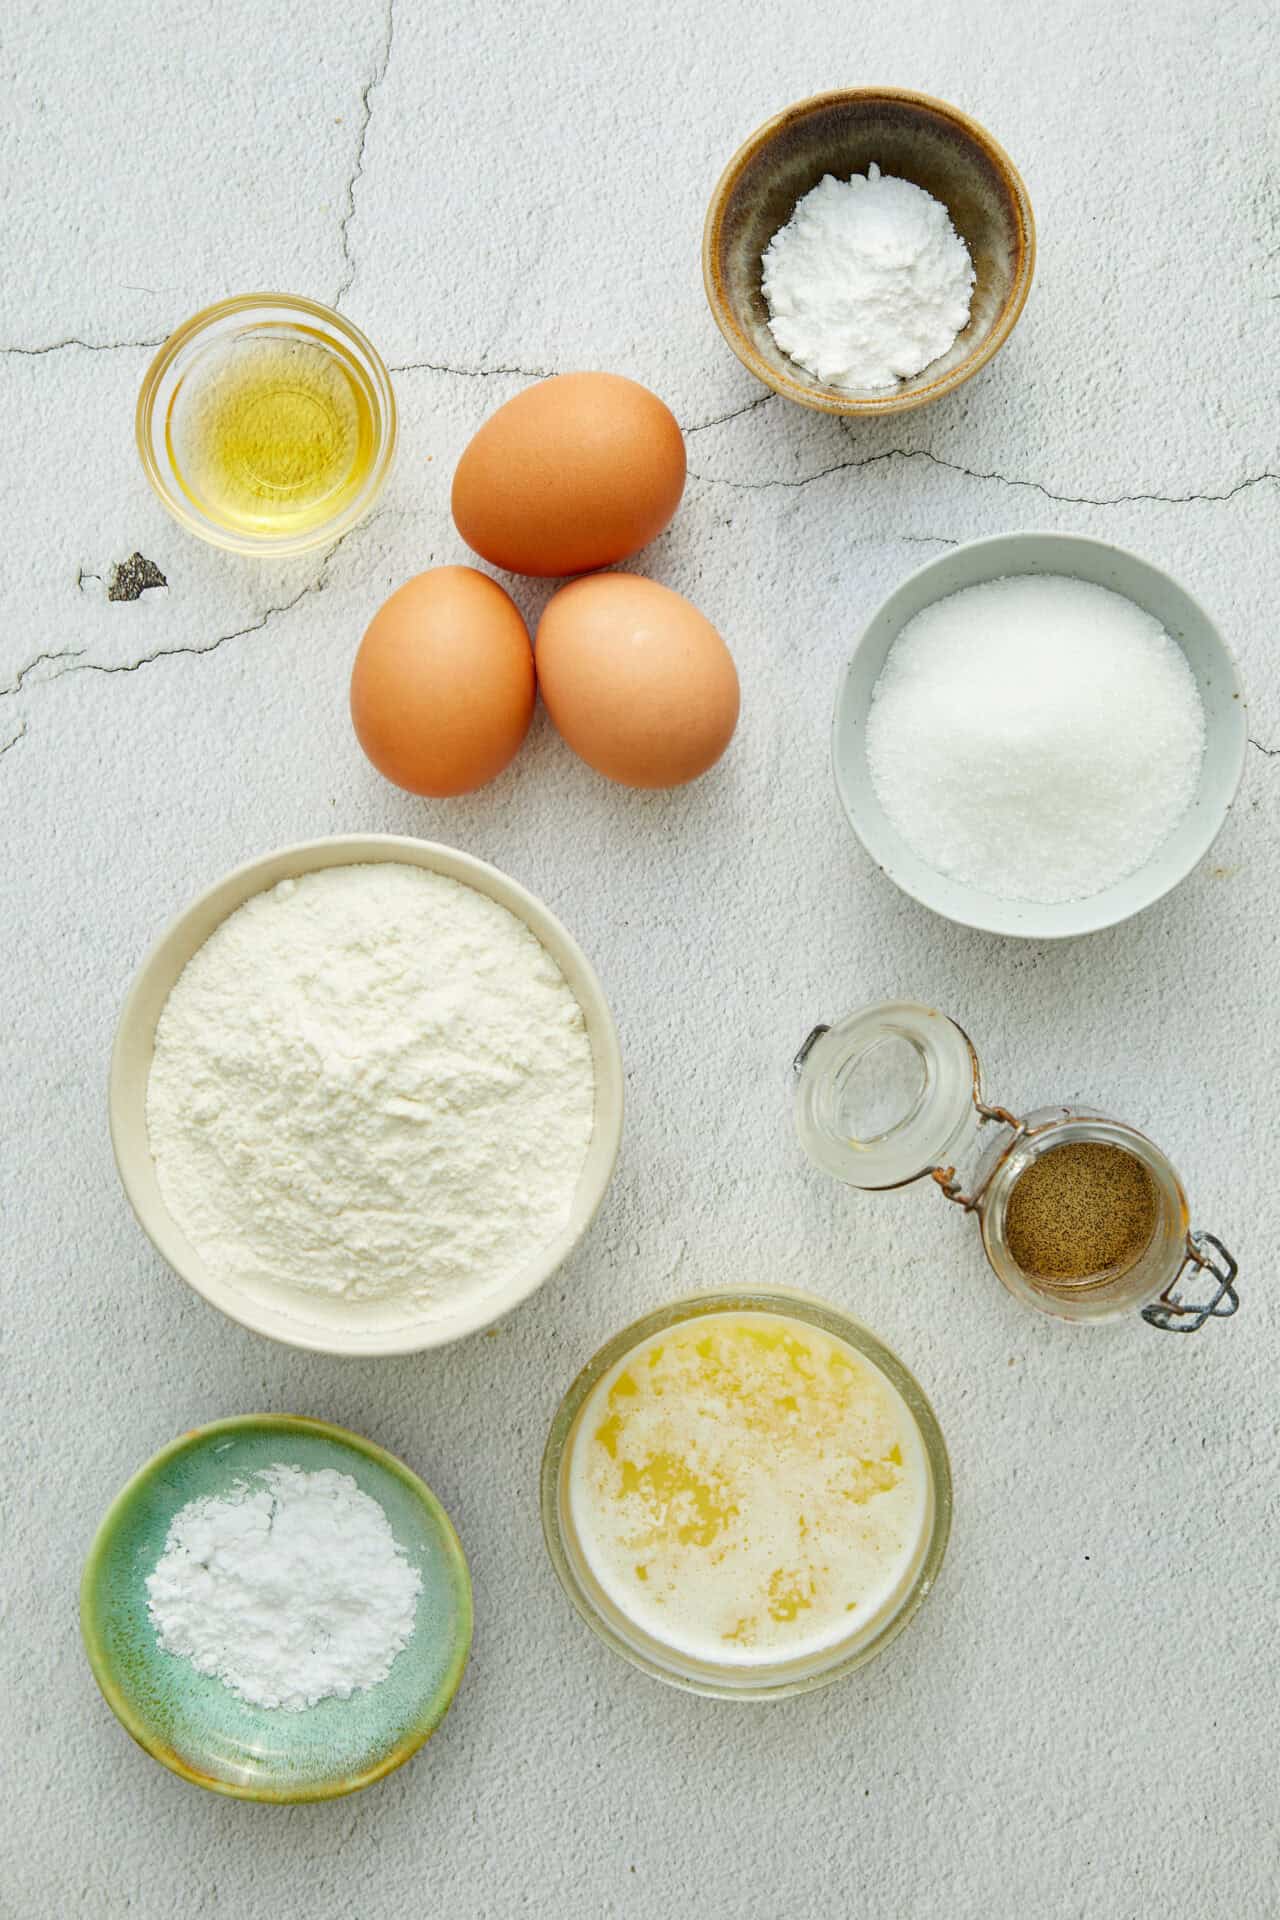
Ingredients
- 3 large eggs
- 3/4 cup granulated sugar
- 1/2 cup unsalted butter, melted and cooled
- 1 teaspoon pure vanilla extract
- 1 3/4 cups all-purpose flour
- 2 teaspoons baking powder
- 1 tablespoon anise extract (optional for flavor variation)
- Powdered sugar for dusting (optional)
How to Make Pizzelle
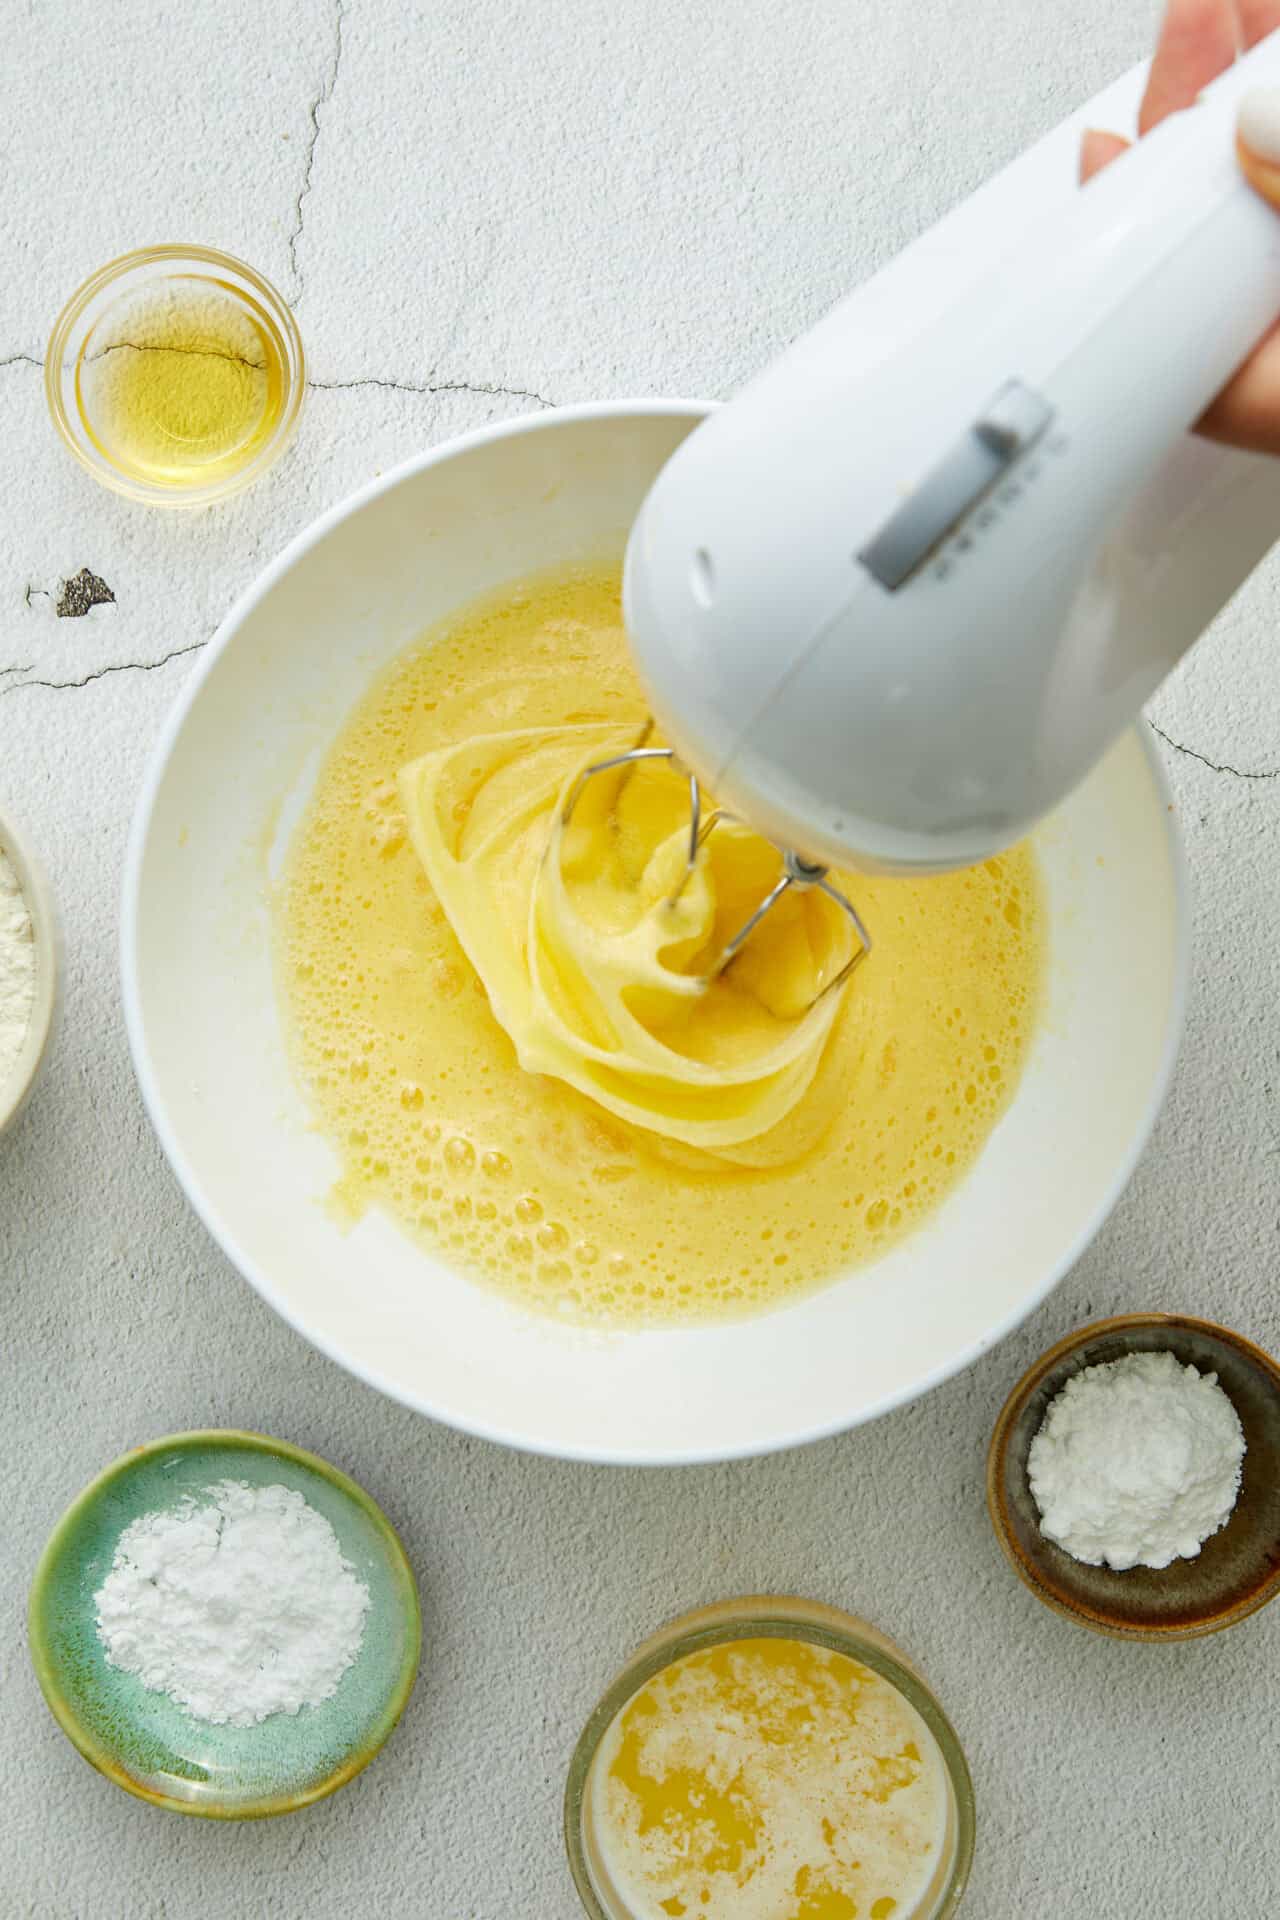
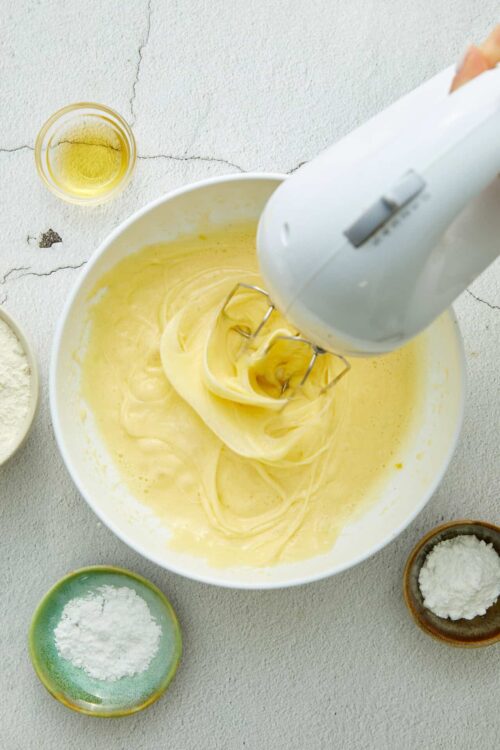
Step 1: In a large mixing bowl, beat the eggs and sugar together until light and fluffy, about 3 minutes.
Step 2: Add the cooled melted butter and vanilla extract to the egg mixture, and continue to beat until well combined.

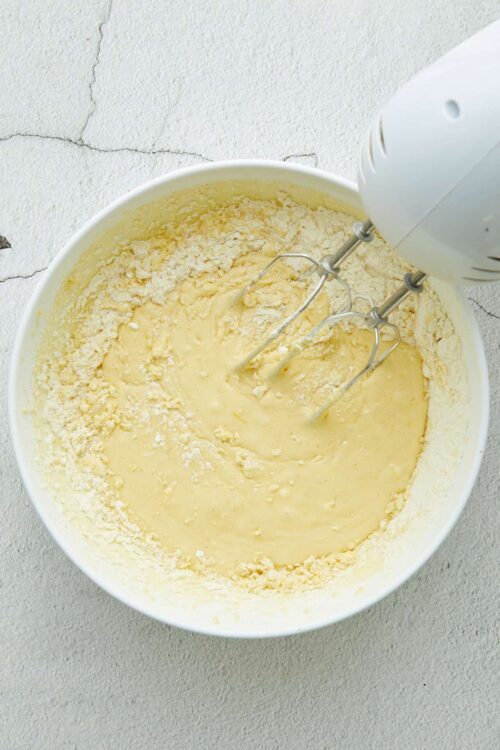
Step 3: In a separate bowl, whisk together the all-purpose flour and baking powder.
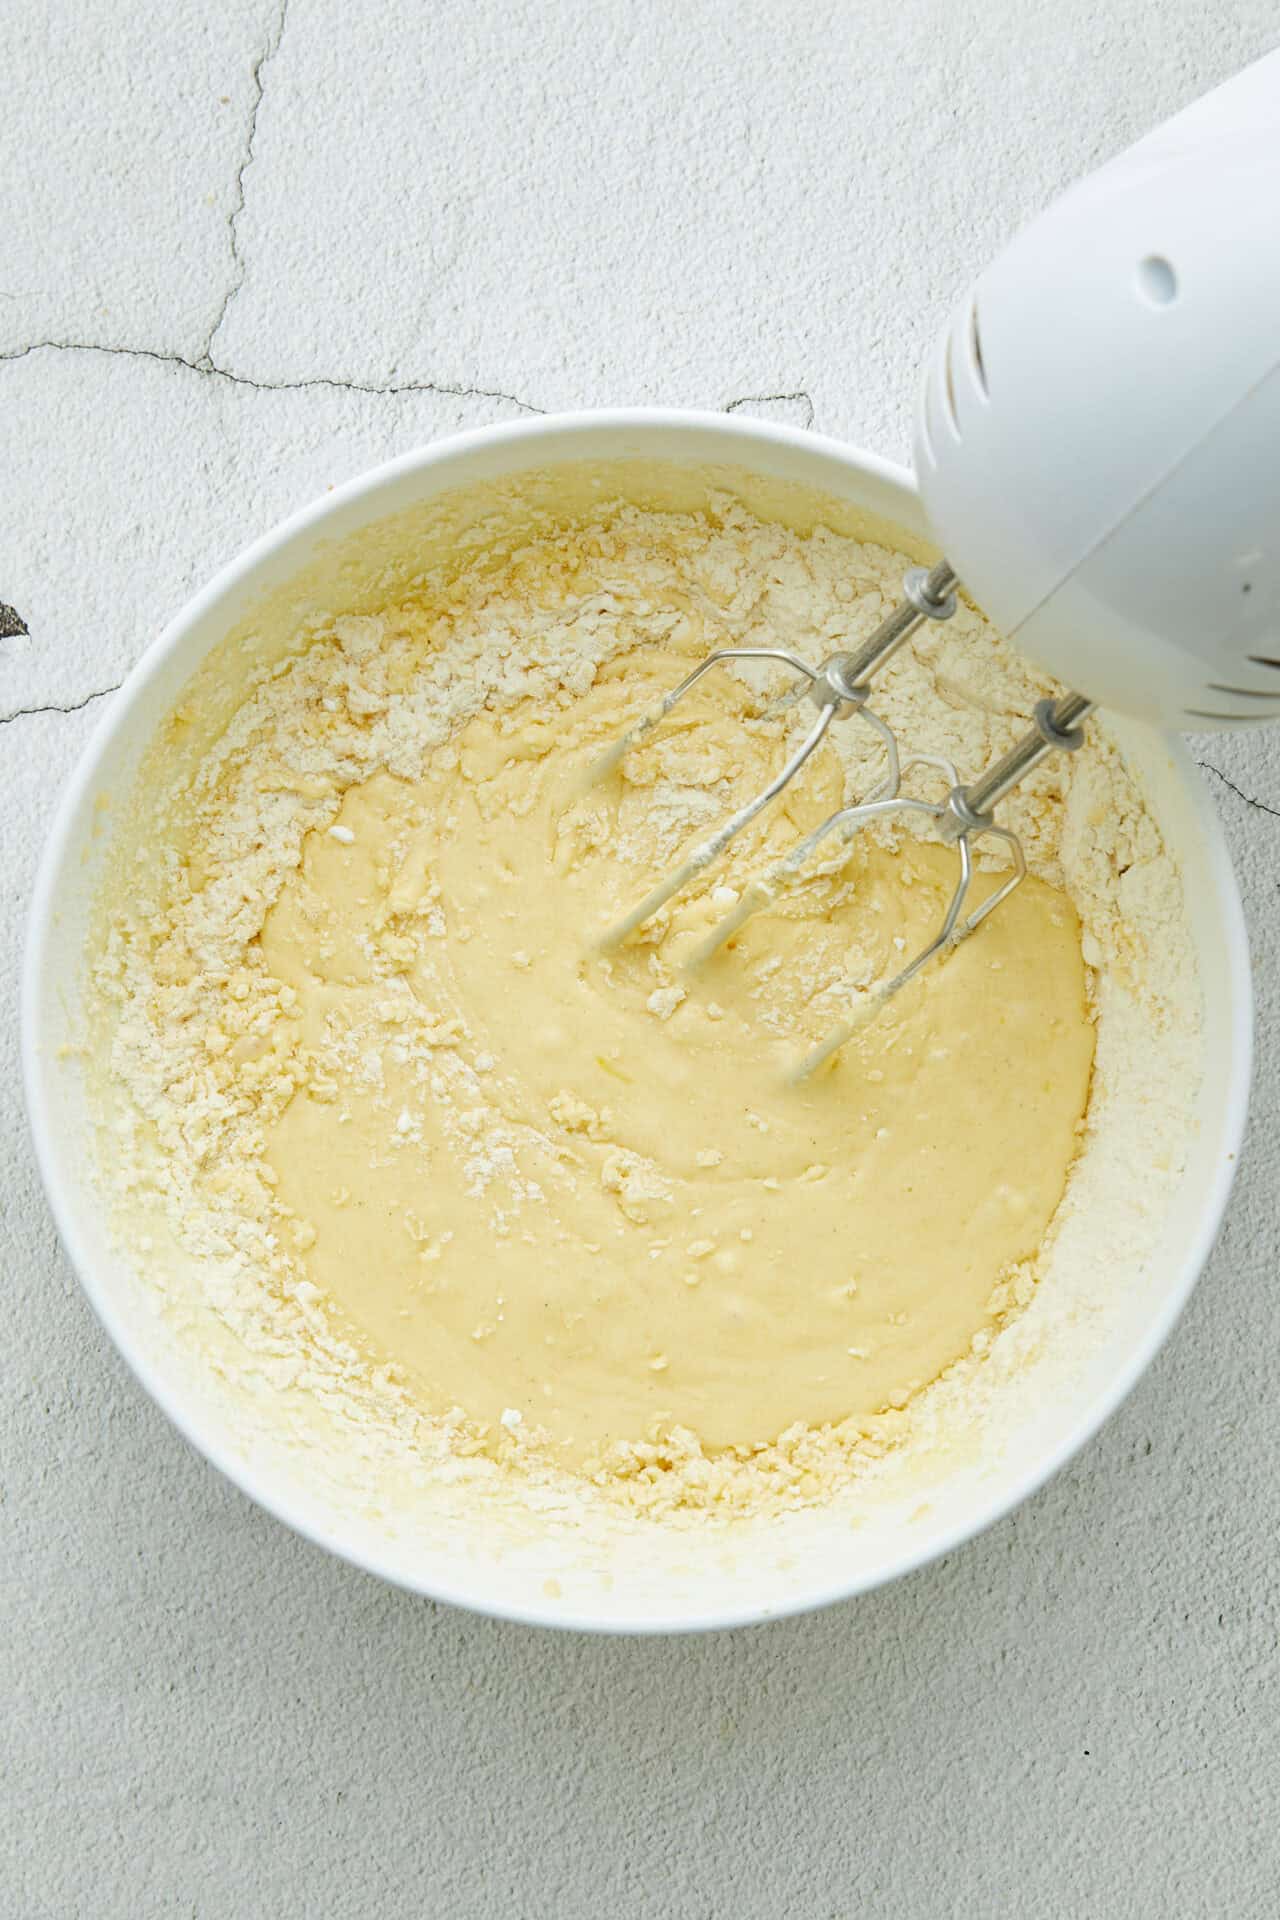
Step 4: Gradually fold the dry ingredients into the wet ingredients until the batter is smooth.
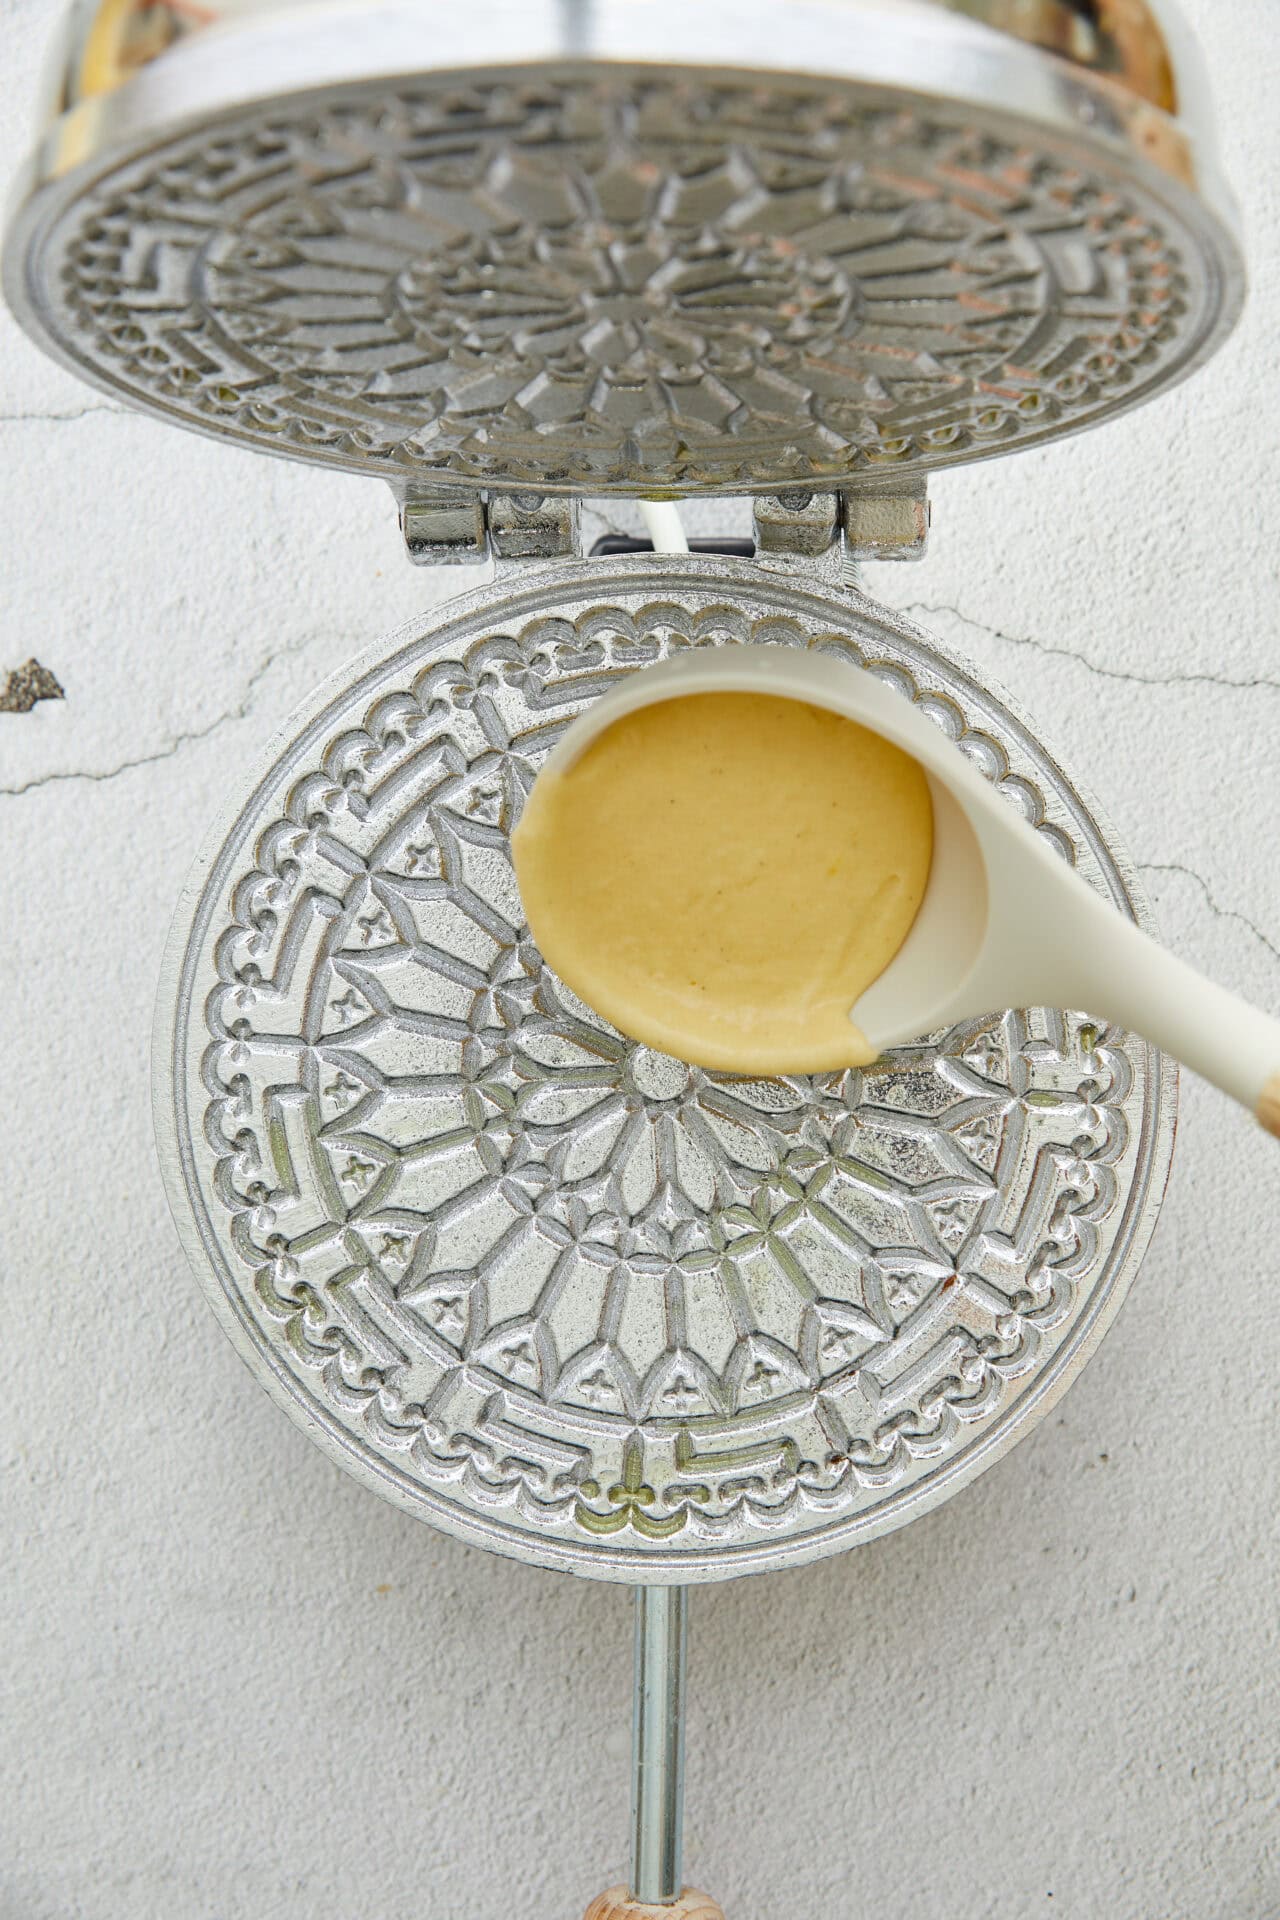
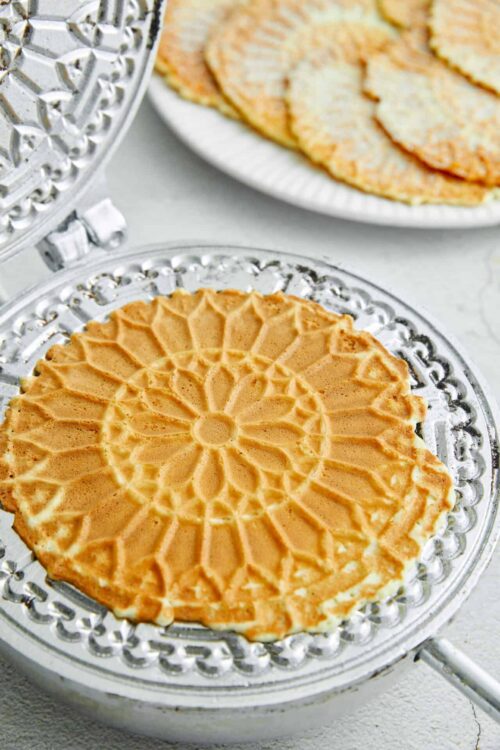
Step 5: Preheat your pizzelle iron according to the manufacturer’s instructions.
Step 6: Place about 1 tablespoon of batter onto each circle of the preheated pizzelle iron. Close the lid and cook for about 30-60 seconds, or until the pizzelle are golden and crisp.
Step 7: Carefully remove the pizzelle from the iron with a spatula and transfer them to a wire rack to cool.
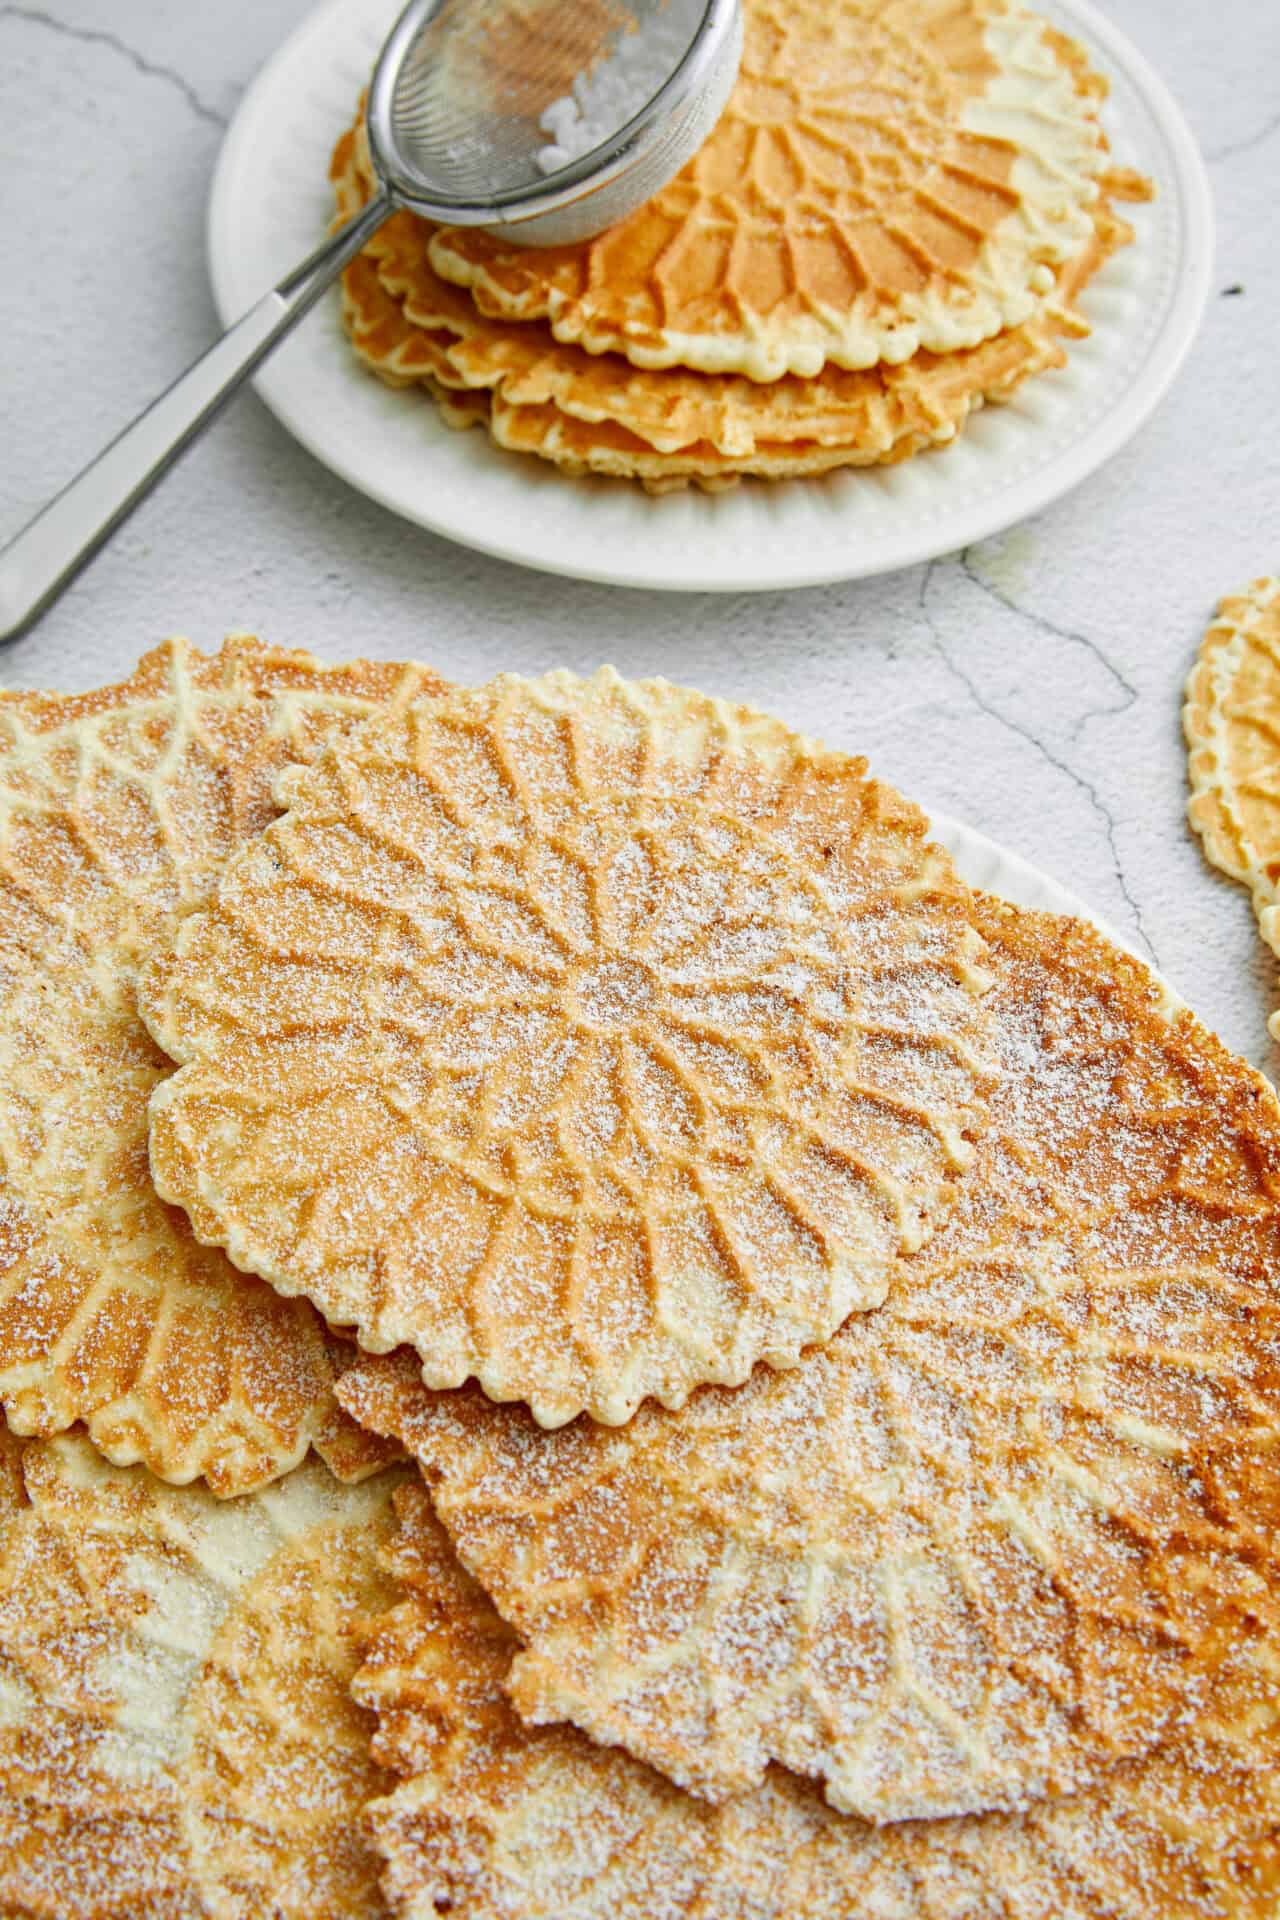
Step 8: If desired, dust the cooled pizzelle with powdered sugar before serving.

FAQs & Tips
How to Make Ahead and Store?
Especially during the holidays, make-ahead cookies are the best! Fortunately, Pizzelle fit the bill perfectly. Simply prepare as directed and let them cool completely. Use parchment paper between each cookie, and layer in metal tins if you have them. If not, use plastic storage containers. Cover tightly and freeze for up to 3 months. To thaw, just let them sit on the counter for about 30-45 minutes. Because they’re so thin, they thaw quickly! Whether you’re making them ahead or not, avoid storing them in the fridge, as they can lose their crispiness that way.
How do I avoid Having the Batter Ooze out of the Iron?
To avoid a messy press, try this easy trick: When you place the batter on the preheated iron, place it in the center, but just to the back of the center. That way, when you close the lid of the iron, the batter has more room to spread out. Also, depending on the layout of your pizzelle iron, you may need to use a heaping teaspoon of batter instead of a tablespoon—experiment to get the best setup.
What's the Best Way to cool Pizzelle after they cook?
The key to keeping Pizzelle crispy is to cool them on wire racks. Make a cooling station near your pizzelle iron and set up several wire racks so you can place them directly on the cooling racks as soon as they’re finished in the iron. Eventually, once they’re cool enough to handle, you can transfer them again to a powdered sugar station for sprinkling.
Serving Suggestions
Pizzelle are versatile, as they can be served with coffee after dinner, alongside ice cream for dessert, or as part of your holiday cookie tray. For variations, you can try different flavorings with almond or lemon extract. You can fill your holiday cookie tray with Pizzelle, Peppermint Sugar Cookies, Christmas Cookies, and Easy Lemon Bars for a festive, delicious gift for neighbors, teachers, or coworkers. Pizzelle also makes for an excellent midnight snack—a little bit sweet but not too heavy or filling!
Pizzelle
Ingredients
- 3 large eggs
- 3/4 cup granulated sugar
- 1/2 cup unsalted butter melted and cooled
- 1 teaspoon pure vanilla extract
- 1 3/4 cups all-purpose flour
- 2 teaspoons baking powder
- 1 tablespoon anise extract optional for flavor variation
- Powdered sugar for dusting optional
Instructions
- In a large mixing bowl, beat the eggs and sugar together until light and fluffy, about 3 minutes.

- Add the cooled melted butter and vanilla extract to the egg mixture, and continue to beat until well combined.
- In a separate bowl, whisk together the all-purpose flour and baking powder.
- Gradually fold the dry ingredients into the wet ingredients until the batter is smooth.
- Preheat your pizzelle iron according to the manufacturer’s instructions.
- Place about 1 tablespoon of batter onto each circle of the preheated pizzelle iron. Close the lid and cook for about 30-60 seconds, or until the pizzelle are golden and crisp.

- Carefully remove the pizzelle from the iron with a spatula and transfer them to a wire rack to cool.
- If desired, dust the cooled pizzelle with powdered sugar before serving.
Love these.
Thank you Amy!