Skip the store-bought additives and bake up a sweetly nostalgic homemade dupe that’s perfect for dunking in less than two hours!
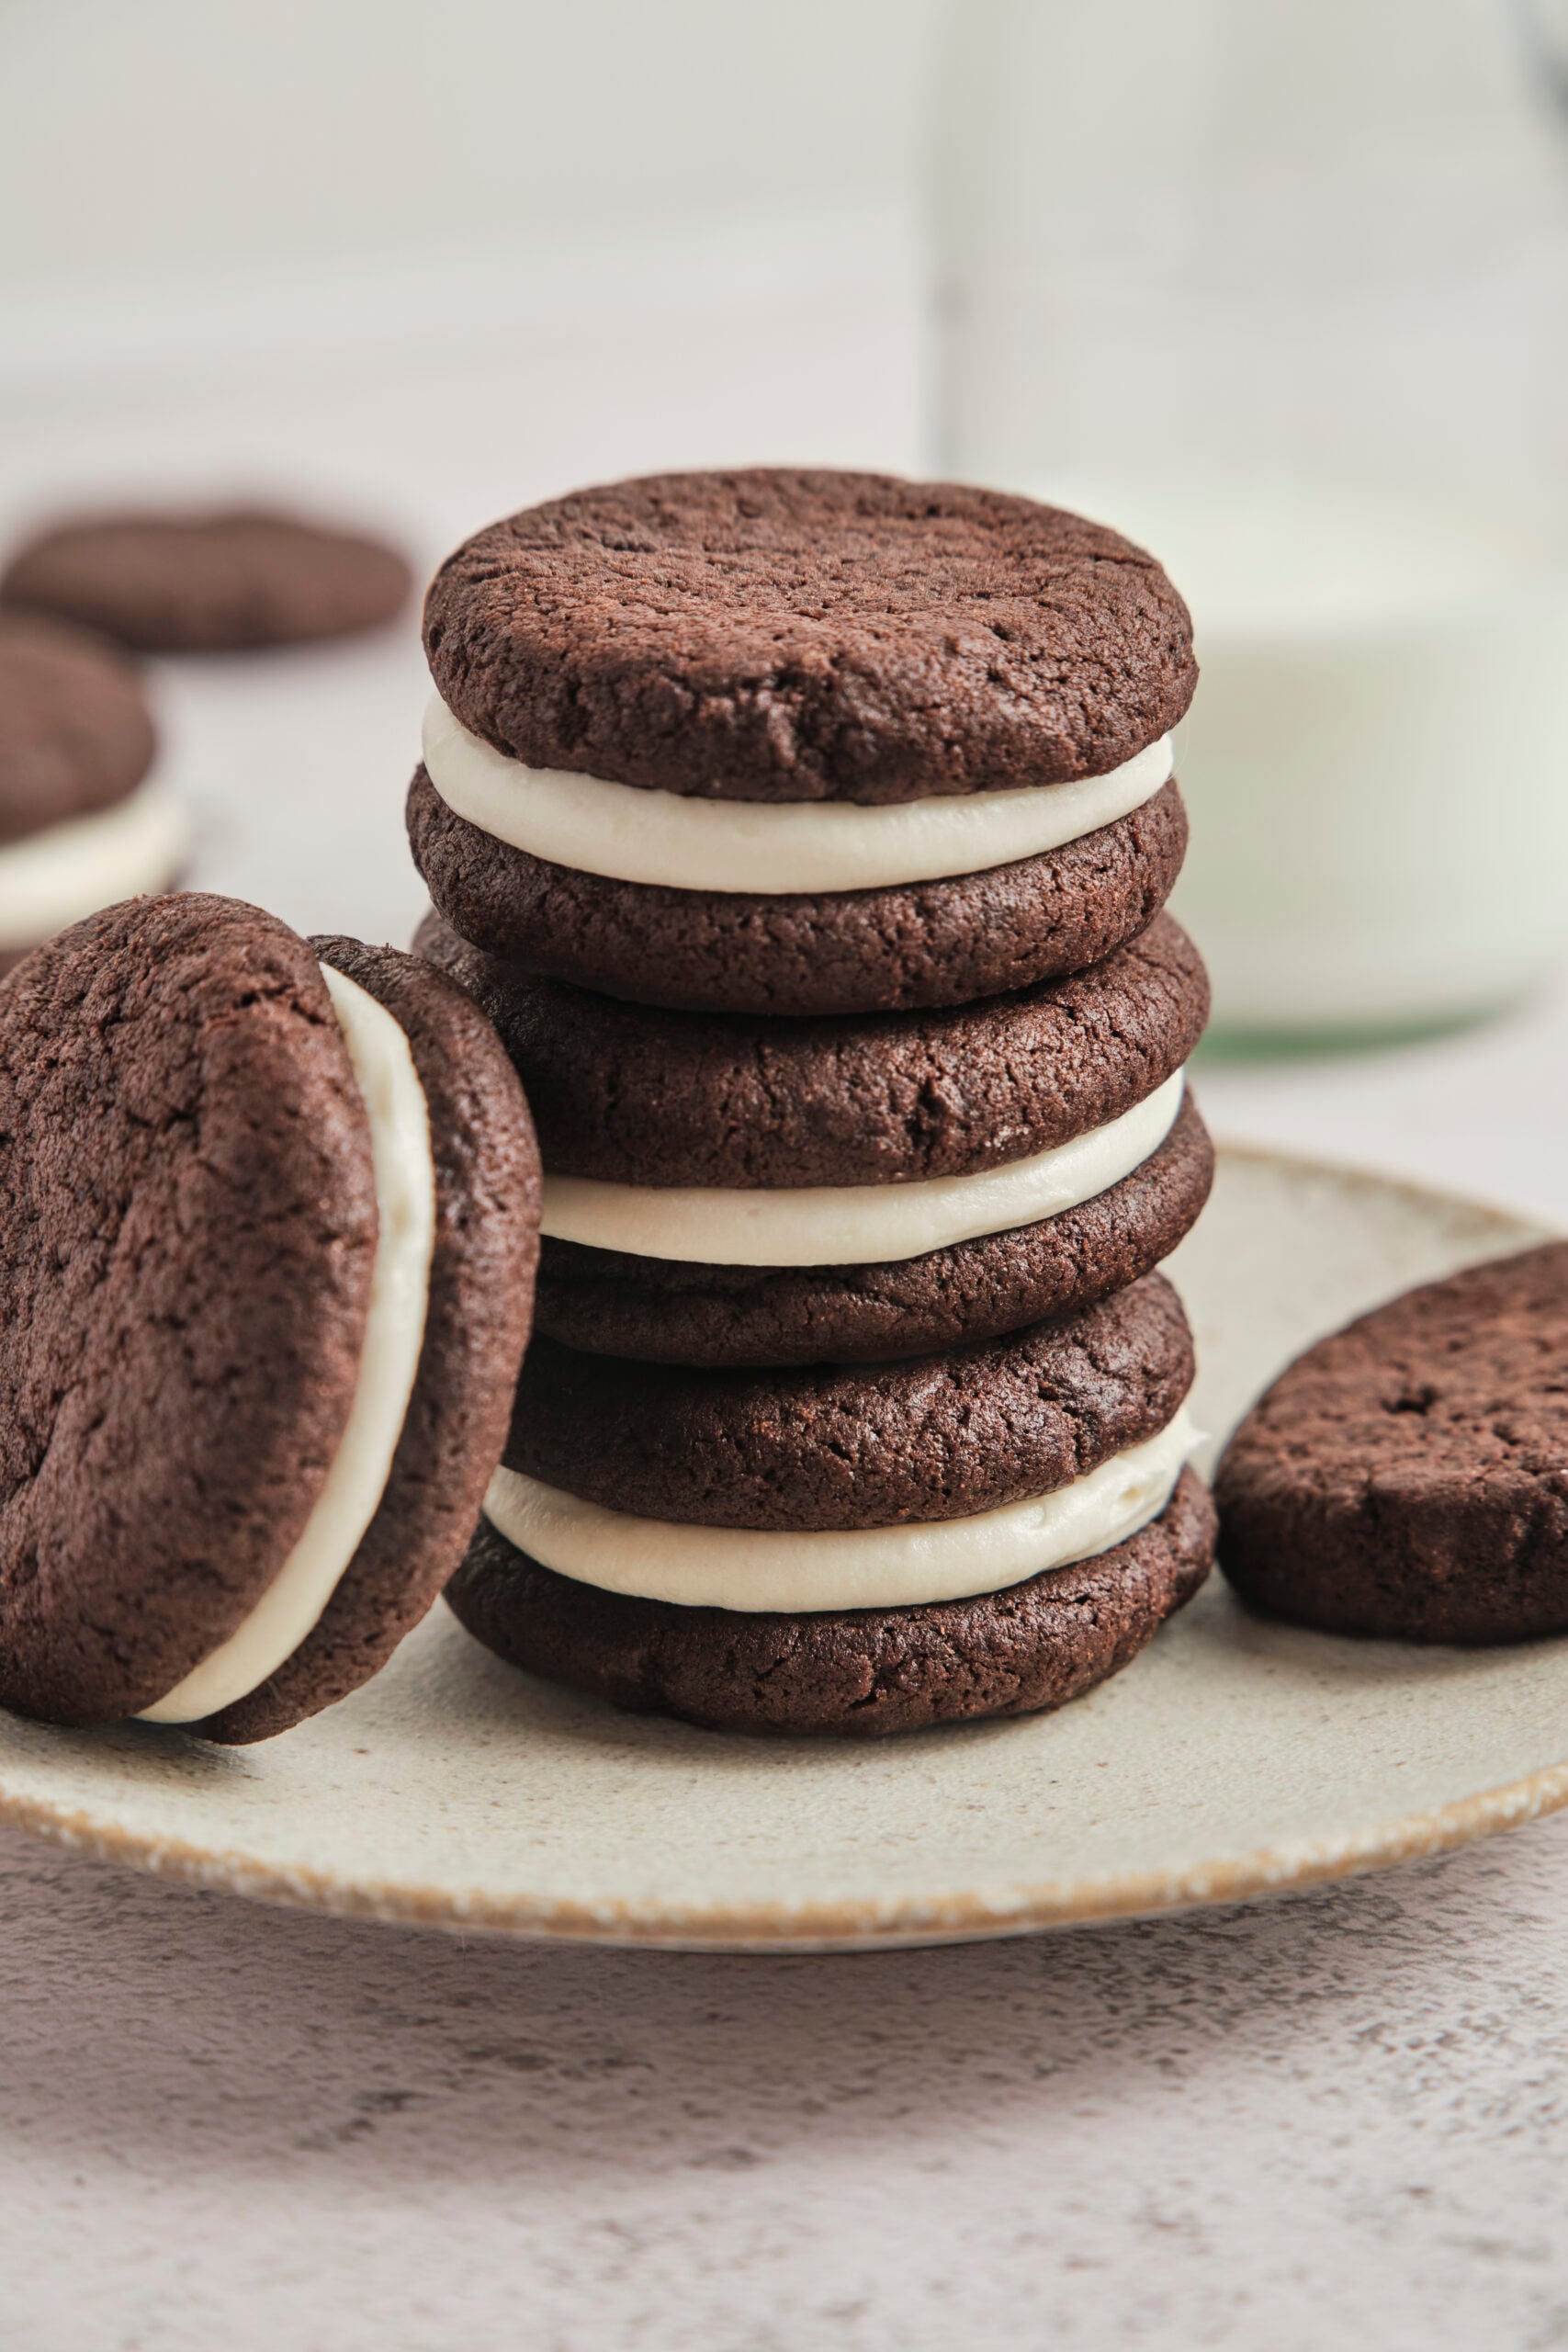
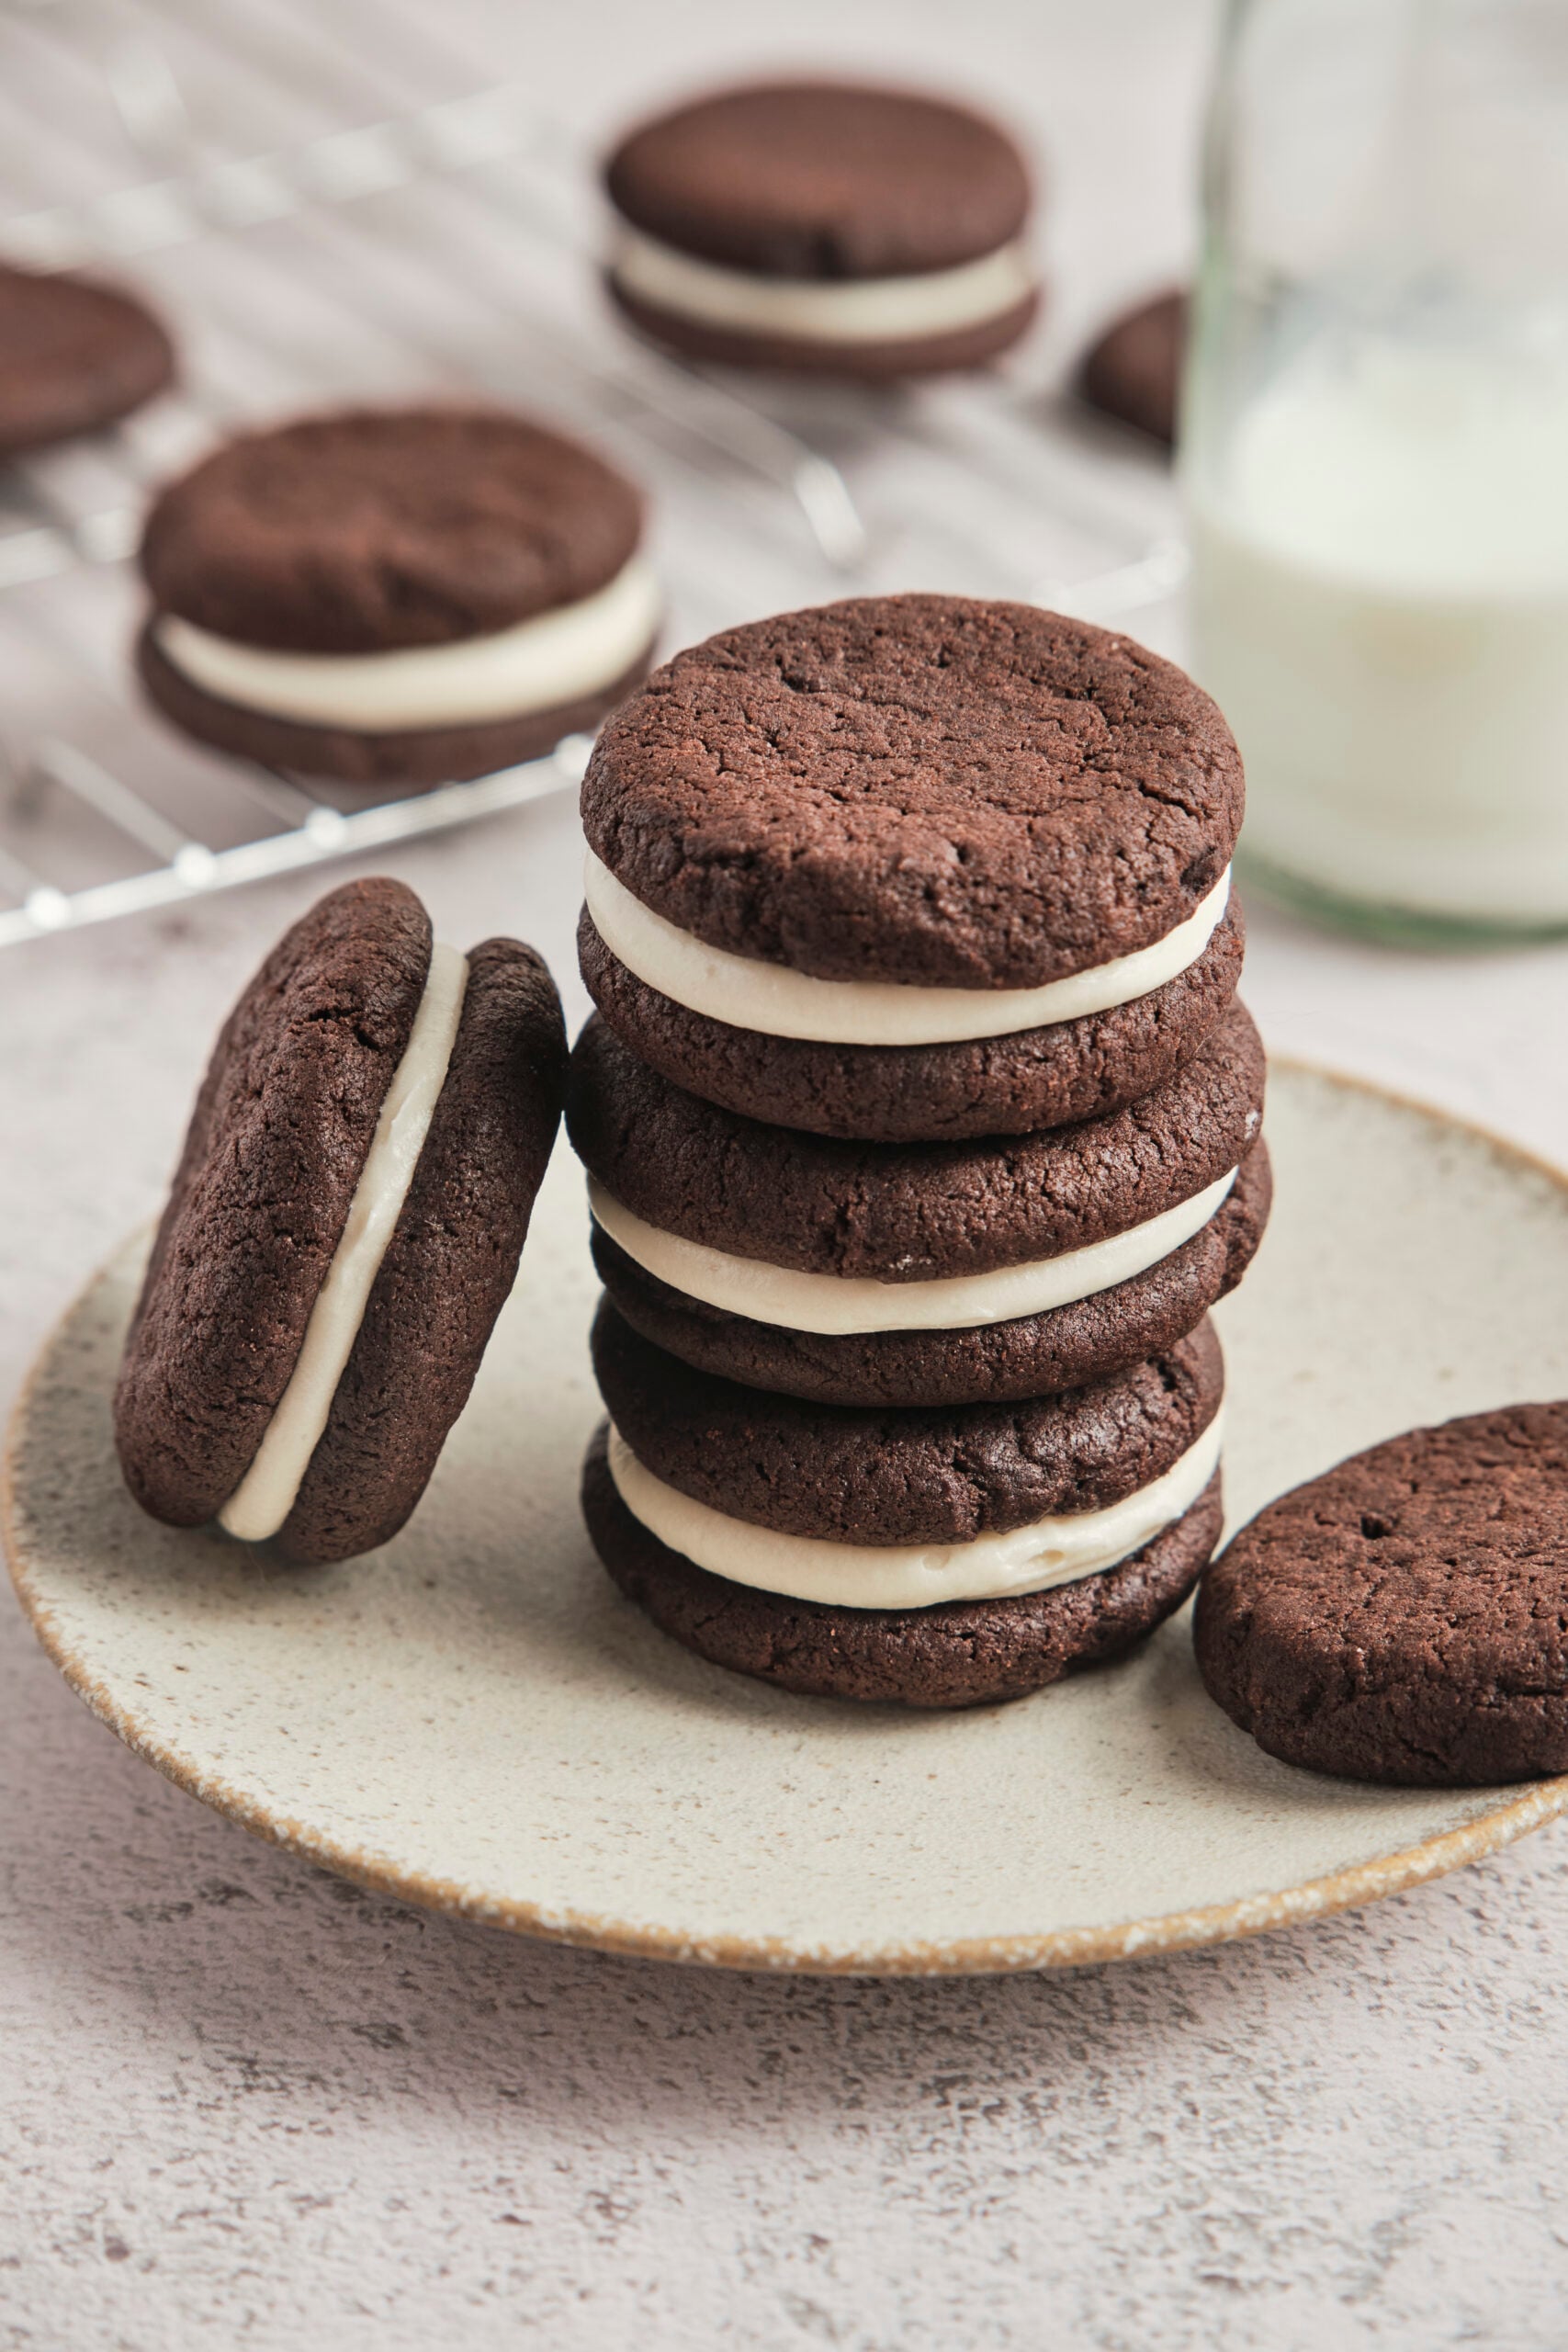
It’s a shared memory for most of us: twisting open a sandwich cookie, licking off the creamy white filling, and dipping the chocolate wafers into a cold glass of milk. That simple moment sums up childhood happiness like few other experiences!
This Oreo cookies recipe taps into that nostalgia with sweet, homemade goodness. It lets you recreate those delicious flavors and memories without the plastic packaging, high-fructose corn syrup, or artificial preservatives!
Unsweetened cocoa brings that iconic deep, dark color and chocolatey flavor you remember to the wafers. Then butter and shortening team up to give the filling a stable consistency that holds its shape at room temp while still tasting like real vanilla frosting.
Best of all, these little cuties come together in less than two hours—including all necessary chilling, cooling, and assembling time! Whether you’re crafting these sandwich cookies for a kid’s birthday party, a holiday gathering, or a special weekend treat, you’re sure to get lots of compliments about how close they come to the “real” thing!
Dutch-process vs. natural cocoa for this recipe
Natural and Dutch-process cocoa start from the same place but deliver very different results in this recipe. Natural cocoa is lighter in color and a bit sharper in flavor—delivering bright, almost fruity cocoa notes with a more pronounced bitterness. The higher acidity in natural cocoa makes it a good match for recipes that call for pure baking soda rather than baking powder, which is a combo of baking soda, an acid, and stabilizers.
Dutch-process cocoa is treated to neutralize acidity, which deepens the color to a signature inky brown and smooths the flavor into something rounder and darker. That deeper hue and gentler bitterness are a big part of what evokes classic store‑bought chocolate sandwich cookies. Because Dutch-process cocoa is more neutral than the natural type, it’s often paired with baking powder or a blend of baking soda and an acid like cream of tartar.
So, which one should you use? Since this recipe calls for plain baking soda, the simplest choice is natural cocoa—which will yield a bright, slightly assertive flavor that’s still deeply chocolatey. If your goal is maximum darkness and a classic, store-bought-style bittersweet chocolate flavor profile, use Dutch-process cocoa and swap the baking soda for twice as much baking powder.
How do I store leftovers?
Store completely cooled homemade Oreo cookies in an airtight container with parchment paper separating layers. They’ll keep at room temp for up to 2 days or in the fridge for up to 5 days. You can also freeze these cookies for up to 3 months. Arrange them in a single layer on a parchment-lined baking tray, freeze solid (about 1 hour), then transfer to a freezer-safe container or bag with as much air pushed out as possible. Thaw overnight in the fridge or at room temp for 15-20 minutes. Let chilled cookies sit at room temp for 10-15 minutes before serving for the best flavors and textures.
Serving suggestions
Serve your homemade Oreo cookies alongside a glass of cold milk, a mug of Rich And Creamy Hot Chocolate, or a Copycat Starbucks Vanilla Spice Latte for dunking. They also pair nicely with a scoop of Vanilla Ice Cream or Dark Chocolate Ice Cream for extra indulgence.

Oreo Cookies Recipe
Ingredients
For The Cookie Dough:
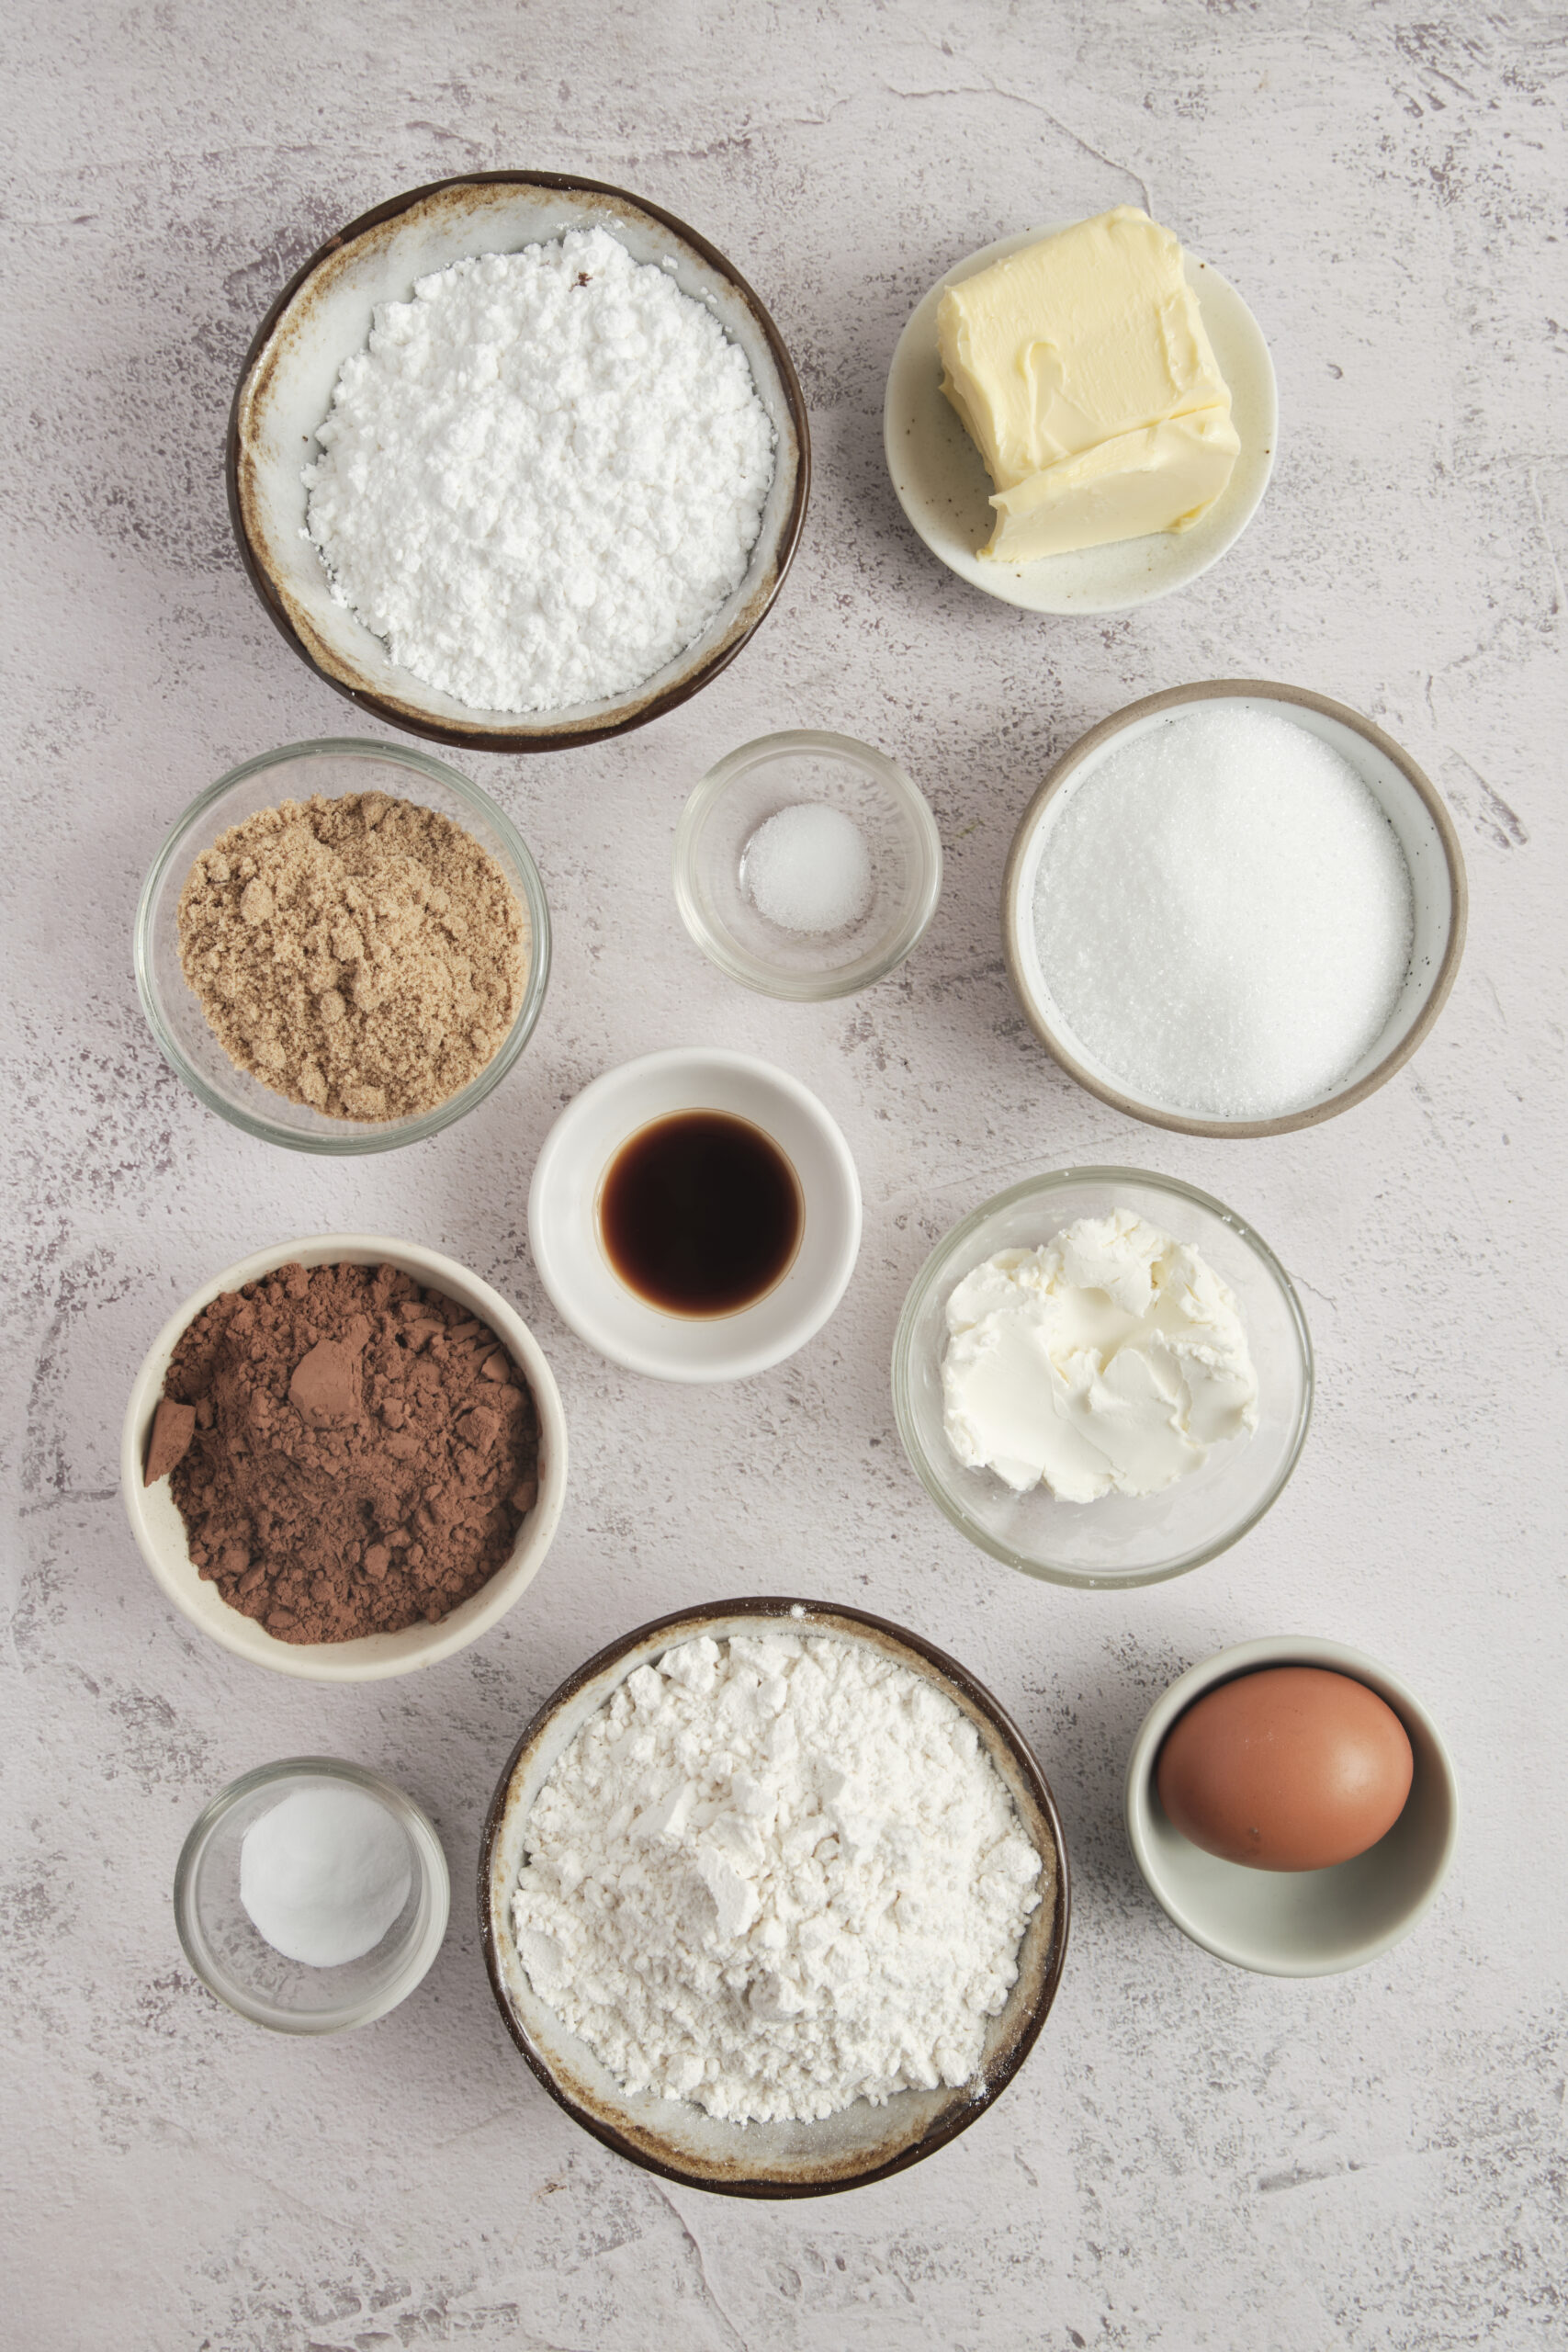
- 1 1/4 cups all-purpose flour
- 1/2 cup unsweetened cocoa powder
- 1 1/4 teaspoons baking soda
- 1 pinch kosher salt
- 1/2 cup unsalted butter softened
- 1/2 cup granulated sugar
- 1/2 cup light brown sugar packed
- 1 large egg at room temperature
- 1 1/4 teaspoons vanilla extract
For The Filling:
- 1/4 cup unsalted butter softened
- 1/4 cup vegetable shortening
- 1 3/4 cups powdered sugar sifted
- 1/2 teaspoon vanilla extract
Instructions
Make And Chill The Cookie Dough:
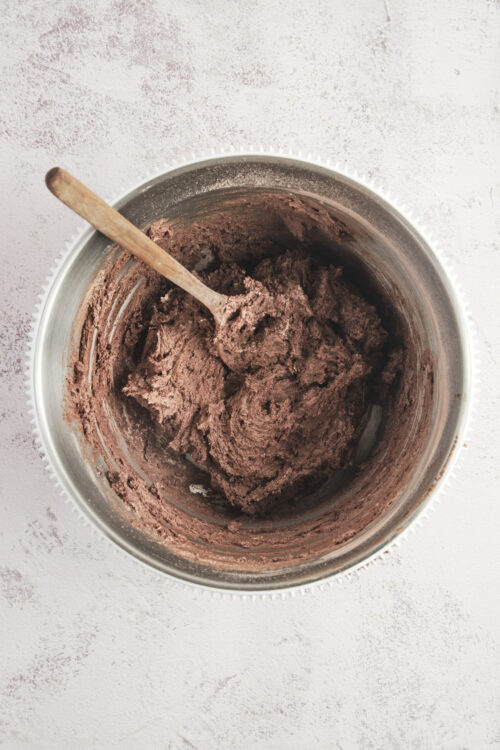
- In a bowl, whisk together the flour, cocoa powder, baking soda, and salt.

- In another bowl, beat the softened butter, granulated sugar, and brown sugar on medium speed until light and creamy, 2 to 3 minutes, scraping the bowl as needed.
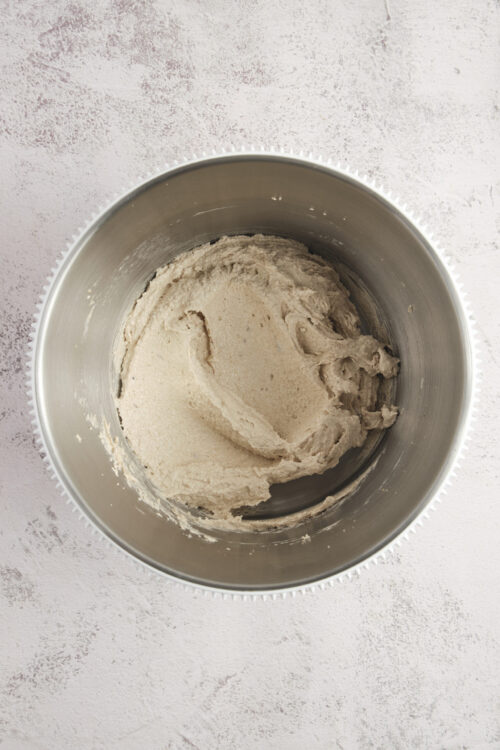
- Add the egg and vanilla, and beat just until smooth and combined.
- Add the dry ingredients in 2 additions, mixing on low speed just until no dry streaks remain and a soft, thick dough forms. Do not overmix.
- Cover the bowl and chill the dough until firm enough to scoop, at least 30 minutes or up to overnight.
Shape And Bake The Cookies:
- Preheat the oven to 350°F. Line 2 baking sheets with parchment paper.
- Using a small cookie scoop or two tablespoons, portion the chilled dough into 30 equal mounds of about 2 teaspoons each. Roll each mound into a ball.
- Arrange the balls 2 inches apart on the prepared baking sheets. Use the bottom of a clean glass or your palm to flatten each ball to about 1/2 inch thick.
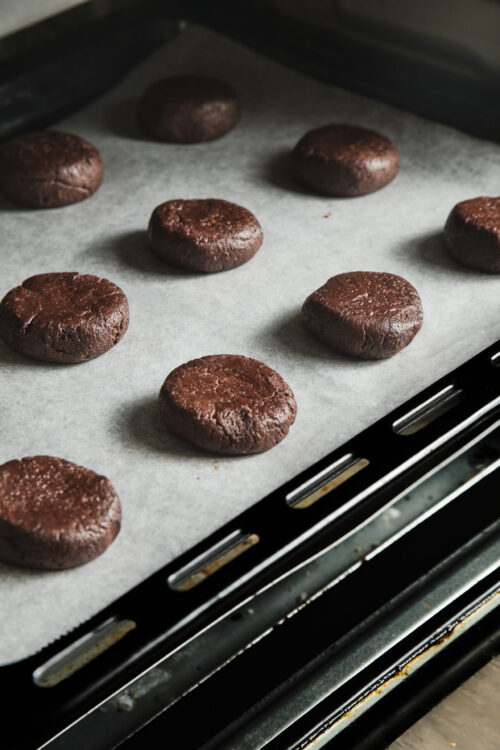
- Bake until the edges are set and the tops look dry and slightly cracked, 6-9 minutes. The cookies will firm up as they cool.
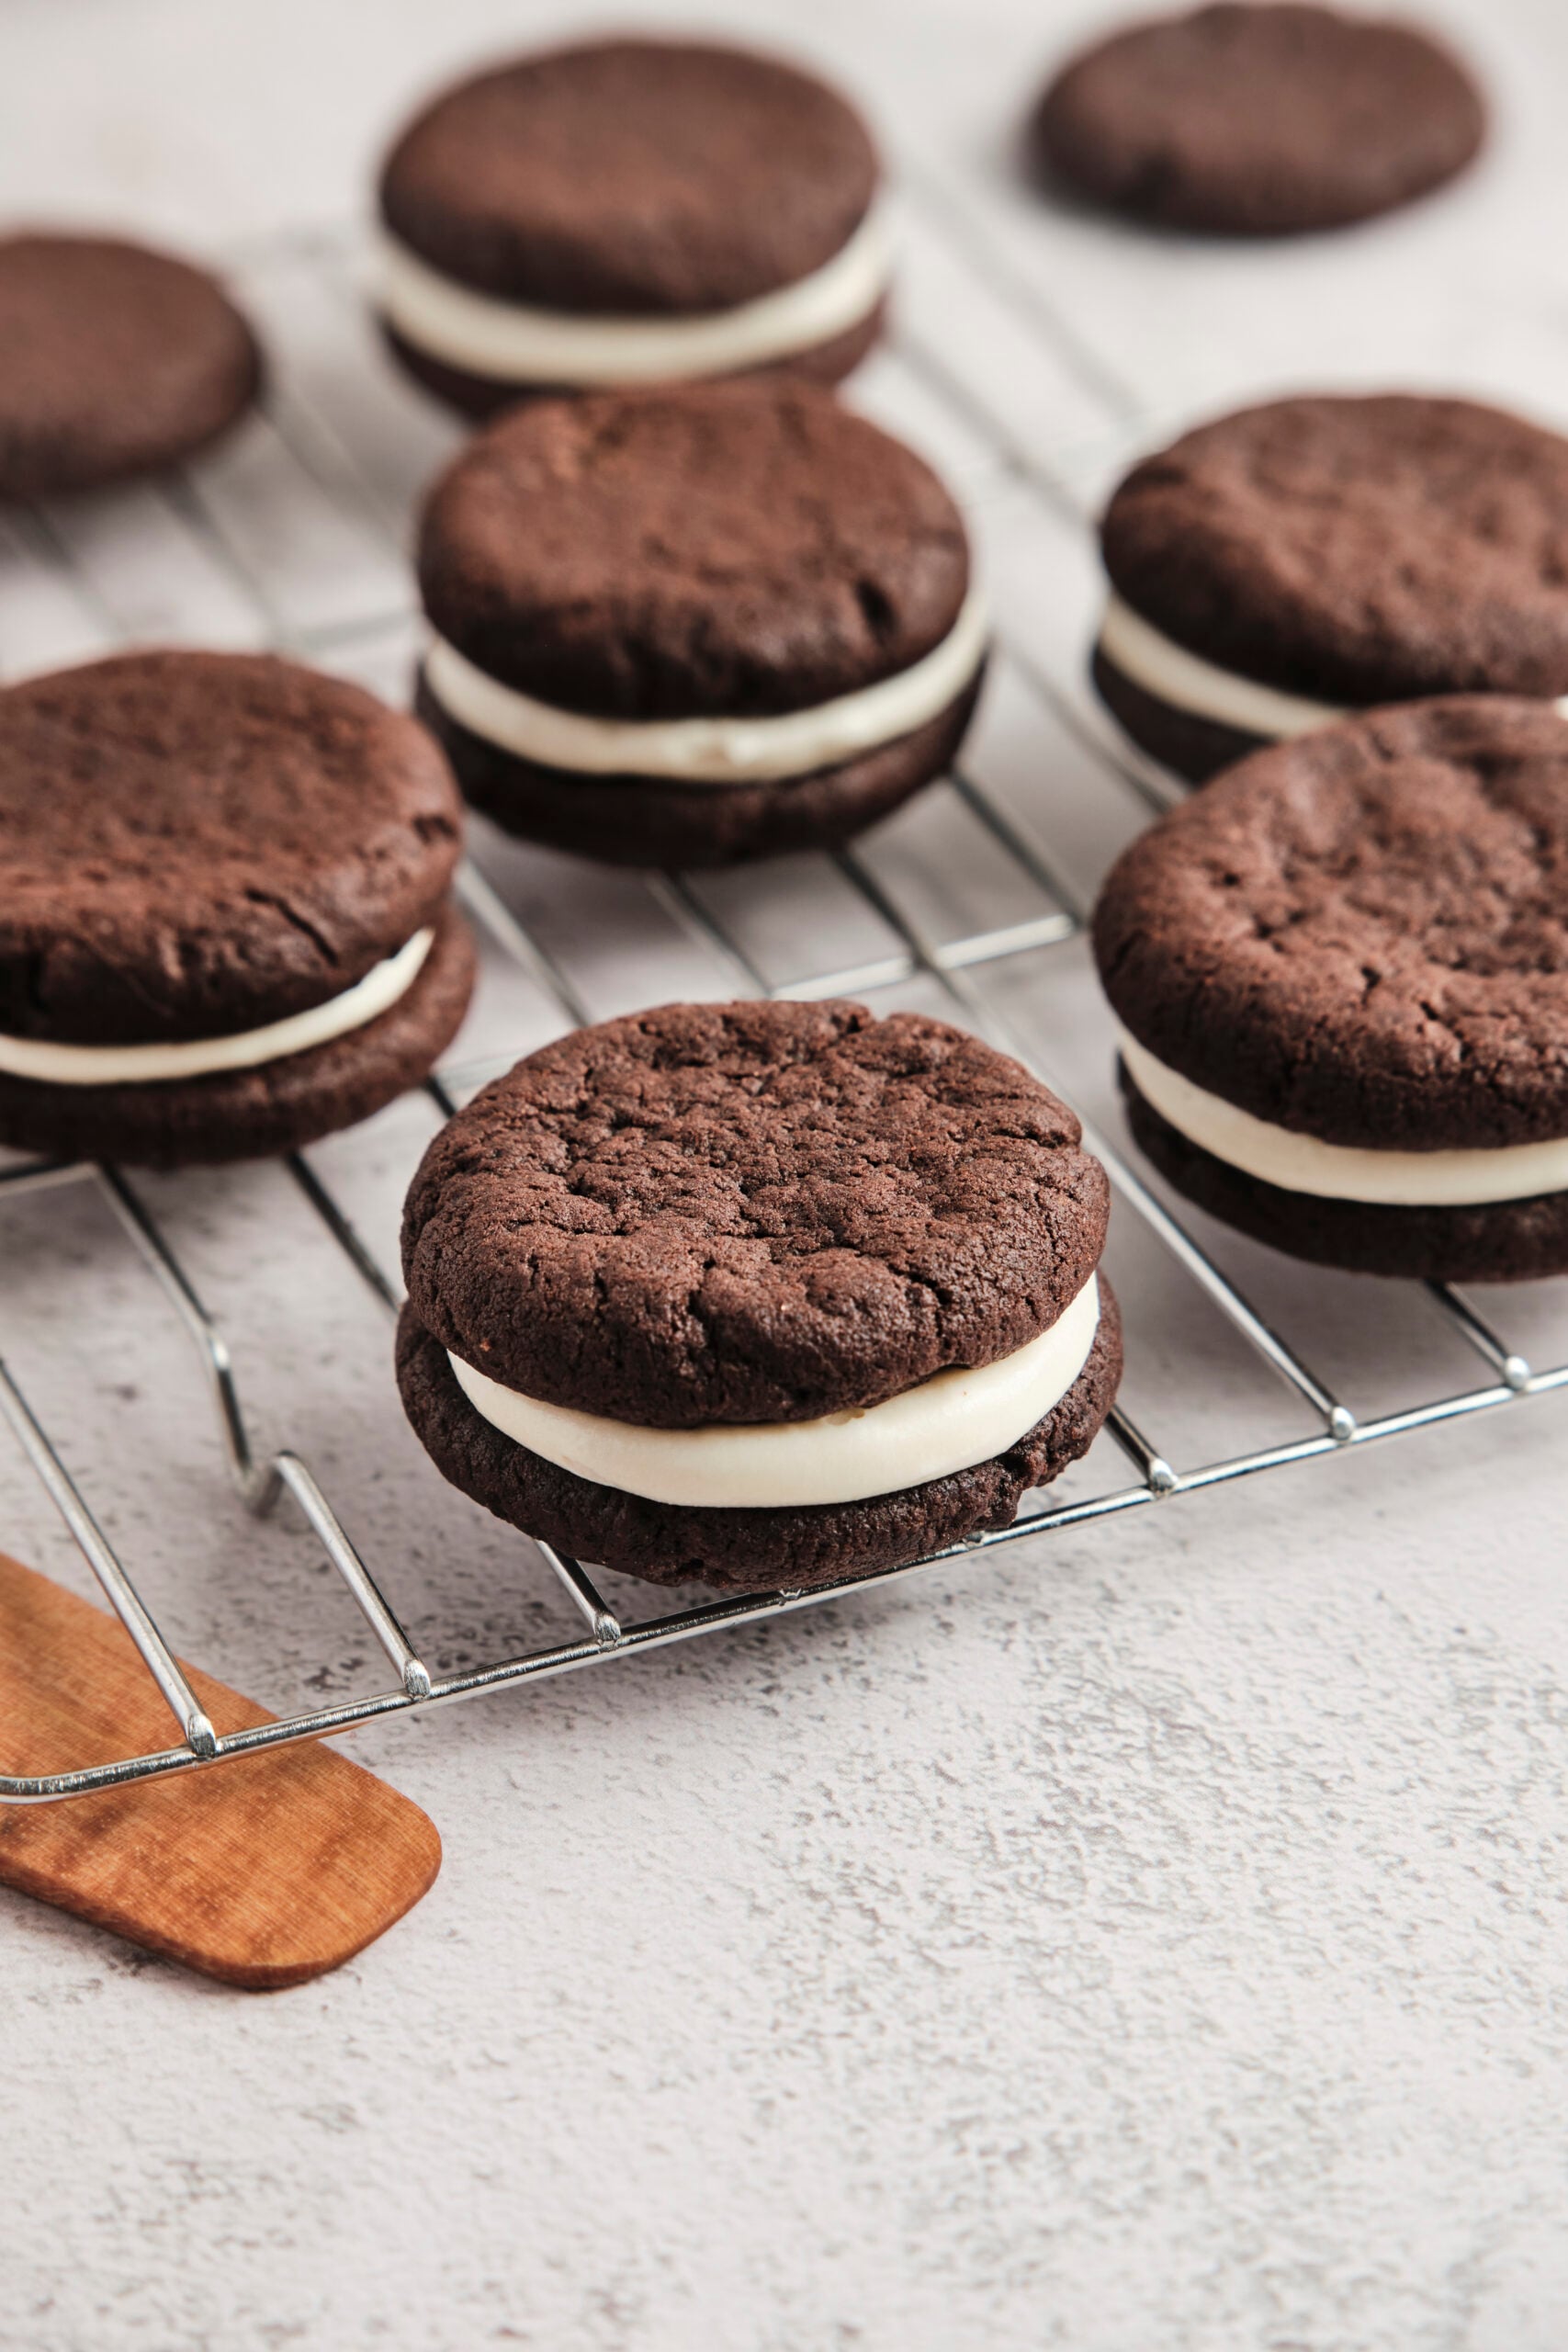
- Let the cookies cool on the baking sheets for 5 minutes, then transfer to a wire rack to cool completely, about 25 minutes.
Make The Filling:
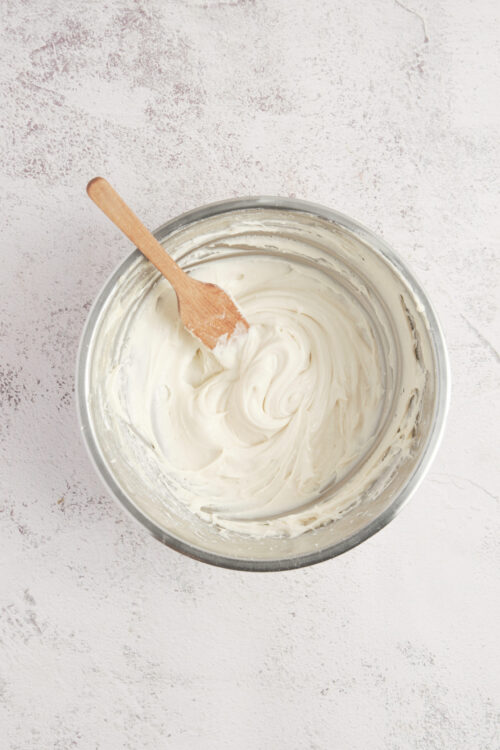
- In a clean mixing bowl, beat the softened butter and vegetable shortening on medium speed until creamy, 1 to 2 minutes.
- Gradually add the powdered sugar, then the vanilla, and continue beating until very light and fluffy, 2 to 3 minutes. If the filling is too soft, beat in a little more powdered sugar. If it’s too stiff, add a teaspoon of milk or cream.
Assemble And Serve The Cookies:
- Pair the cookies by size. Using a pastry bag fitted with a 1/4‑inch round tip or a small offset spatula, pipe or spread about 1 tablespoon of filling onto the flat side of one cookie.
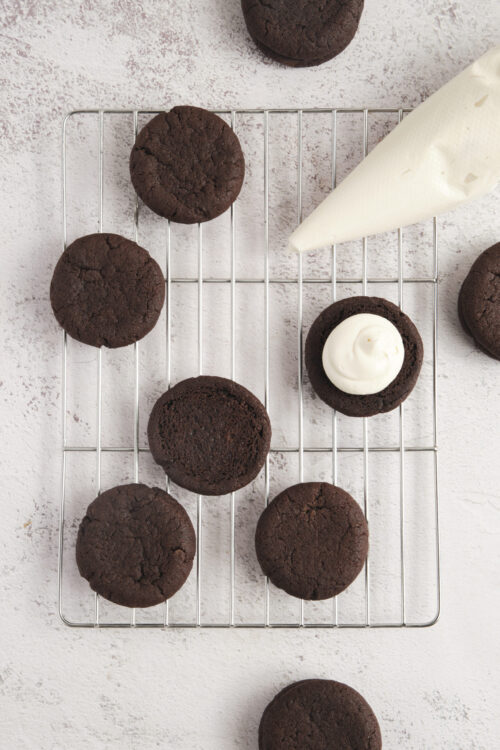
- Top with a second cookie, flat side down, and gently press until the filling just reaches the edges. Repeat with the remaining cookies
- Serve right away or store in an airtight container.
Leave a Comment