Create a decadent frozen treat at home with this beginner-friendly recipe that delivers rich, creamy, chocolaty delight!
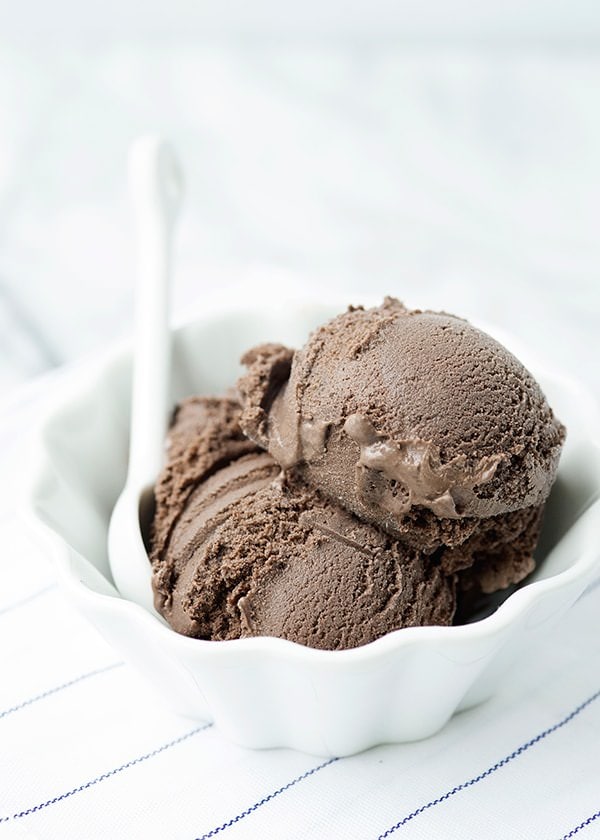
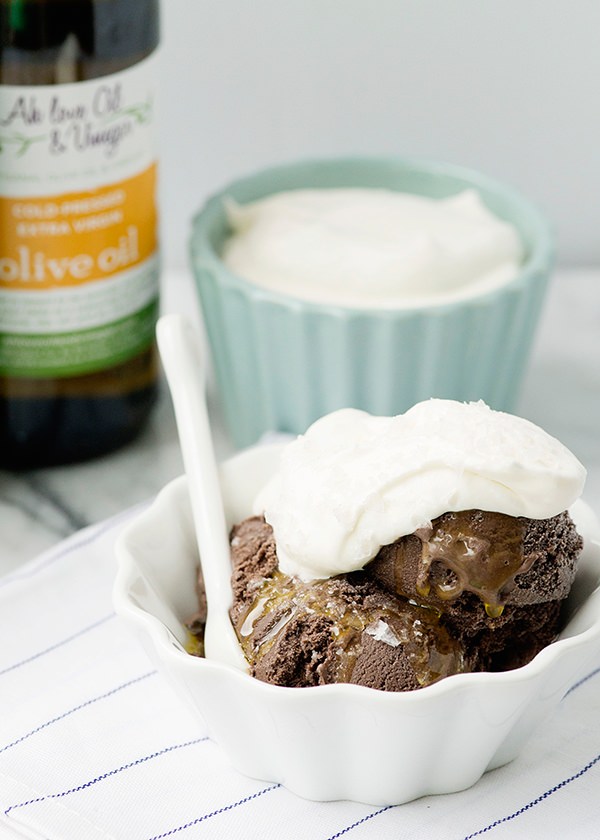
In my family, there’s an endless debate over the best ice cream flavor. My mom and one brother are firmly in camp vanilla, while my sister and I are die-hard chocolate supporters. As a defining argument in our case, she and I presented this dark chocolate ice cream at a recent get-together. The verdict? It was a hands-down winner, even among the vanilla aficionados.
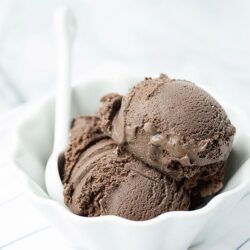
You just can’t beat the deep, pure chocolate flavor of Dutch-pressed cocoa powder. Mixed with the heavy cream, eggs, and vanilla, it becomes insanely rich and creamy. Every bite of this homemade ice cream delivers over-the-top decadence you simply cannot get from the store-bought stuff. You could take yours to the next level by folding in a handful of dark chocolate or peanut butter chips just before freezing it.
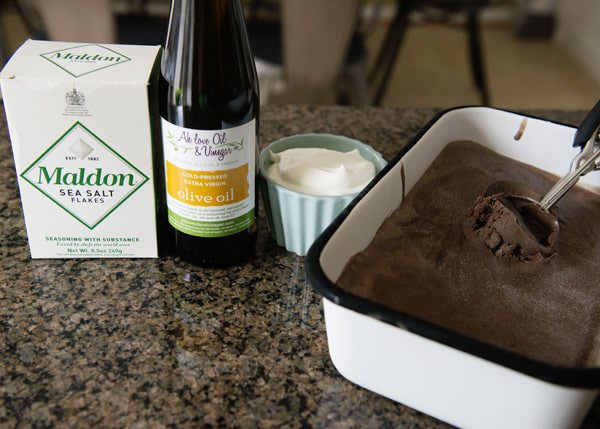
I like to top mine with a generous pinch of flaky sea salt—which really enhances the chocolate notes while adding a subtle bit of crunch. But hot fudge sauce, a drizzle of caramel, or a handful of fresh raspberries would add to the indulgence.
How to make this recipe sans ice cream maker
No ice cream machine? No problem! You can still achieve a creamy, decadent frozen dessert with either a blender or a little diligent elbow grease. Here are two trusted methods:
Food processor or blender: After step 13, pour your fully prepared and cooled custard base into a zip-top bag and freeze until solid. Once frozen, break the block into chunks and blend them in a food processor or high-powered blender until they become smooth and creamy. Spoon it into your storage container and freeze again until you’re ready to serve.
Freeze and stir: Pour your cooled custard base into a deep, freezer-safe dish, like a stainless steel baking pan. Place it in the freezer. Every 30 minutes, remove the dish and vigorously stir the mixture—being sure to break up any forming ice crystals. Repeat this process for two to three hours, until the ice cream is thick and scoopable. The frequent stirring mimics the churning of an ice cream machine and keeps the final texture creamy.
How do I store leftovers?
Store your dark chocolate ice cream in a well-sealed freezer-safe container at the back of the freezer for up to 2-4 weeks. For easier scooping and a creamier texture, let the ice cream sit at room temp for 5-10 minutes before serving.
Serving suggestions
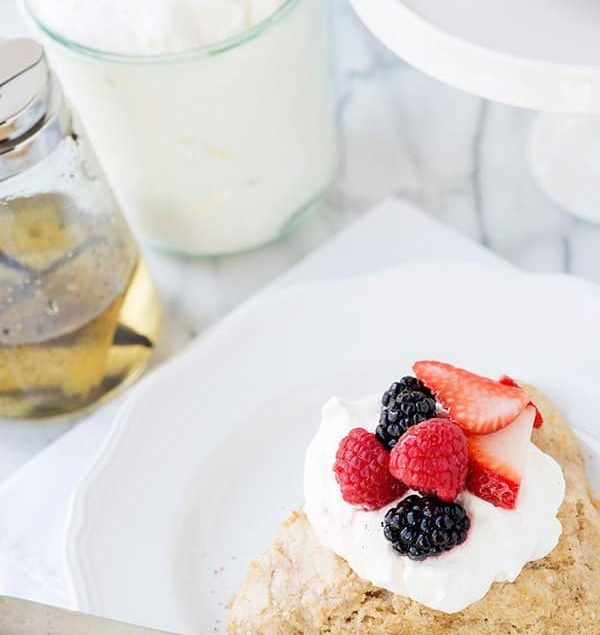
Serve your dark chocolate ice cream alongside other decadent homemade goodies. Pair it with a Black Forest Cake or this Cherry Pie Recipe for the ultimate à la mode combo. Or slather it between pairs of Peanut Butter Cookies for delightful ice cream sandwiches. This ice cream also pairs beautifully with Brownies or Chocolate Scones.
Dark Chocolate Ice Cream
Ingredients
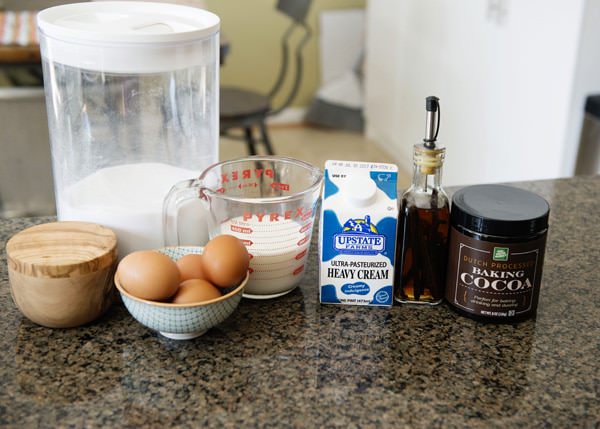
- 1/4 cup Dutch-processed cocoa powder
- 3/4 cup sugar divided
- 1/4 teaspoon salt
- 1 cup 2% milk divided
- 1 3/4 cups heavy cream
- 5 egg yolks
- 1 teaspoon vanilla
Instructions
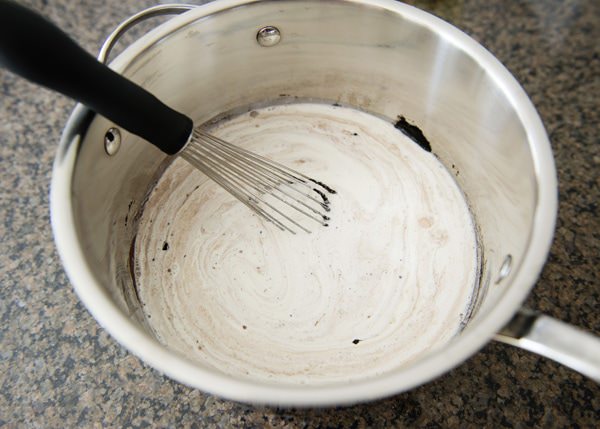
- In a medium saucepan, whisk together the cocoa powder, 6 tablespoons of the sugar, and salt until well blended.
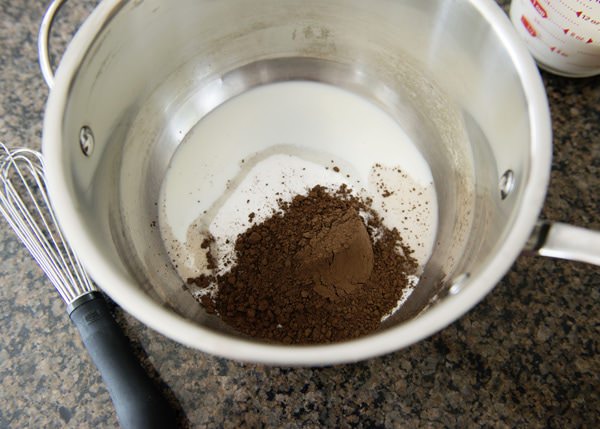
- Add 1/4 cup of the milk and whisk until a smooth, thick paste forms.
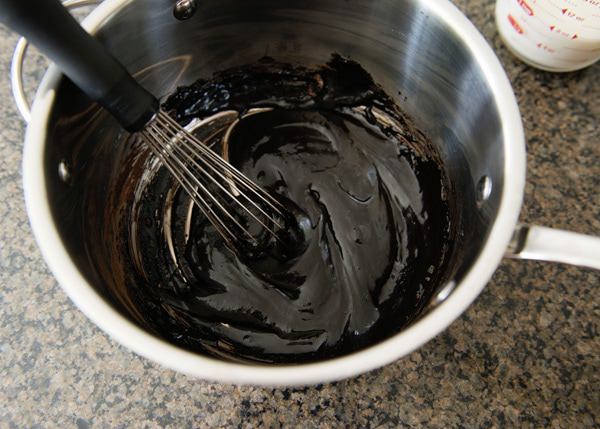
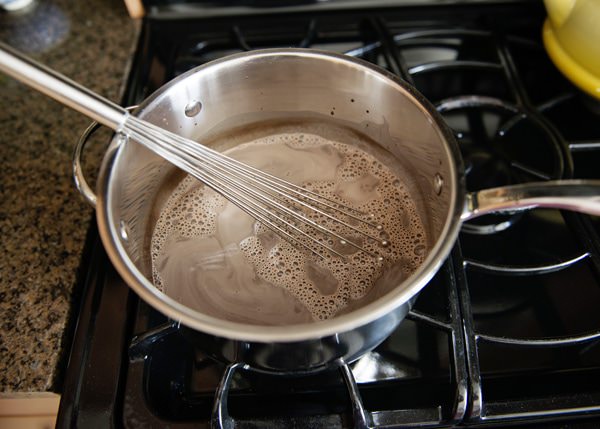
- Whisk in the remaining milk and heavy cream until the mixture is fully combined.
- Place the saucepan over medium heat. Warm the mixture, stirring constantly, until you see bubbles forming around the edges. Do not boil.
- In a separate bowl, whisk together the egg yolks with the remaining sugar until smooth and slightly lightened.
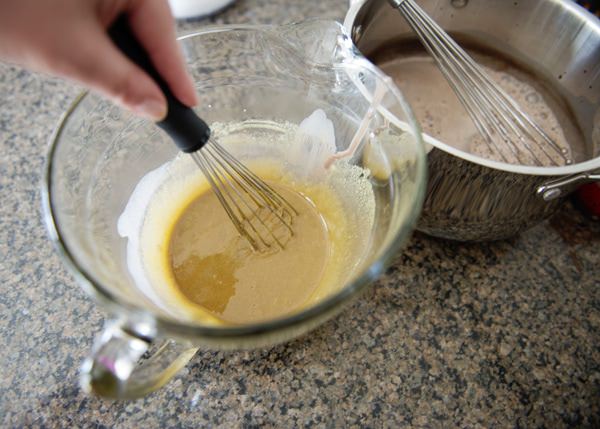
- Remove the saucepan from heat. Gradually whisk about 1/2 cup of the hot cream mixture into the yolks—whisking constantly to avoid scrambling the eggs (this is tempering).
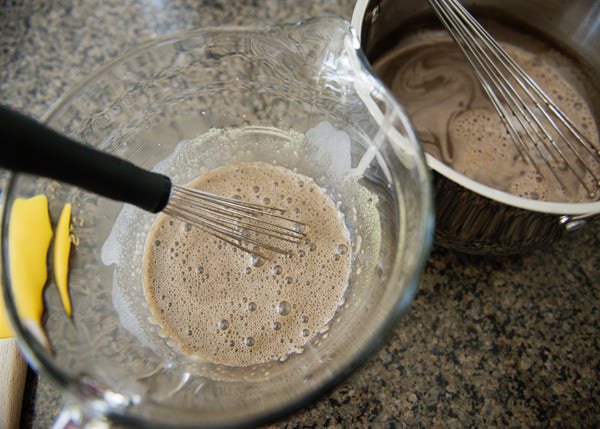
- Repeat with another 1/2 cup of the hot cream mixture to further temper the yolks.
- Pour the tempered yolk mixture back into the saucepan with the rest of the cream mixture.
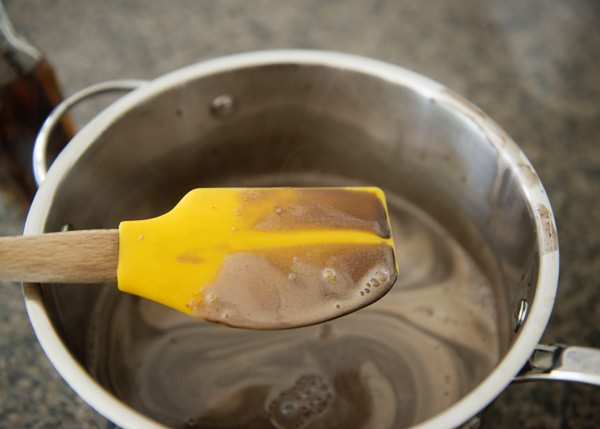
- Return the pan to medium heat. Stir constantly with a wooden spoon or heatproof spatula, making sure to scrape the bottom and sides. Cook until the custard thickens and coats the back of the spoon—if you draw a line with your finger, it should hold a clear path. This typically takes 1–2 minutes.
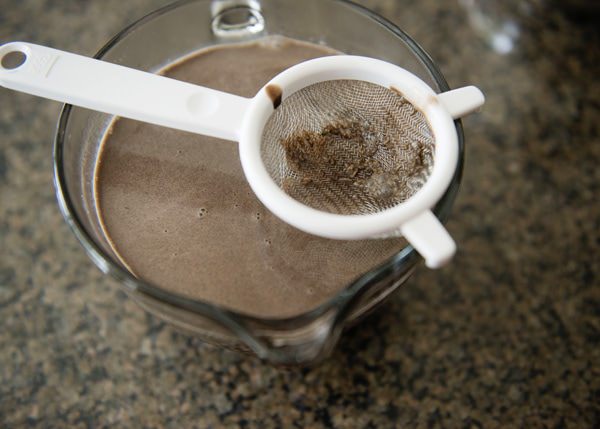
- Remove from heat immediately. Pour the custard through a fine-mesh strainer into a large bowl to catch any bits of cooked egg.
- Stir in the vanilla extract.
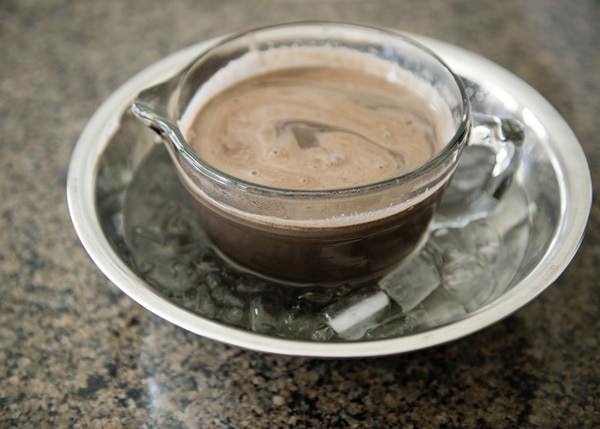
- Place the bowl of custard into an ice bath to cool it quickly, stirring occasionally.
- Once cool, cover with plastic wrap directly on the surface to prevent a skin from forming, and chill for at least 2 hours, preferably overnight.
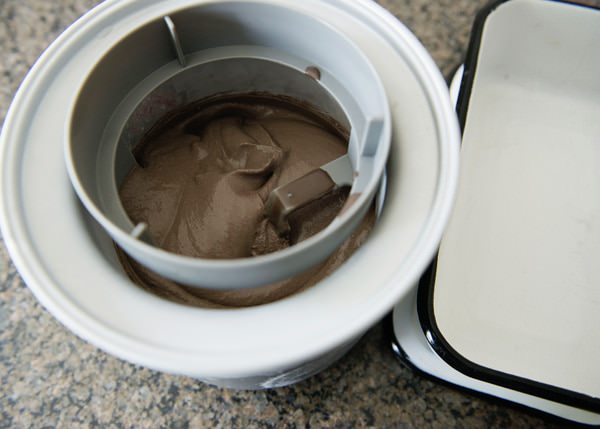
- Pour the chilled custard into your ice cream maker and process according to the manufacturer’s instructions.
- Transfer the churned ice cream to a freezer-safe container and freeze until firm, about 4 hours.
- Serve cold directly from the freezer.
Leave a Comment