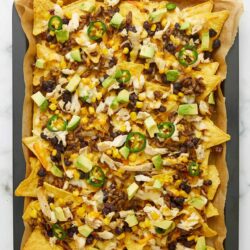
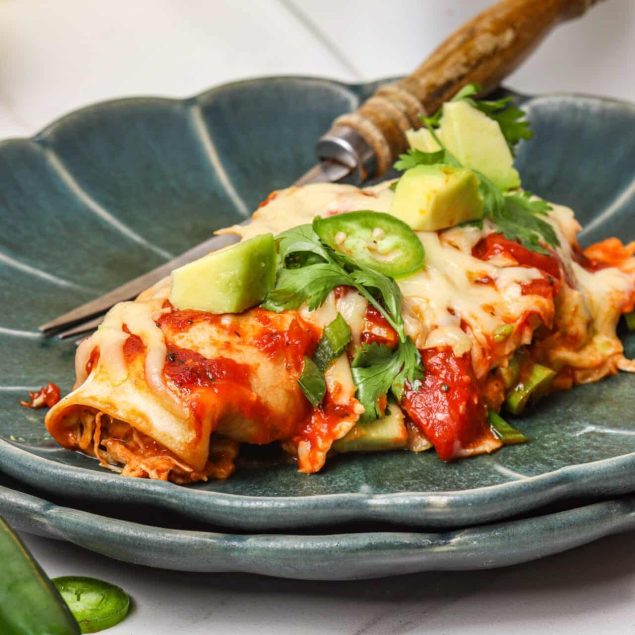
Enjoy restaurant-style, customized nachos at home—perfect for serving a crowd!
Back in the 1940s, the first nachos (named after their creator, Ignacio “Nacho” Anaya) were as simple as they were delicious: fried, salted tortilla pieces topped with melted cheese and jalapeño slices. Fast-forward to today, and this beloved appetizer has evolved into a customizable dish piled high with all kinds of toppings, from grilled chicken, ground beef, and steak to refried beans, pico de gallo, onions, lettuce, and queso. The combinations are practically endless.
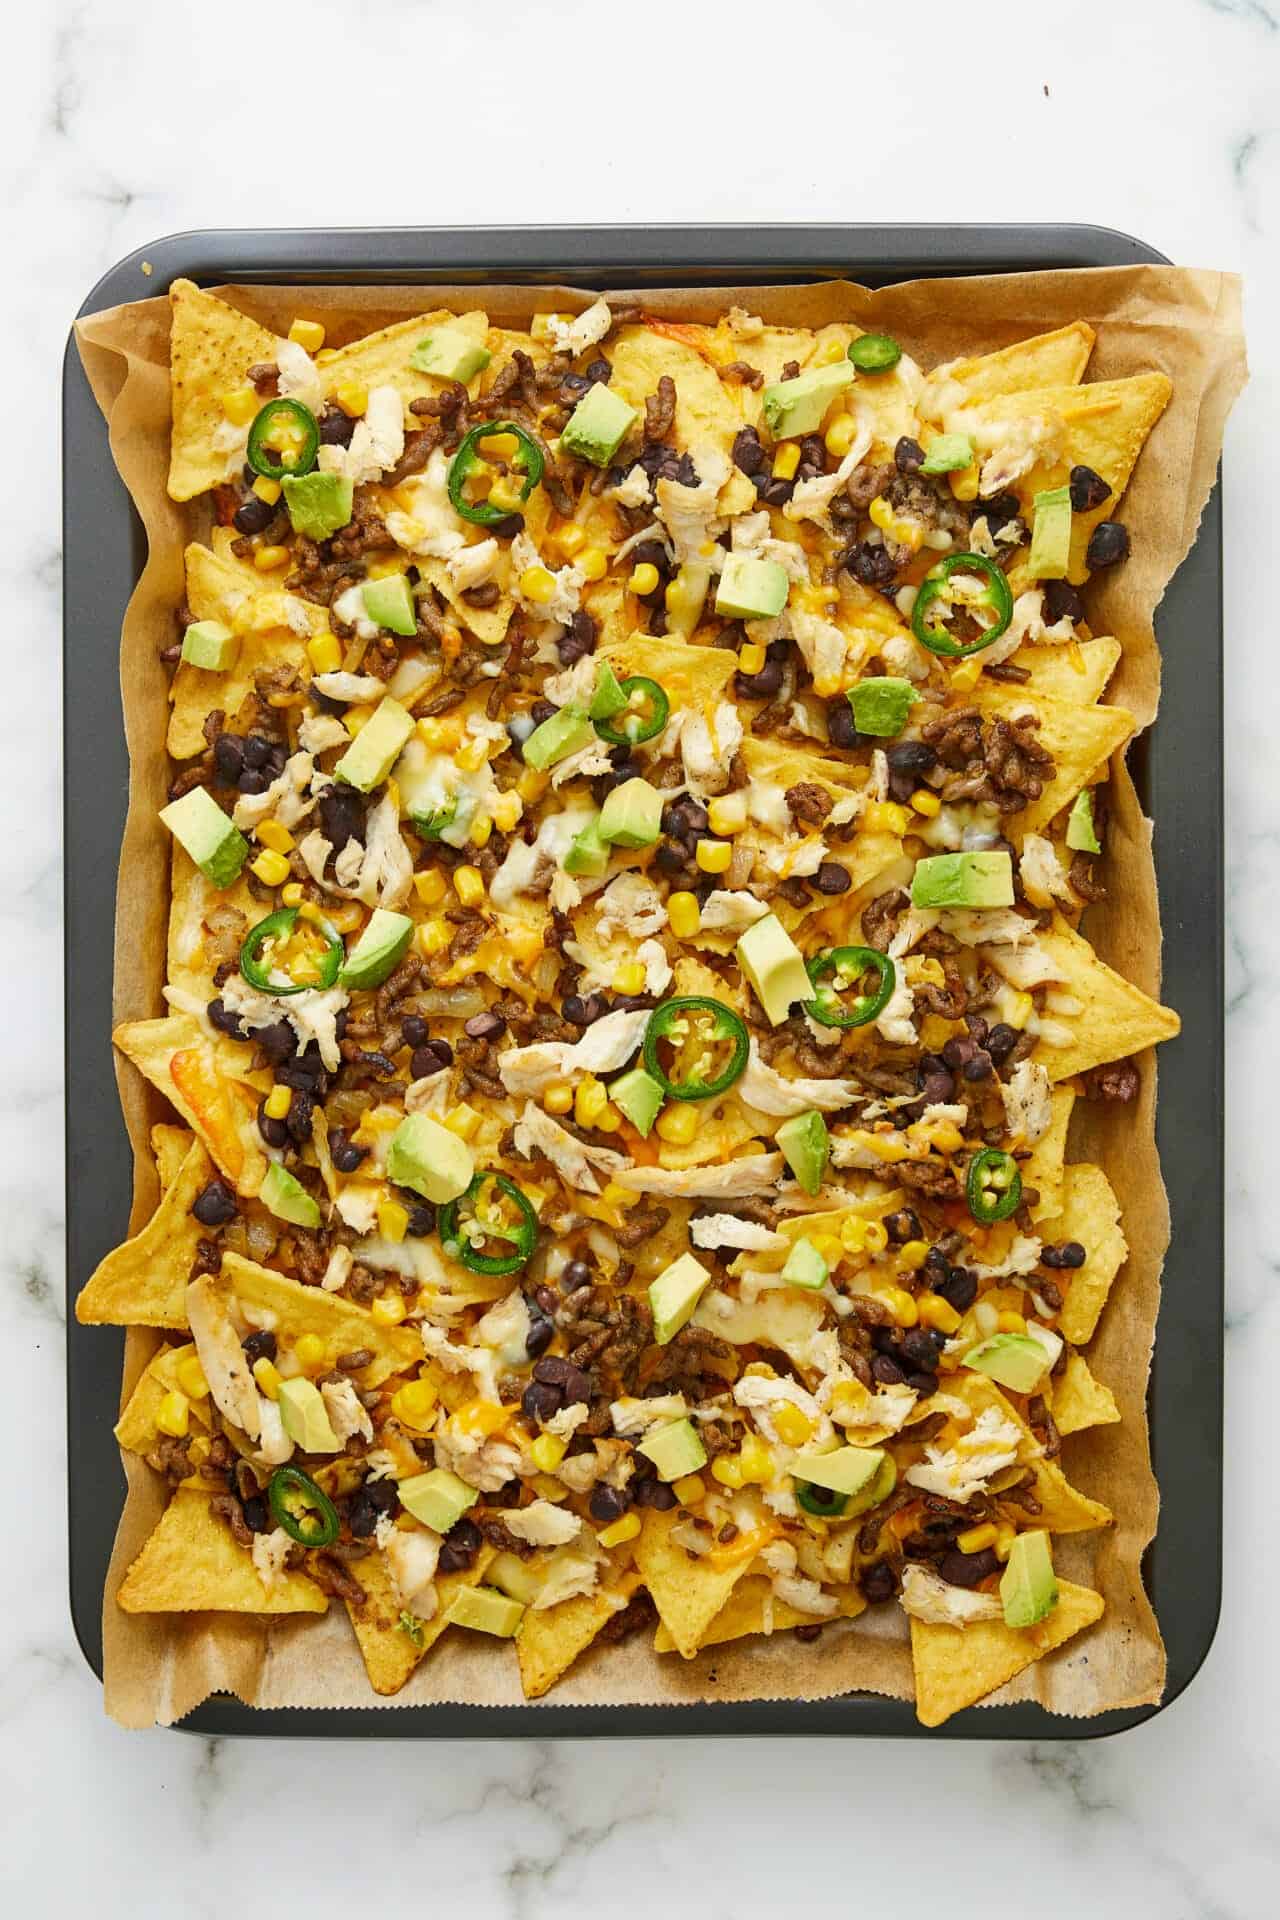
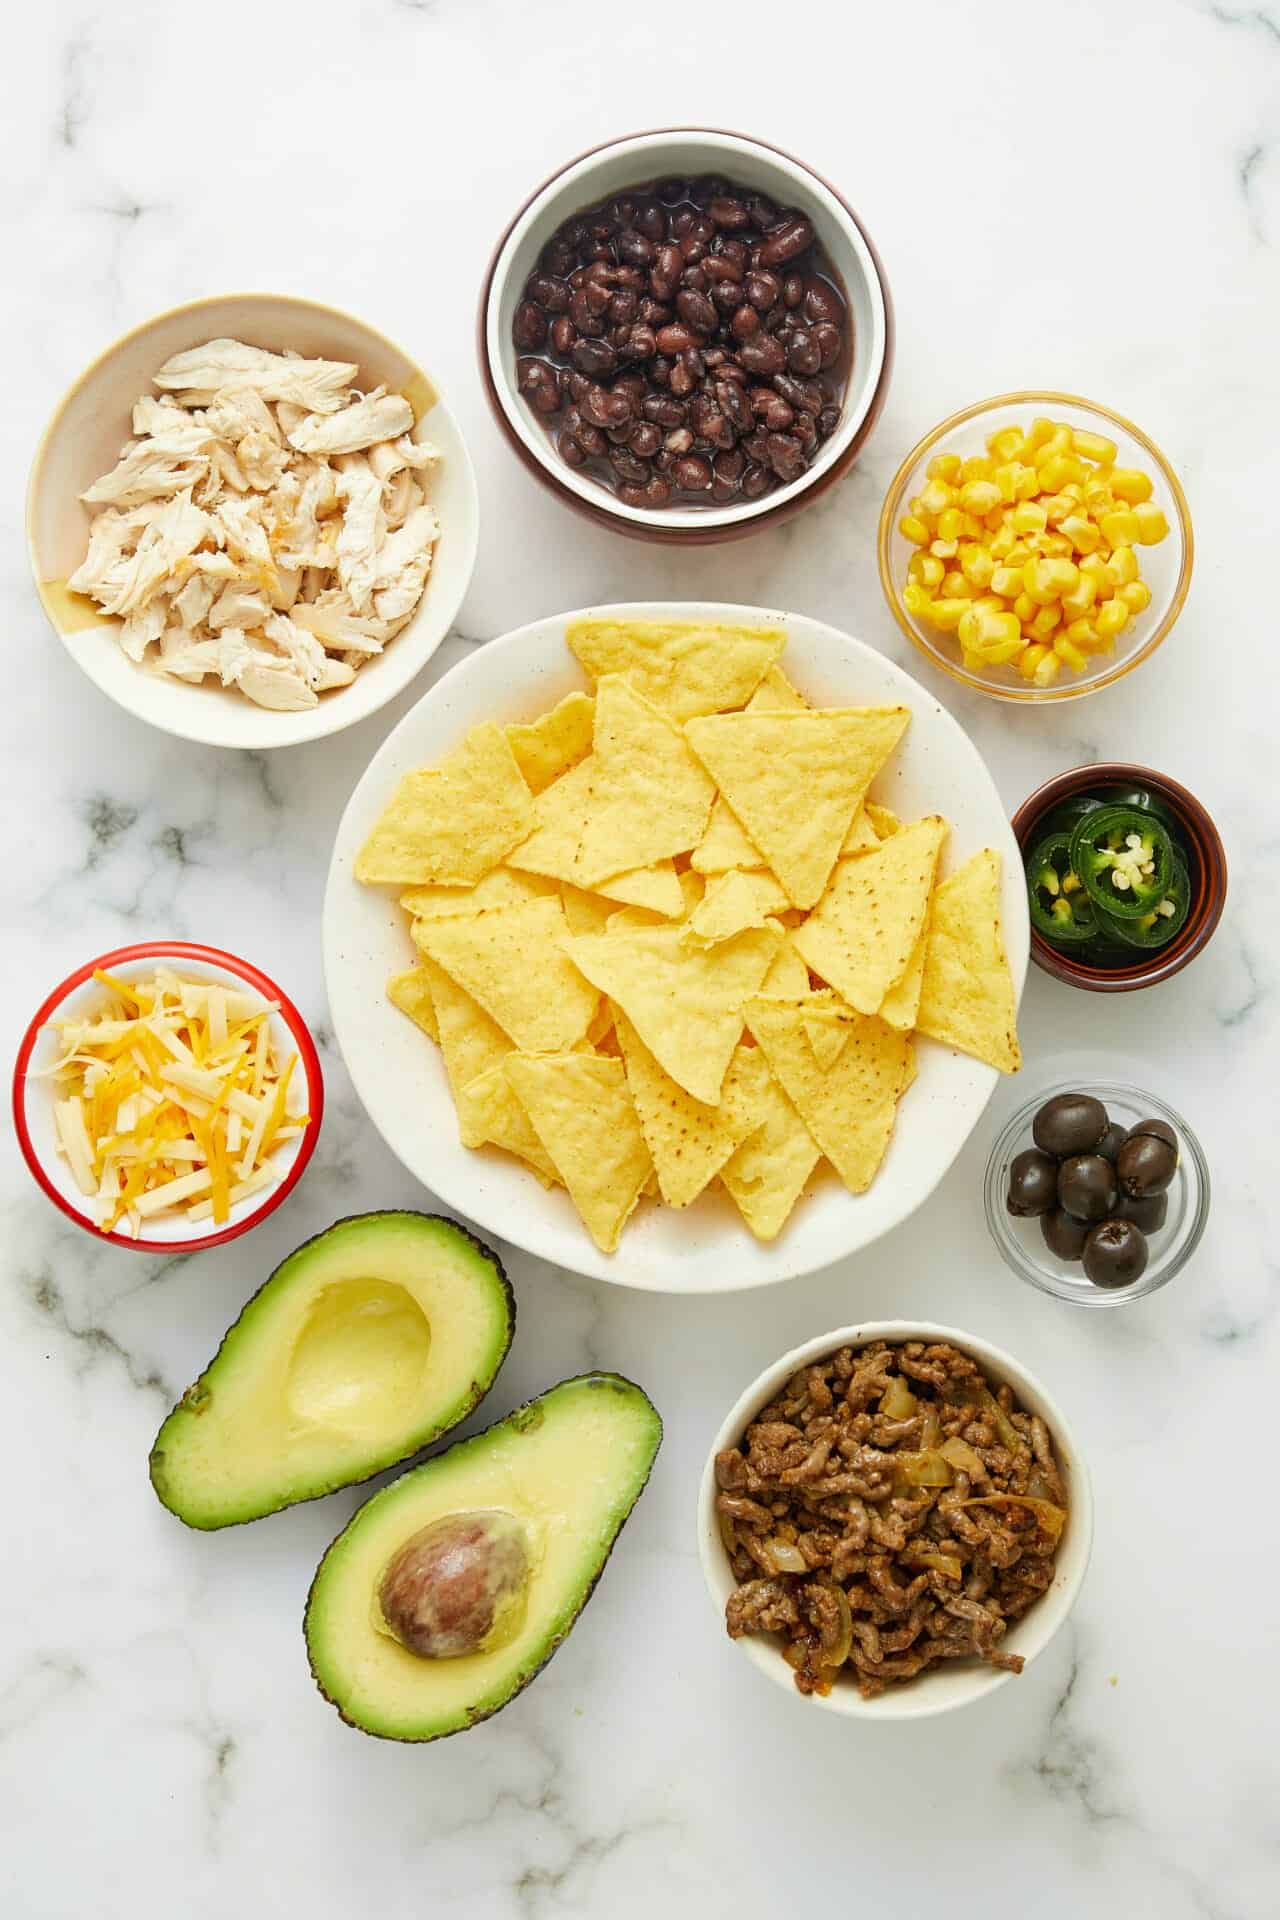
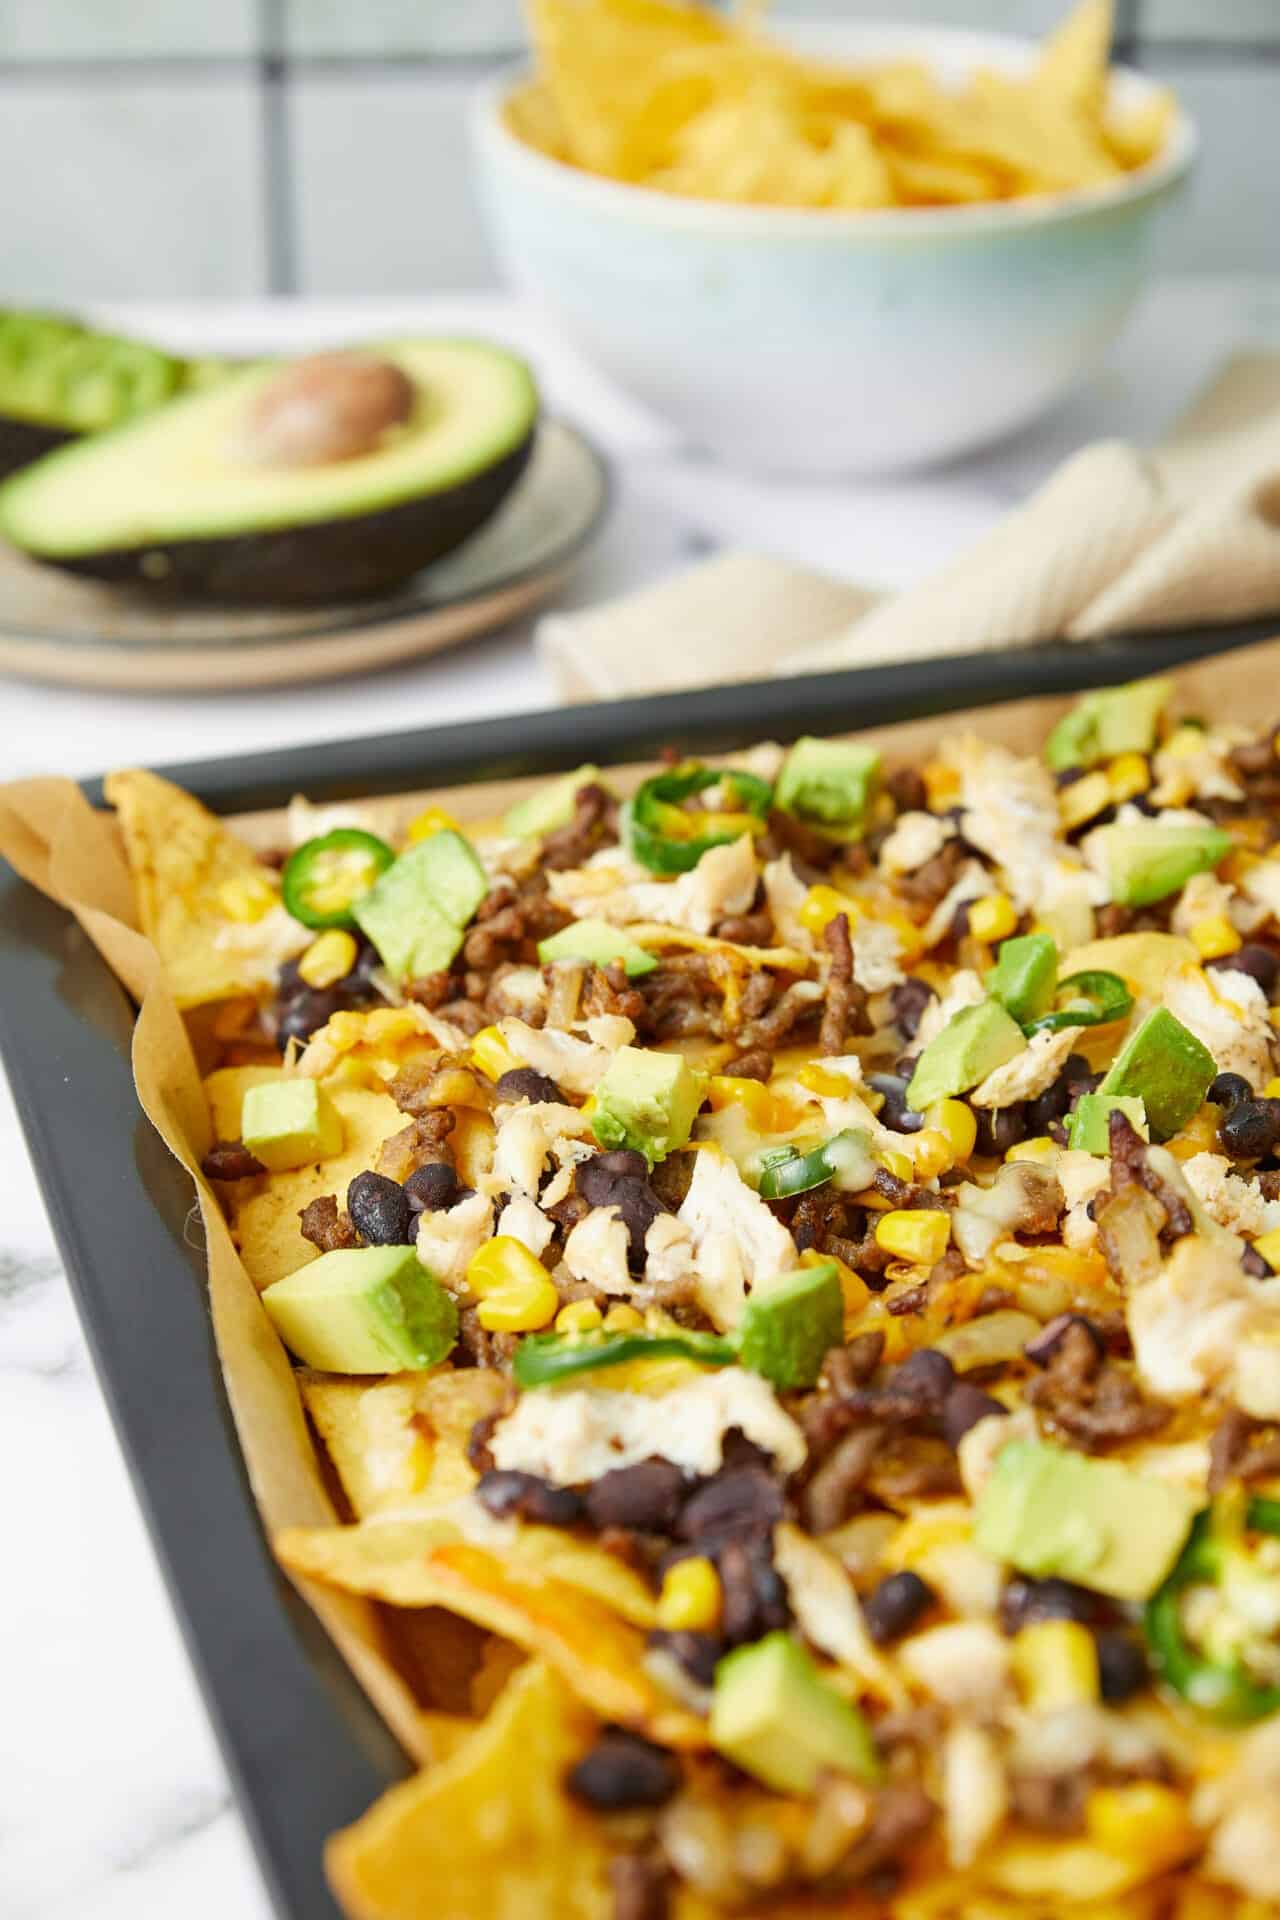
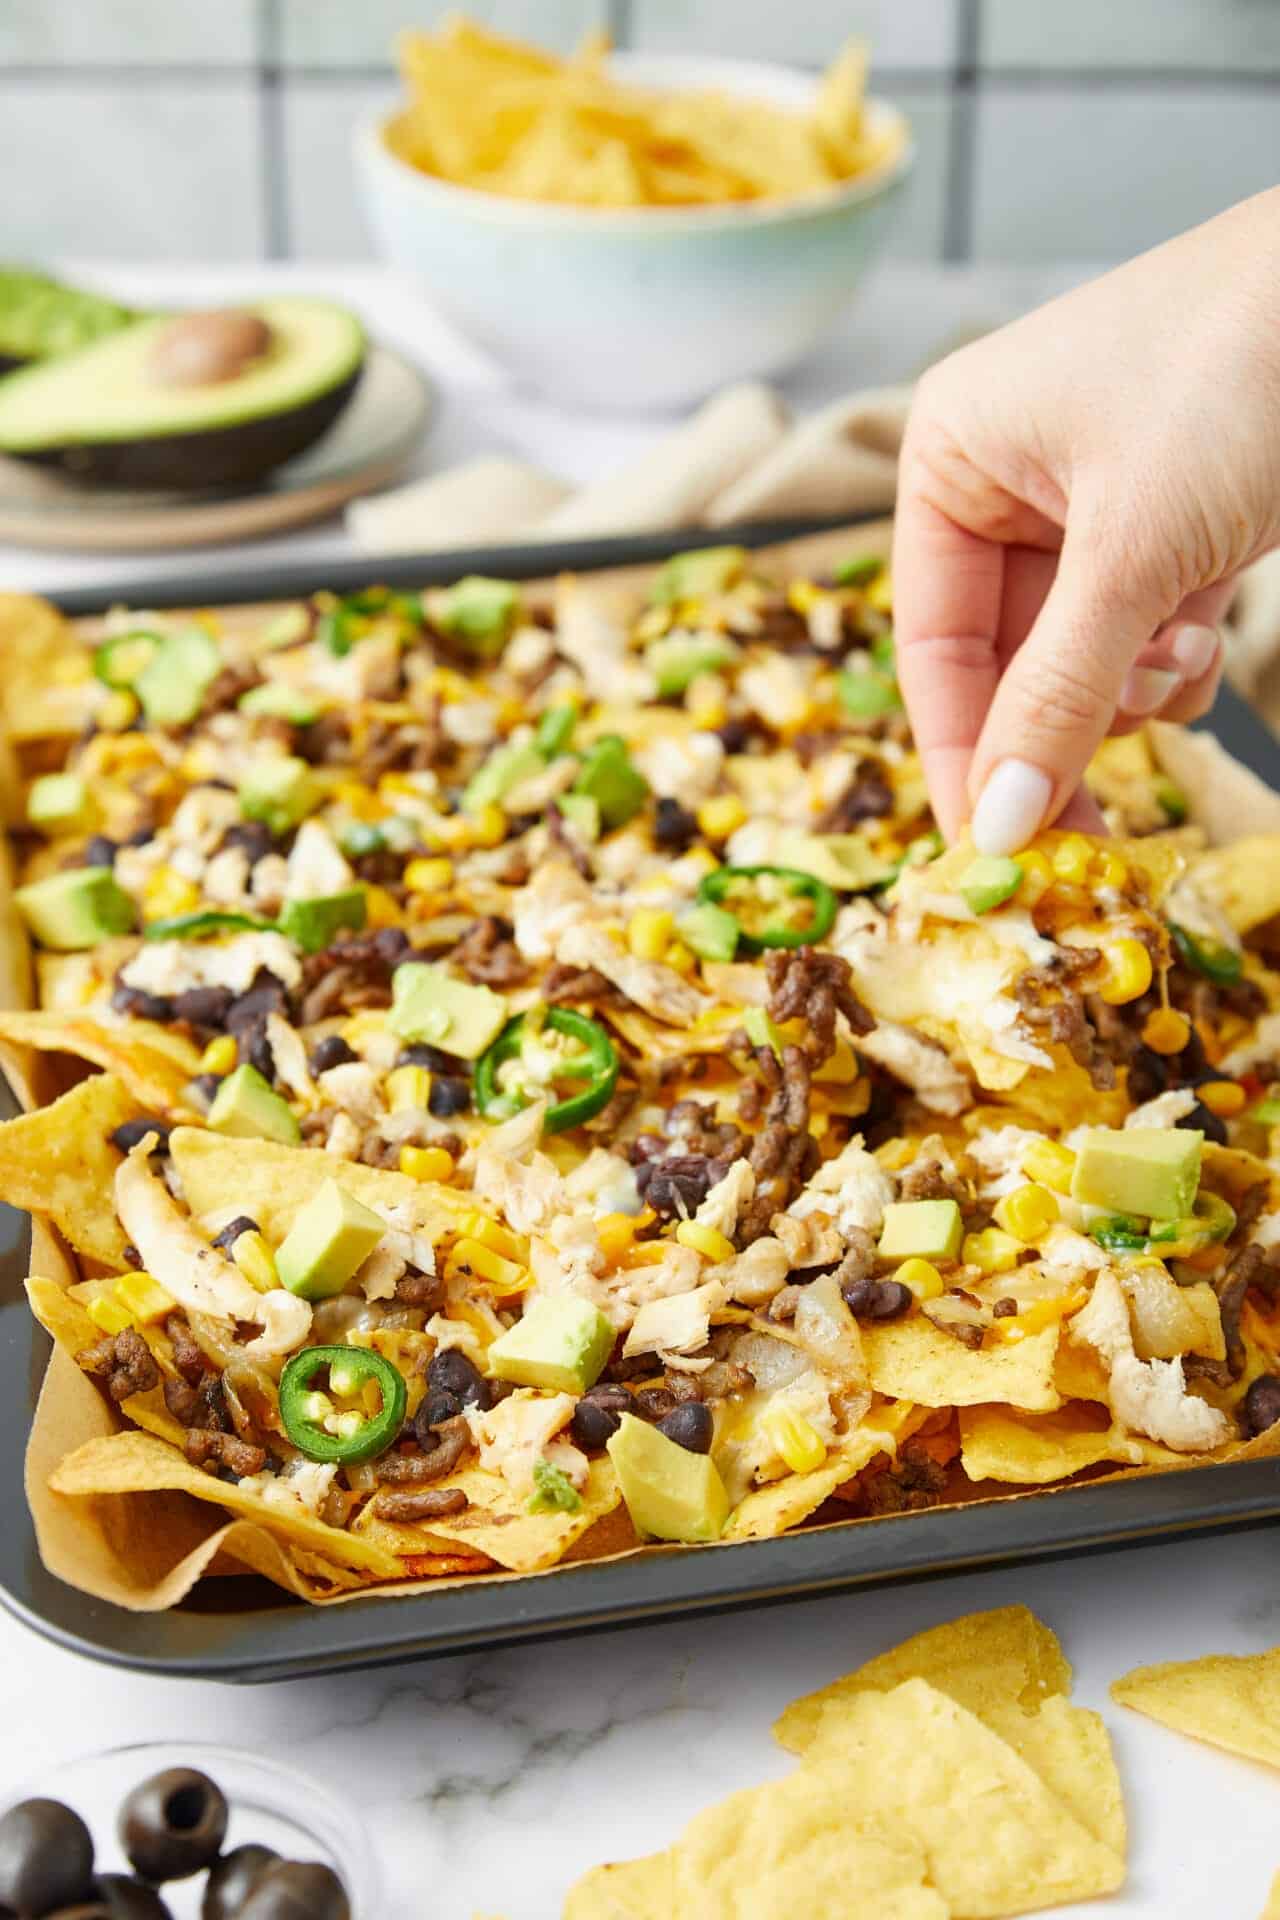
Of course, you can tailor nachos to your tastes. And just because you’re making them at home doesn’t mean you have to settle for sad, microwaved nachos (or is that just me reminiscing about my go-to high school snack?). With this recipe, you can bake a big batch of crispy, flavor-packed nachos topped just the way you like. You’ll love these easy sheet-pan nachos because baking them in the oven ensures perfectly crisp results, while the mix of hot and cold toppings creates the perfect bite every time. They’re great for feeding a crowd, as there’s something in them for everyone. I’m talking hearty ground beef, chicken, beans, zesty tomatoes, punchy jalapeños, smooth avocado chunks, sweet corn, and zingy olives. Include them all or mix and match depending on your tastes. Set out some napkins, and watch how quickly everyone dives in!
The Case For Shredding Your Own Cheese
It’s tempting to grab a big bag of pre-shredded Monterey Jack at the supermarket and dump it onto the chips to make these nachos. However, consider buying a pound of cheese in block form and shred your own. Why? You will get a meltier, tastier cheese on top of the chips, and the cheese is a crucial structural layer when it comes to nachos—it’s what holds everything together! Pre-shredded cheese contains a waxy coating so that the shreds don’t clump together in the packaging, but it also means it won’t melt so well. Take a few extra minutes and shred your own. You won’t be disappointed.
How To Make Ahead And Store
For meal prep, you can get all the toppings ready up to 3 days in advance and store them in the refrigerator. That way, all you have to do is assemble and bake the nachos. If you have leftovers, transfer them to an airtight container and store in the fridge for up to 2 days. To reheat, the oven is best (remove any cold toppings). You may want to add a little extra cheese and reheat at 350 degrees Fahrenheit for 10 minutes or so.
Serving Suggestions
Easy nachos can be a great appetizer at a party or for a bigger meal. You can also include it in your game-day spread, as it works well with traditional game-day favorites. Try it alongside Buffalo Chicken Dip, Grape Jelly Meatballs, Cast-Iron Skillet Pizza, or Loaded Potato Skins. And don’t forget dessert! Something chocolaty and decadent like Ghirardelli Brownies or Brownies With Frosting will be a big hit.
How To Make Nachos In The Oven
Ingredients
- 1 bag tortilla chips
- 1 pound cheddar cheese shredded (or a mix of Monterey Jack and Colby Jack)
- Seasoned ground beef optional
- Shredded chicken, beef, or pork optional
- Black beans or pinto beans drained, optional
- Diced tomatoes, jalapeños, or chilis optional
- Corn, sliced black olives, or diced avocados optional
Instructions
- Preheat the oven to 350 degrees Fahrenheit.
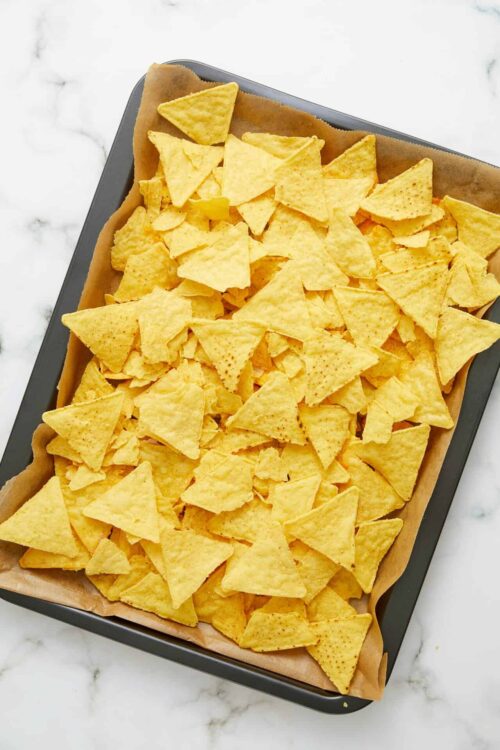
- Line a baking sheet with parchment paper or aluminum foil for easy cleanup.
- Evenly spread tortilla chips on the prepared baking sheet.
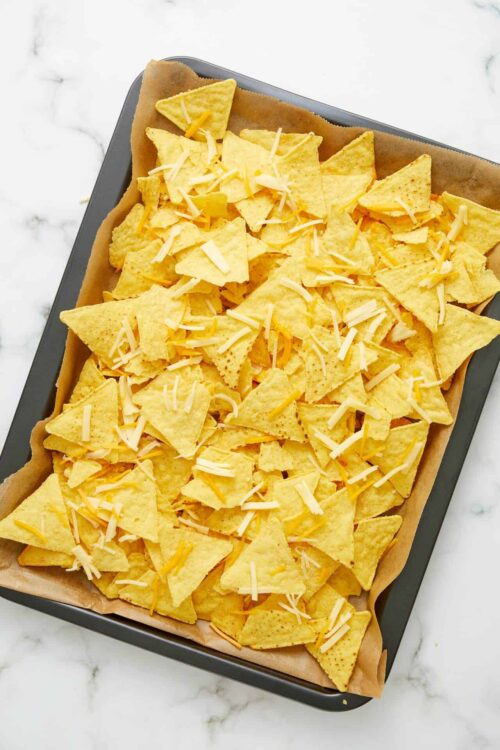
- Sprinkle half of the shredded cheese over the tortilla chips.
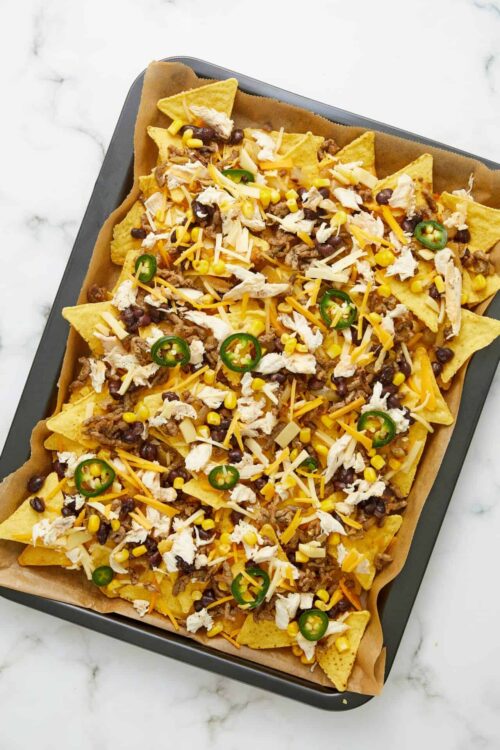
- Add your choice of toppings, such as meat, beans, and vegetables, over the cheese.
- Top with the remaining cheese, ensuring even coverage.
- Bake in the preheated oven for about 10 minutes, or until the cheese is melted and bubbly.
- Remove from the oven and serve warm with sides like guacamole, sour cream, or salsa.

Leave a Comment