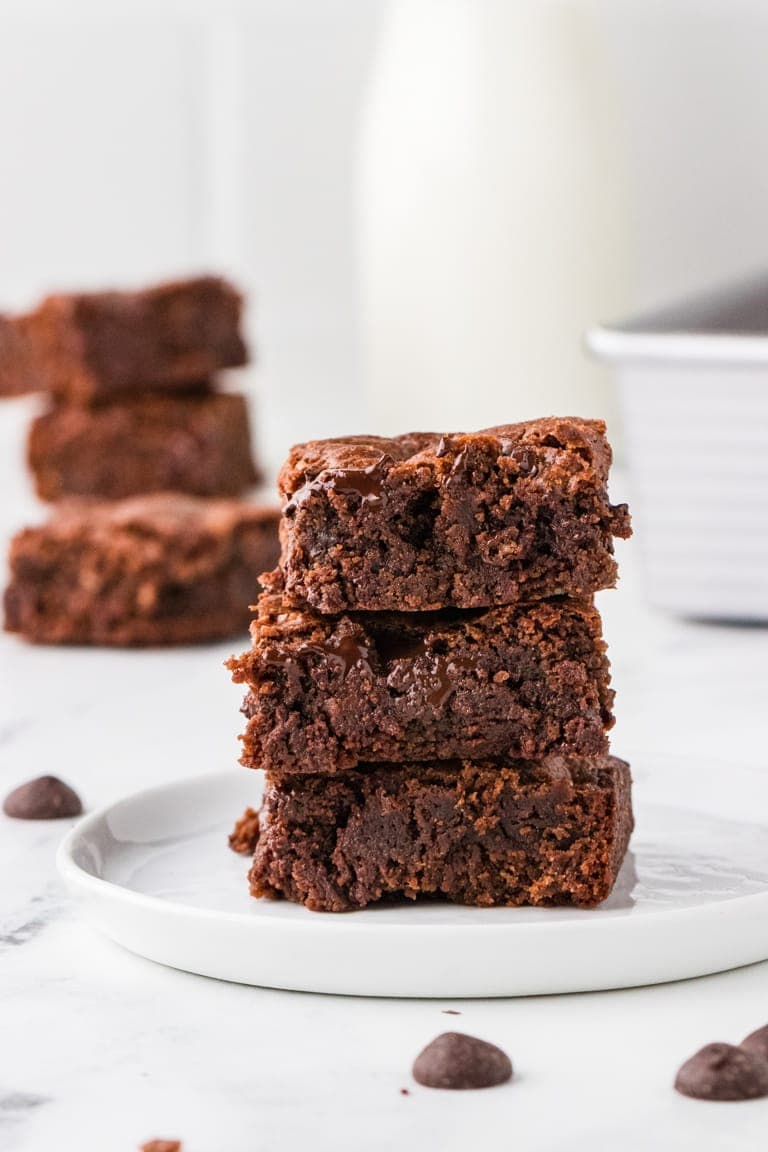
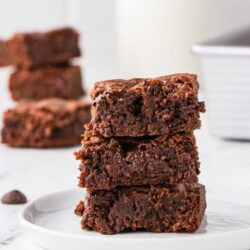
Ghirardelli chocolate teams up with homemade brownies and the result is decadent deliciousness!
World-renowned Ghirardelli chocolate is known for its decadent and flavorful treats. Established in 1852 by Domenico Ghirardelli, a chocolate maker who brought his skills to San Francisco during the Gold Rush, it quickly earned a reputation for its top-notch quality. Ghirardelli’s dedication to perfection has made it a favorite among chocolate enthusiasts for years.
What makes Ghirardelli unique is its bean-to-bar process, ensuring that each piece of chocolate is crafted with precision and attention to detail. Their wide variety of offerings, from milk chocolates to bold options, cater to a diverse range of tastes. The iconic Ghirardelli Square in San Francisco has become a destination for tourists and locals, adding to the brand’s appeal and magic.
In this recipe, Ghirardelli chocolate brings new meaning to the classic fudgy brownie, one of America’s most beloved treats. According to Statista, the projected number of boxed brownie mixes used by Americans by the end of 2024 is 170 million. That’s a lot of chocolatey goodness.
I think brownies, whether homemade (as in this recipe) or from a boxed mix, are the perfect combination of an indulgent dessert and a simple cookie. Serve them at a child’s birthday party as finger food, or top them with ice cream and caramel syrup on a piece of fine china for your dinner guests. They are incredibly versatile, nostalgic, and always a hit.
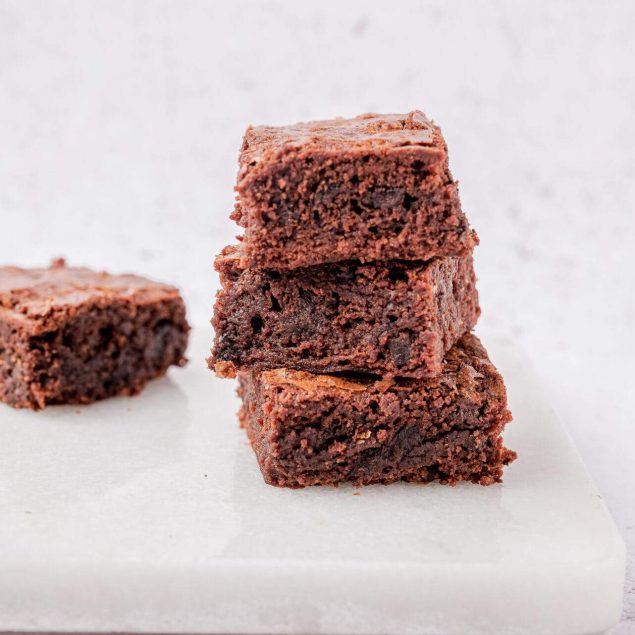
The Secret To The Fudgiest Brownies
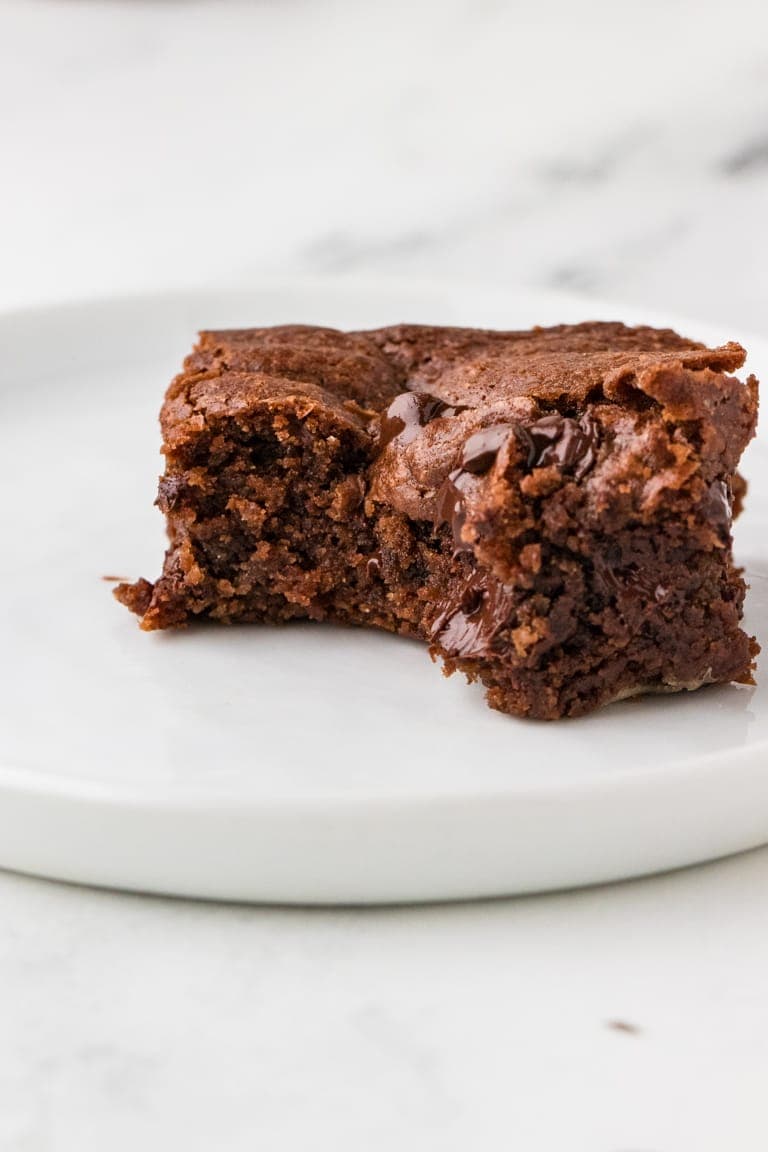
Brownies are known for their yummy, fudgy texture. Choosing the best ingredients is essential, but so is how you mix them all together. The secret to the fudgiest brownies is to mix the batter as little as possible or just until blended. To achieve the dense fudge-like consistency, you want to avoid getting too much air in the batter. Mixing creates air bubbles and pockets, producing a chocolate cake-like texture instead of the classic brownie texture. Mix the batter until everything is blended, and then stop.

How to Make Ahead and Store?
Keep your gooey brownies fresh by placing them in an airtight container. You can keep them on the counter for up to one week that way. If you’d like to save them even longer, you can freeze them. To do so, wrap them in foil, then place them in a freezer-safe bag. They will stay fresh like this for up to six months.

Serving Suggestions
When it comes to chocolate, there is no wrong way of serving it. I just want to eat it. Still, brownies are a wonderfully versatile dessert, perfect as a quick treat or as a decadent final course at your next dinner party. Some fun ways to dress up these fudgy brownies are with a drizzle of hot fudge or caramel sauce (or both). A dollop of ice cream turns a brownie into a yummy sundae. You can also add a sprinkling of nuts or chocolate shavings on top of the brownie or on the plate. Fresh berries and homemade whipped cream are a lovely complement to a warm chocolate brownie, too. Brownies are easy to pack for lunches, as a quick grab-and-go sweet treat for the car, or as a delicious dessert after any meal.
Ghirardelli Brownies
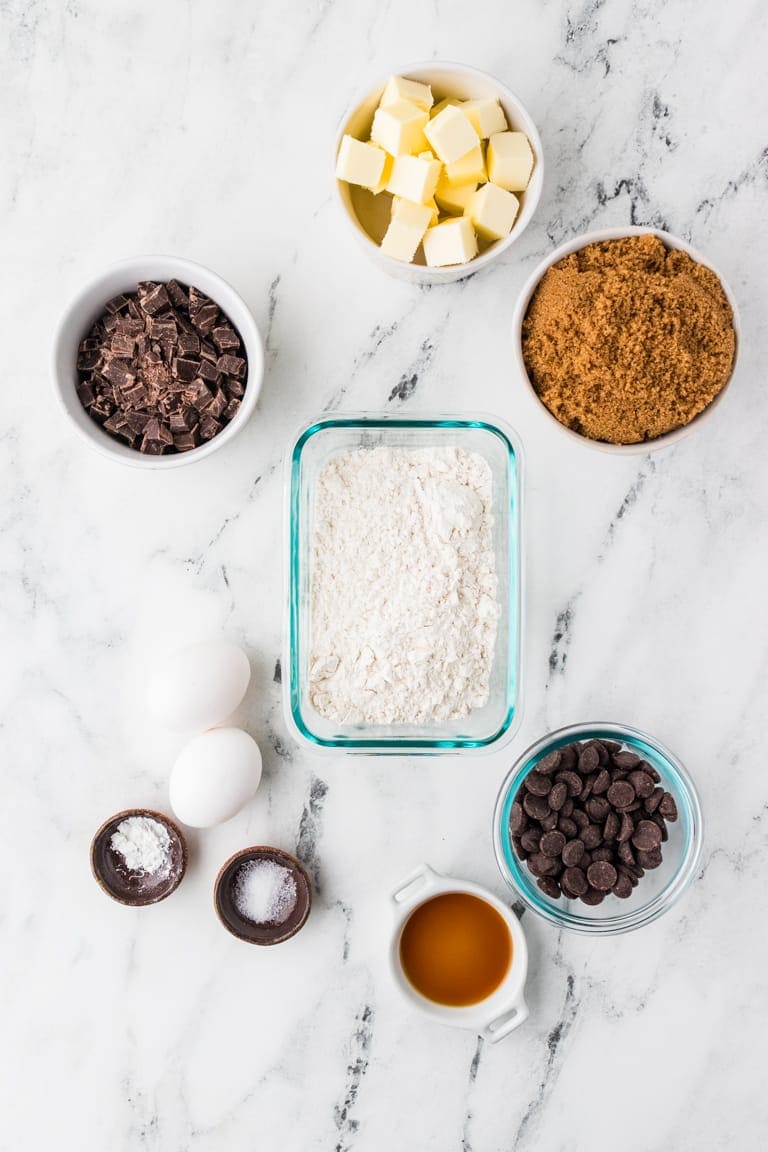
Ingredients
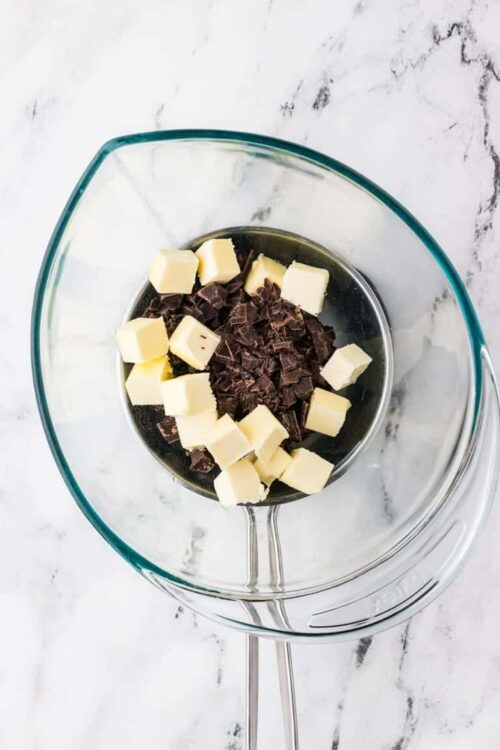
- 4 ounces semi-sweet chocolate chopped
- 1/2 cup unsalted butter cut into pieces
- 1 cup packed brown sugar
- 1 teaspoon vanilla extract
- 2 large eggs
- 3/4 cup all-purpose flour plus 2 tablespoons
- 1/4 teaspoon baking powder
- 3/8 teaspoon salt
- 1/2 cup bittersweet chocolate chips
Instructions
- Preheat the oven to 350°F.
- Grease and flour an 8-inch square baking pan.
- In a double boiler or heatproof bowl over simmering water, melt the chopped semi-sweet chocolate and butter, stirring until smooth.
- Remove from heat and cool to room temperature.
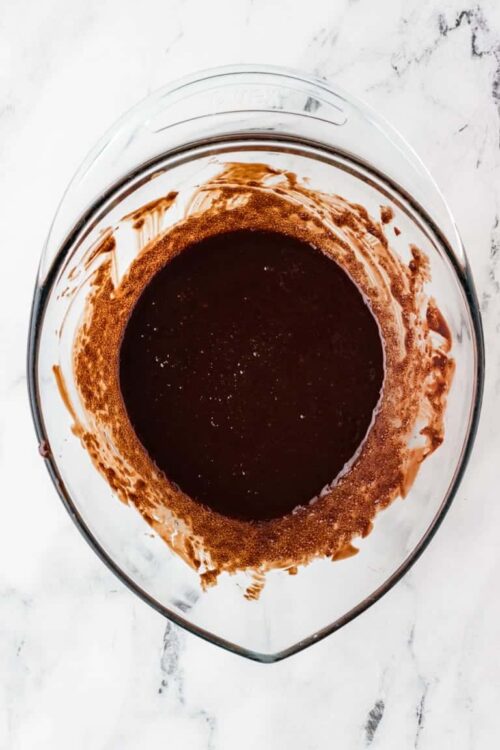
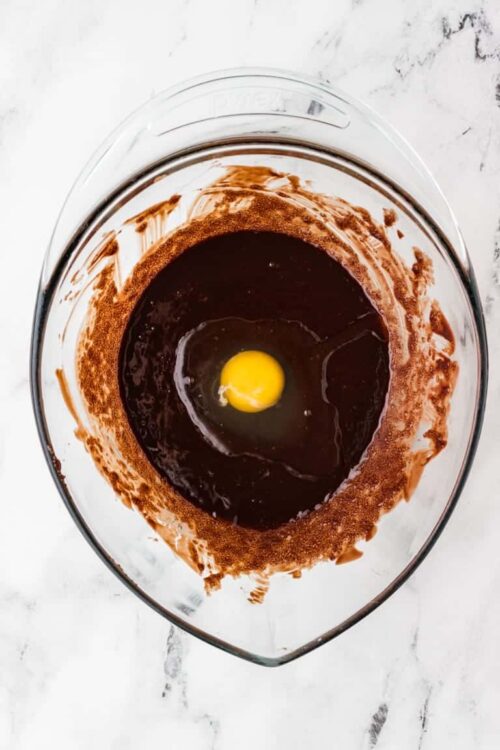
- Stir in brown sugar and vanilla extract into the chocolate mixture.
- Add eggs, one at a time, mixing well after each addition.
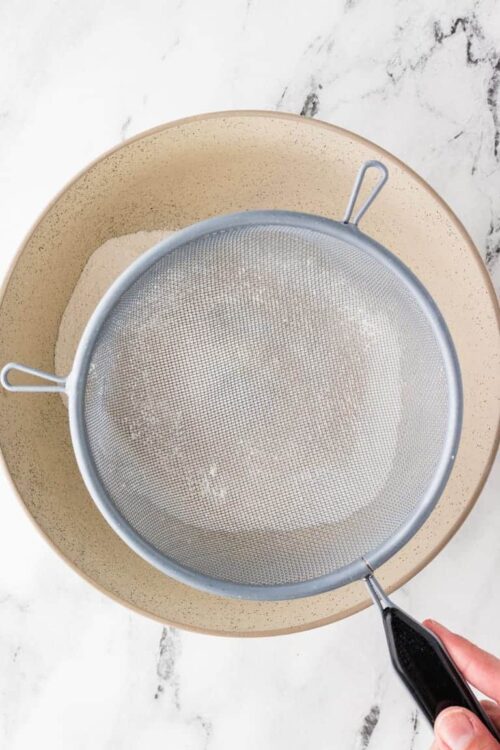
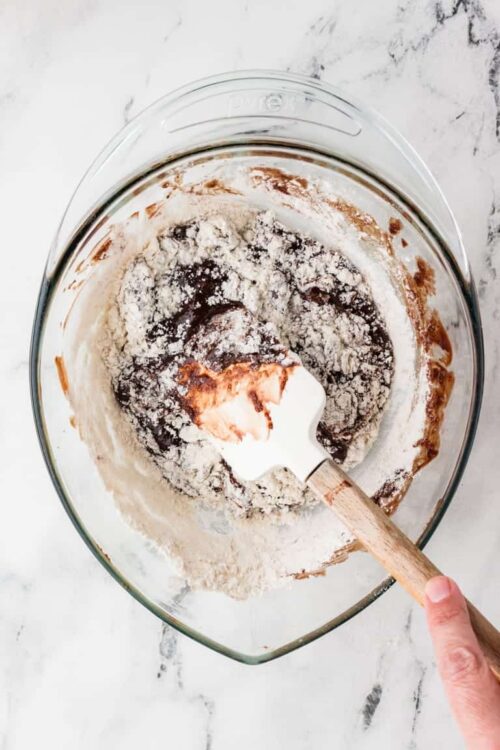
- Sift together flour, baking powder, and salt in a separate bowl.
- Gradually fold the dry ingredients into the chocolate mixture until well blended.
- Stir in the bittersweet chocolate chips.
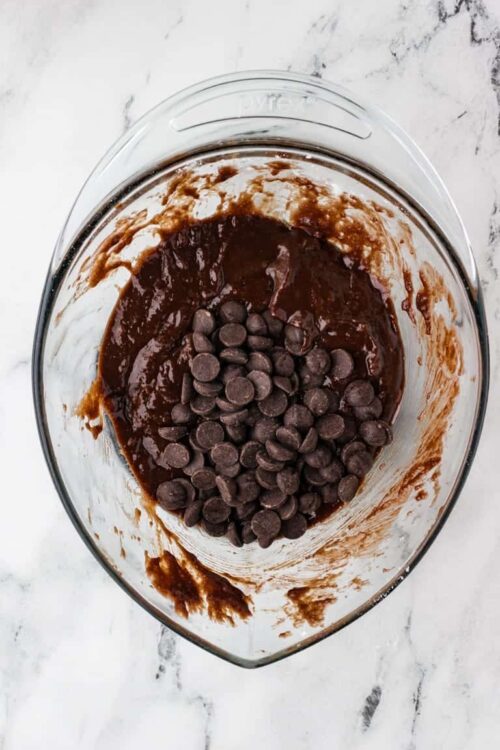
- Pour the batter into the prepared pan.
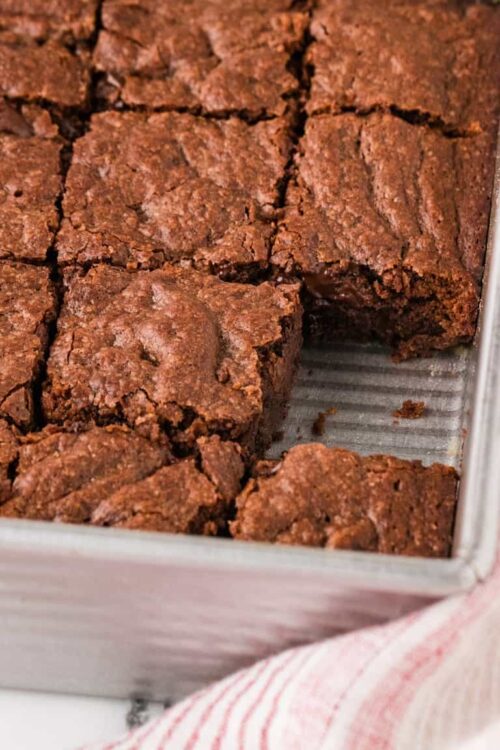
- Bake for 25 to 30 minutes, until a tester inserted in the center comes out clean.
- Cool in the pan for at least 10 minutes before slicing into squares.
Leave a Comment