Fast and fresh: your microwave delivers on this classic apple dessert.
As someone who loves to bake and fires up their oven regularly to yield delicious cookies, cakes, and breads, I don’t often use my microwave for actual baking. Two exceptions are mug cakes (when the craving hits) and microwave-baked apples. The fast cook time delivers perfectly softened, flavored apples with an aromatic, sweet filling. It’s a classic fall dessert when the apples are in season, and with the microwave, you don’t need the hour-long bake time.
Baked apples have a long and storied history; there are sweet and savory recipes from all over Europe and the Caucasus region for this simple treat. In Germany, it has long been a Christmas tradition to serve baked apples stuffed with cinnamon, nuts, and sometimes marzipan. In colonial America, baked apples were a treat baked in a Dutch oven over coals and often stuffed with raisins and nuts. Whatever the stuffing, the preparation method is often the same: core the apple almost the whole way through, remove a bit of the peel from the top portion (to prevent bursting), and stuff with fillings of your choice.
You will love microwave-baked apples because of the fast cook time and quintessential fall flavor. The microwave steams the apples quickly so that you get perfectly soft, tender apples in less than 15 minutes, start to finish. As the apples cook, the mixture of brown sugar and apple spice bubbles up and caramelizes inside the cored fruit, adding a wonderful cozy taste and aroma. With microwave-baked apples, you get the flavors and texture of apple pie without all the work! Try these today for dessert or a snuggly afternoon snack on a chilly day.
Tools of the trade: apple corer
If you like to bake apple desserts in the fall season, you should invest in an apple corer. This handy little tool makes quick work of removing the core from an apple. The most common type is usually $15 or under at any big box store or cooking store. You simply drive the corer downward, give it a little twist, and the core comes out easily! Whether you have two or twenty apples to core, consider getting one to make apple prep quick and easy.
How do I store leftovers?
Once cooked, you can store leftovers in an airtight container in the refrigerator. Store them this way for about 2-3 days. Naturally, the apples will brown a bit, but you can spritz them with some lemon juice to prevent major discoloration. Reheat gently in the microwave until warmed through when you’re ready to enjoy. Freezing is not recommended.
Serving suggestions
You can vary the filling to suit your taste; if you like raisins or dried cranberries, toss 1 tablespoon into the sugar and spice mixture before filling the apples. You can also add toasted walnuts or pecans if you like things nutty. For a decadent dessert, drizzle the cooked apples with Salted Spiced Caramel Sauce or top with a dollop of Whipped Cream. Finally, microwave-baked apples are easily converted to a vegan dessert. Simply use plant-based butter and top with Vegan Whipped Cream for a delicious, vegan treat.

Microwave-Baked Apples
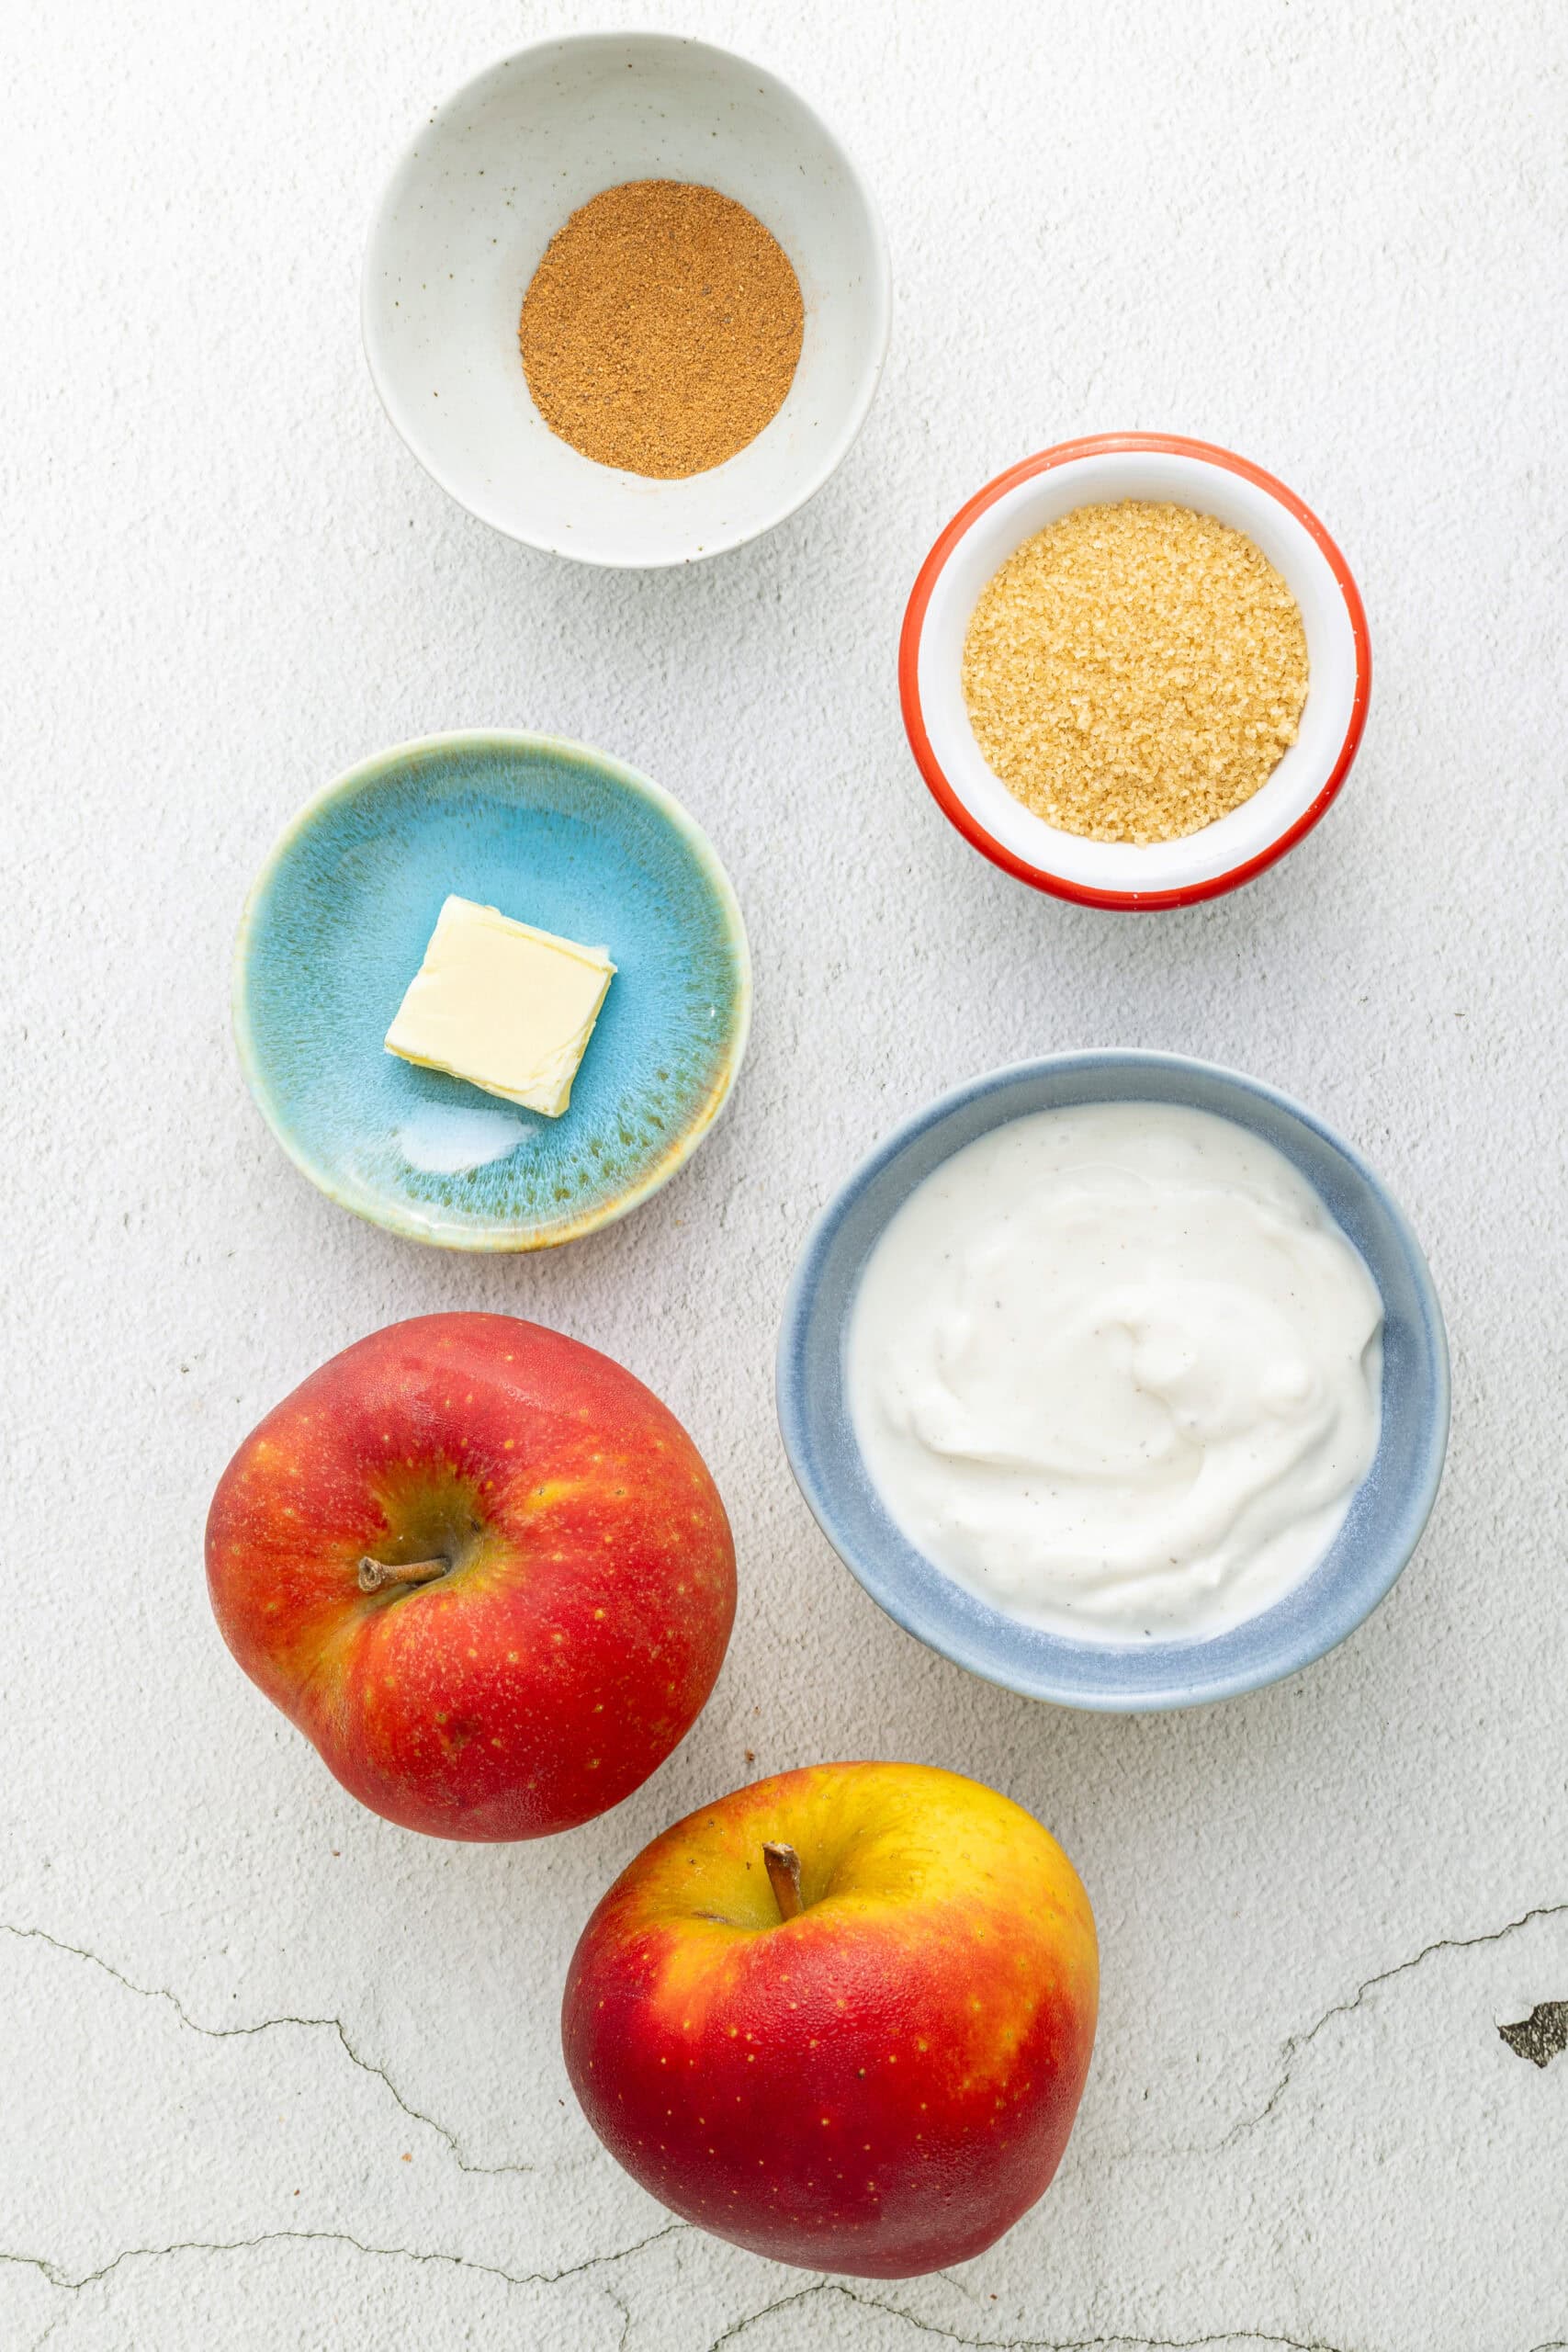
Ingredients
- 2 medium apples like Fuji or Gala
- 2 tablespoons brown sugar
- 1 1/2 teaspoons apple pie spice
- 2 teaspoons unsalted butter
- Vanilla ice cream or a dollop of yogurt for serving (optional)
Instructions
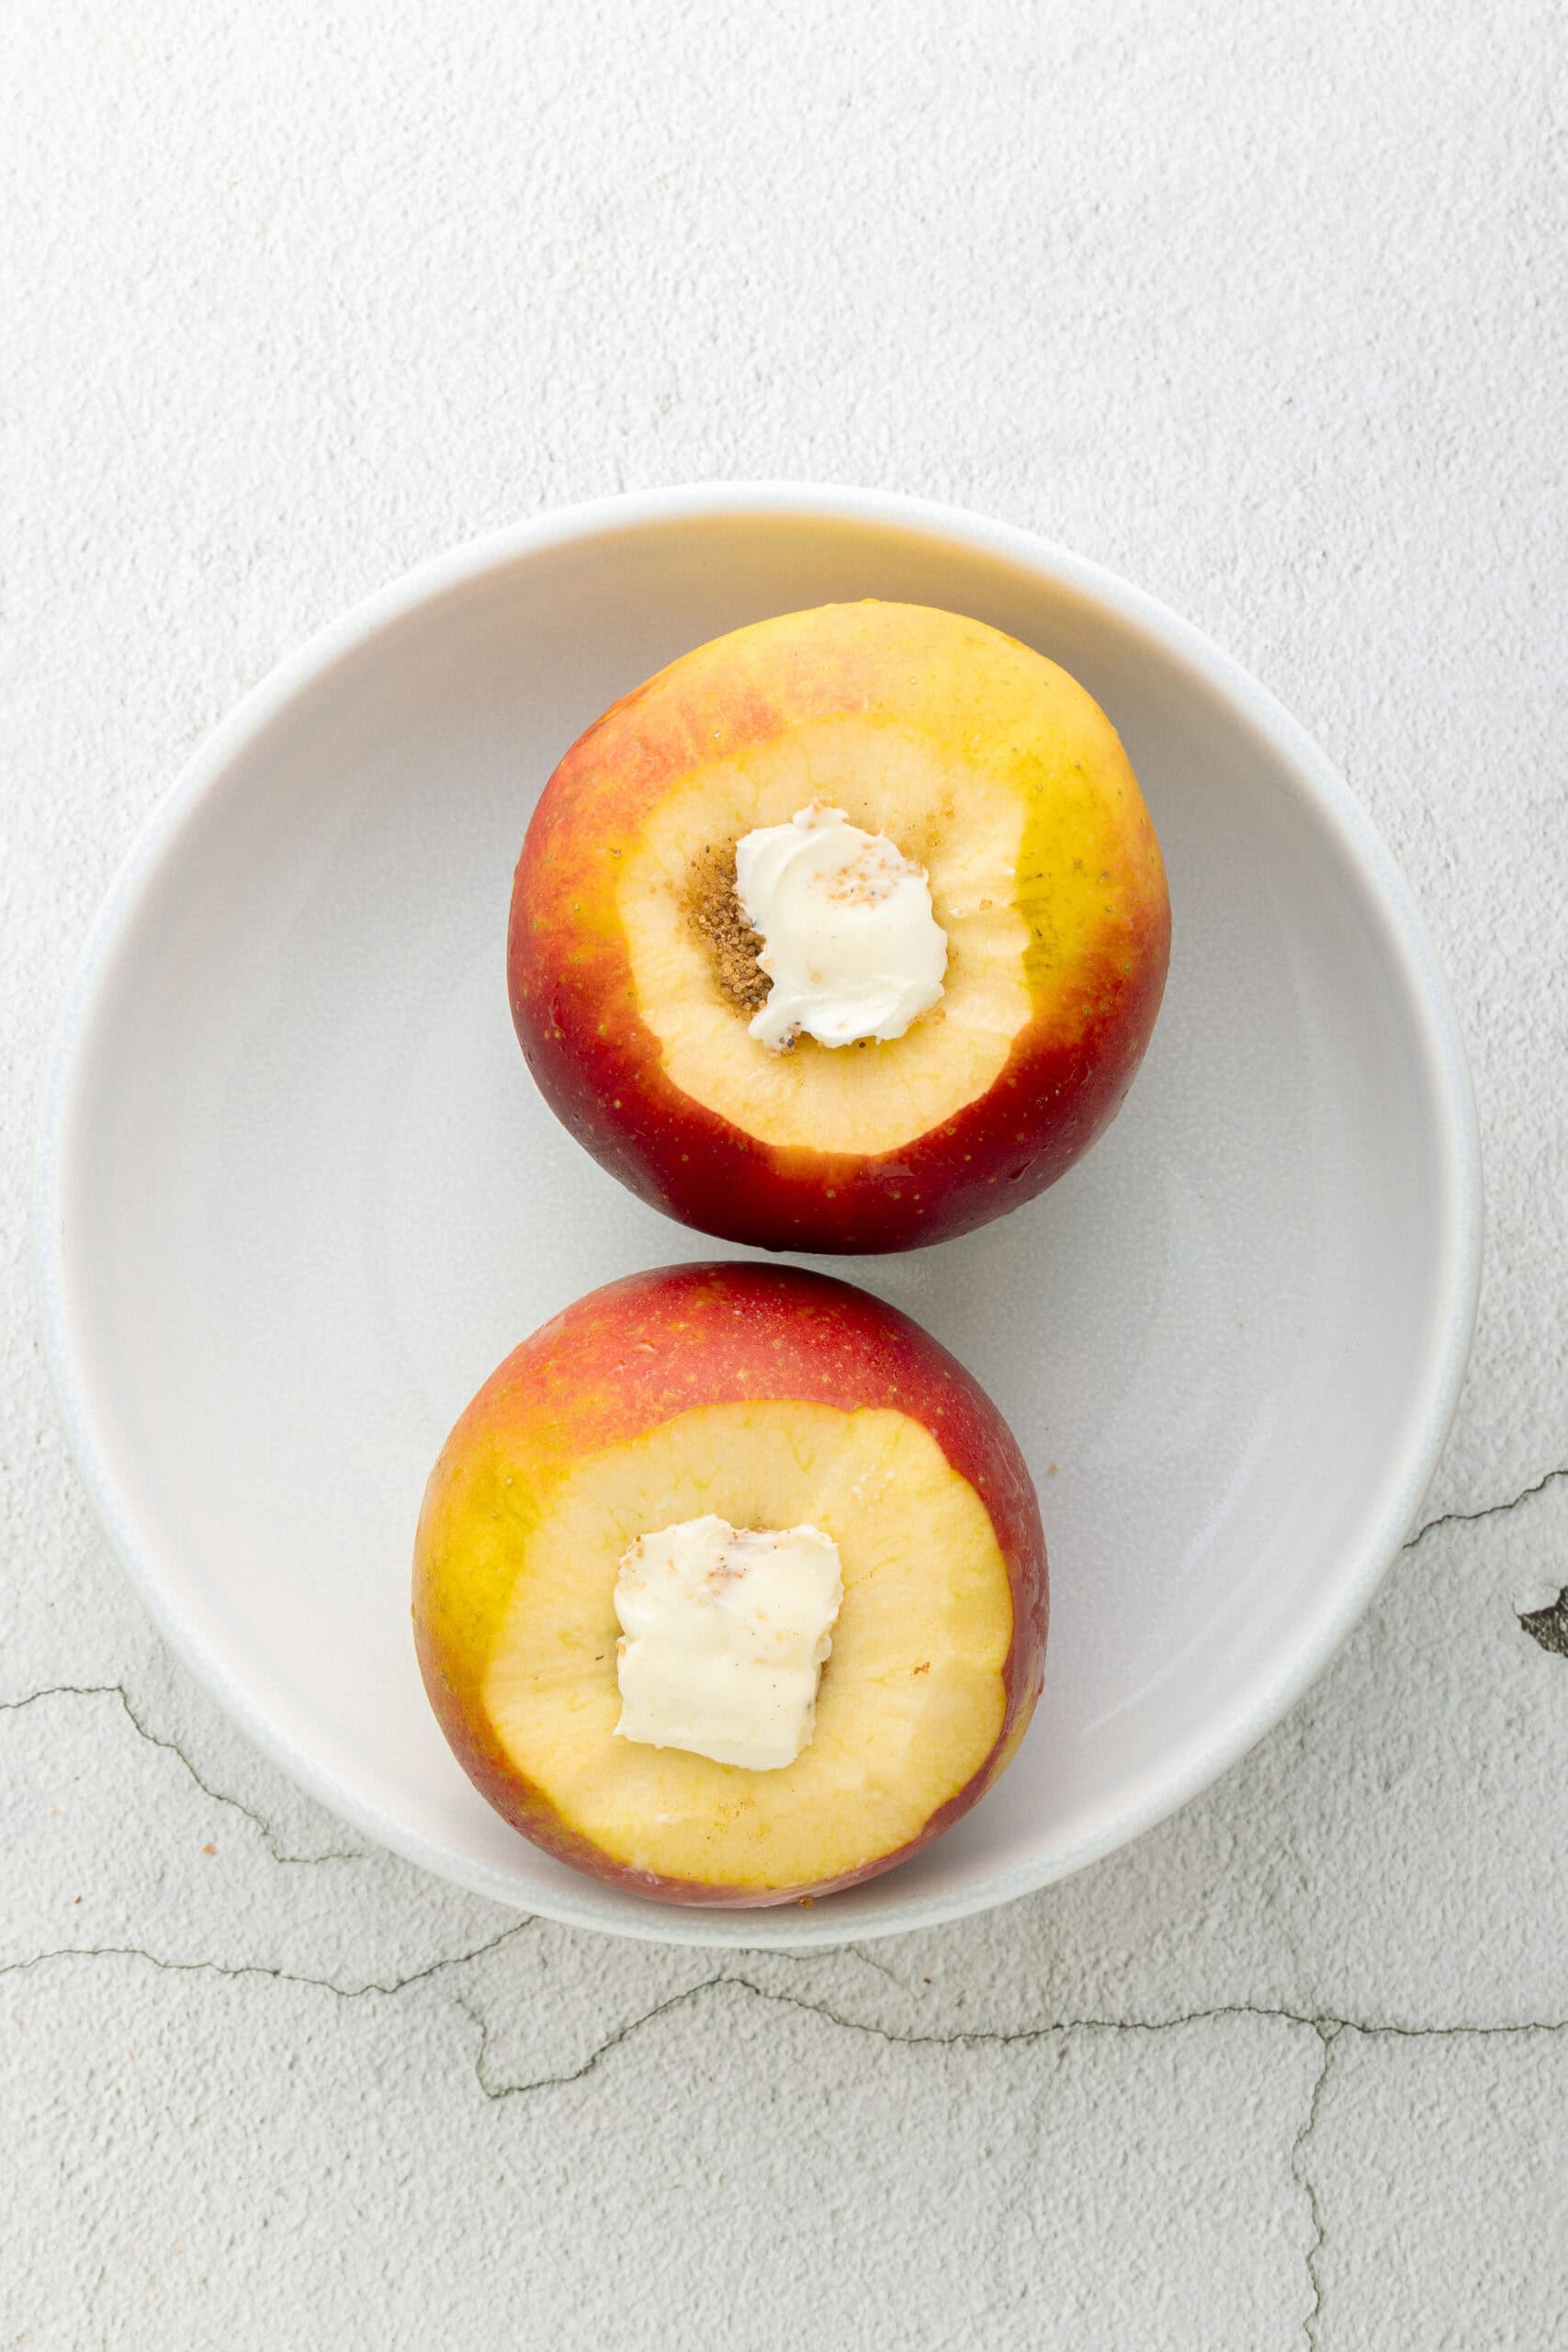
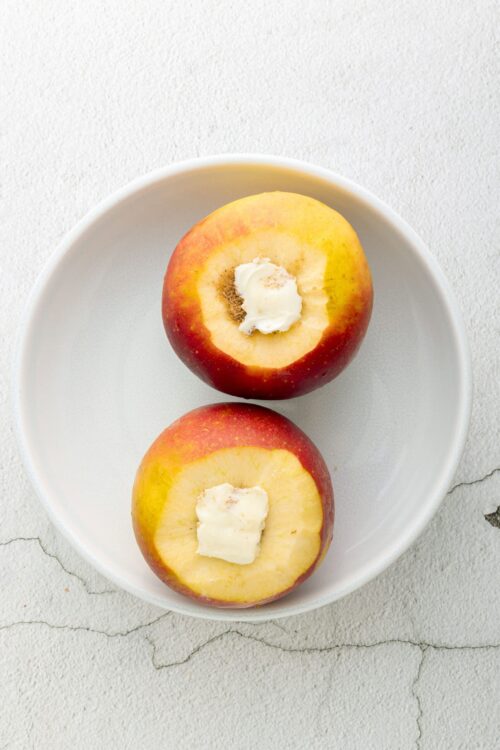
- Wash the apples. Core each apple by removing the center, but leave the bottom intact. Remove a thin strip of peel around the cavity if desired.

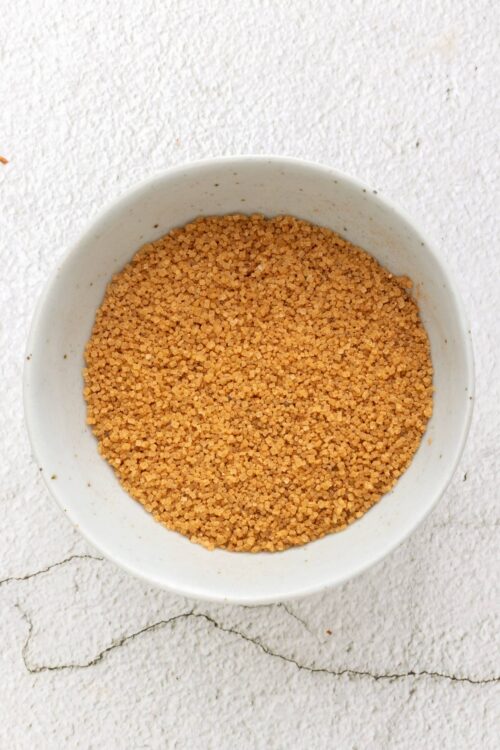
- In a small bowl, mix the brown sugar and apple pie spice.
- Fill the cavity of each apple with the sugar and spice mixture. Place 1 teaspoon of butter on top of each filled apple.
- Place the apples in a deep, microwave-safe dish. Cover the dish loosely with microwave-safe plastic wrap, leaving a small gap for steam to escape.
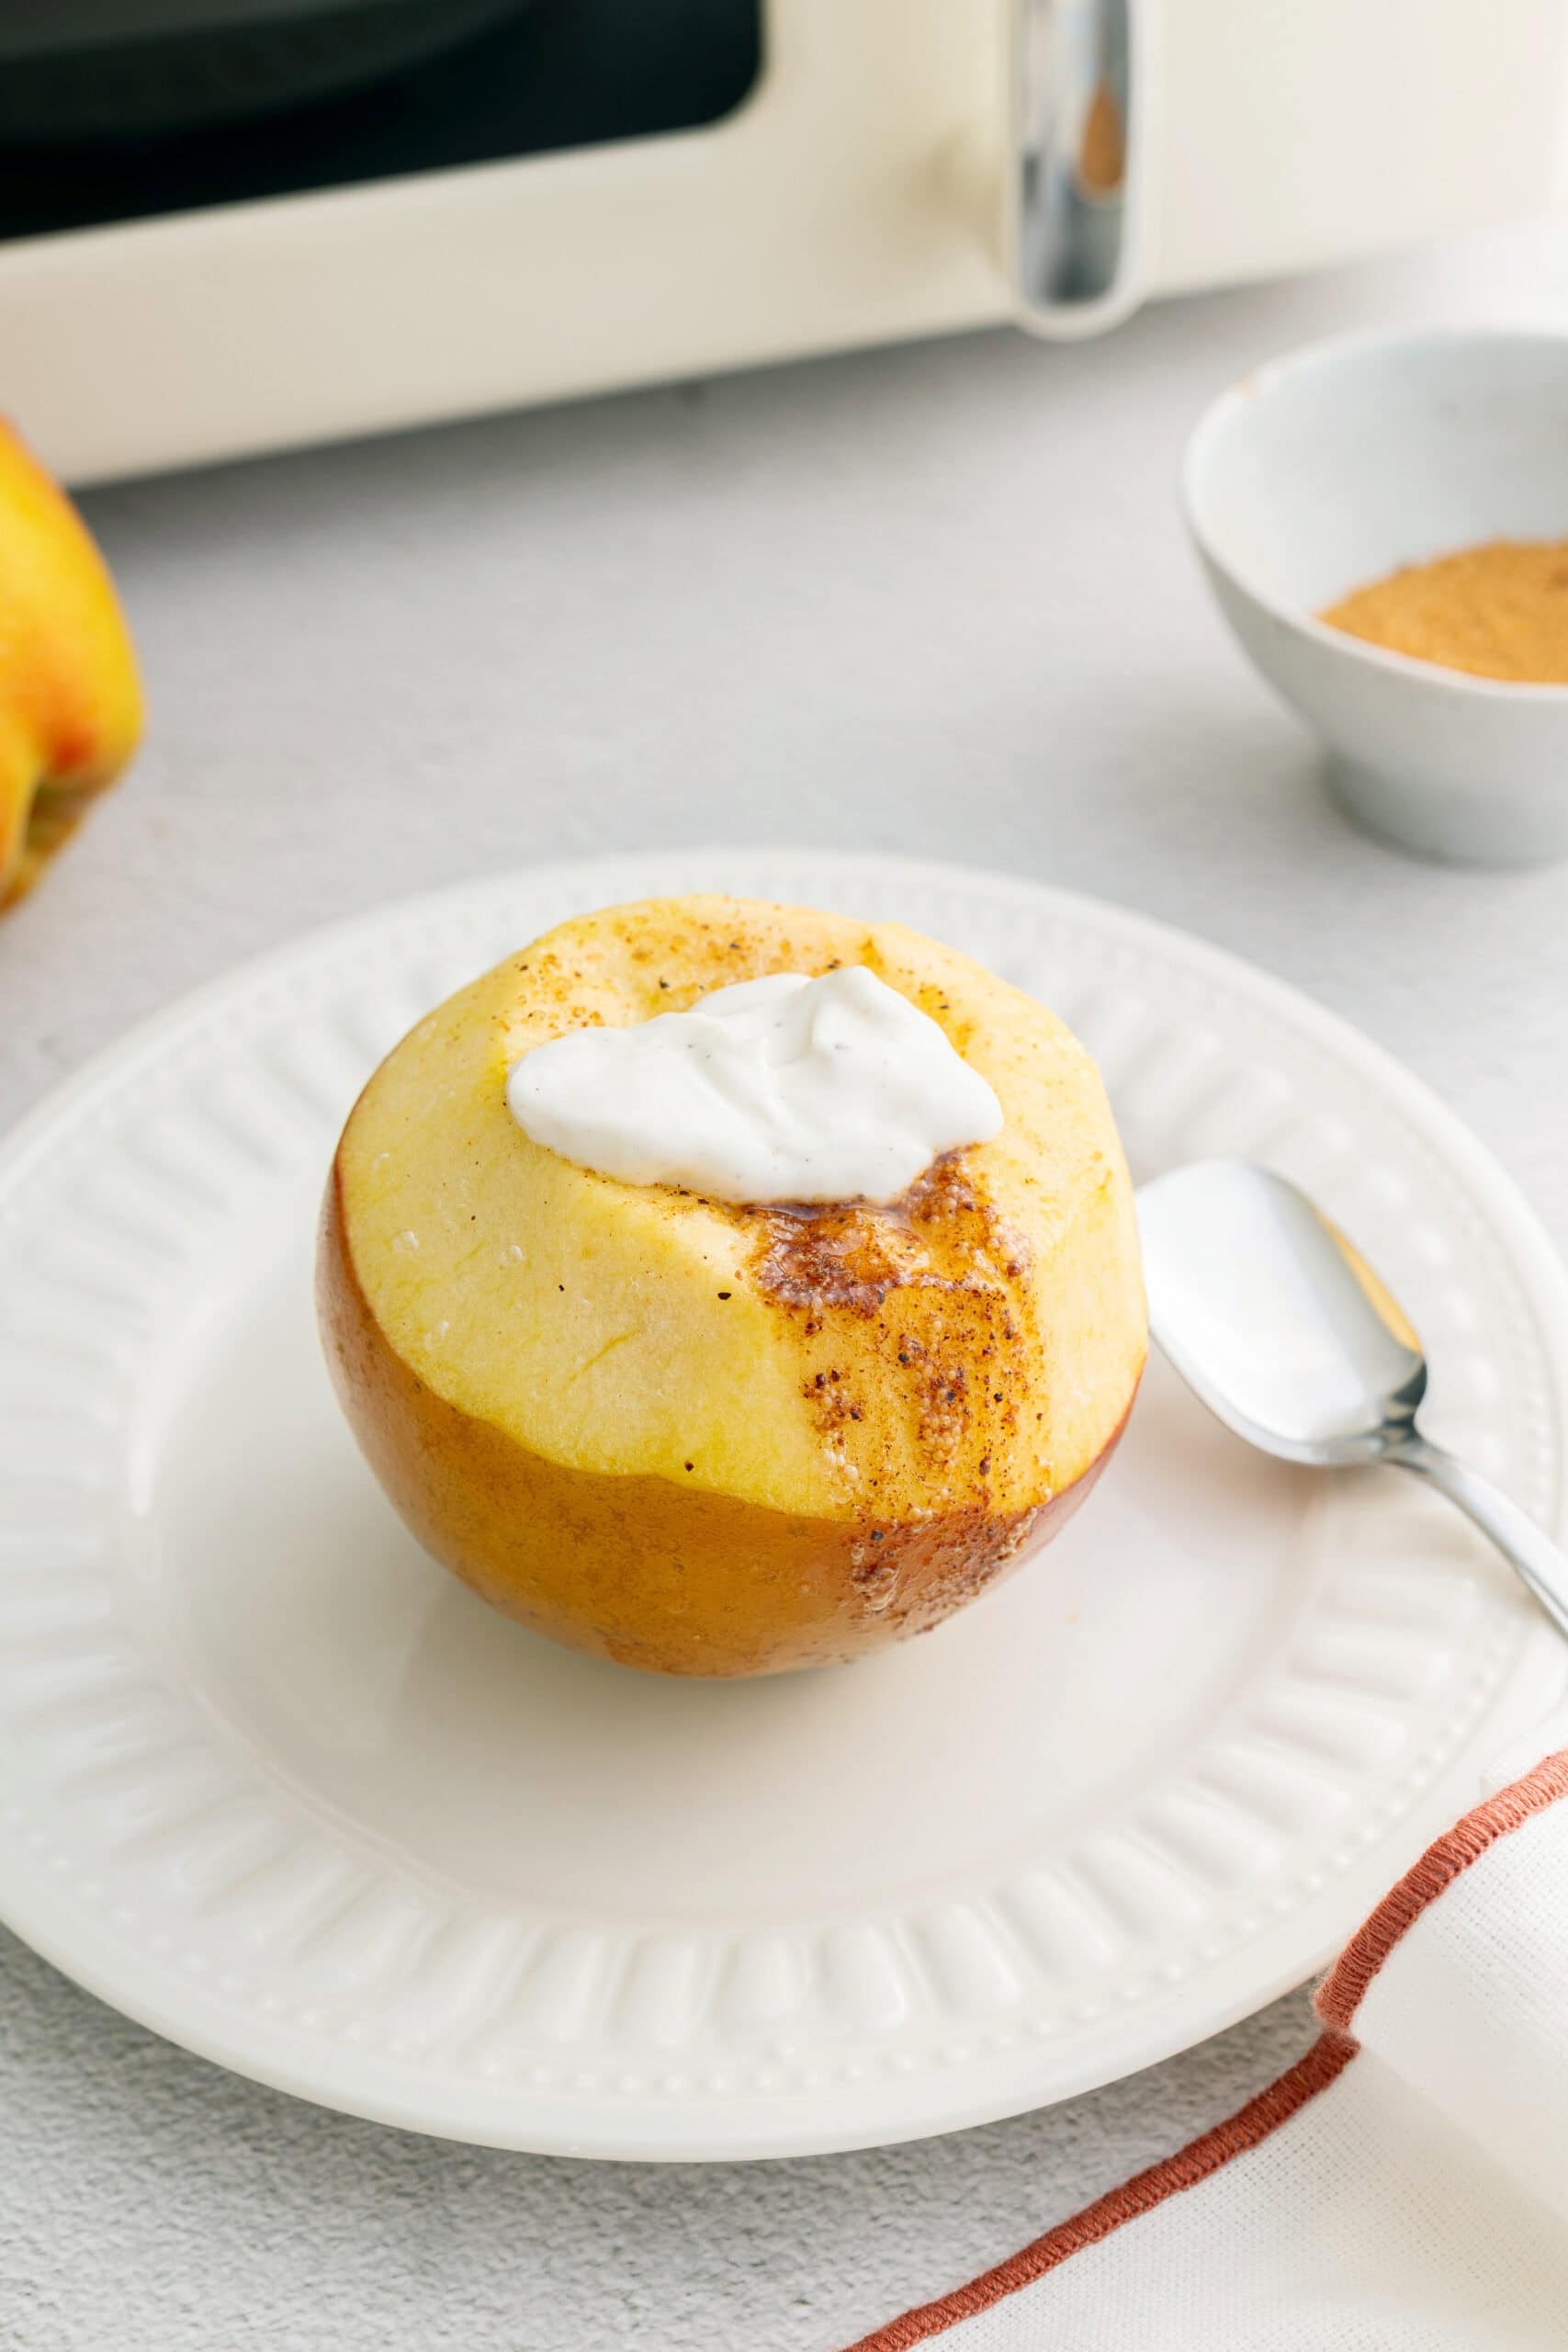
- Microwave on high for 3 to 5 minutes until the apples are tender when tested with a fork. Let the apples sit for 2 minutes before serving.
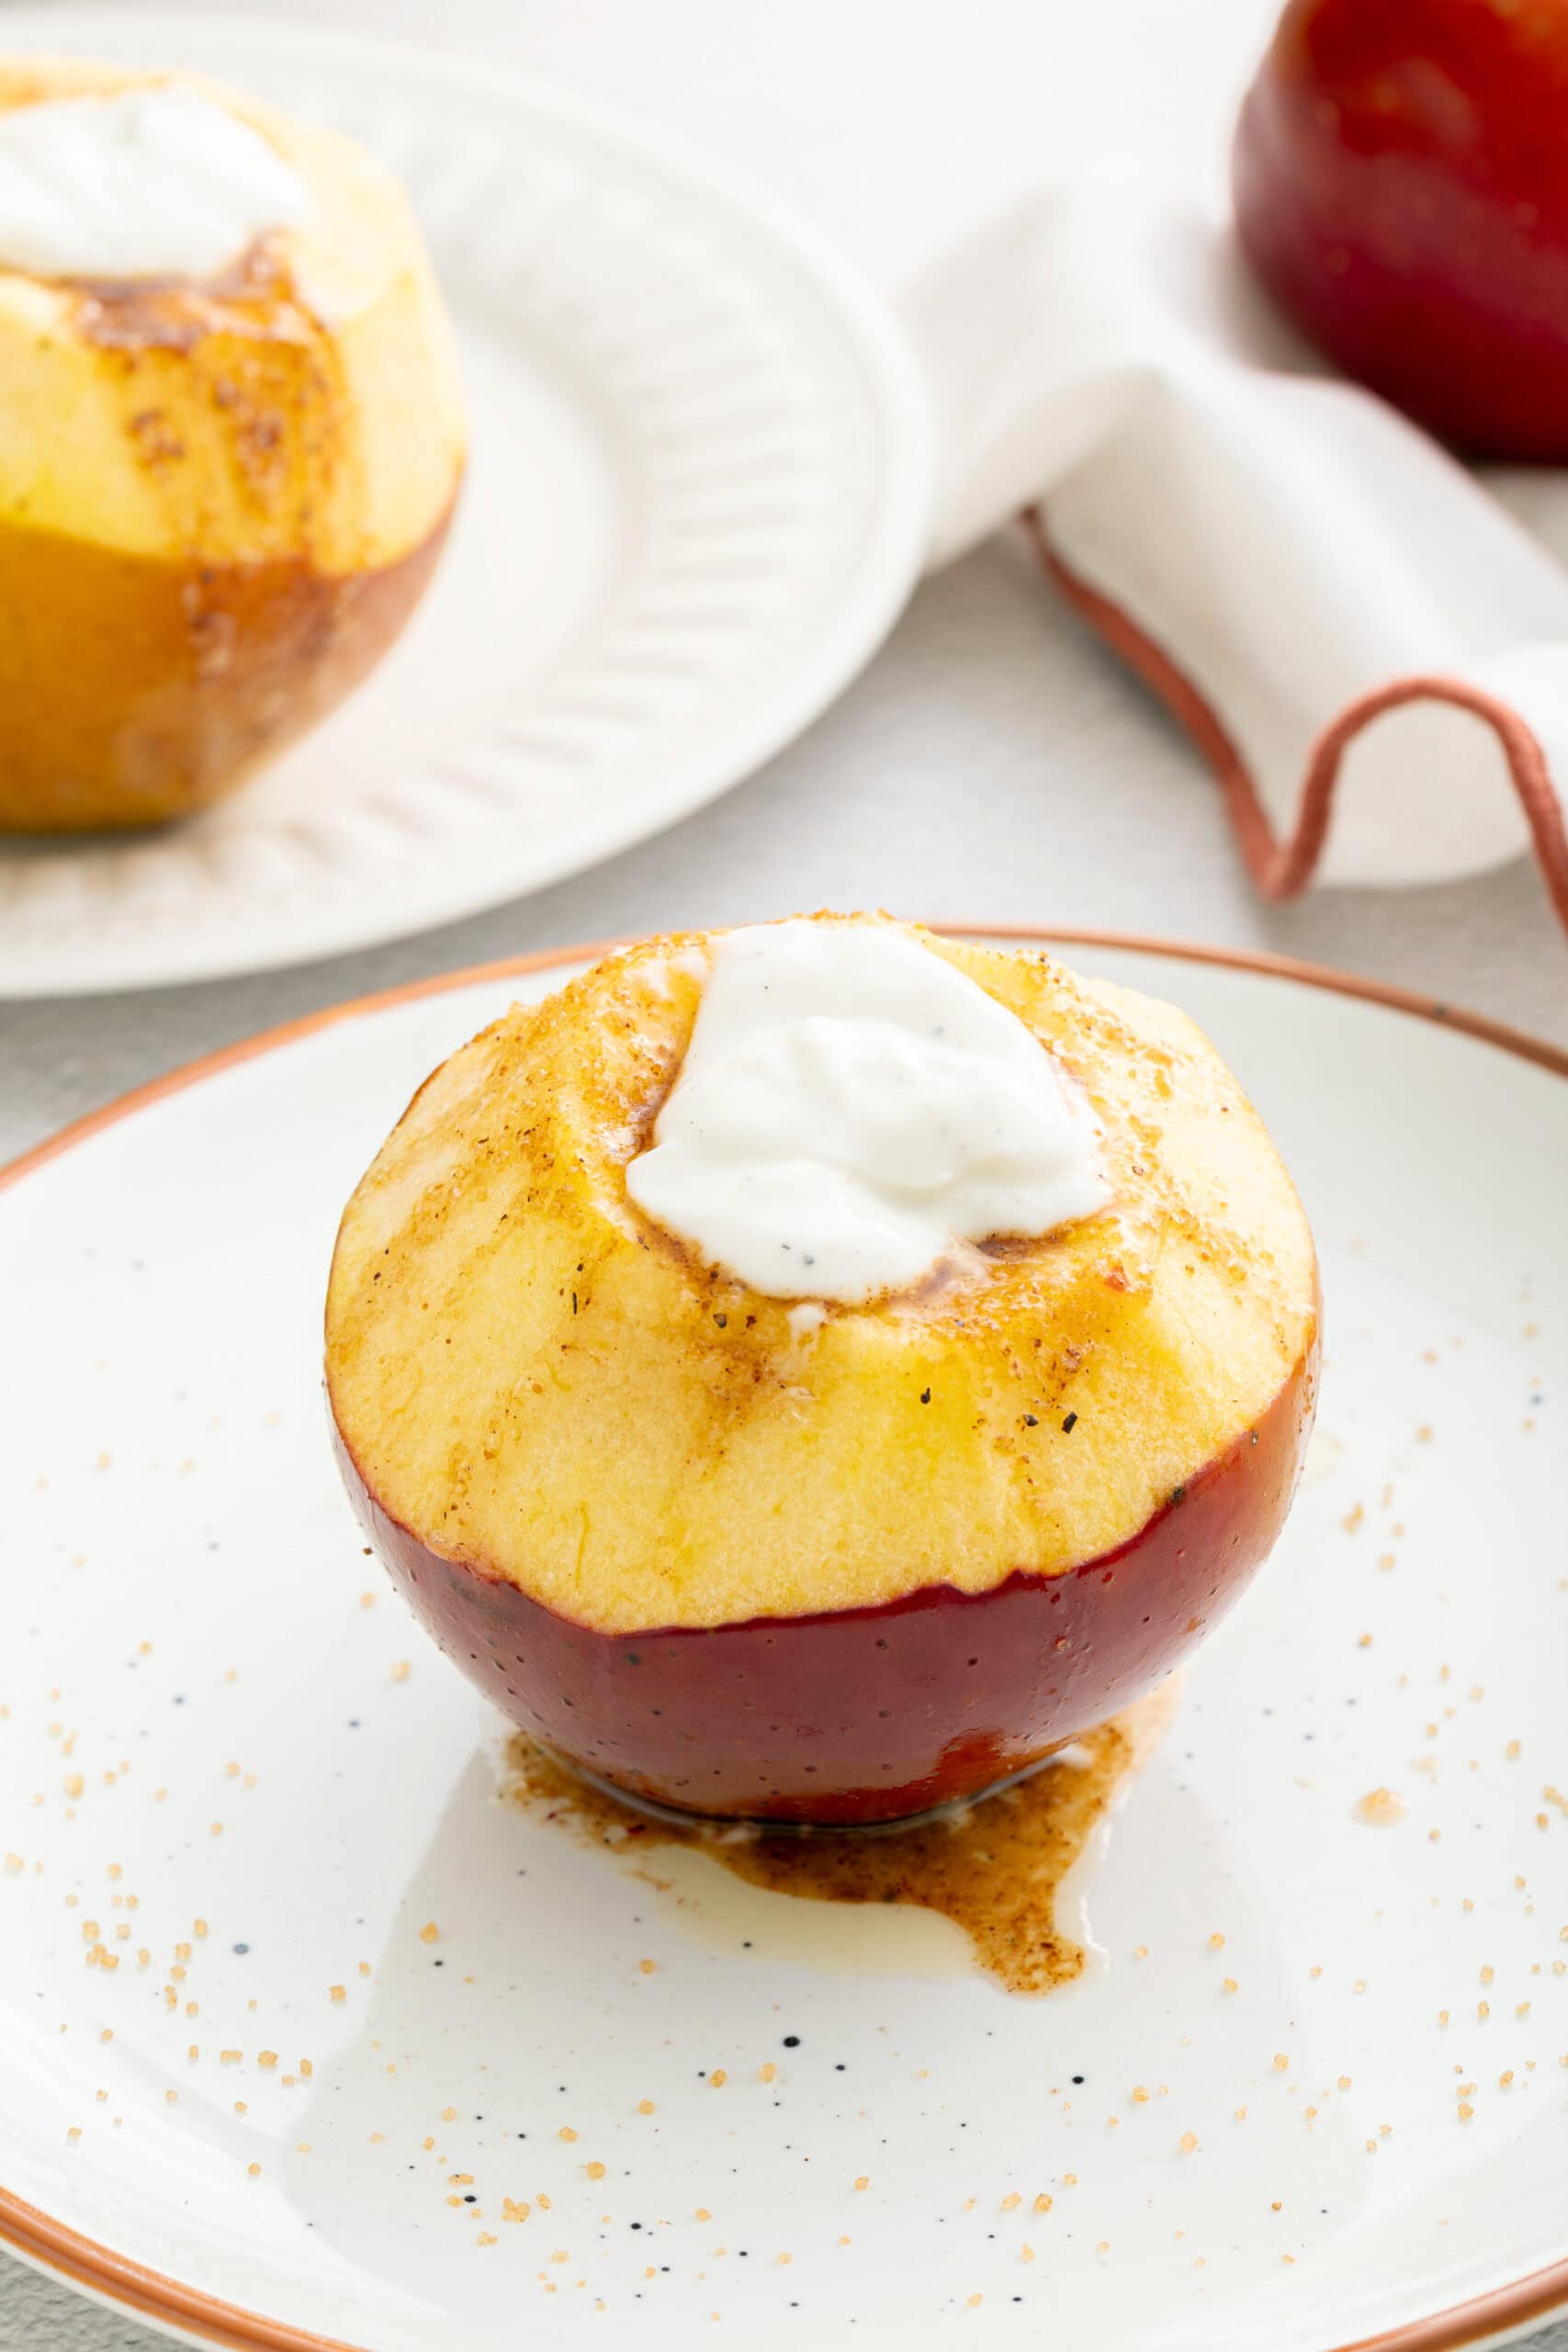
- Serve the baked apples warm. Optionally, top with a scoop of vanilla ice cream or a dollop of yogurt for an extra treat.


Leave a Comment