This little piggy went to market, this little piggy became a Marranito: a tasty Mexican treat!
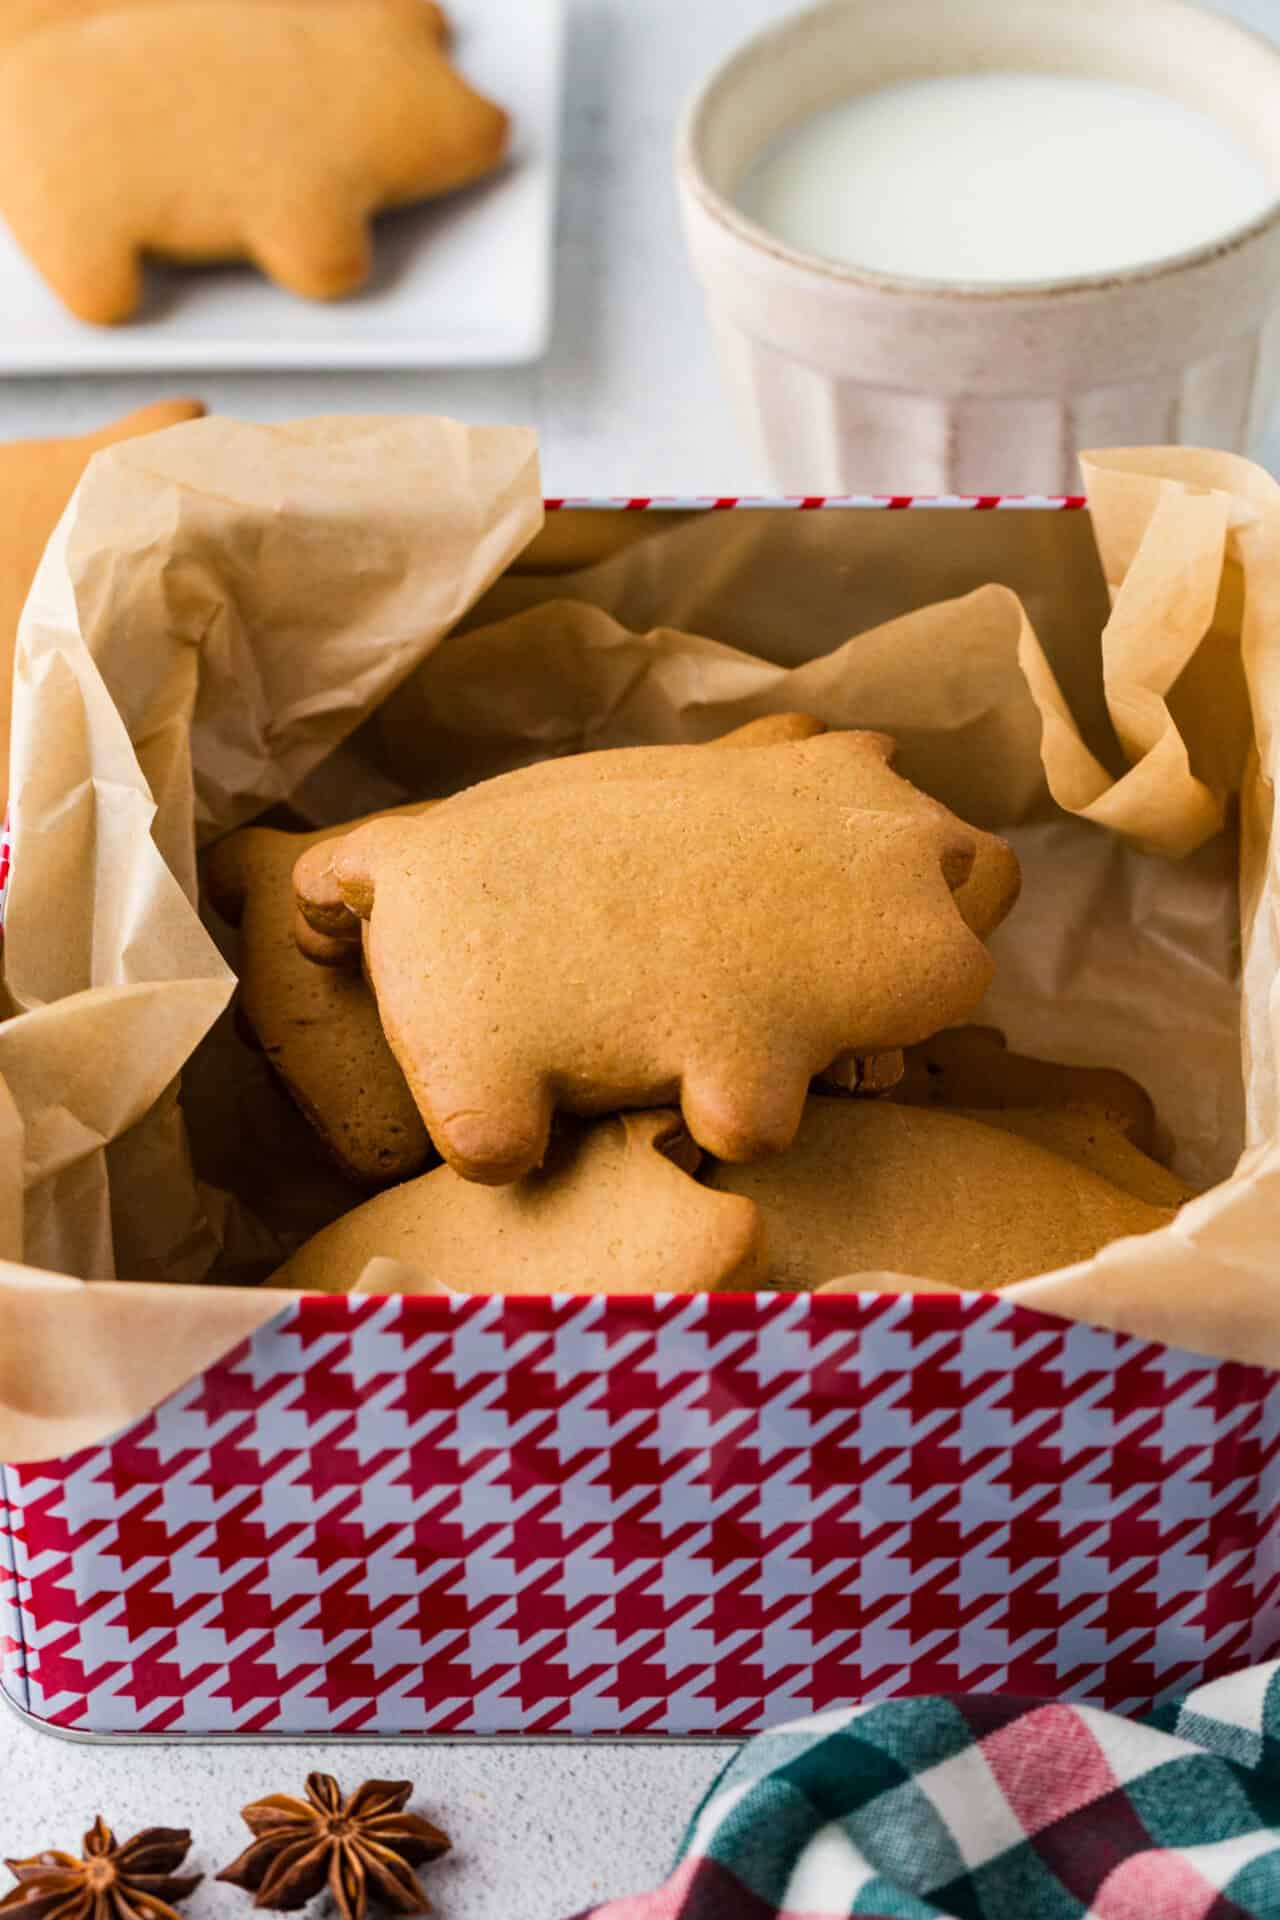
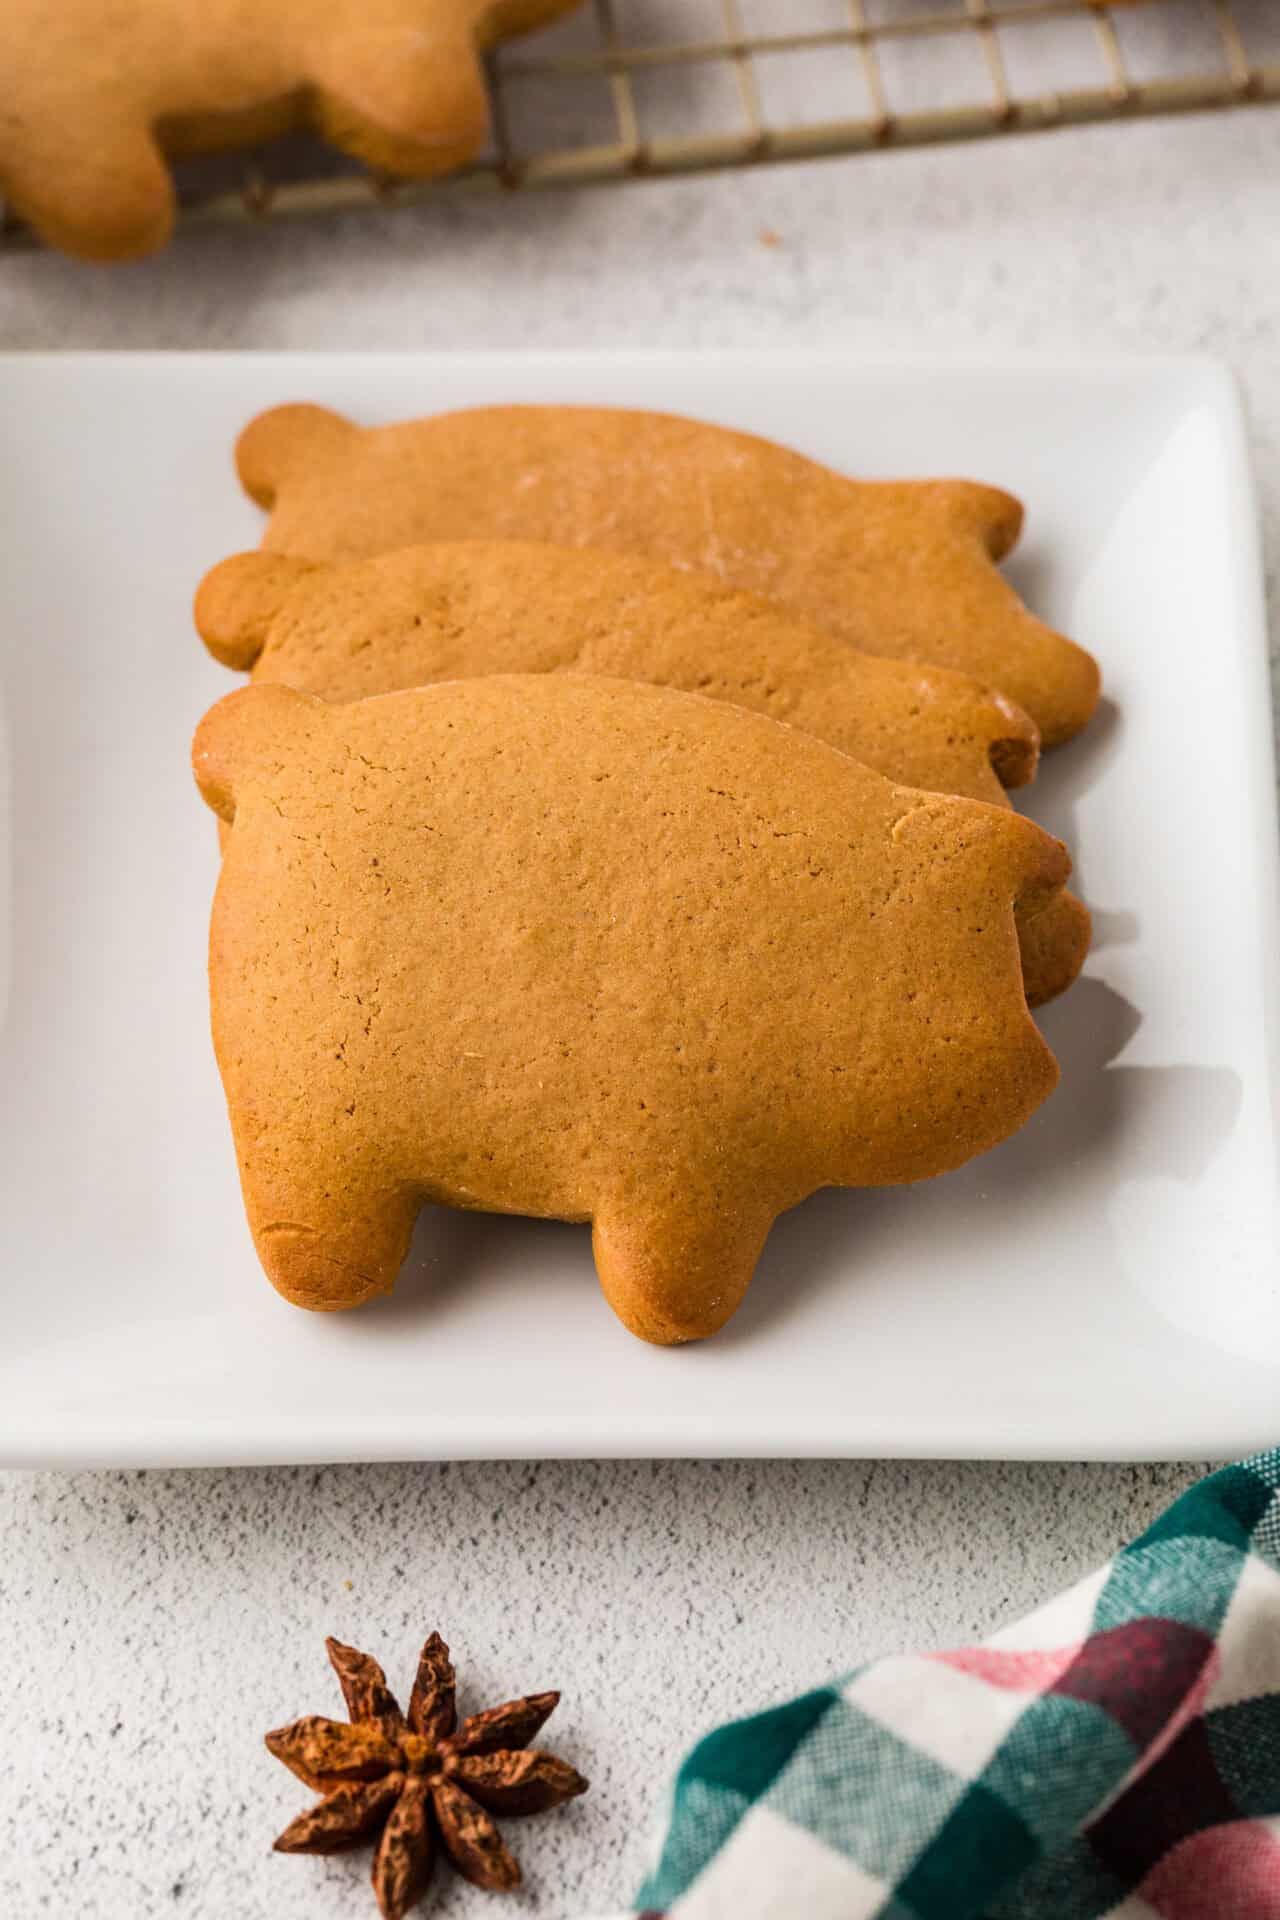
What is the backstory behind the marranito? Did someone just misplace their gingerbread man cookie cutter and grab a piggy one? No, not really. The history of the marranitos stretches back to the 16th century. This is when the Spanish invaders brought over many different kinds of animals, and native Mexicans had never seen one of them: the pig! Likely originating in what is now the Mexican state of Veracruz, these adorable little treats are molasses cookies with a soft, fluffy texture and cut out with a pig-shaped cookie cutter.
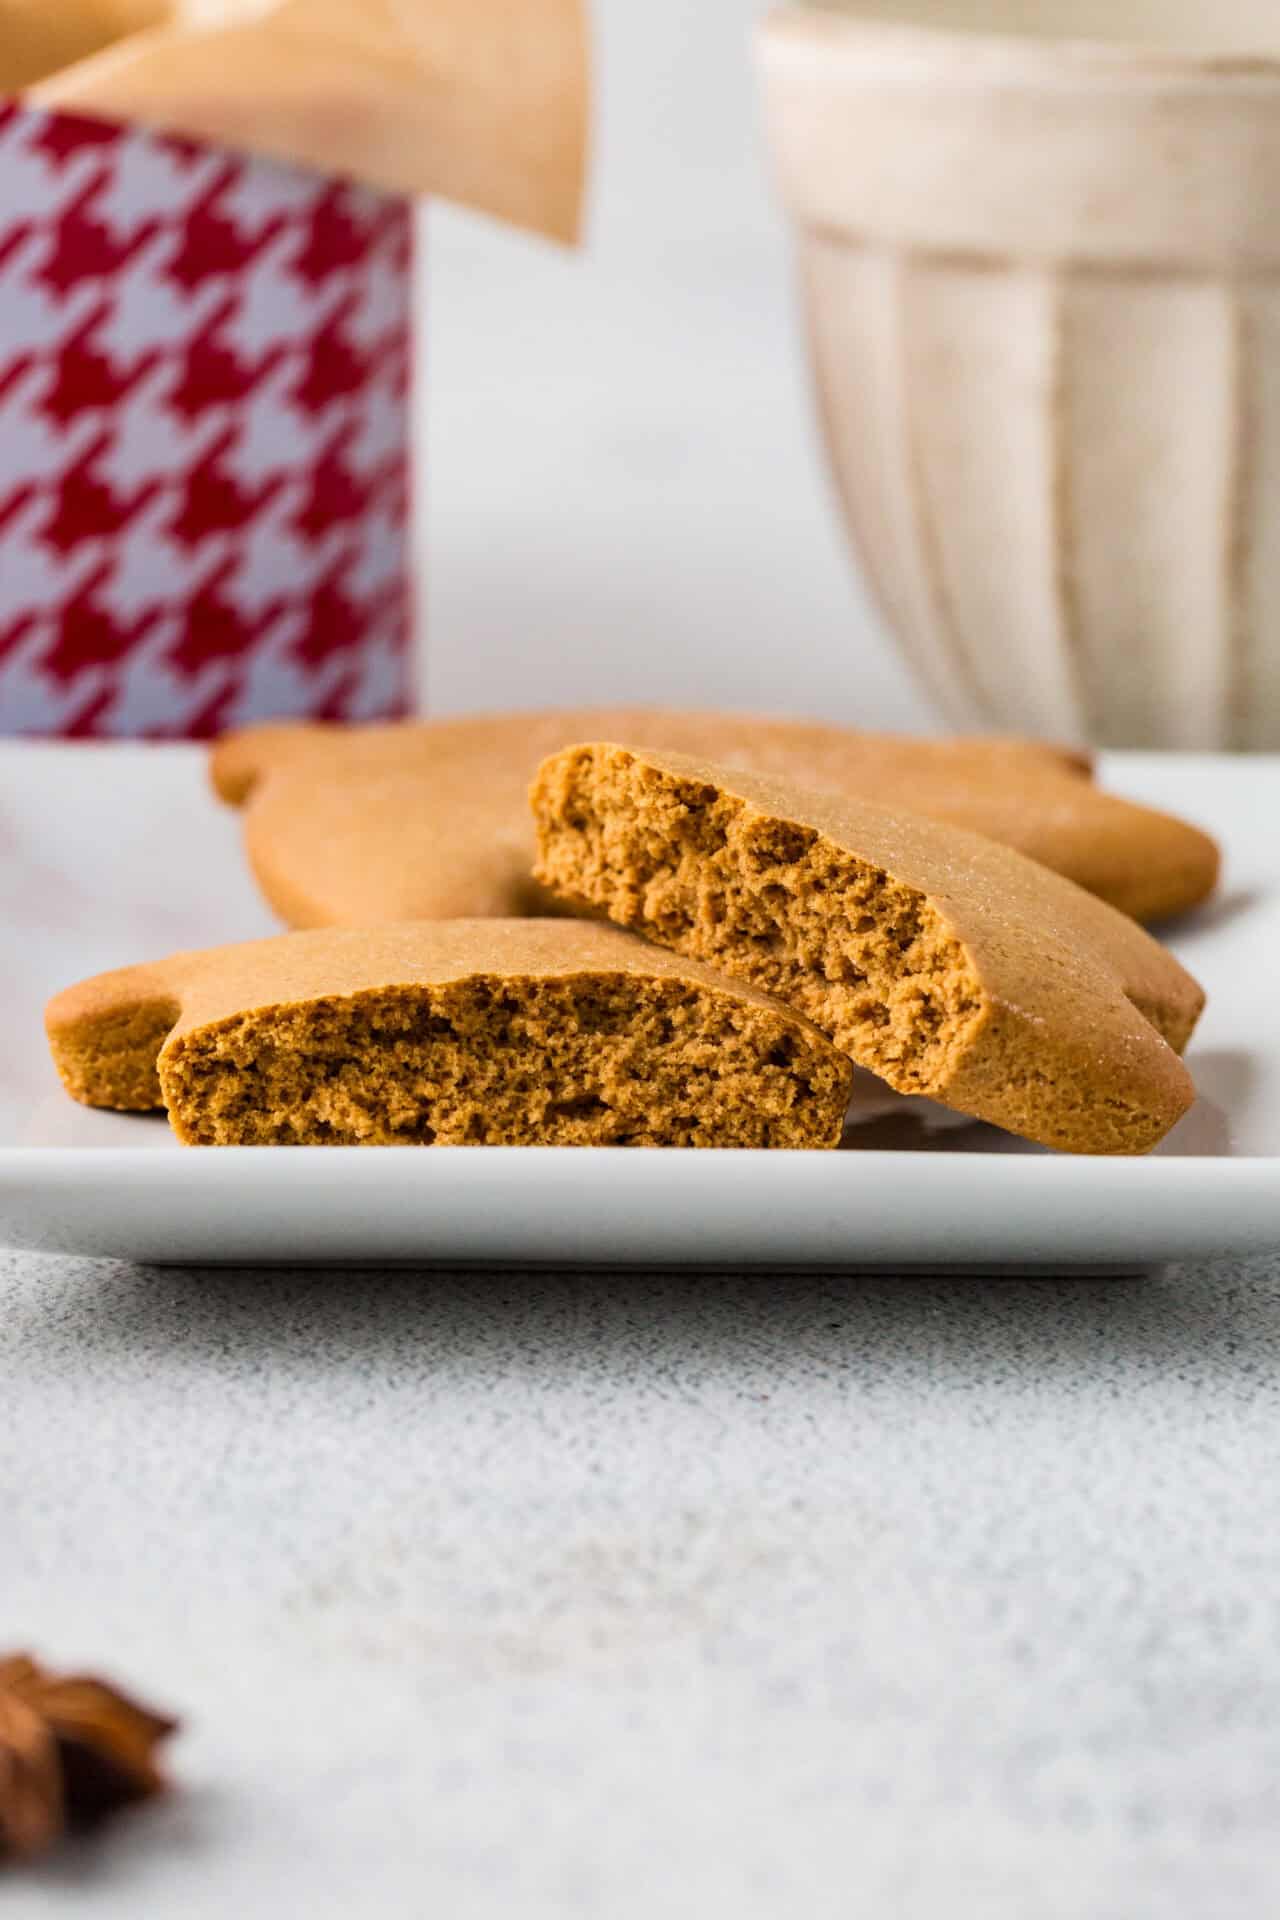
This soft texture is somewhere between a cookie and a sweet bread. In fact, marranitos are classified as a type of pan dulce. Translated as “sweet bread,” pan dulce is a category of Mexican baked goods that are enjoyed any time of day. There are nearly 2,000 different kinds of pan dulce! Many of them are types of cookies, but marranitos is a bit of a hybrid with its cookie shape but fluffy texture. You may hear marranitos called by other names, including cochinitos or puerquitos. The name marranitos comes from the formal Spanish word for “pig”, which is marrano.
Molasses Basics
One of the most important ingredients in marranitos is molasses. However, don’t just grab the first jar of molasses that you see at the grocery store. Take a second and notice the labels. You will likely see a few different kinds: light, dark, and blackstrap. All three of these types will likely be labeled “unsulfured,” which just means that no sulfur preservatives have been added. Once you check for “unsulfured,” look at the type of molasses. For this recipe, light or regular molasses is best. The taste is not too strong, and it measures easily. Dark (sometimes called full) and blackstrap both have a much stronger taste that will overwhelm the other spices in marranitos.
Ingredients
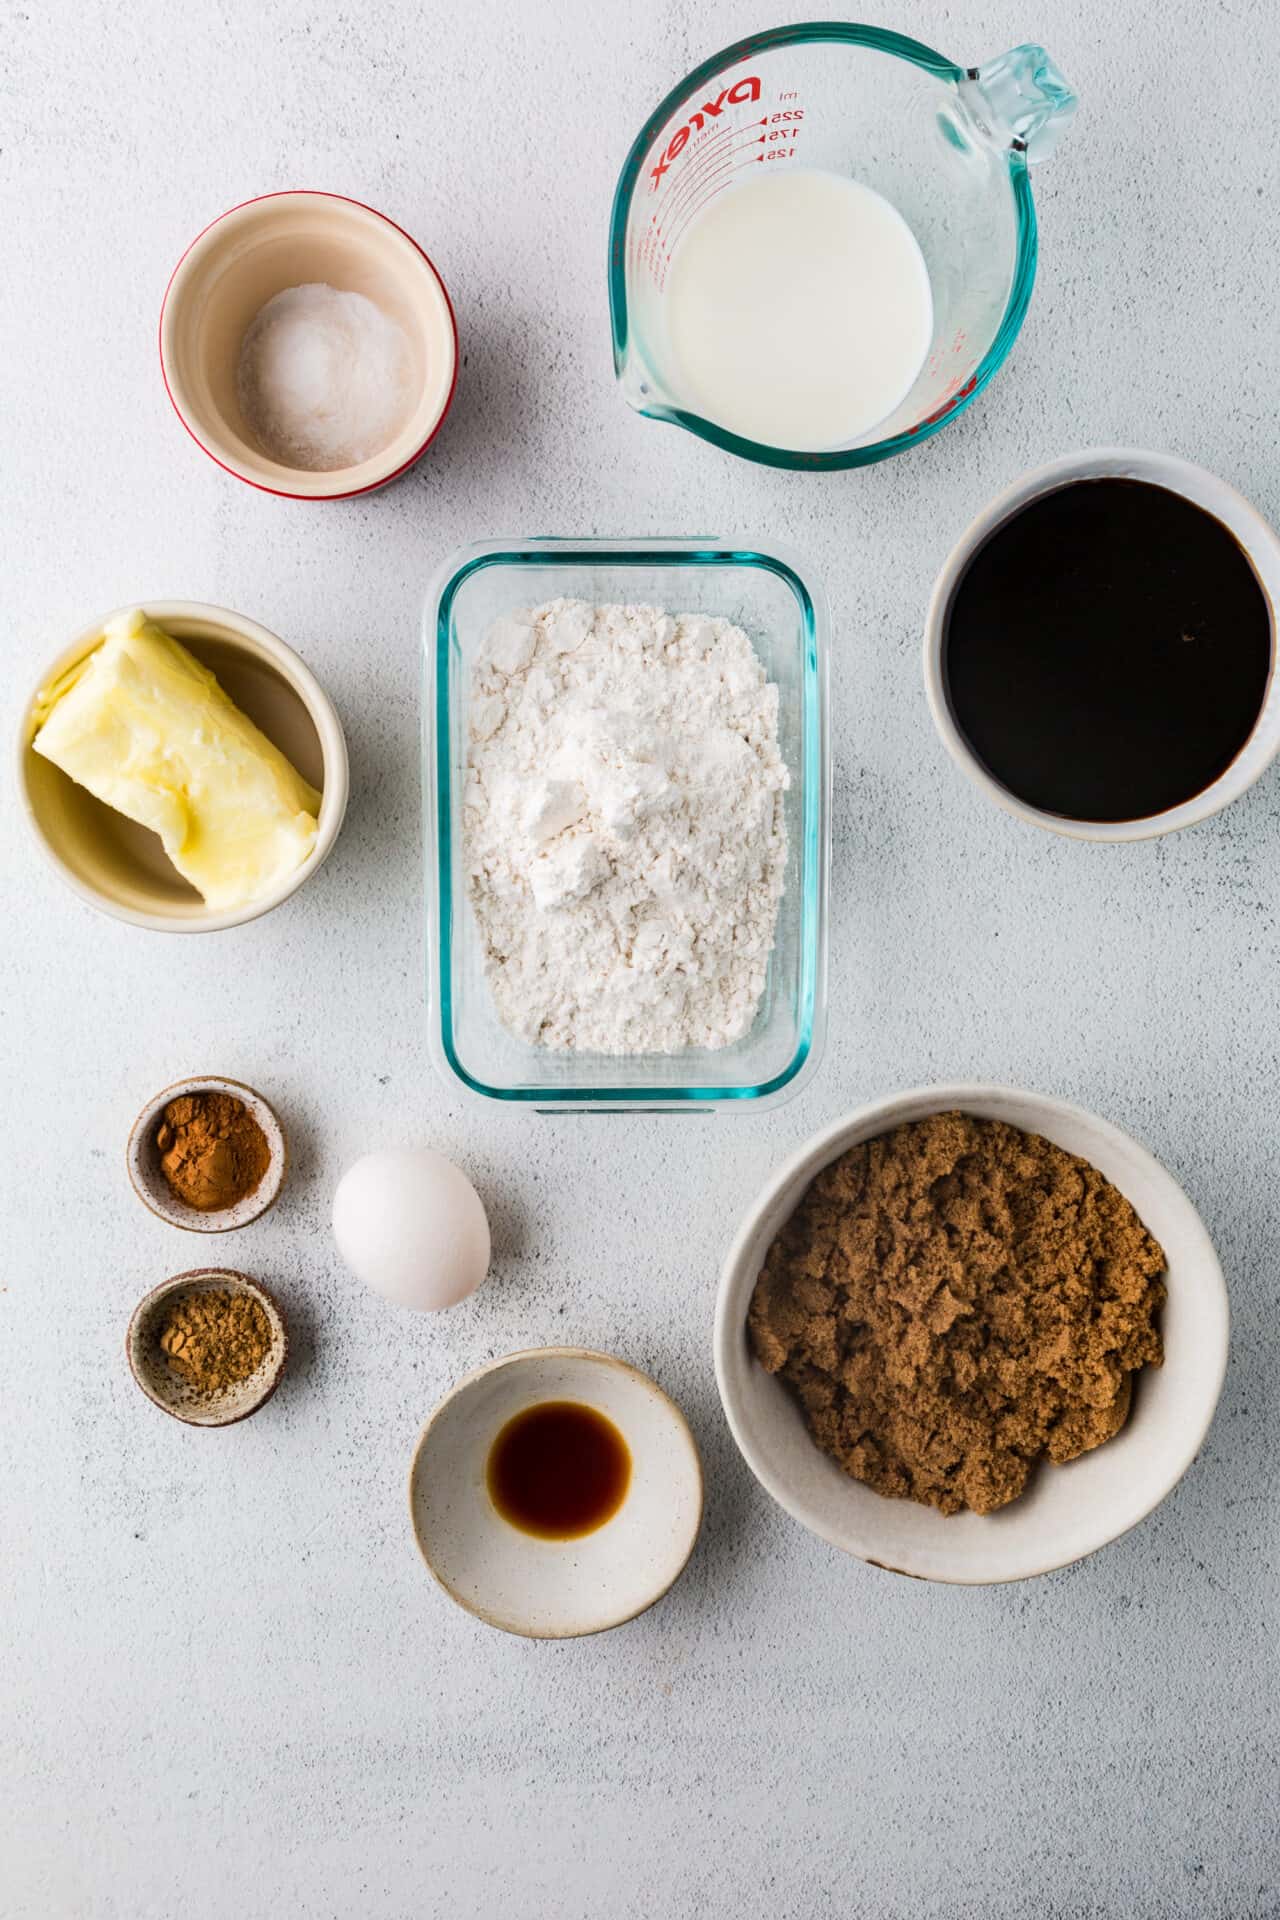
- 1/2 cup unsalted butter, softened
- 1 cup dark brown sugar, packed
- 1 large egg
- 3/4 cup unsulfured molasses
- 1/4 cup milk
- 1 teaspoon vanilla extract
- 5 cups all-purpose flour
- 1 teaspoon baking soda
- 1 teaspoon ground cinnamon
- 1/2 teaspoon ground ginger
How to Make Marranitos
Step 1: Preheat your oven to 350°F and line two baking sheets with parchment paper.
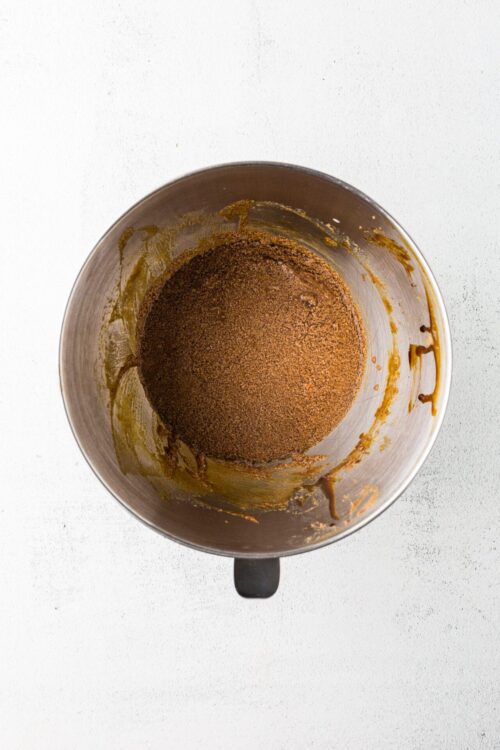
Step 2: In a large mixing bowl, cream together the softened butter and brown sugar until smooth.

Step 3: Beat in the egg, then stir in the molasses, milk, and vanilla extract until well combined.

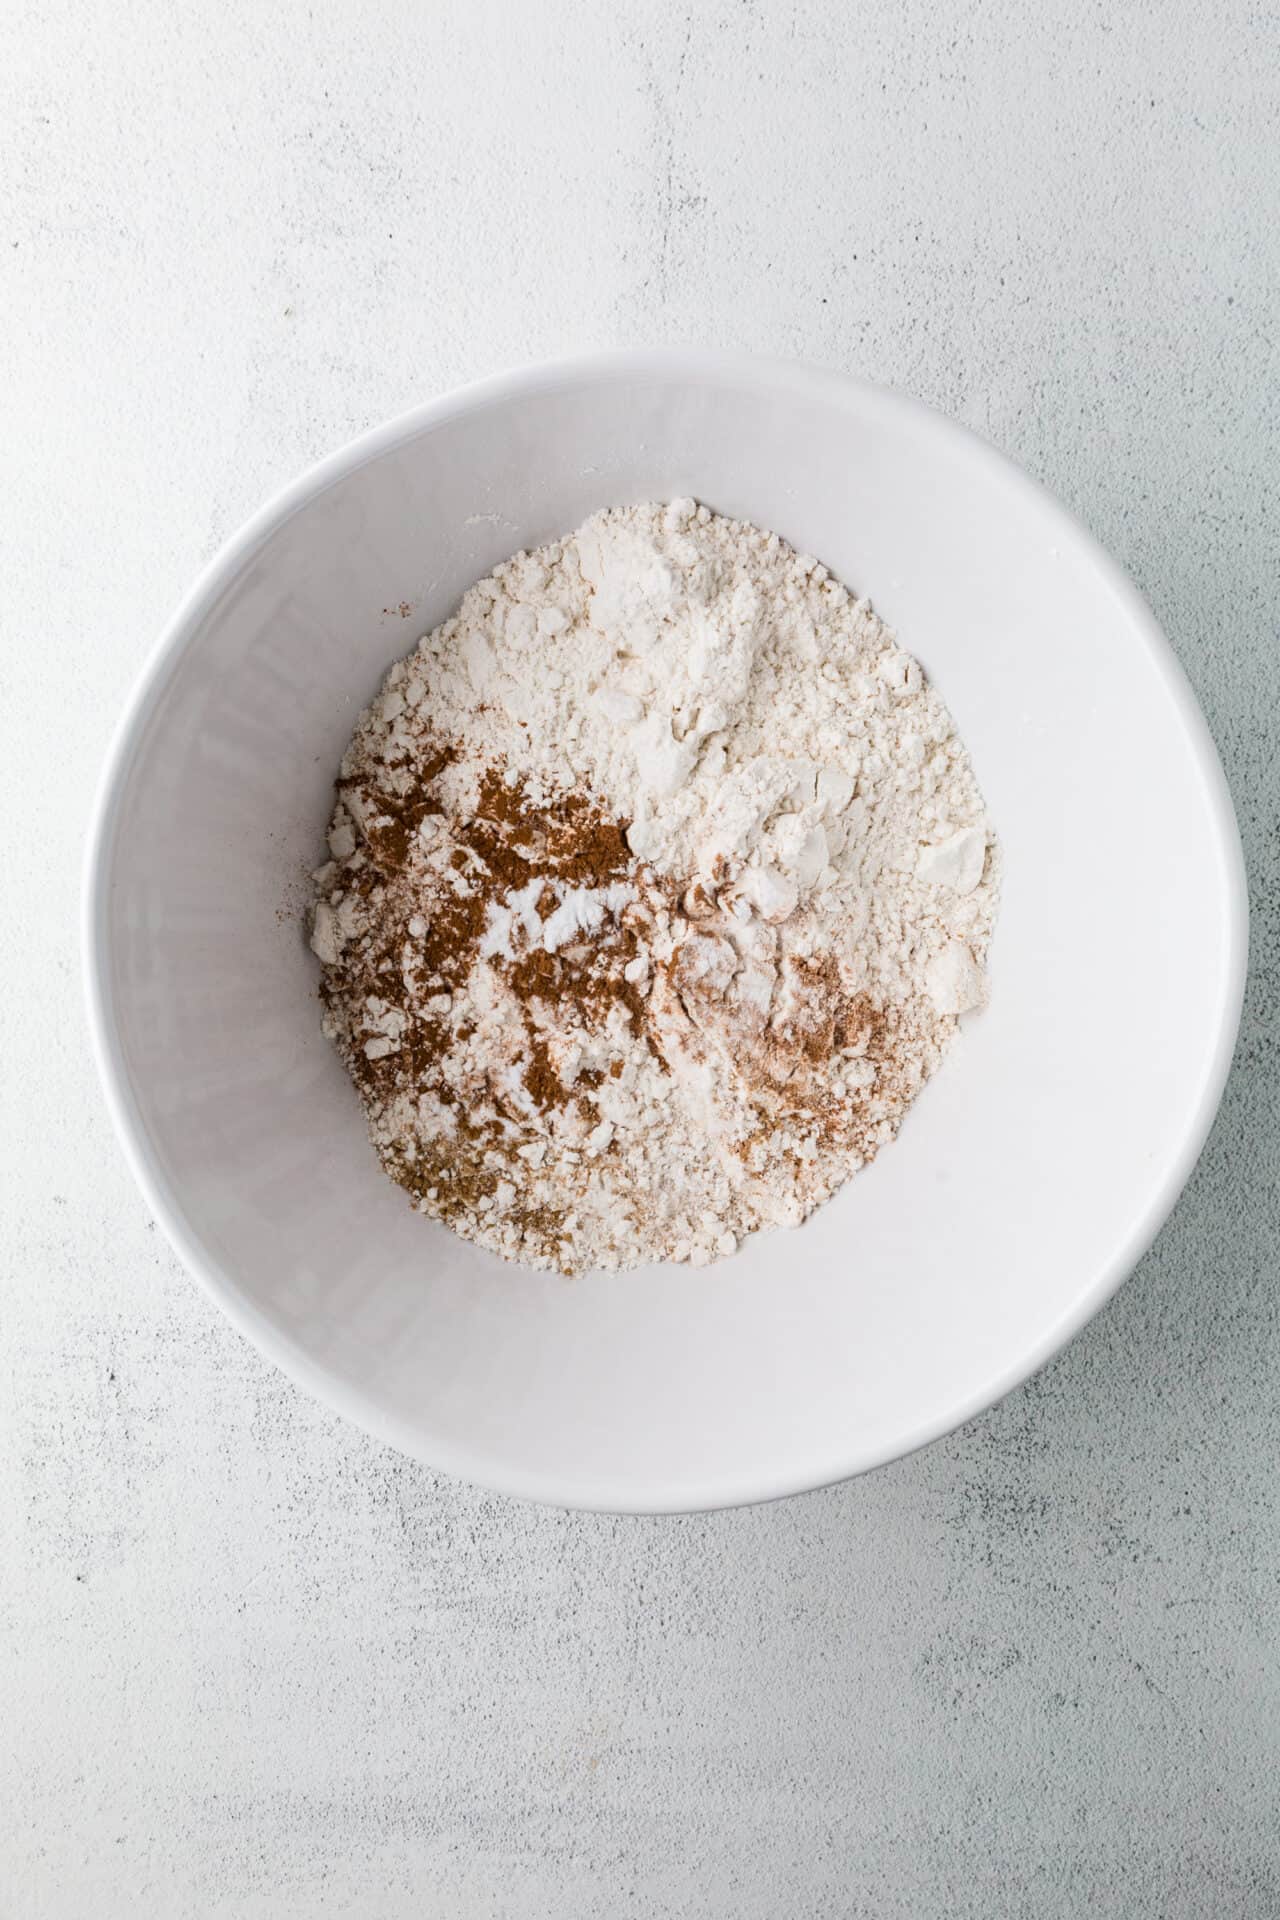
Step 4: In a separate bowl, whisk together the flour, baking soda, cinnamon, and ginger.
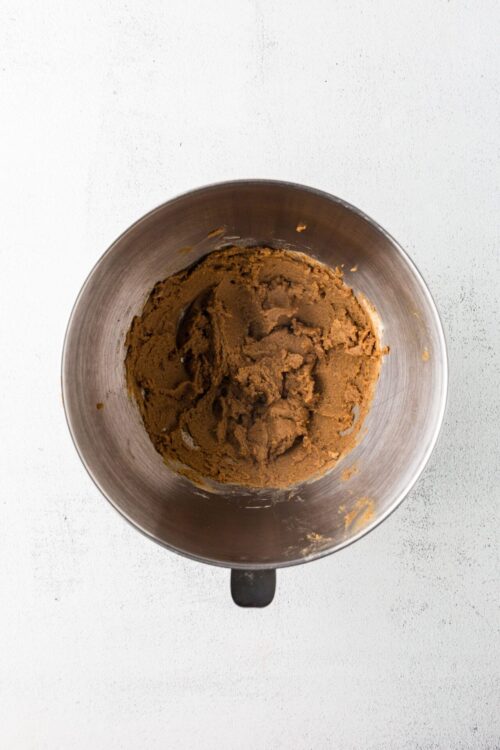
Step 5: Gradually mix the dry ingredients into the wet mixture until a dough forms.

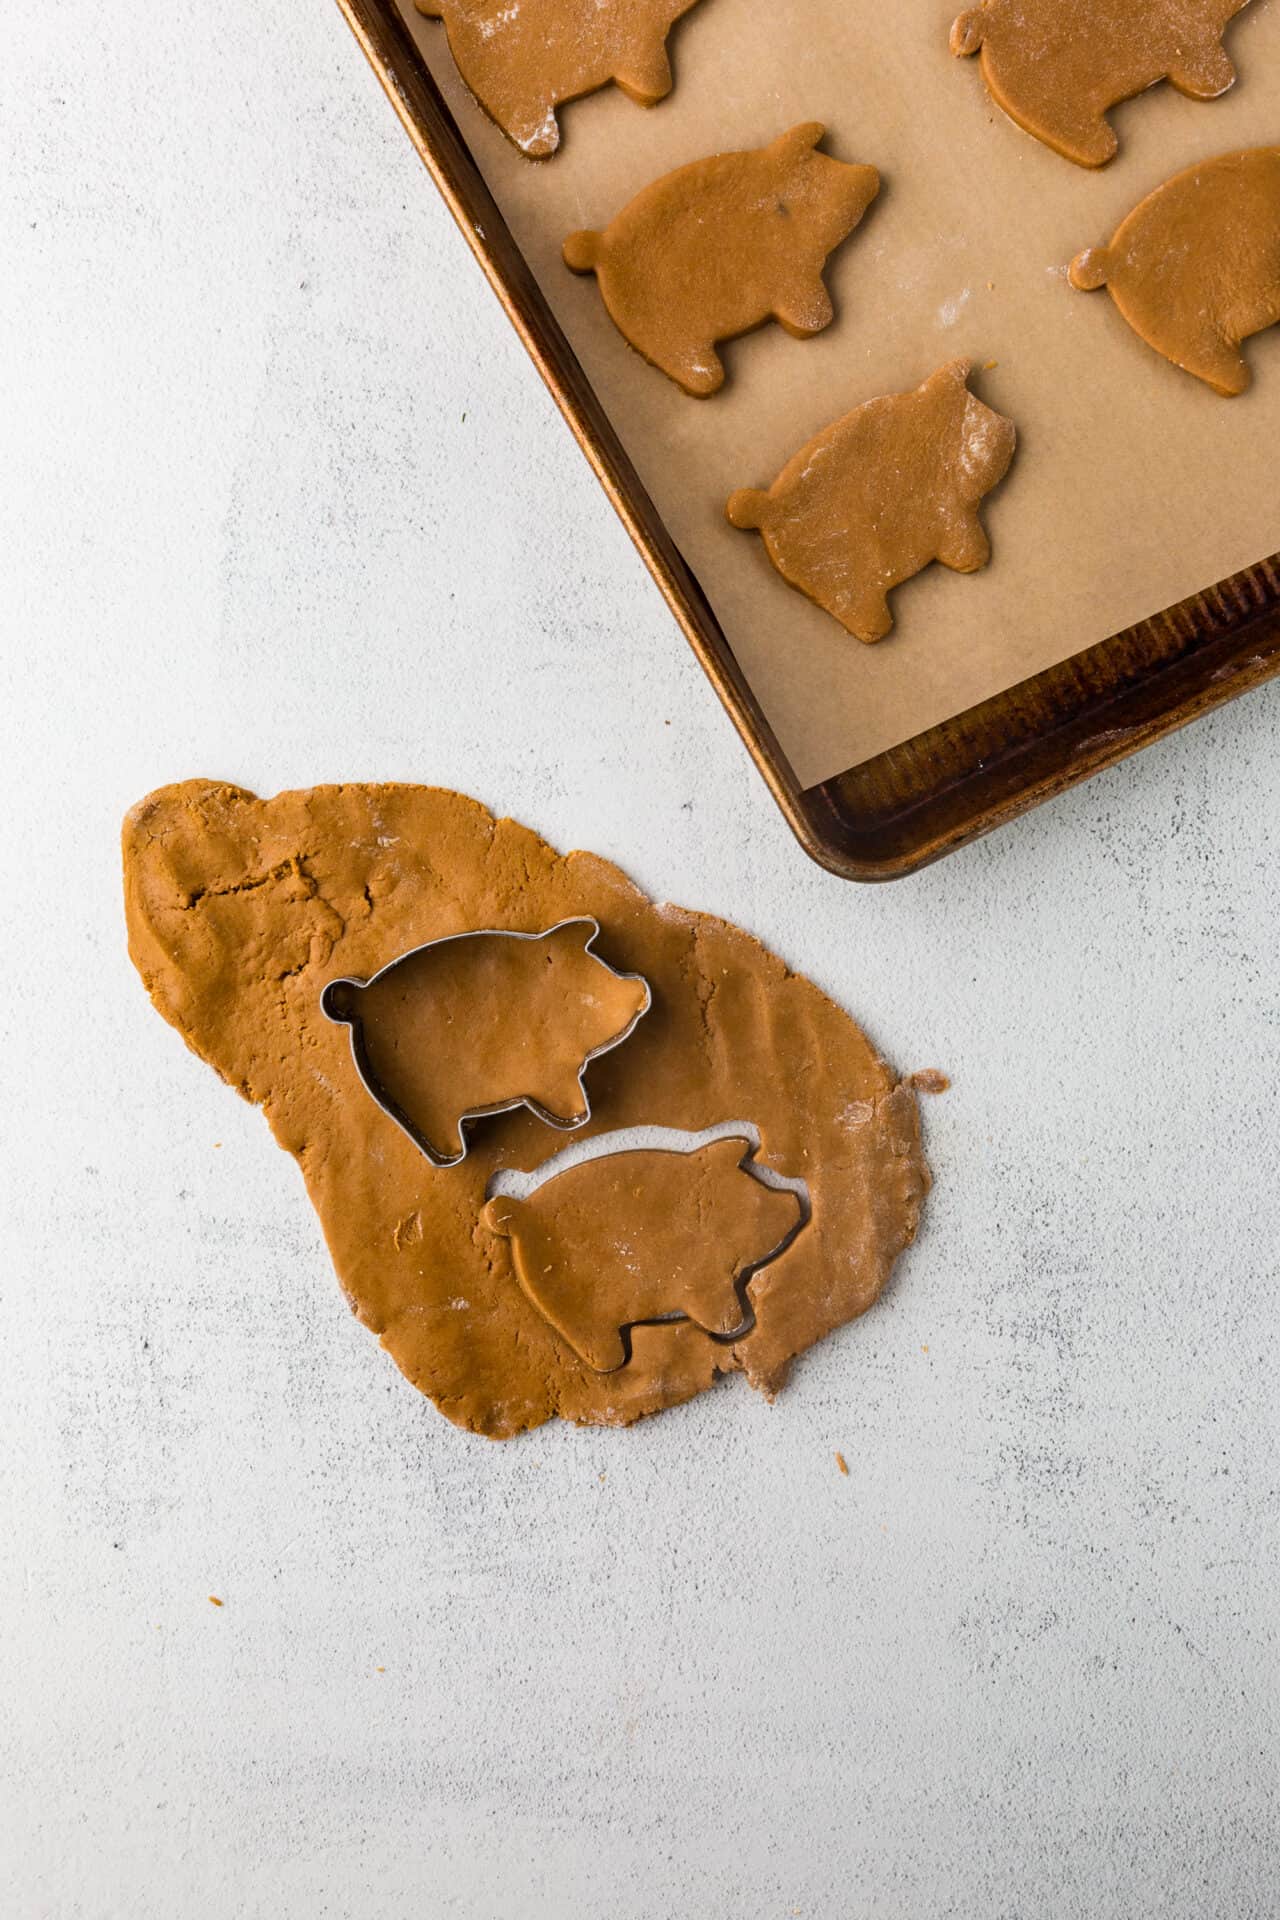
Step 6: On a floured surface, roll out the dough to about 1/4 inch thickness.
Step 7: Use a pig-shaped cookie cutter to cut out the cookies and place them on the prepared baking sheets.
Step 8: Bake for 12-15 minutes or until the cookies are set and the edges are just starting to brown.
Step 9: Let the marranitos cool on the baking sheets for a few minutes before transferring them to a wire rack to cool completely.
FAQs & Tips
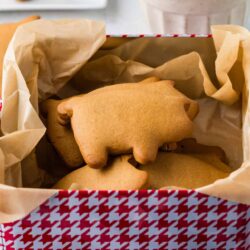
How to Make Ahead and Store
Once the marranitos are cool, store them in an airtight container. The container can be kept on your countertop at room temperature for up to 3 days. For longer storage, you can either refrigerate or freeze them. In the refrigerator, they will keep for up to a week. In the freezer, they will keep for up to 2 months. To defrost, simply set them back out on your countertop, and they will be ready to enjoy in less than an hour.
Why is the Marranito Dough so Sticky?
The molasses and brown sugar in the dough mean that the dough can be quite sticky when you’re ready to roll it out and cut it. To get a better texture, divide the dough in half, shape each half into a log, and wrap it in wax or parchment paper. Then, tightly wrap it in plastic wrap. Chill the dough in your fridge for at least 2 hours and up to 24 hours. The dough will roll out and cut much easier if you can incorporate some chill time.
Keep the Texture Fluffy
To maintain that perfectly soft texture that is somewhere between a cookie and a cake, try this trick. Once removed from the oven, when the cookies are cool, keep them covered with a clean dishtowel before serving, or put them in an airtight container immediately after they’ve cooled. Doing so will keep the cookies soft. After a few days (even in the airtight container), they will likely harden up a bit to resemble more of a traditional cookie.
Serving Suggestions
Marranitos are a lovely, sweet bite to enjoy after a big meal like Chicken Enchiladas or Green Chilies with Rice. They can also be a welcome addition to your brunch spread— and would make for a nice, sweet handheld along with classic brunch dishes like Hash Brown Breakfast Casserole or something Tex-Mex like Breakfast Tacos. You can always add marranitos to your holiday cookie platter as well—next to cookies like Snowman Sugar Cookies, Hot Chocolate Cookies, or Sugar Saucer Cookies. Finally, my favorite way to enjoy marranitos? With a cup of coffee for dunking. Sweet and simple.
Marranitos
Ingredients
- 1/2 cup unsalted butter softened
- 1 cup dark brown sugar packed
- 1 large egg
- 3/4 cup unsulfured molasses
- 1/4 cup milk
- 1 teaspoon vanilla extract
- 5 cups all-purpose flour
- 1 teaspoon baking soda
- 1 teaspoon ground cinnamon
- 1/2 teaspoon ground ginger
Instructions
- Preheat your oven to 350°F and line two baking sheets with parchment paper.
- In a large mixing bowl, cream together the softened butter and brown sugar until smooth.
- Beat in the egg, then stir in the molasses, milk, and vanilla extract until well combined.
- In a separate bowl, whisk together the flour, baking soda, cinnamon, and ginger.

- Gradually mix the dry ingredients into the wet mixture until a dough forms.

- On a floured surface, roll out the dough to about 1/4 inch thickness.
- Use a pig-shaped cookie cutter to cut out the cookies and place them on the prepared baking sheets.

- Bake for 12-15 minutes or until the cookies are set and the edges are just starting to brown.
- Let the marranitos cool on the baking sheets for a few minutes before transferring them to a wire rack to cool completely.

Leave a Comment