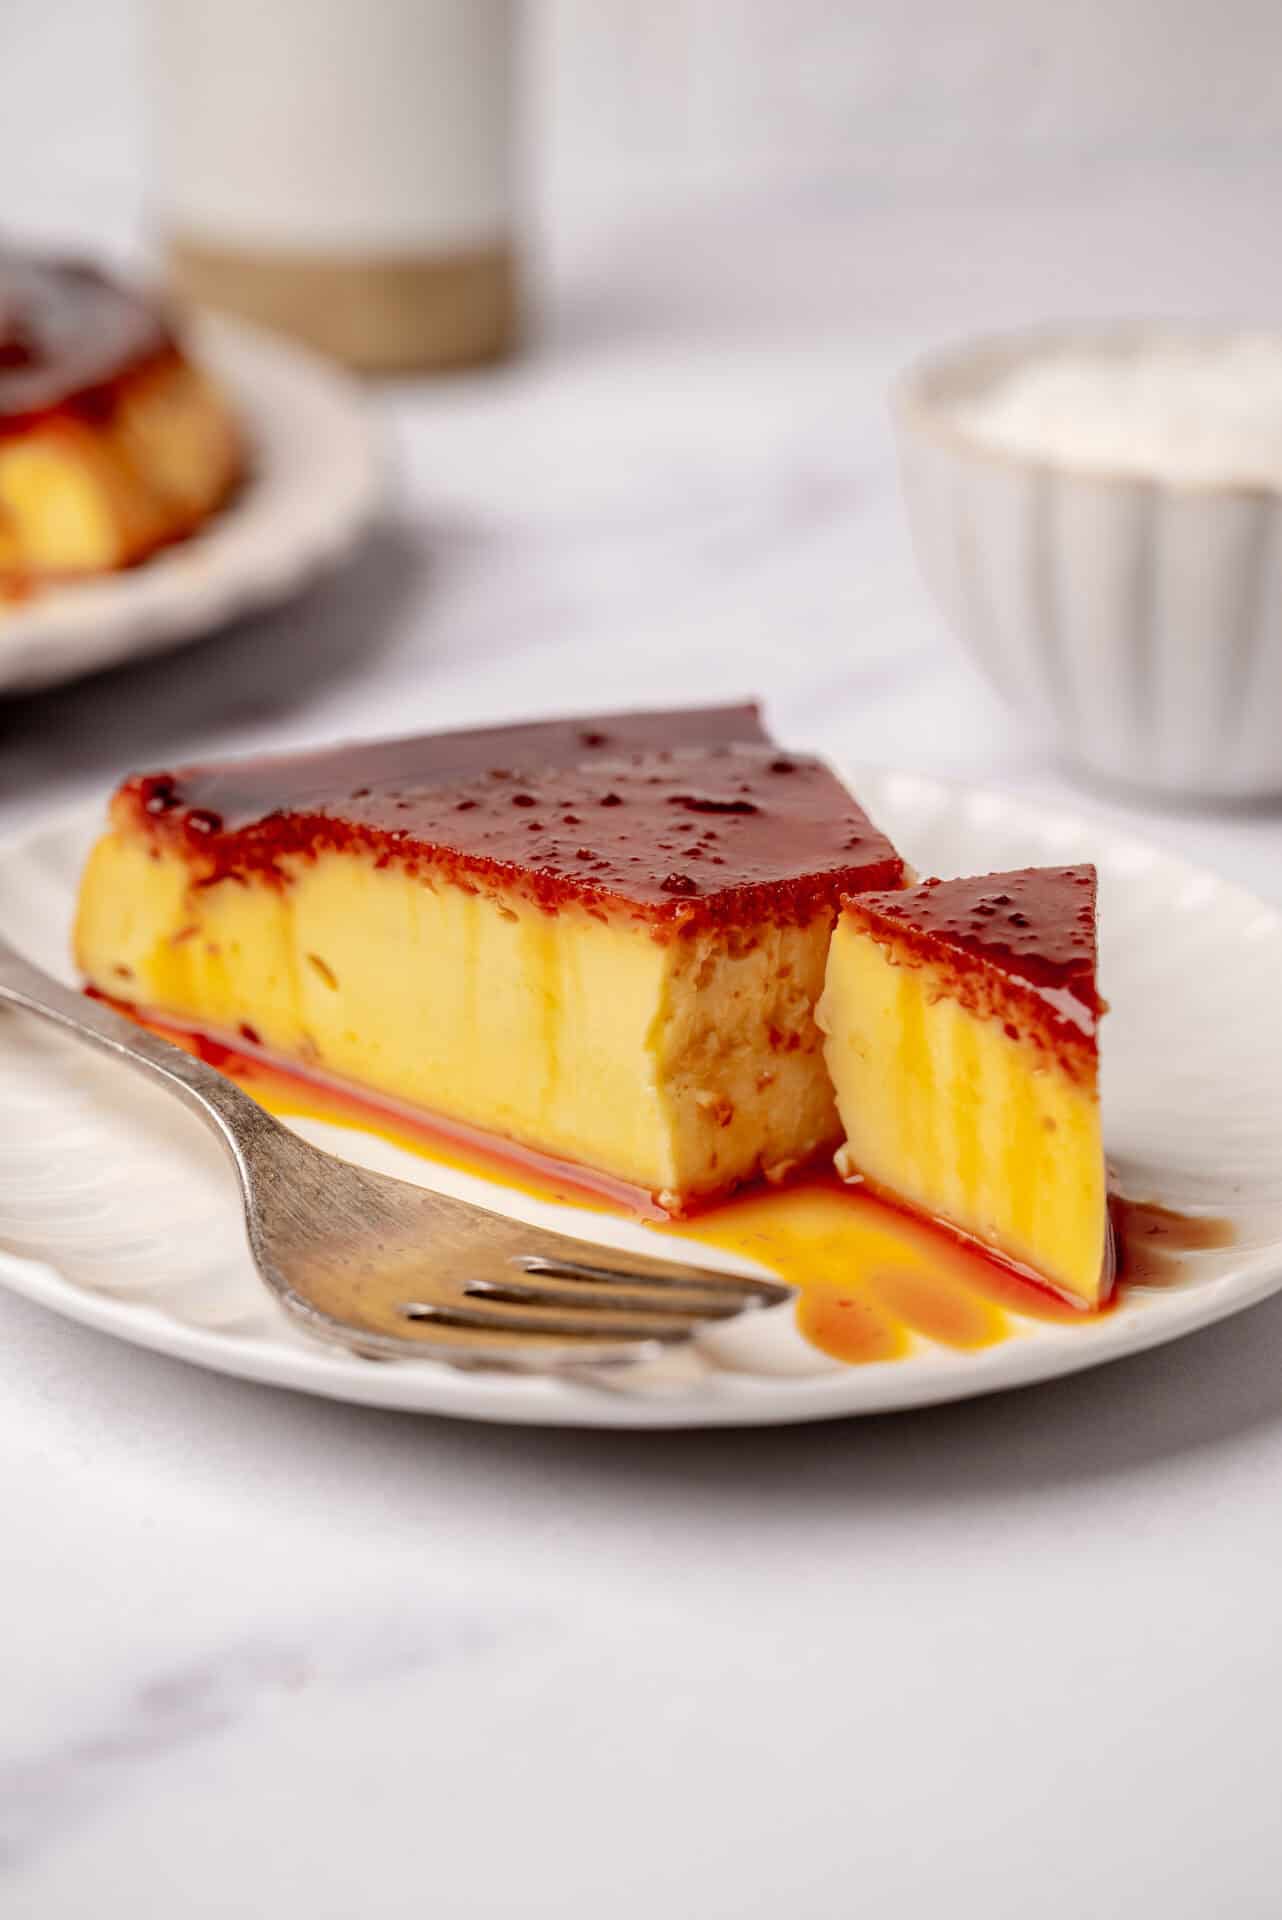
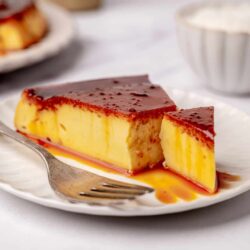
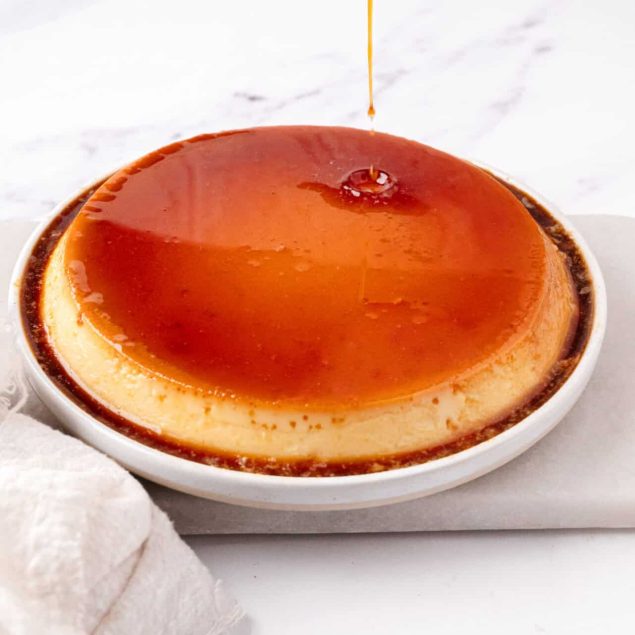
Creamy, rich flan is even better with coconut – so create the perfect ending to any meal with this easy-to-make Coconut Flan.
You may not think that flan has much in common with underfloor heating, but (stick with me here) there’s a connection: Ancient Rome! Both of these things stem way back to that time and place. Ancient Romans started making flan once eggs became readily available -although it was usually a savory dish, until people eventually wised up and made it sweet.
In many Hispanic and Latino cultures, where coconut is a main part of the diet, coconut flan is a popular spin on the traditional flan. It makes sense: the warm, creamy flan is the perfect base to incorporate that distinctive island flavor of coconut. And coconut milk is a perfect medium for the cream-based flan. It’s a swipe-right match for sure!
You will love this recipe because it’s made with easy, pantry ingredients but the result is a tasty, elegant dessert. The custard-like consistency is comforting and nostalgic, while the sweetness is multi-dimensional. One of the best parts is that this is a make-ahead. Get it done the day before your gathering and you’re good to go. No stress on the day – at least dessert-wise.
Coconut Milk 101
Coconut milk is made from the fleshy white inside of a ripe (brown) coconut. It’s mixed with water to create a high-fat, rich “milk” that is often used in South Asian and Caribbean sauces, curries, and desserts. This is not to be confused with cream of coconut, which is a more processed product full of sweeteners and stabilizers. Over in the chilled dairy aisle, there are cartons of coconut milk, but this is different too in that those are milk substitutes and not as creamy and rich.
What you want for this Coconut Flan is sold in cans – sometimes in the Asian or Hispanic section of the store. Opt for a brand without a lot of additives: the main ingredients should be coconut and water. Look for canned brands like Thai Kitchen or Goya.

How to Make Ahead and Store?
Coconut Flan needs chill time, so it’s a great make-ahead option for dessert. Overnight chilling is best, to give it time to really set. If you want to serve it chilled the next day, go ahead; you can also set it out so it’s closer to room temp before serving. Leftovers keep in the fridge for 5-7 days. Freezing is not recommended.
Shaken Not Stirred: How To Perfect The Sugar Step
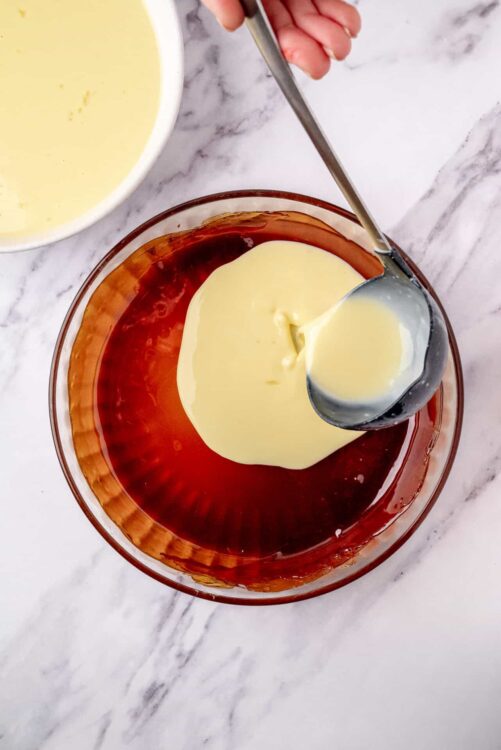
In Step 2, you’re essentially making caramel. While it may seem a bit daunting if you’ve not done this before, a few tips will help make it successful. The med-low temperature of your burner is key. Secondly, don’t stir the sugar very often at all. Instead, shake the pan occasionally to keep the sugar from burning as it liquifies. Finally, stay right with it and the moment it liquifies, remove from heat and have your baking dish right there.
Serving Suggestions
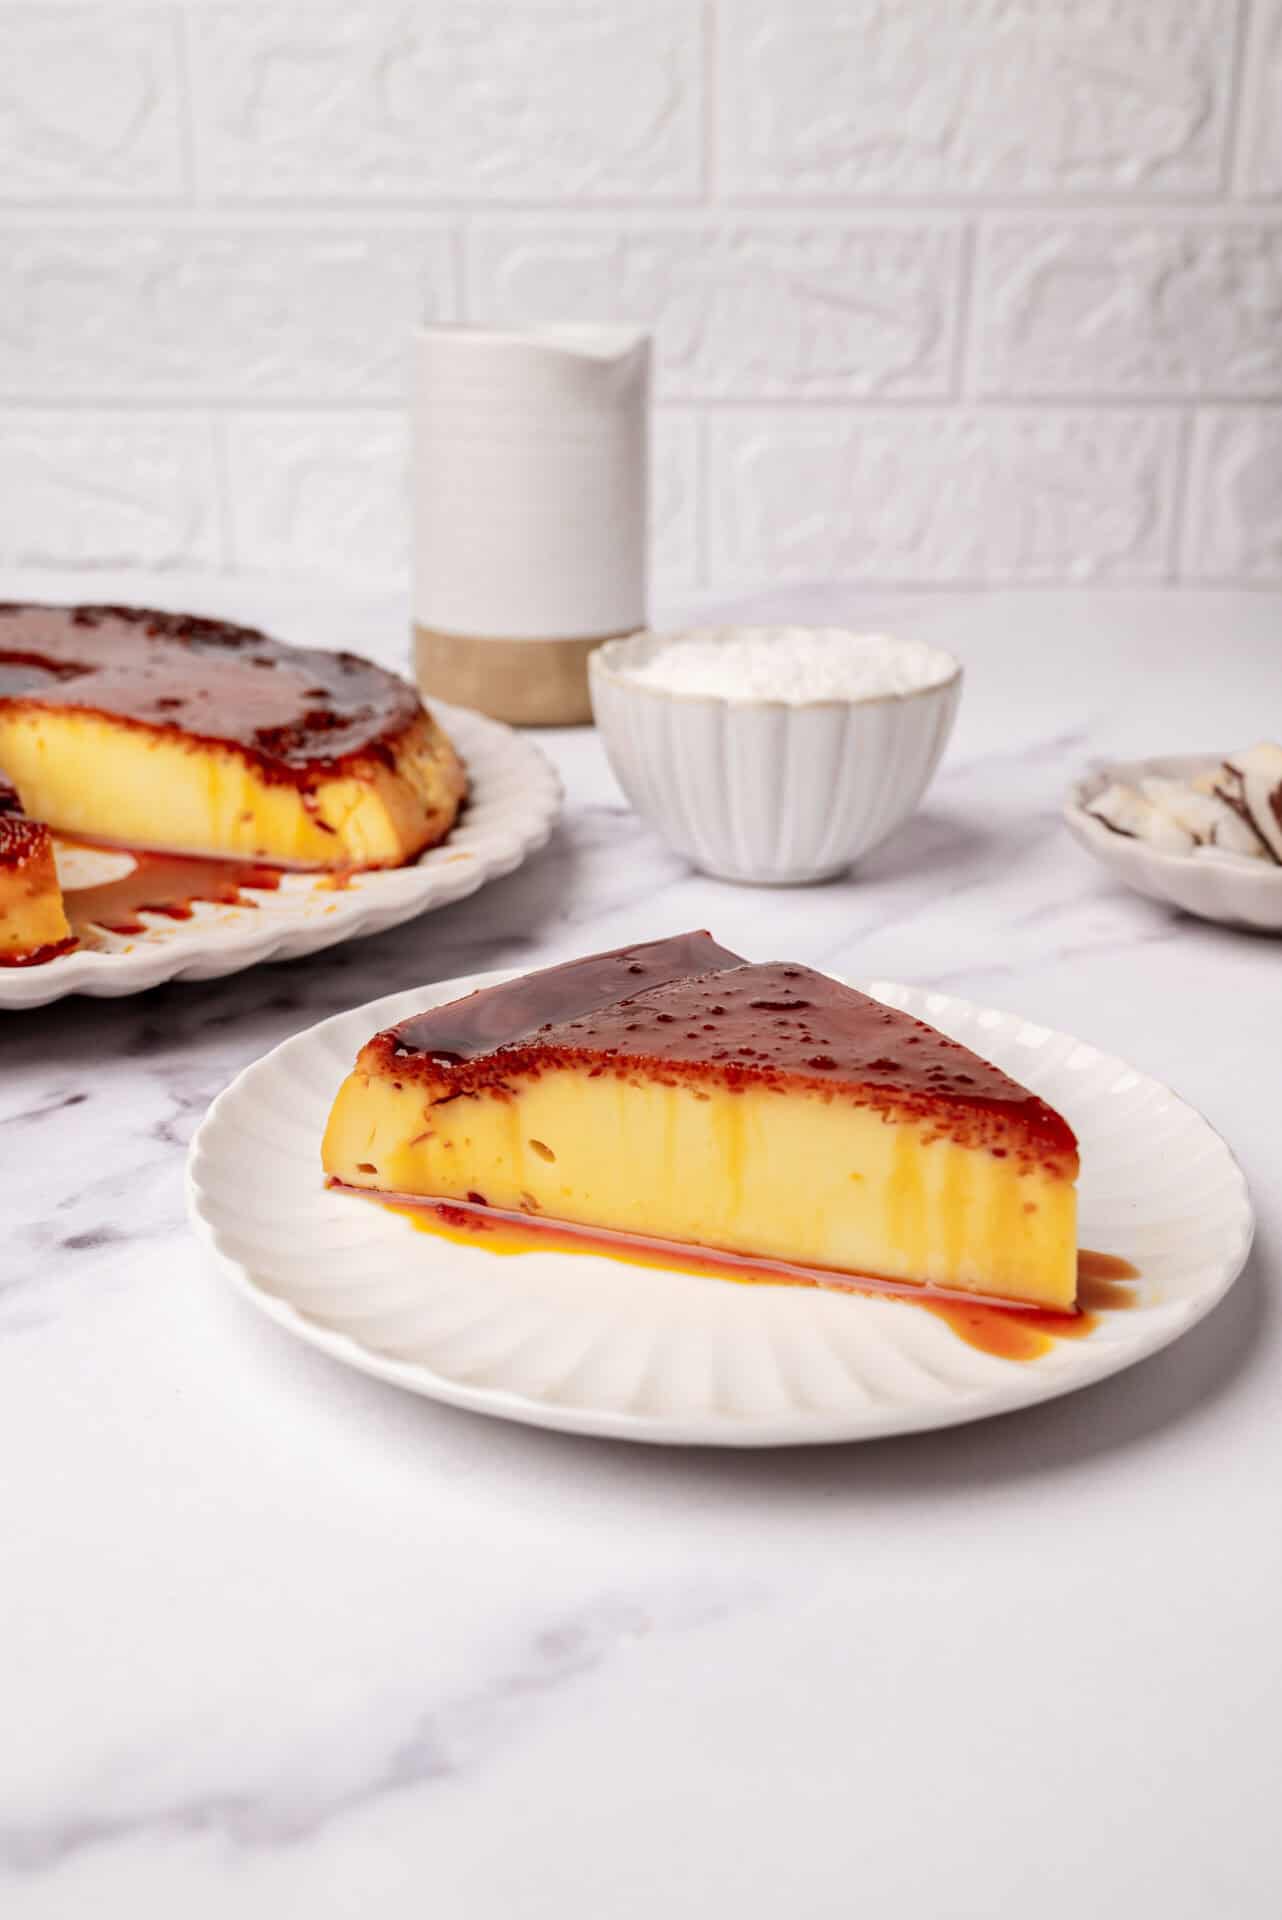
Coconut Flan is delicious after a special meal, served with strong coffee; the coffee is the perfect accompaniment to the sweet, creamy dessert. For presentation, try toasting some fresh coconut flakes and sprinkling on top of the finished flan. Of course, ice cream goes with everything, so you could offer vanilla bean or cinnamon ice cream with it as well. And although Coconut Flan is technically a dessert, I’ve been known to sneak a slice for breakfast the next day too. If after making Coconut Flan, you’re on a flan kick, try this chocolate flan cake: you won’t be disappointed!
Coconut Flan
Ingredients
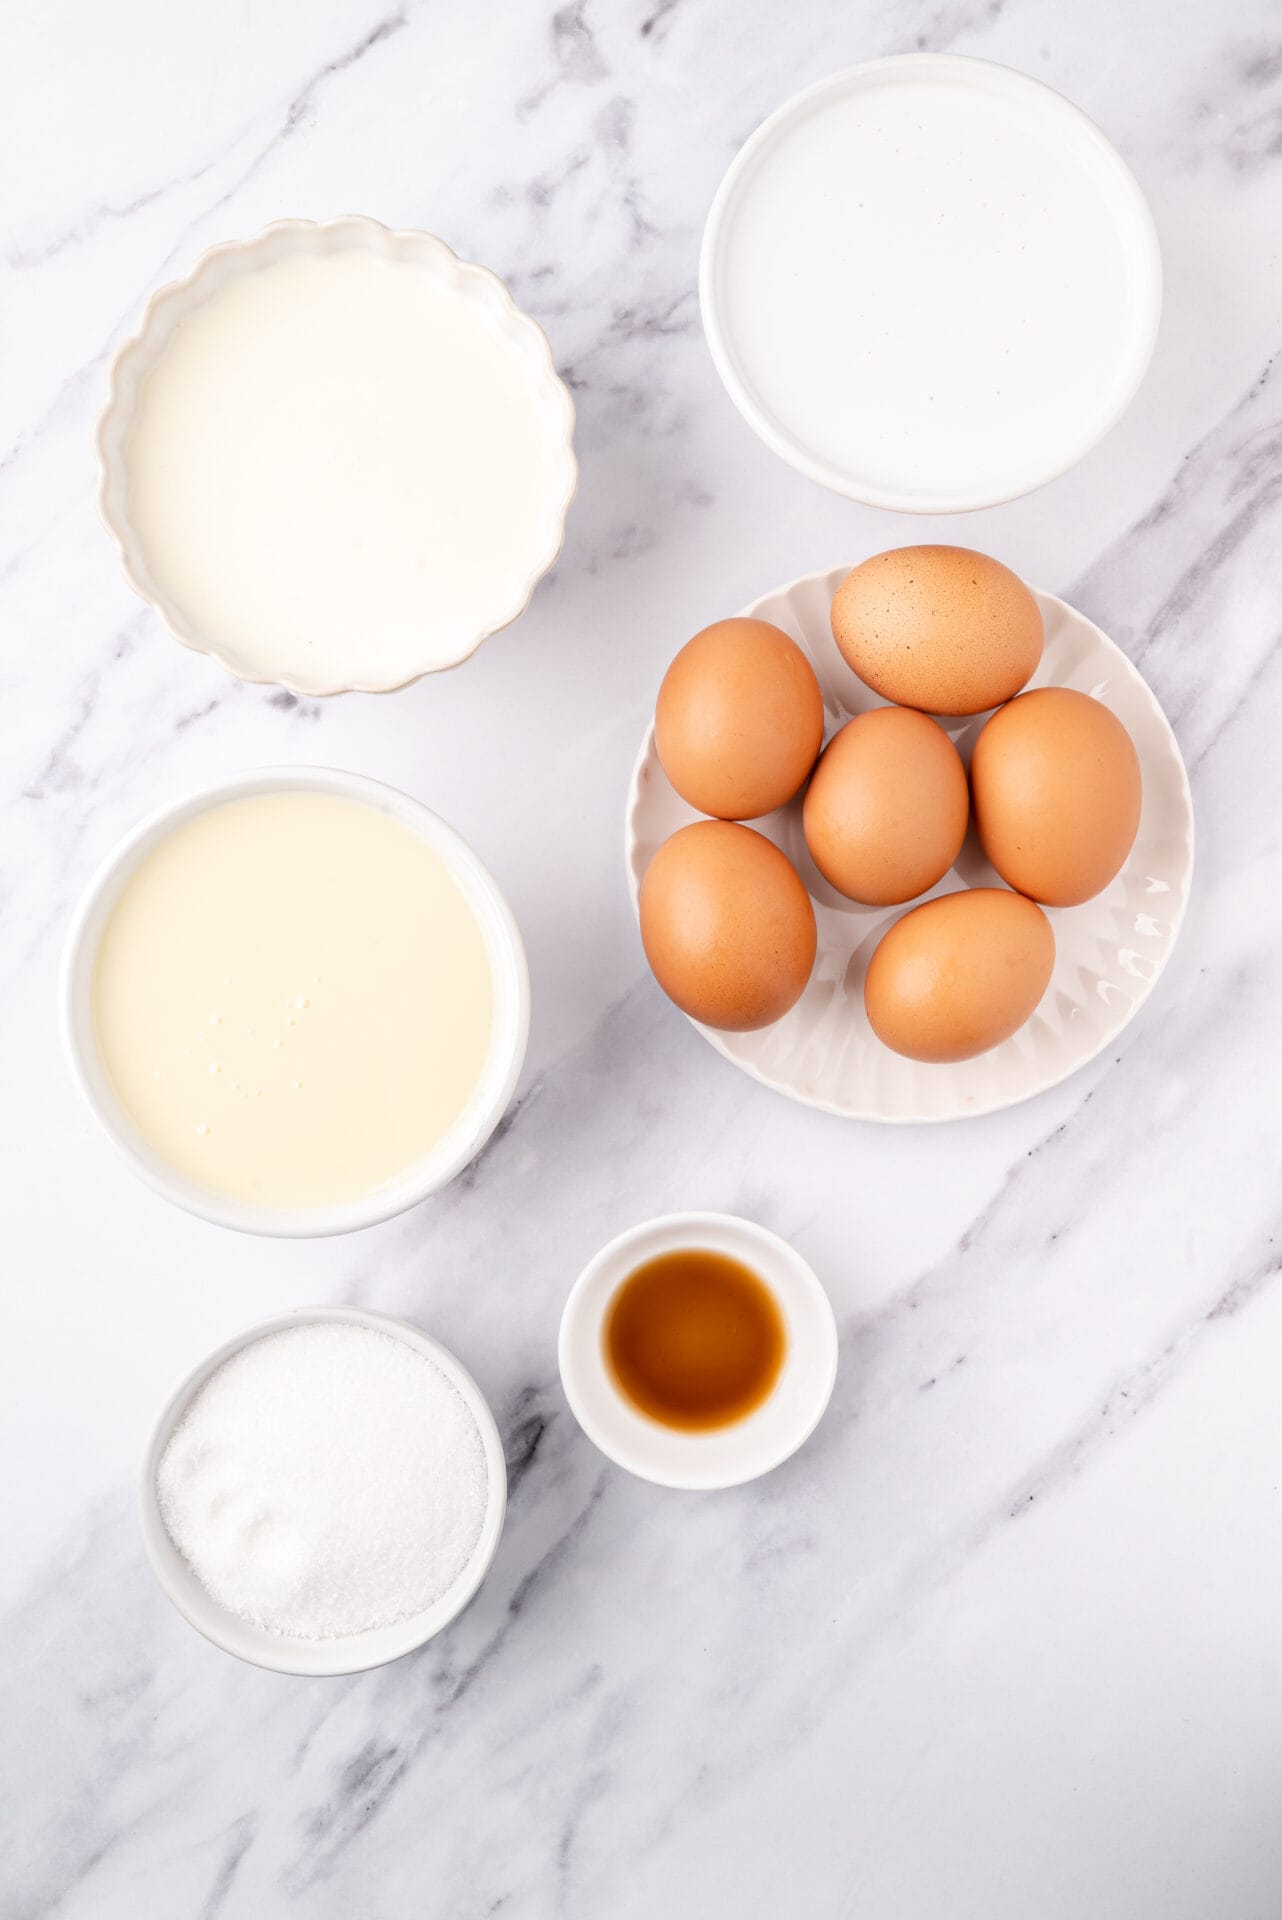
- 1 cup granulated sugar
- 6 large eggs
- 1 14 ounce can sweetened condensed milk
- 1 12 ounce can evaporated milk
- 1 cup coconut milk
- 1 teaspoon pure vanilla extract
Instructions
- Preheat oven to 350 degrees F (175 degrees C).
- In a heavy saucepan over medium-low heat, melt the sugar until liquefied and golden in color. Carefully pour the hot syrup into a 9-inch round baking dish, turning the dish to evenly coat the bottom and sides. Set aside.
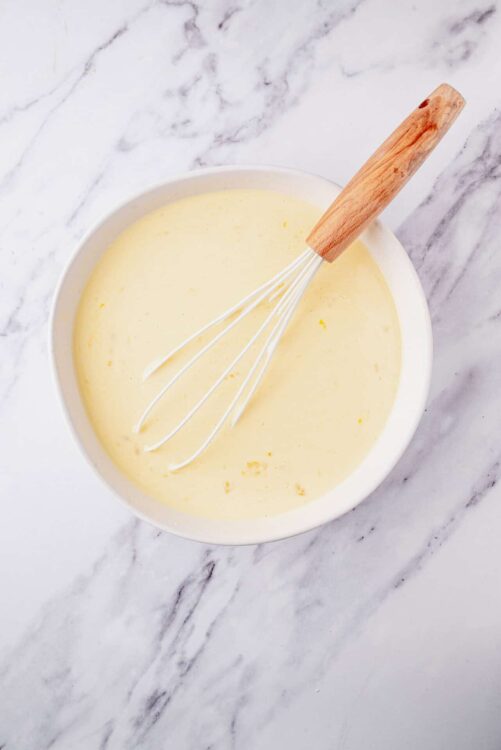
- In a large bowl, beat the eggs. Mix in condensed milk, evaporated milk, coconut milk, and vanilla extract until smooth. Pour egg mixture into the baking dish. Cover with aluminum foil.
- Bake in preheated oven for 60 minutes. After 60 minutes, remove foil and bake for an additional 15 to 30 minutes, or until the center is set.
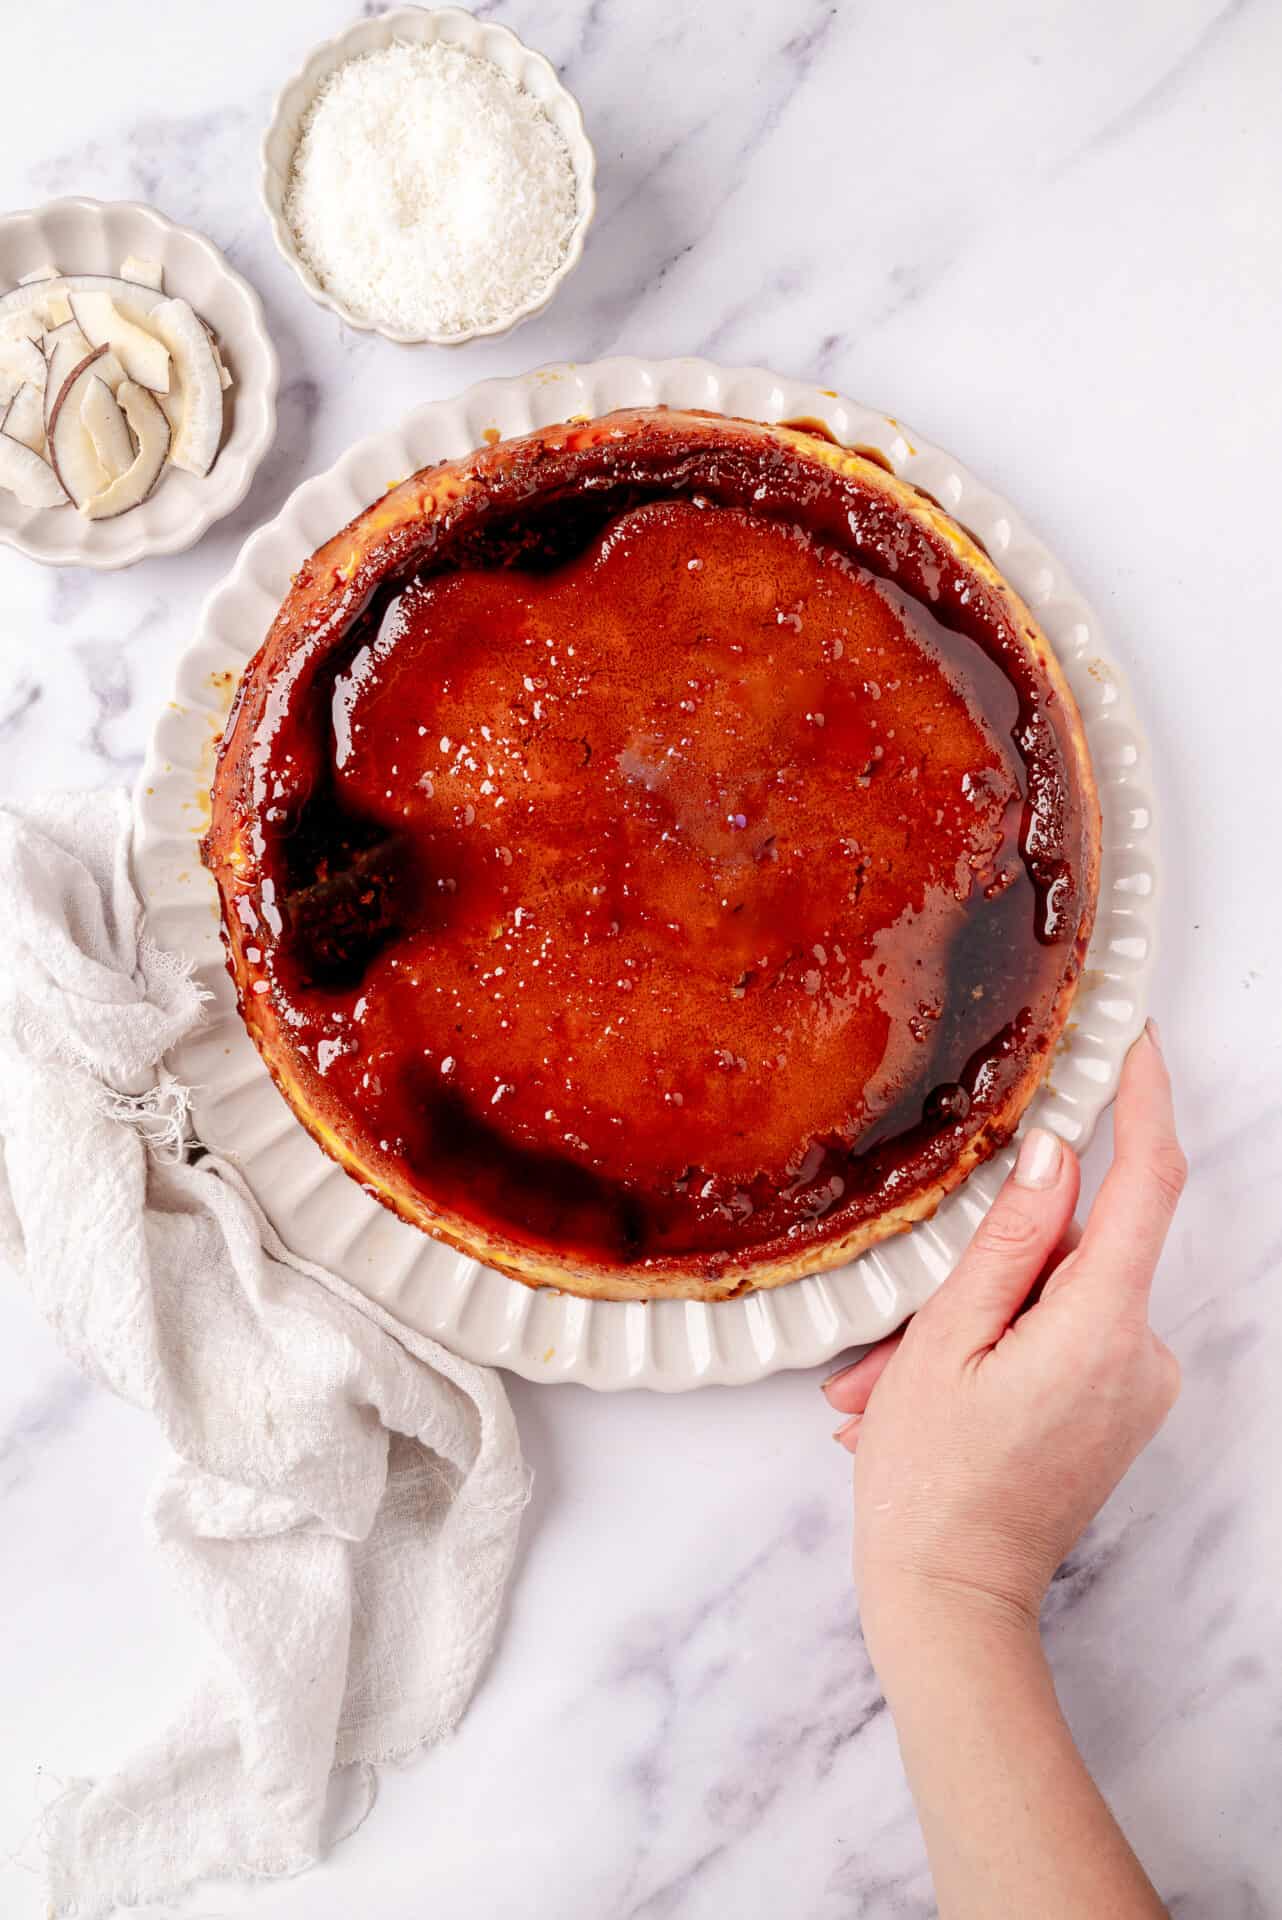
- Remove from oven and let cool completely. Refrigerate for at least 4 hours or overnight.
- To unmold, run a knife around the edges of the dish and invert onto a serving platter with a rim to catch the caramel sauce.

Cant get enough of it..delicous and easy to do
So happy to read this Aken, thanks!