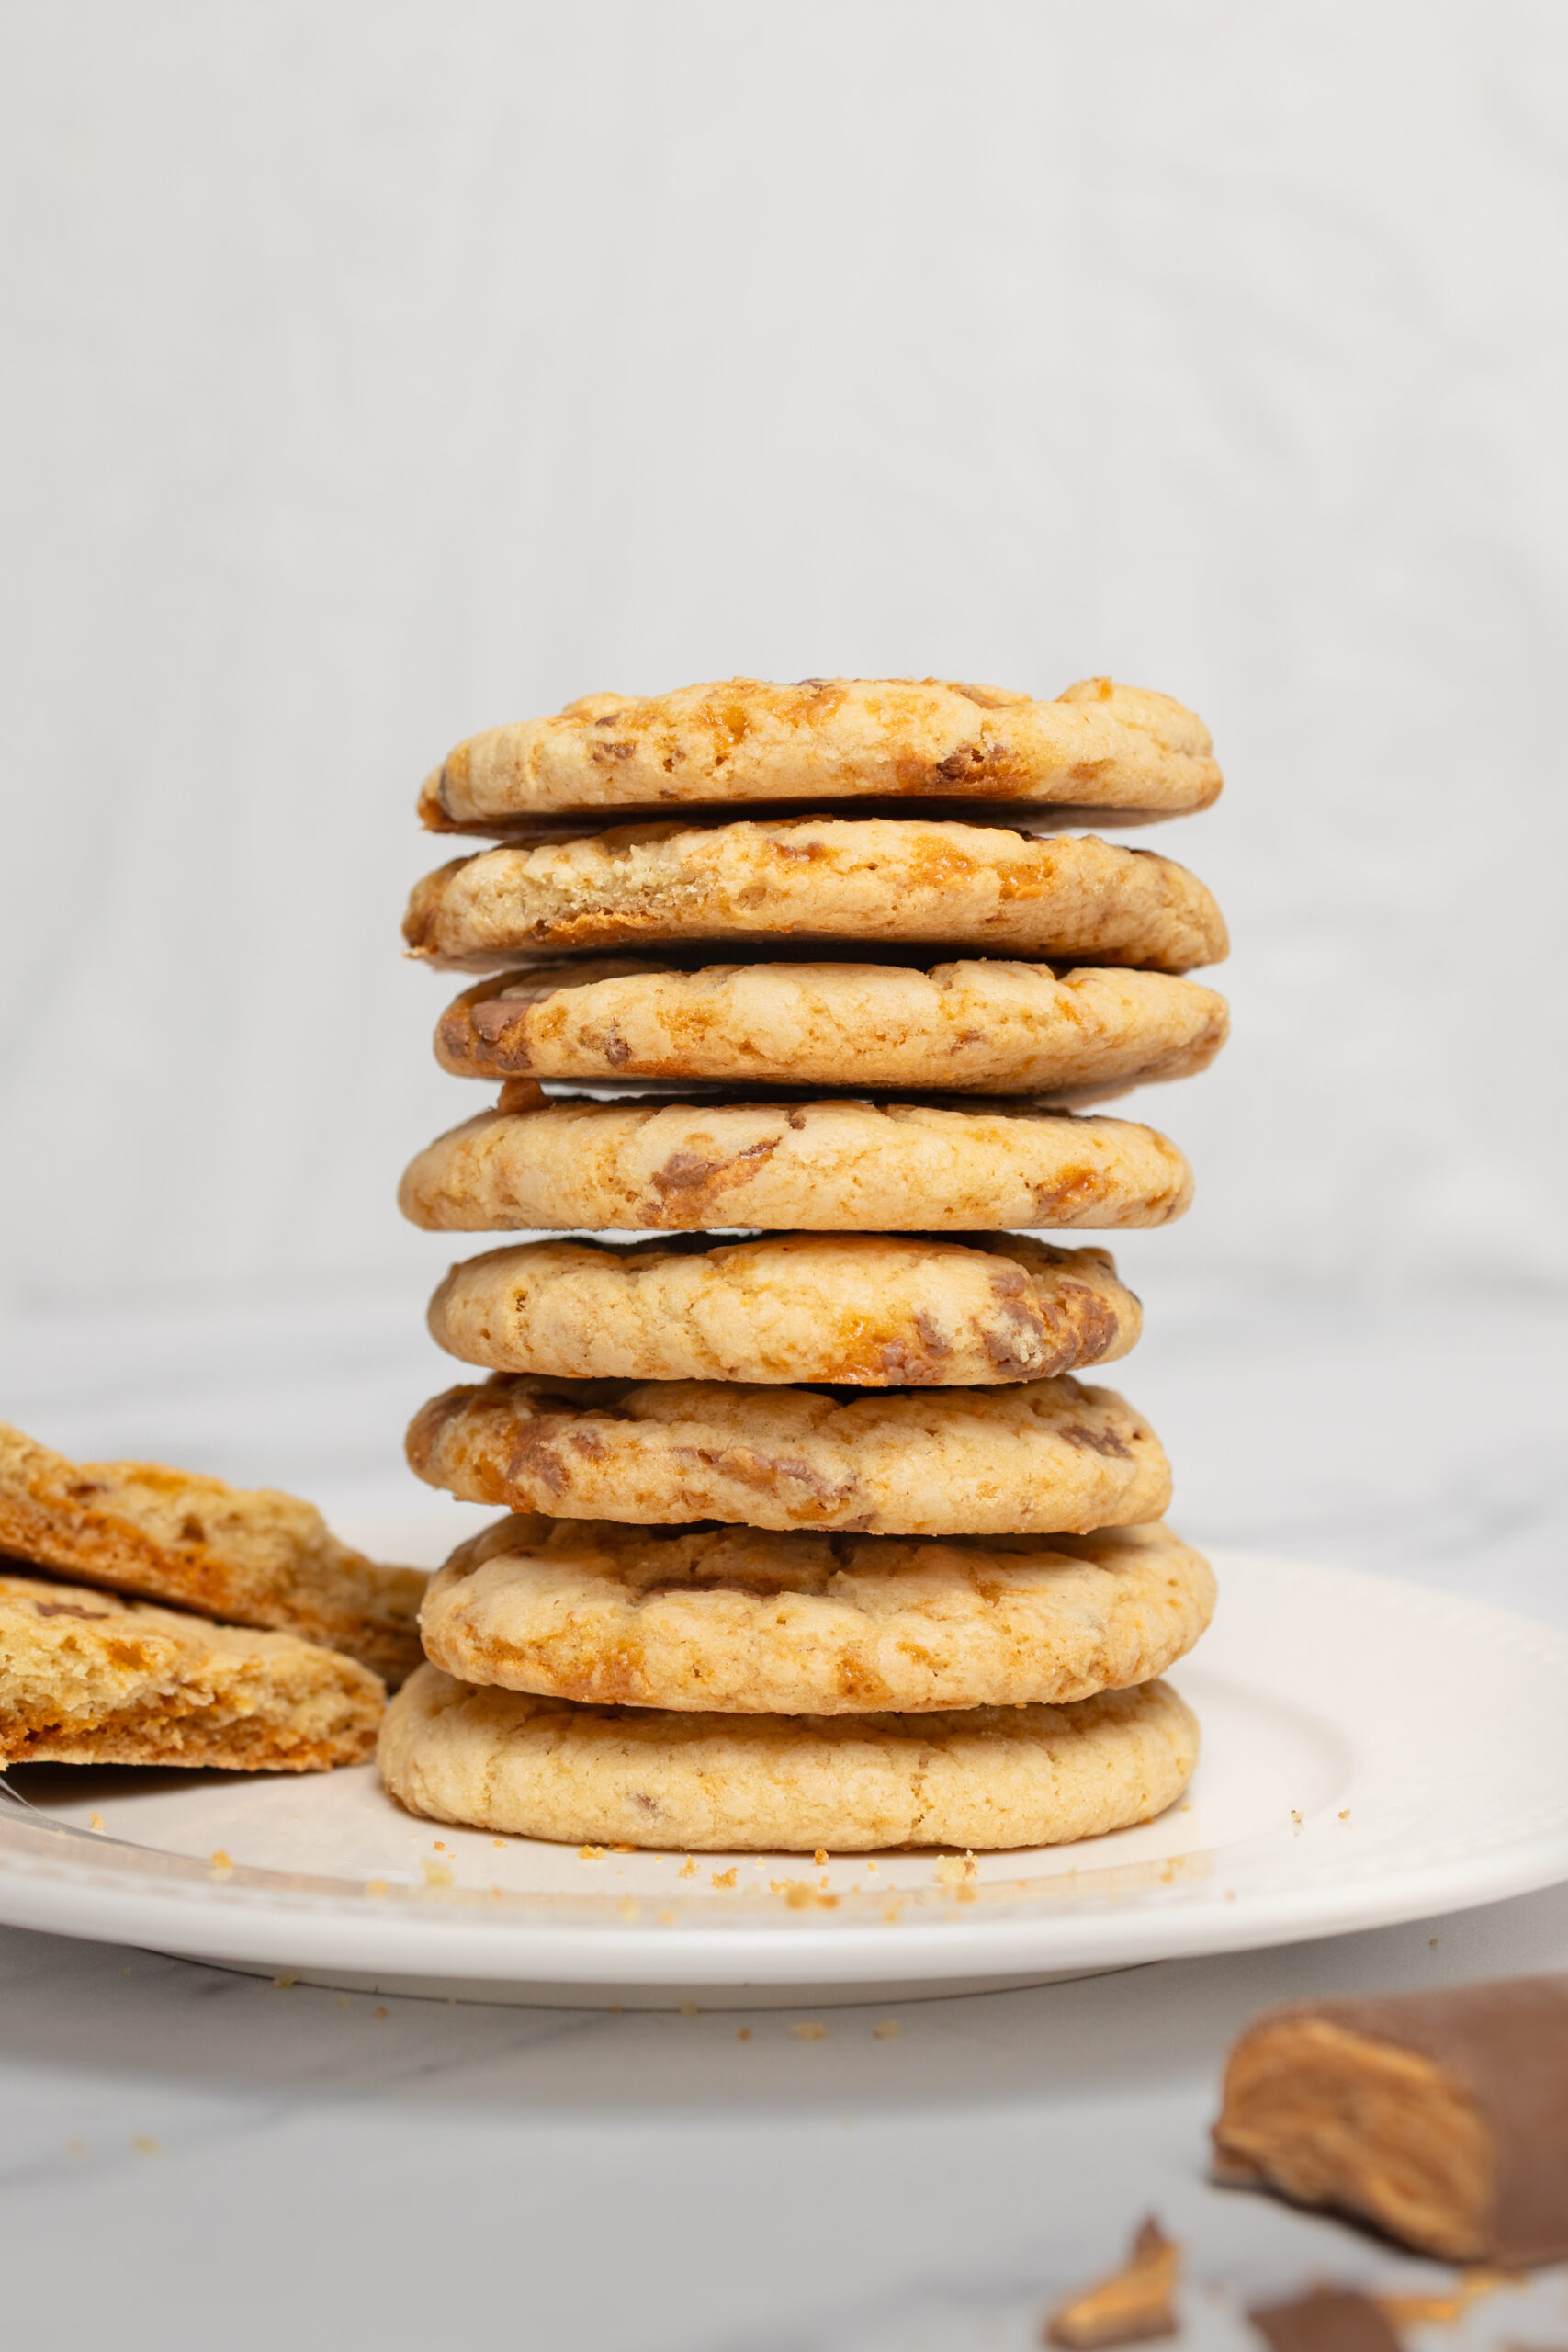
Nobody’s gonna lay a finger on your Butterfinger cookies!
When it’s time for a little indulgence, do you go for candy bars or baked goods? But really, why choose? With Butterfinger cookies, you get the best of both worlds. Chocolate candies in baked goods bring together the flavors and textures of your favorite store-bought treats with homemade goodness. In the tradition of other recipes like M&M Cookie Bars and Peanut Butter Cup Cookies, Butterfinger cookies are a wonderful way to enjoy a familiar favorite in a new way.
Butterfinger candy bars are not newcomers. In fact, they have been around since 1923! In case you’re not familiar, here’s the scoop: Butterfinger bars consist of a crunchy, flaky peanut butter filling and a chocolate coating. While they’ve been consistently popular through the years, they got a real boost from the animated show The Simpsons, starting back in the 1990s, when Bart Simpson famously quipped, “Nobody’s gonna lay a finger on my Butterfinger.” Butterfinger eventually adjusted their advertising slogan to Bart’s now-famous threat.
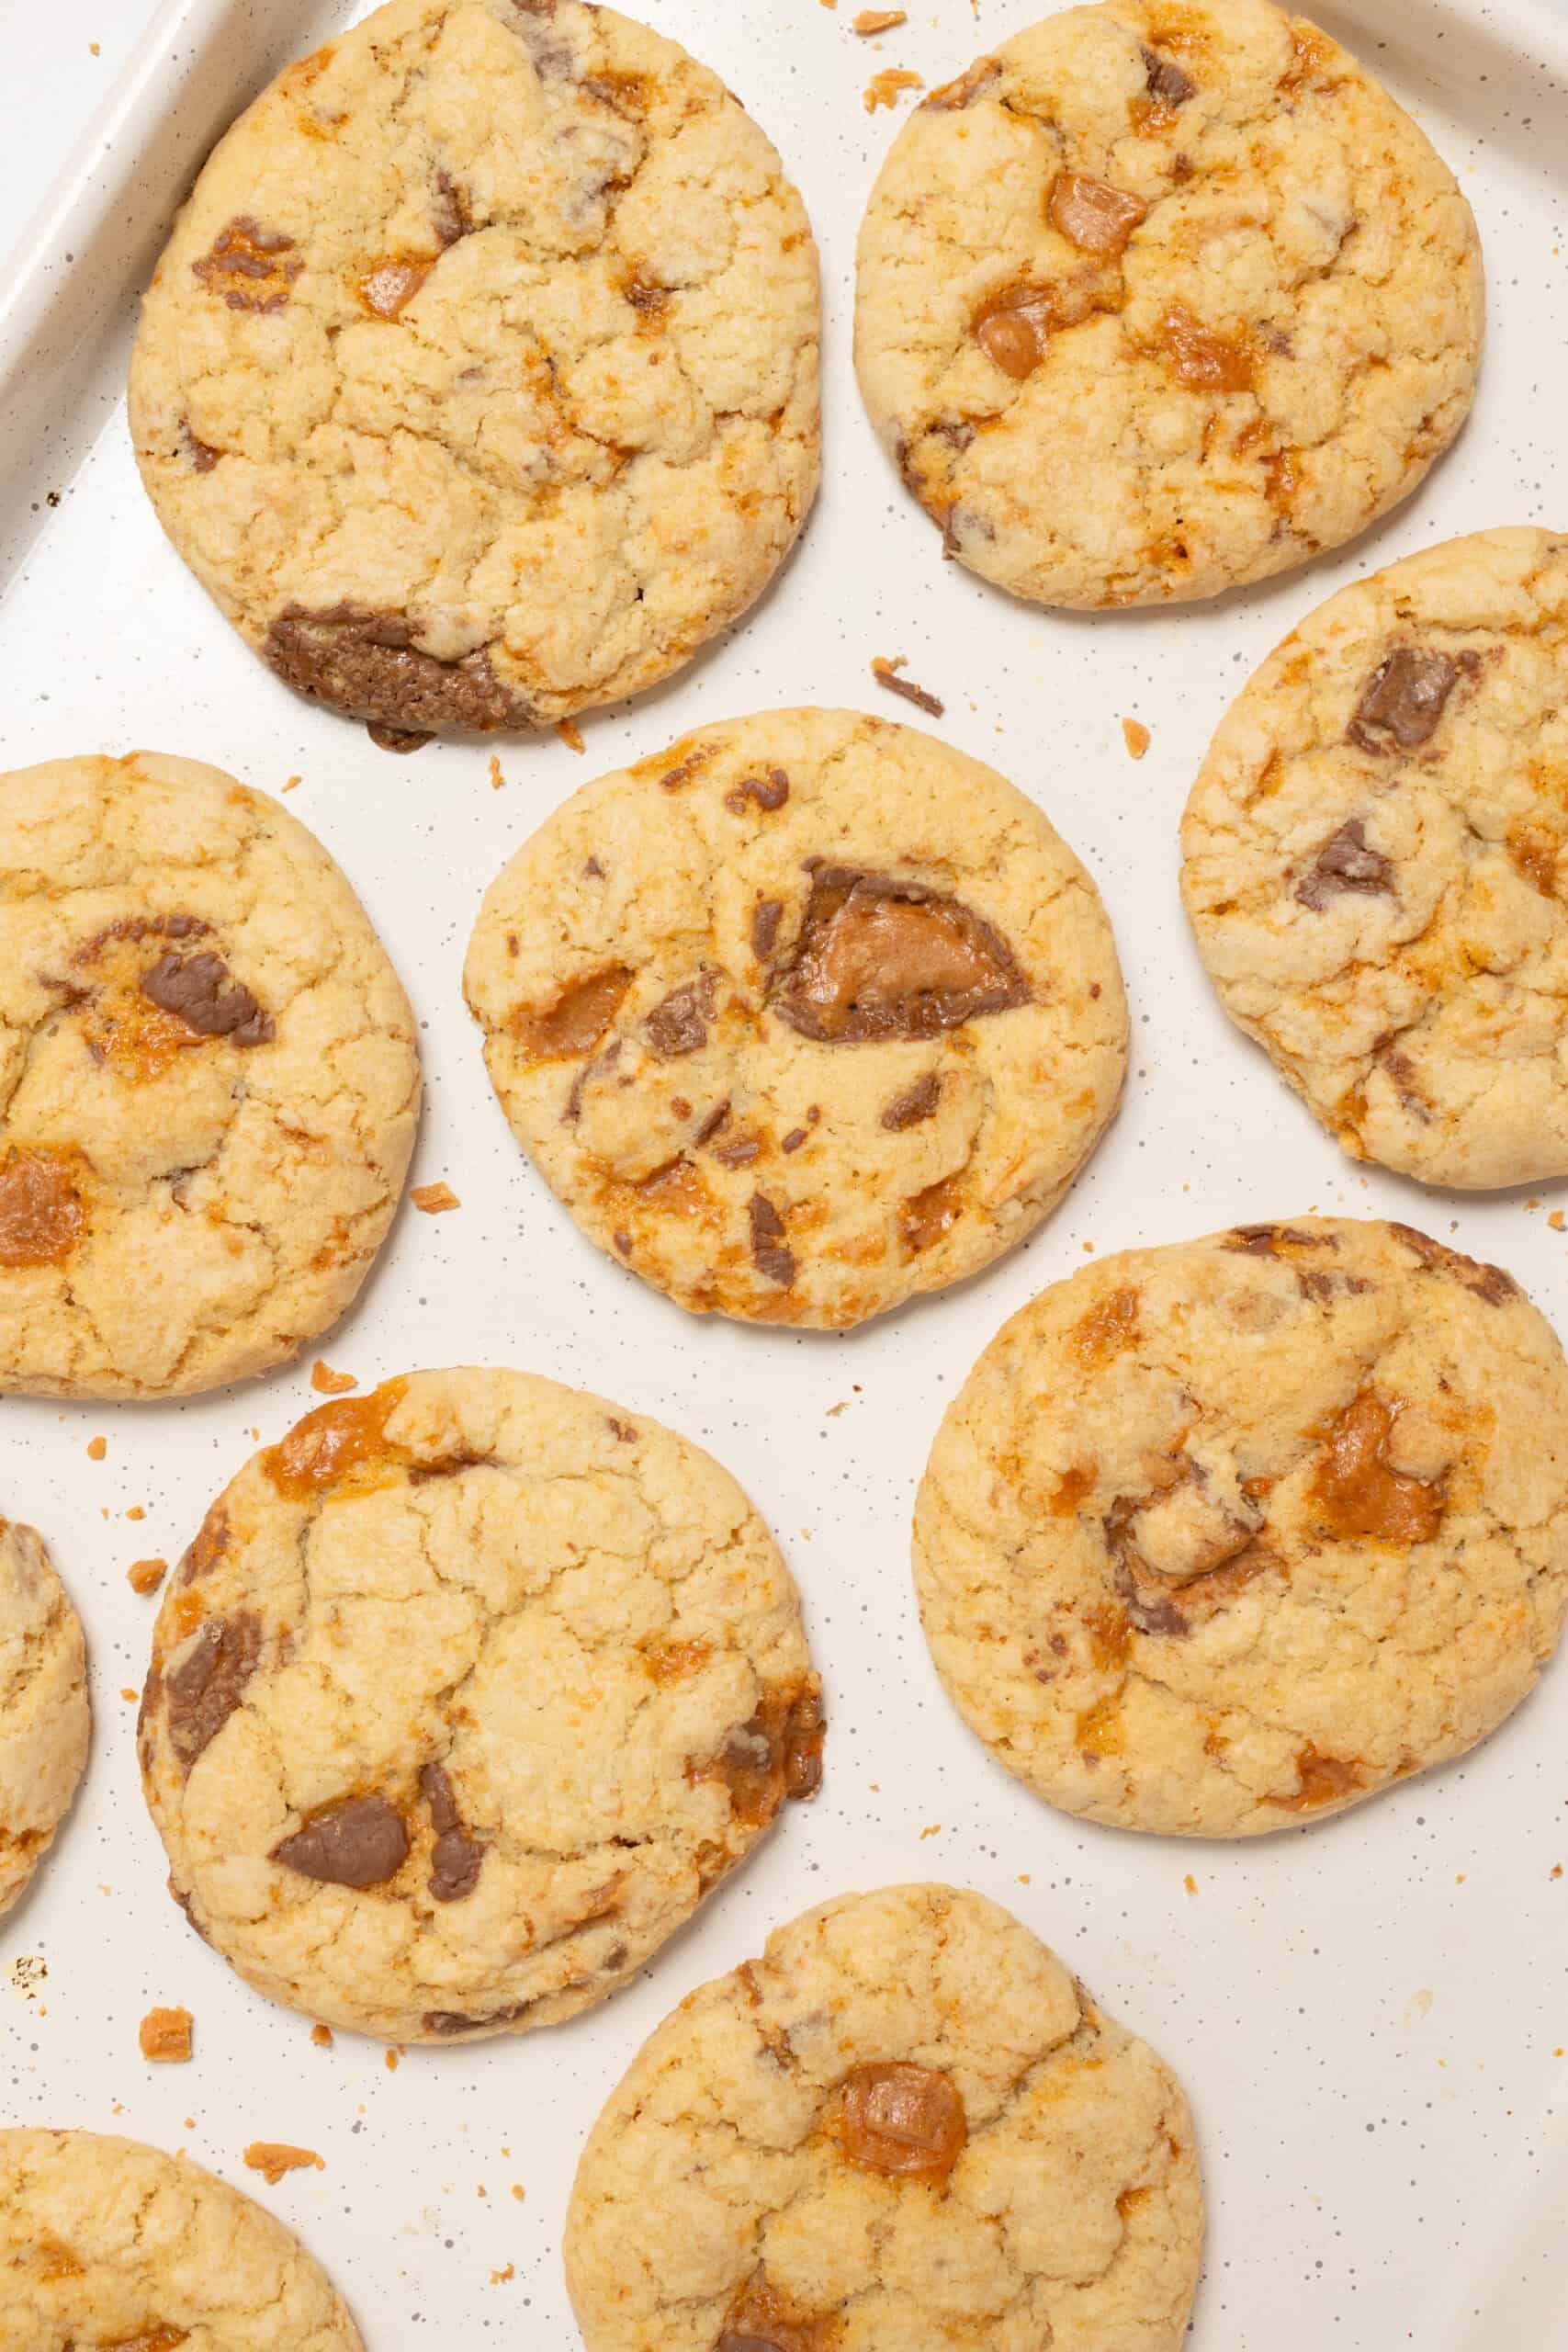
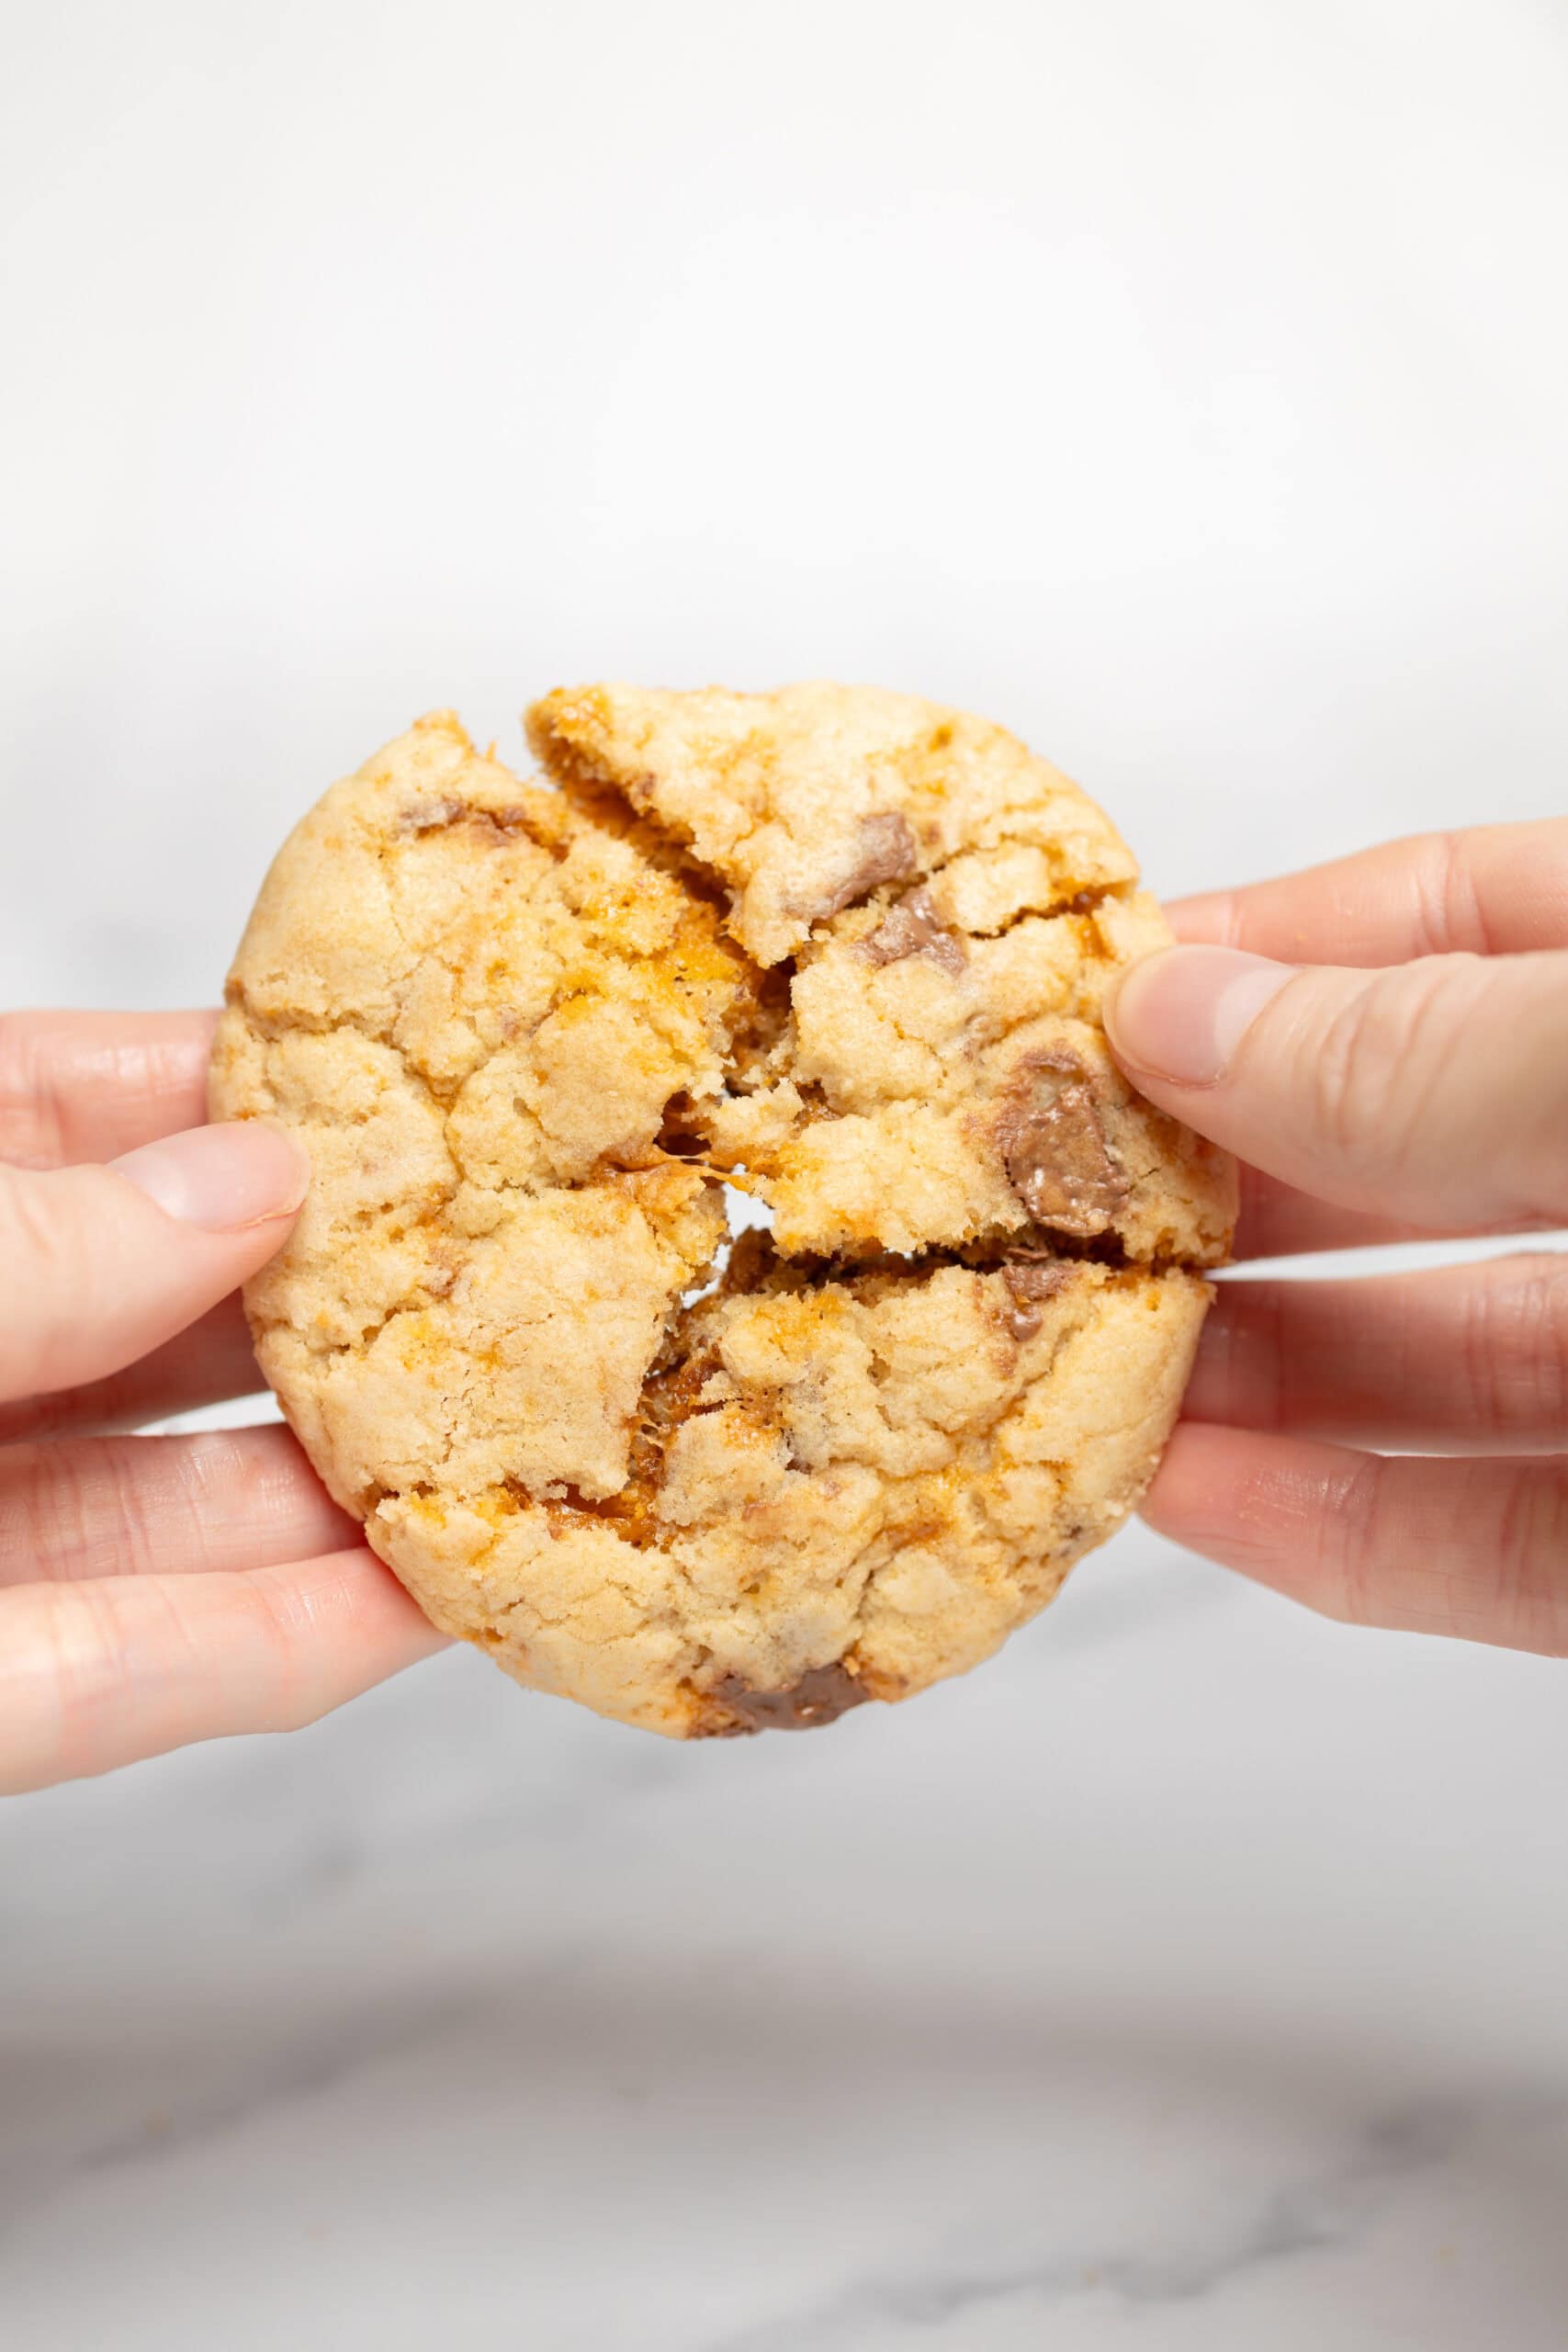
You will love making your own Butterfinger cookies because you can enjoy the classic candy bar flavor in a cookie form. These cookies are easy to make, with no chill time required. While you can certainly make them any time of year, they’re a great treat at Halloween (I’m not judging you if you plunder your kids’ trick or treat haul for the Butterfinger bars you need for this recipe!). The soft, chewy cookie and the buttery, peanutty chocolate bits are a perfect match and make for an irresistible treat.
Pro-tip for round cookies
Even if you use a cookie scoop when doling out the dough onto your baking sheet, you will sometimes get misshapen cookies. If you want bakery-perfect, circular cookies, try this easy hack. In Step 5, towards the end of the 5-minute rest period, take a wide-mouthed drinking glass and place it over the top of a misshapen cookie. Swirl the glass around and the edges of that cookie will correct into a nice circle! Repeat as necessary and then lift the cookies off the baking sheet and onto a cooling rack. Picture-perfect cookies every time!
How do I store leftovers?
Store leftover Butterfinger cookies in an airtight container at room temperature for up to 3 or 4 days. You can also store them in the fridge if you prefer them chilled; they will keep in the fridge for up to 1 week. For longer storage, consider freezing them for up to 3 months. Flash-freeze them first by placing them on a baking sheet and freezing for about 30 minutes. After they’ve hardened up a bit, you can place them in a resealable freezer bag or other freezer-friendly airtight container.
Serving suggestions
These sweet treats are a wonderful after-school snack with a tall glass of milk, or enjoy one with your afternoon tea or coffee. Butterfinger cookies are great for bake sales or potlucks as well, since they pack up and travel easily without breaking or melting. Since Butterfinger candy bars are popular at Halloween, consider serving them at a Halloween party or neighborhood get-together on trick-or-treat night. They go well with other classic seasonal treats like Candy Apples, Halloween Cookies, or Air-Fryer Pumpkin Seeds (for a little savory with the sweet).

Butterfinger Cookies
Ingredients
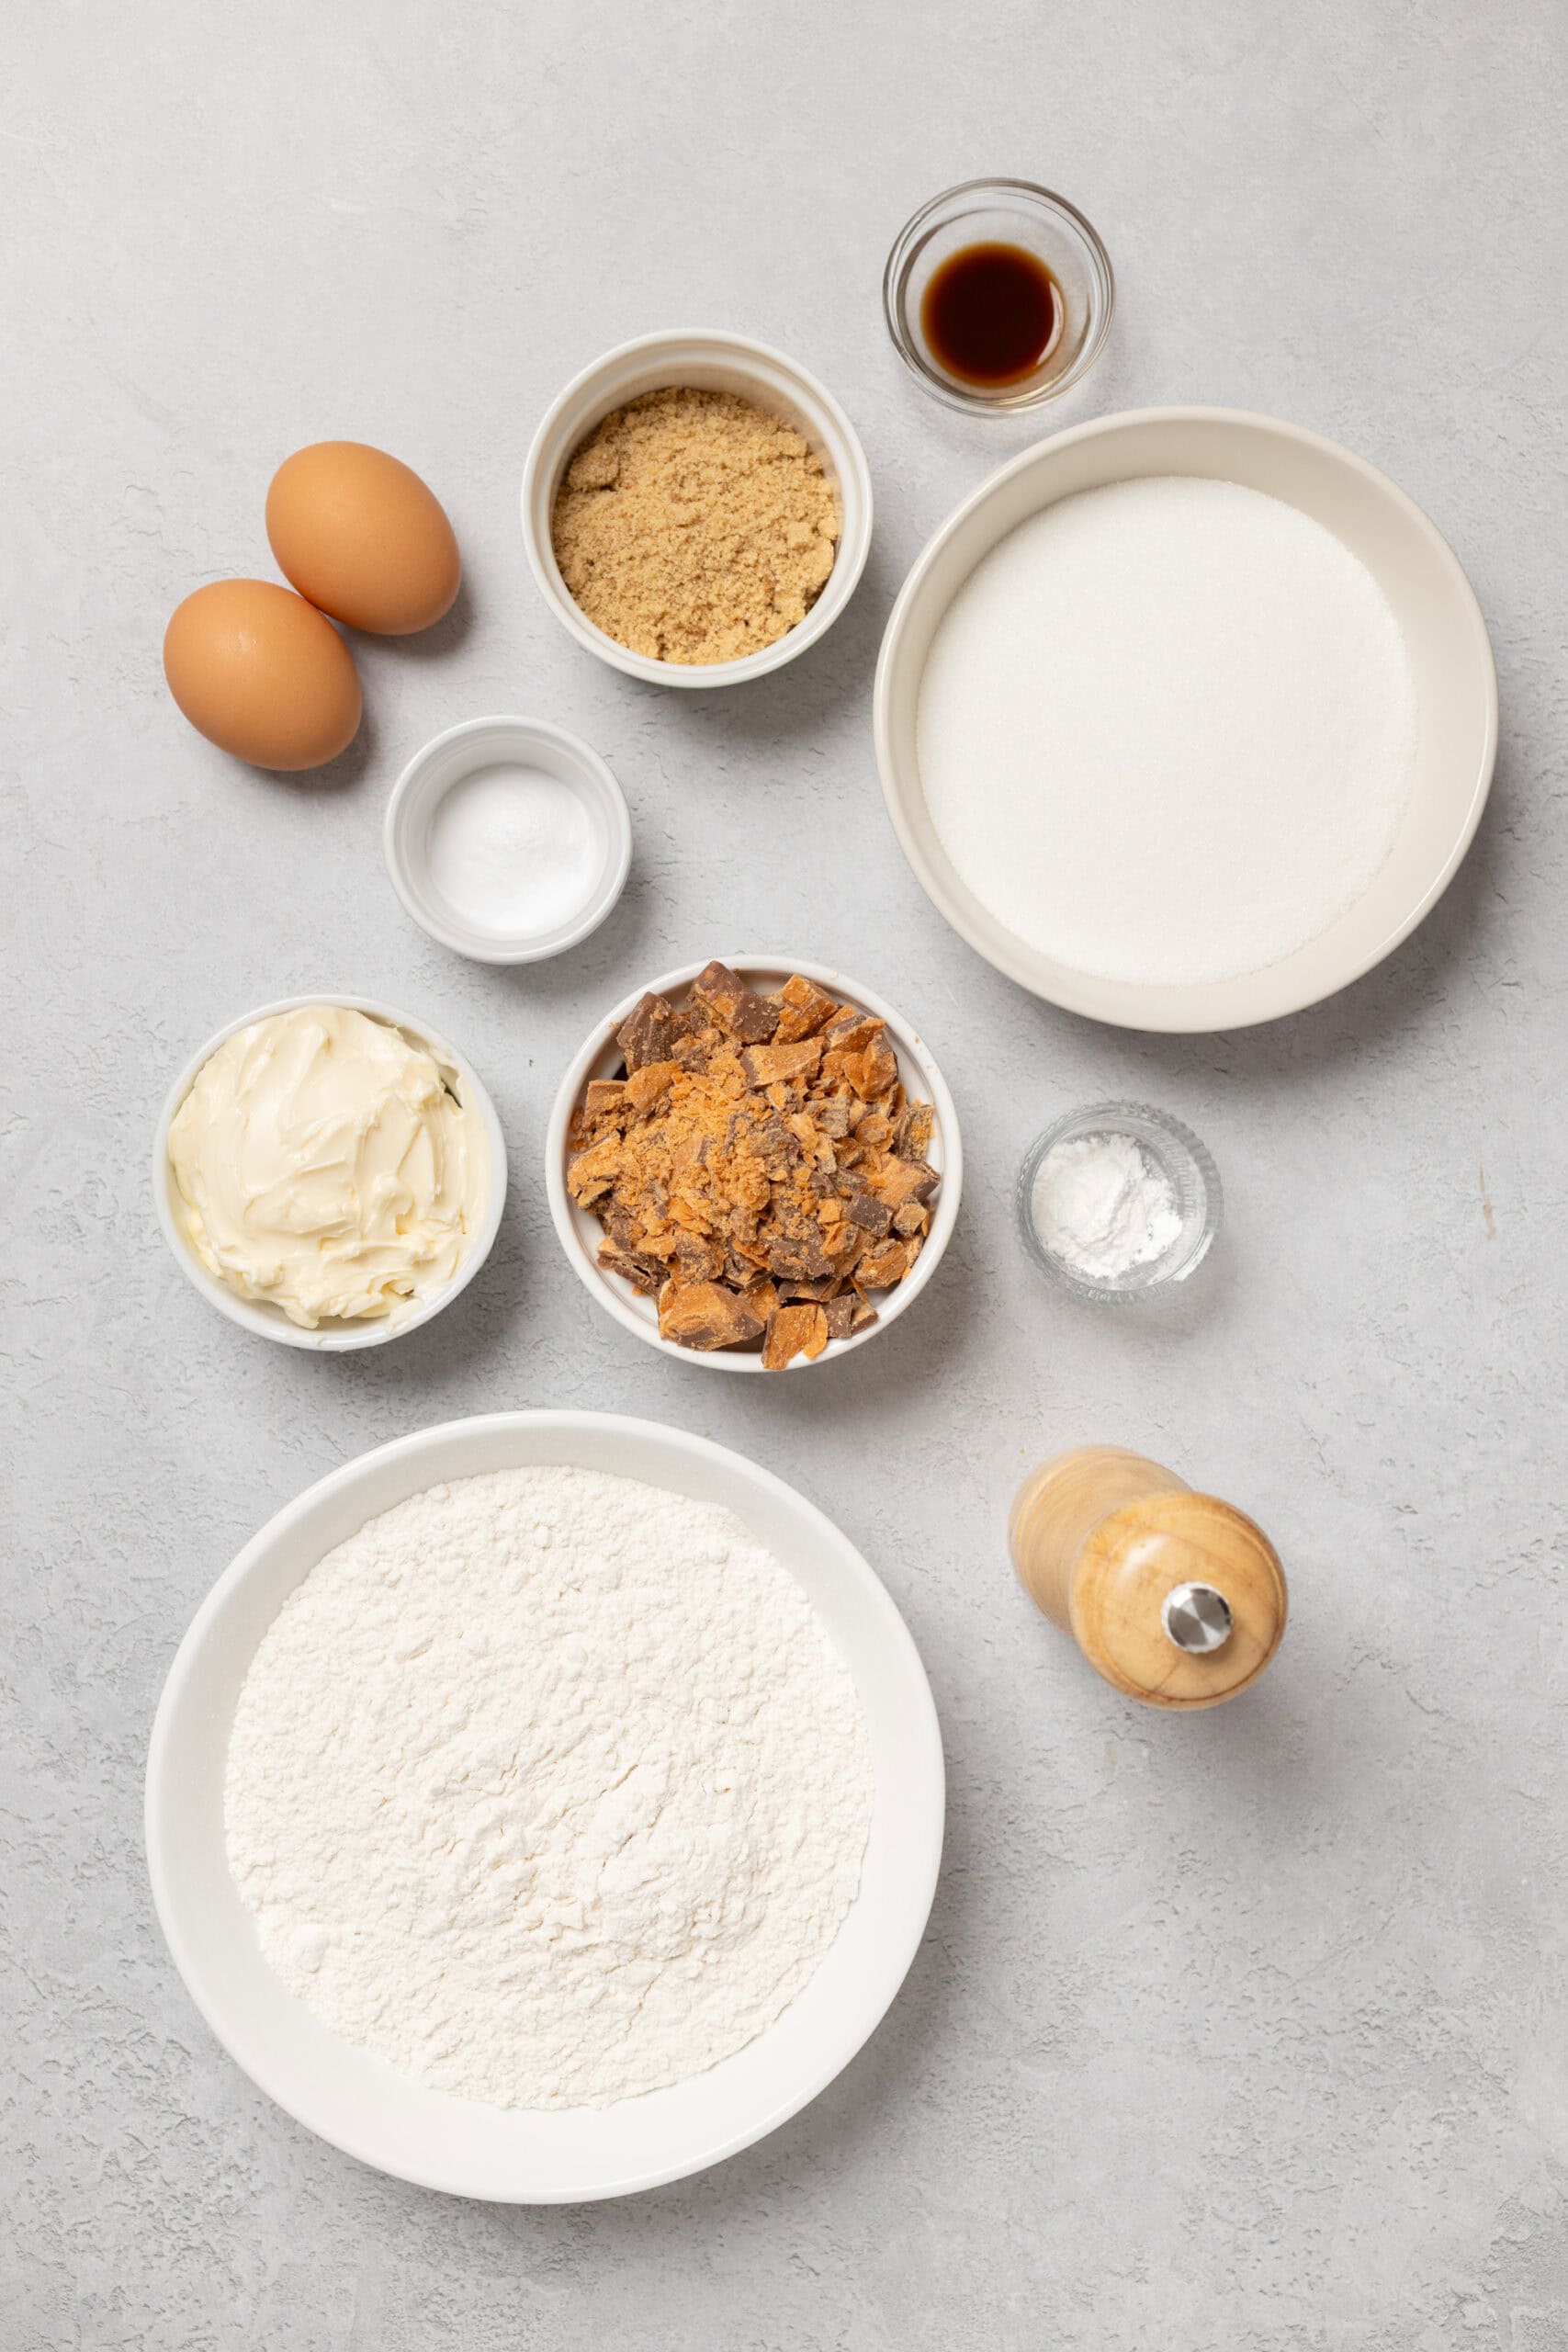
- 2/3 cup unsalted butter softened
- 1/4 cup brown sugar
- 1 1/4 cups granulated sugar
- 2 large eggs at room temperature
- 1 teaspoon vanilla extract
- 2 2/3 cups all-purpose flour spooned and leveled
- 3/4 teaspoon baking soda
- 1/2 teaspoon baking powder
- 1/4 teaspoon salt
- 4 standard size Butterfinger candy bars about 1.9 ounces each, chopped
Instructions
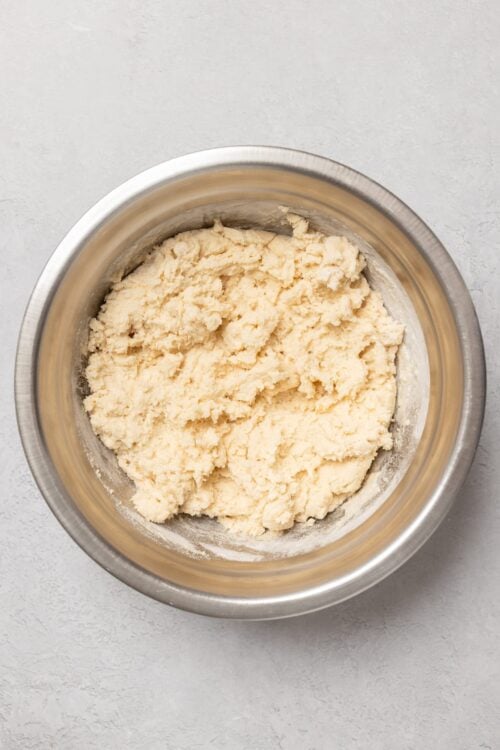
- Preheat your oven to 350°F. In a large bowl, beat the softened butter, brown sugar, and granulated sugar until the mixture is light and fluffy. Add the eggs and vanilla extract; mix until well combined.

- In a separate bowl, combine the flour, baking soda, baking powder, and salt. Gradually add the dry ingredients to the wet mixture until just mixed; be careful not to overmix.
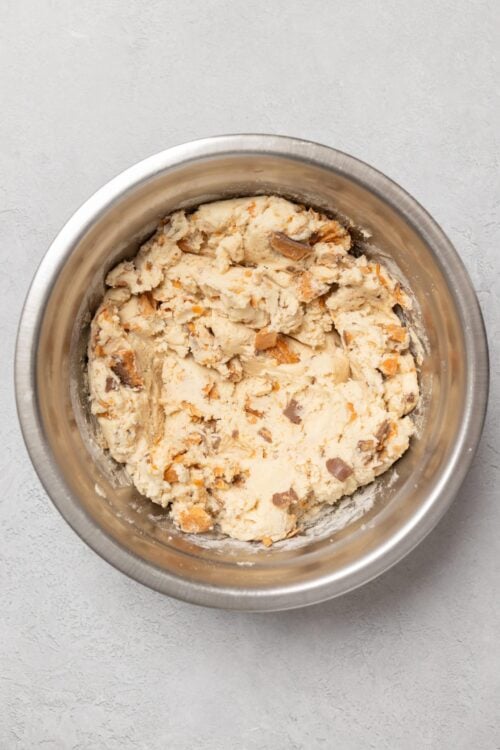
- Gently fold in the chopped Butterfinger pieces until they are evenly distributed throughout the dough.
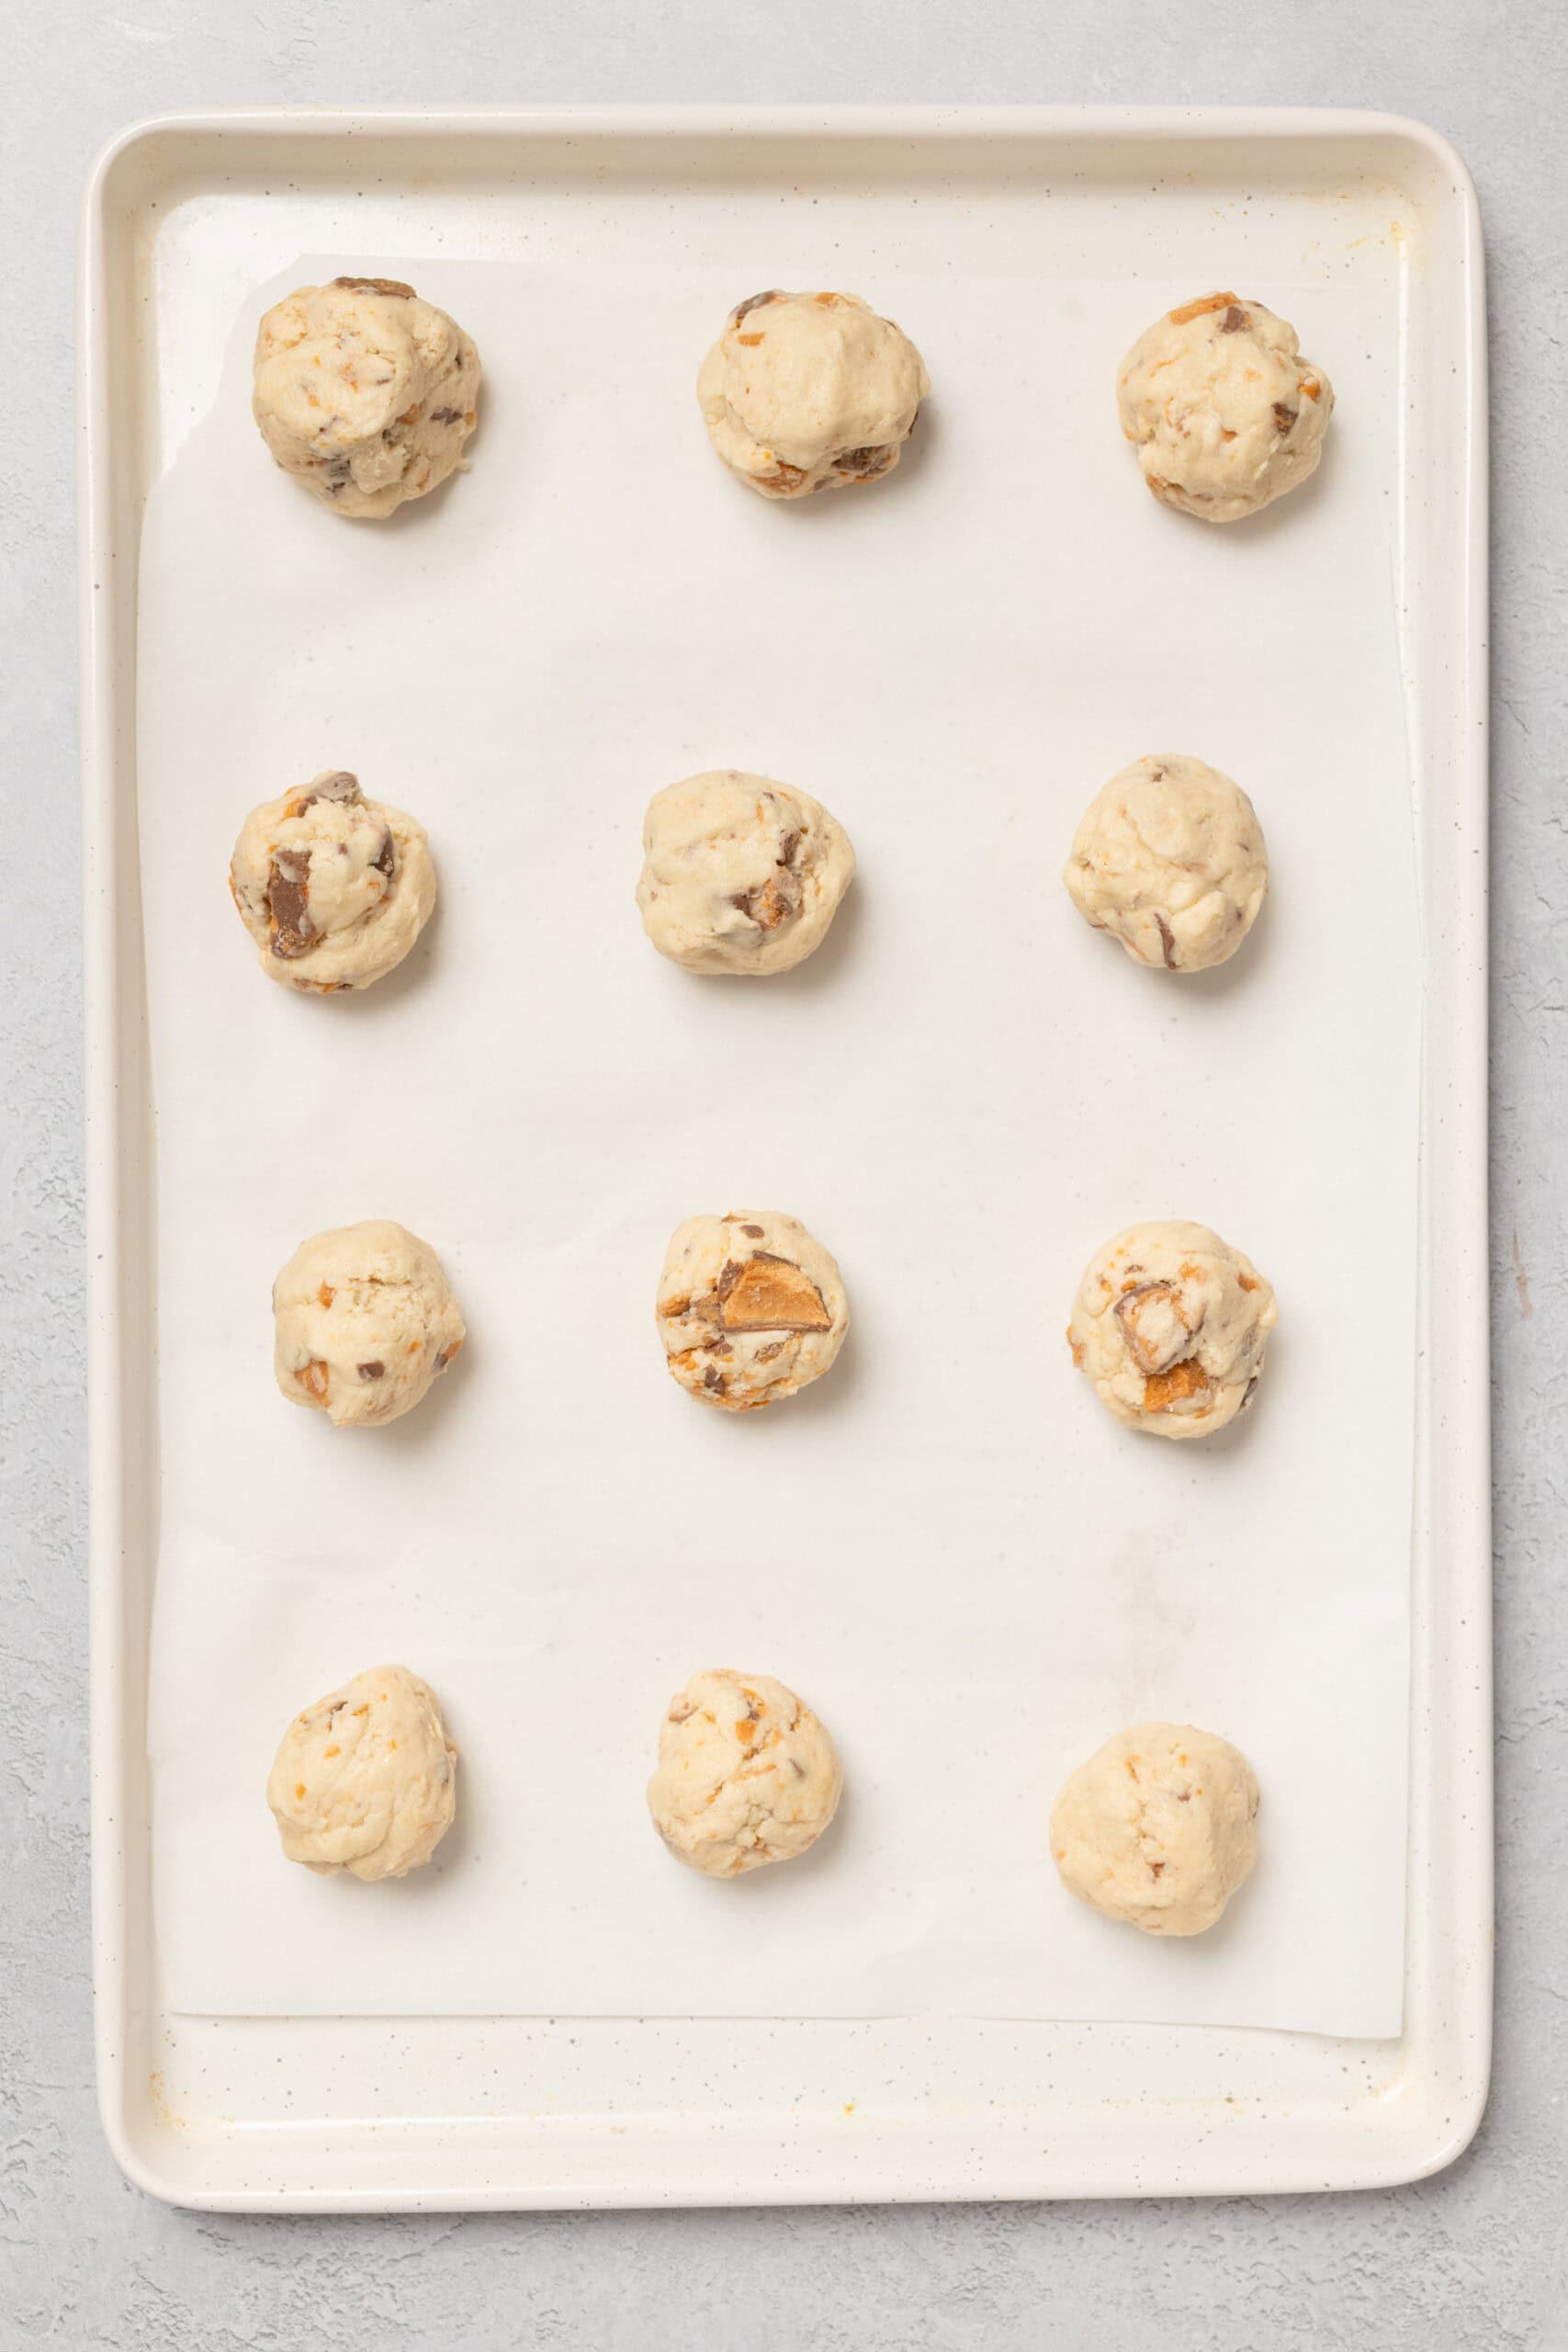
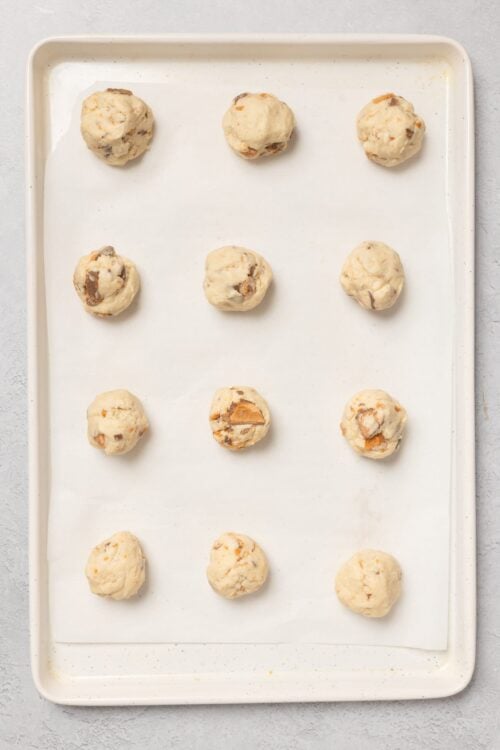
- Using a heaping teaspoon, drop balls of dough onto a baking sheet lined with parchment paper, spacing them at least 2 inches apart. Bake for 12 to 15 minutes, or until the edges are set and lightly browned.
- Allow the cookies to cool on the sheet for 5 minutes before transferring them to a wire rack to cool completely.
Leave a Comment