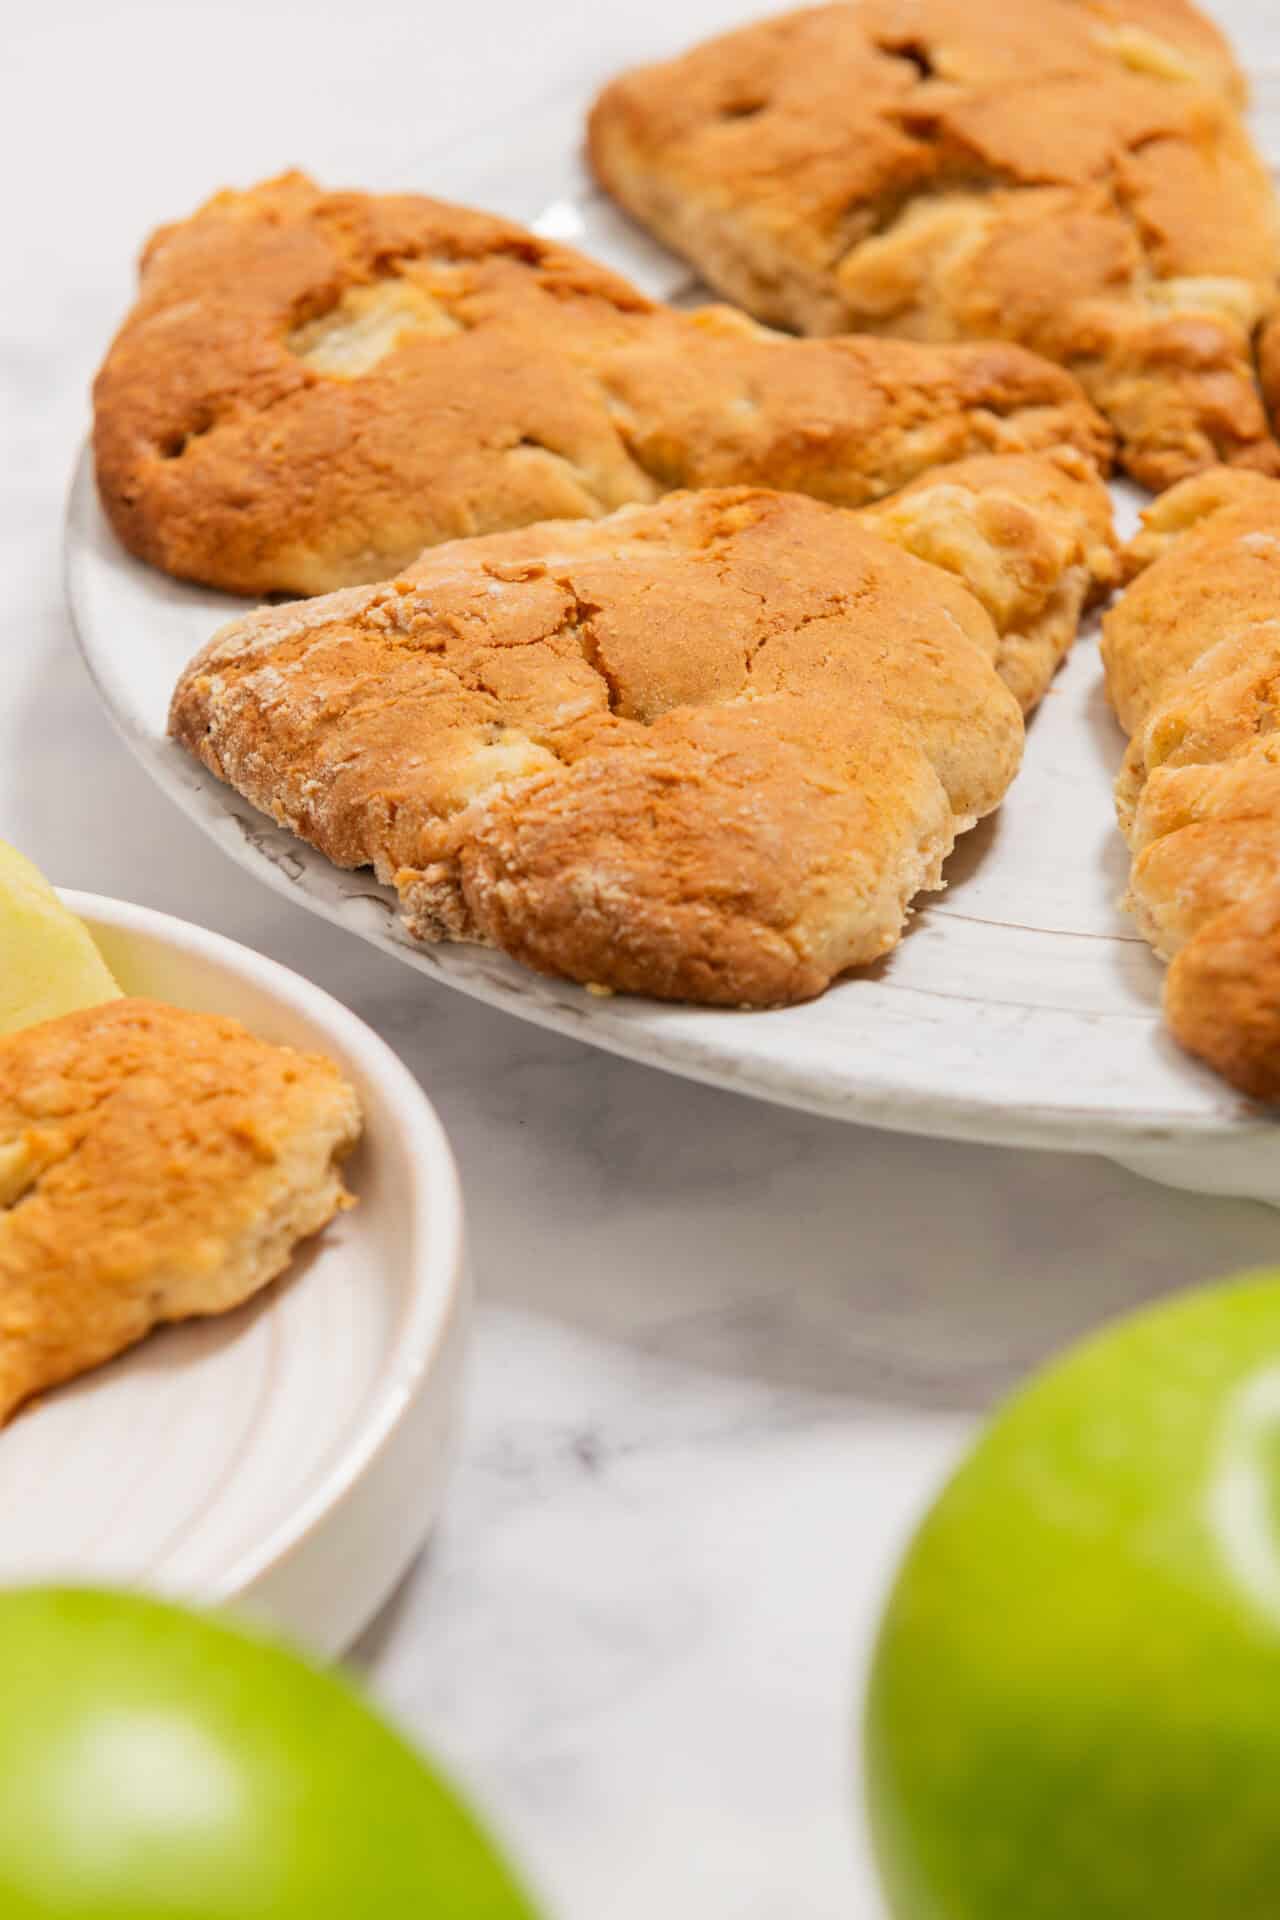
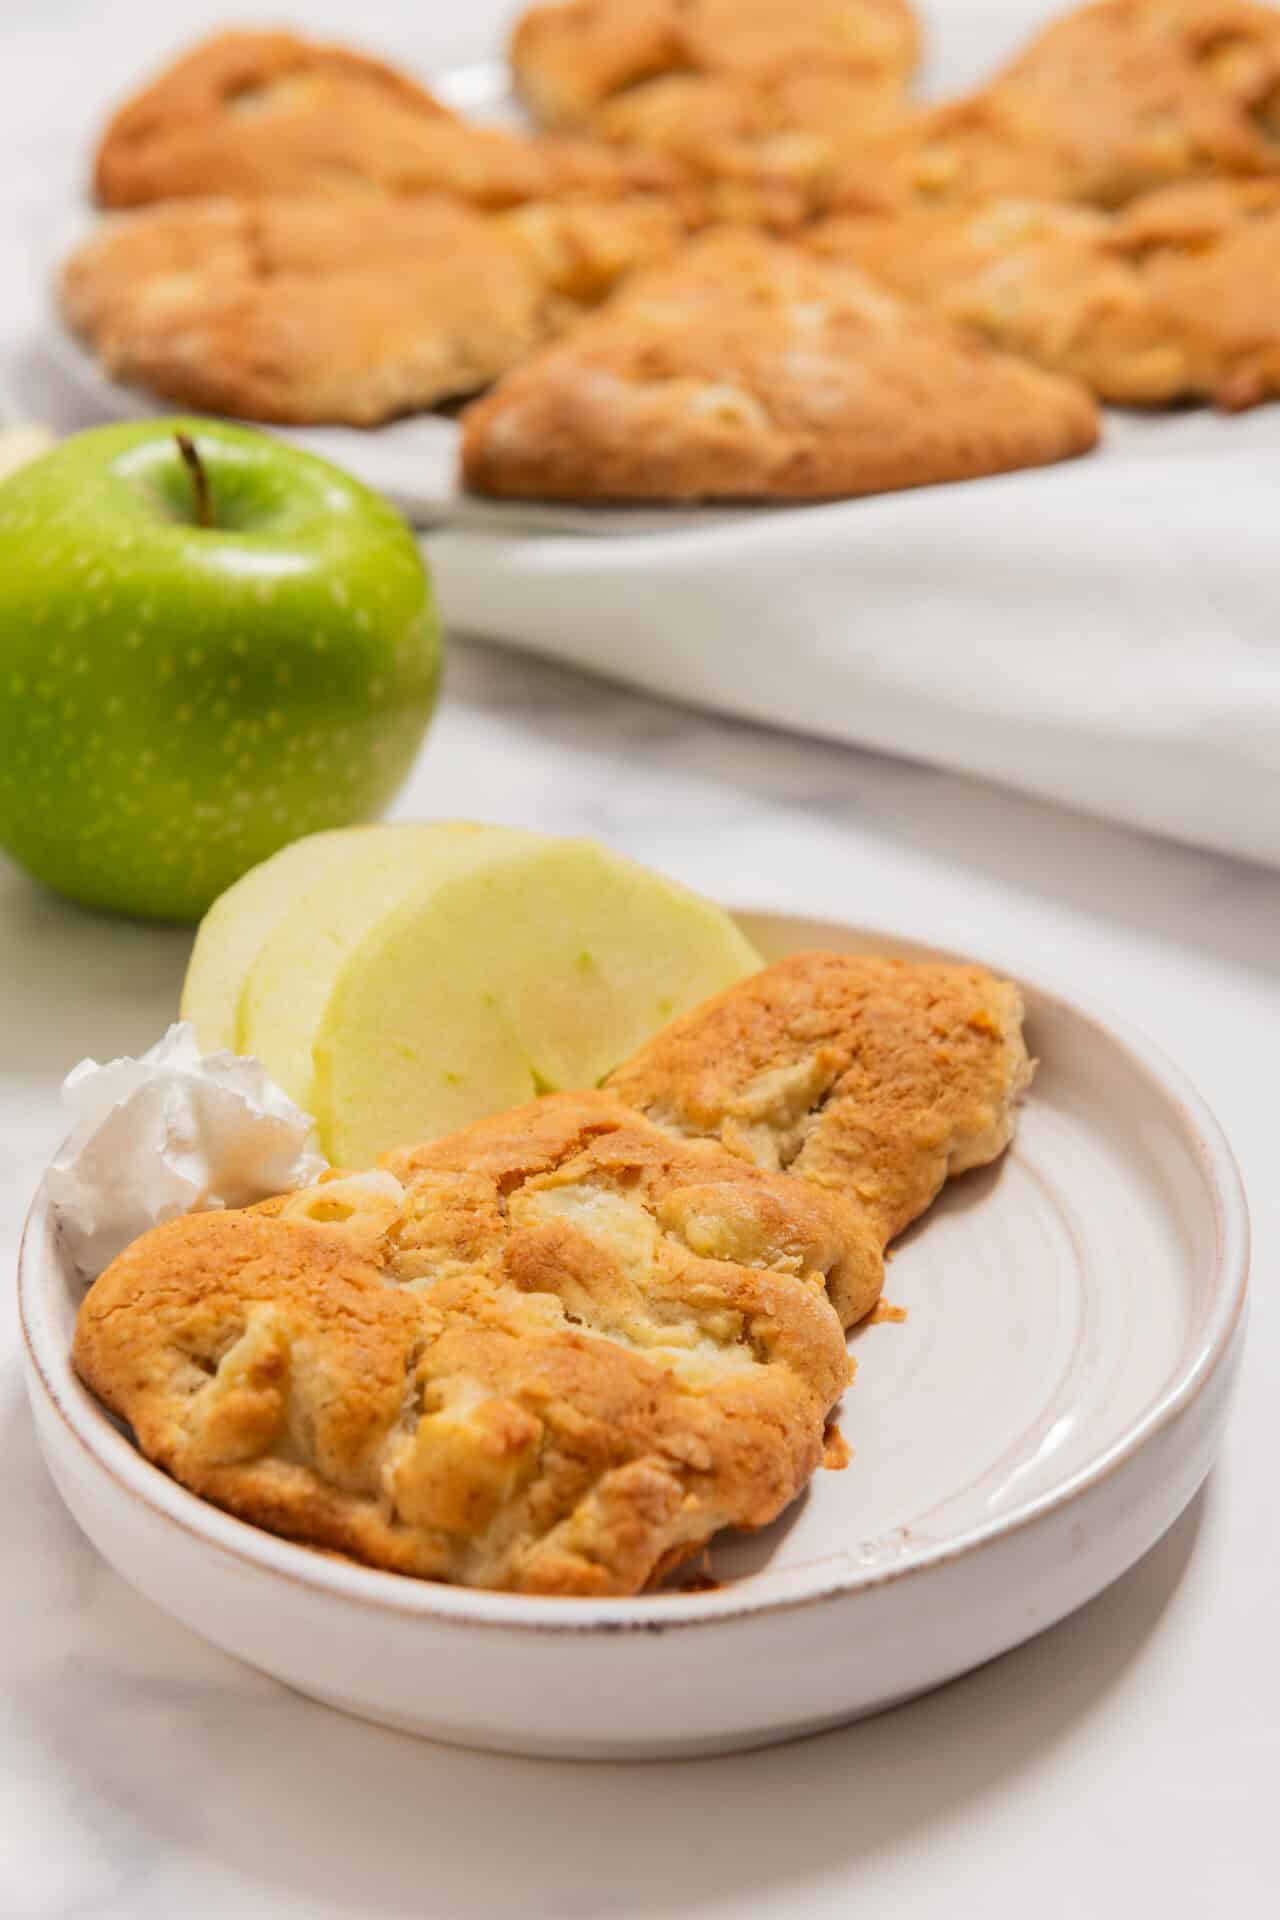
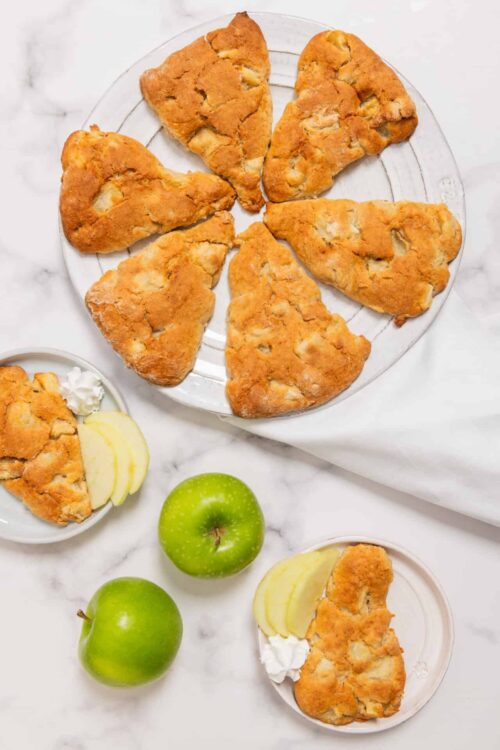
A good book, a cup of tea, and these Apple Scones are all you need for an autumn-inspired treat.
You may be familiar with the phrase “as American as apple pie,” but you’ll find that apple scones blend the whimsy of a British afternoon tea with the tart, sweet, flaky pastry of America’s classic dessert. I’m reminded of my first-ever tea time experience during my honeymoon with my husband in London, where we were treated to a tiered selection of sweet biscuits, clotted cream, finger sandwiches, and, of course, delicious fruit scones. The classic fall touch of cinnamon and apple transports me back to this rainy day, but the memory can be enjoyed year-round.
If you’re unfamiliar with the tradition of afternoon tea, you may enjoy this little break in your day to unwind and relax. Scones originated in Scotland, centuries before the British took to tea time (the 1500s to be exact). The tasty little pastries were originally prepared on hot griddles and continue to be a staple across the United Kingdom to this day. You’ll see scones take on many flavors and personalities across the countries, from the traditional plain scone with cream to blueberry, cherry, or chocolate varieties—you name it, and you’ll find it in just about any café and coffee shop.
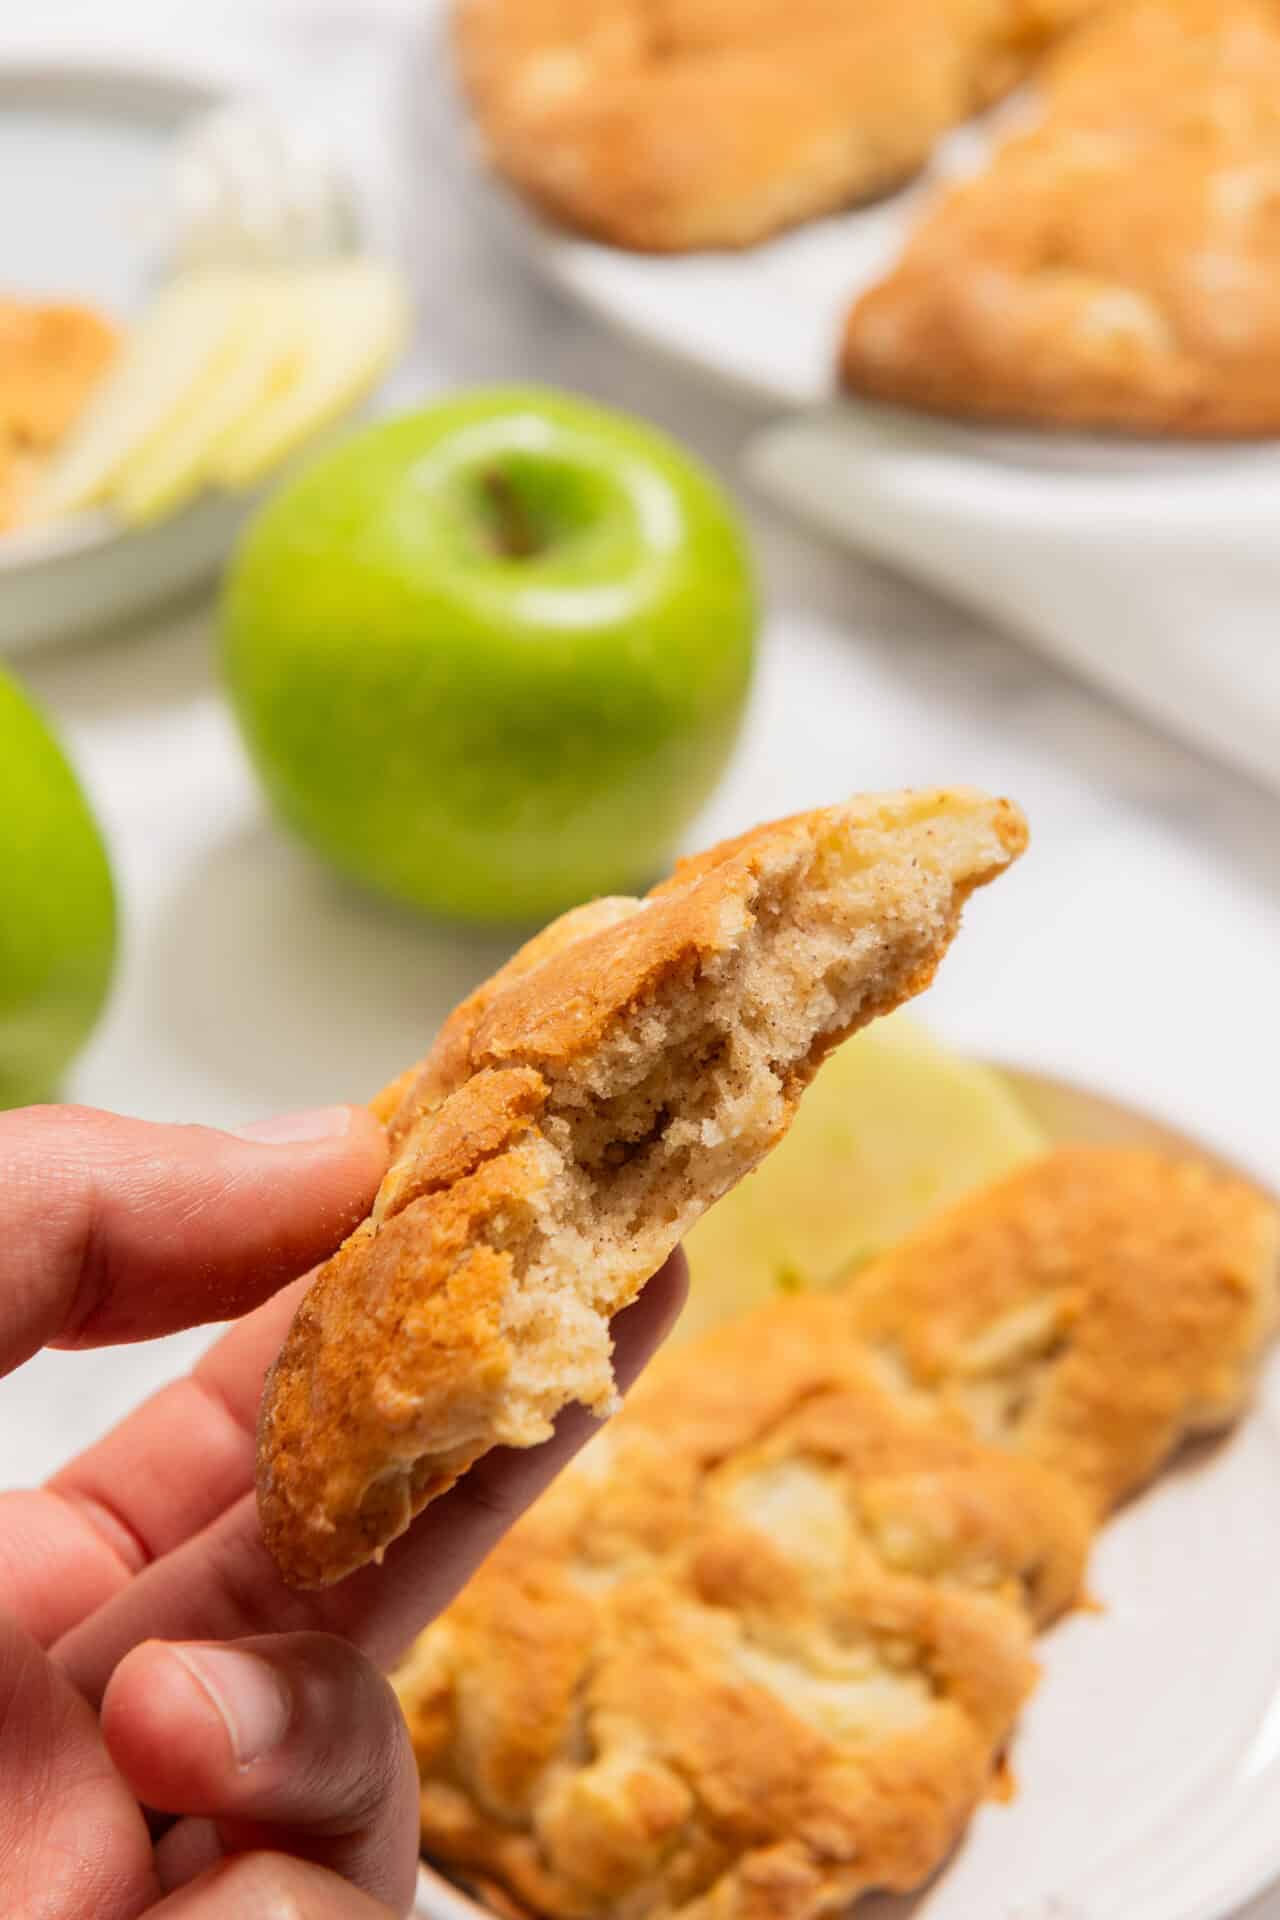
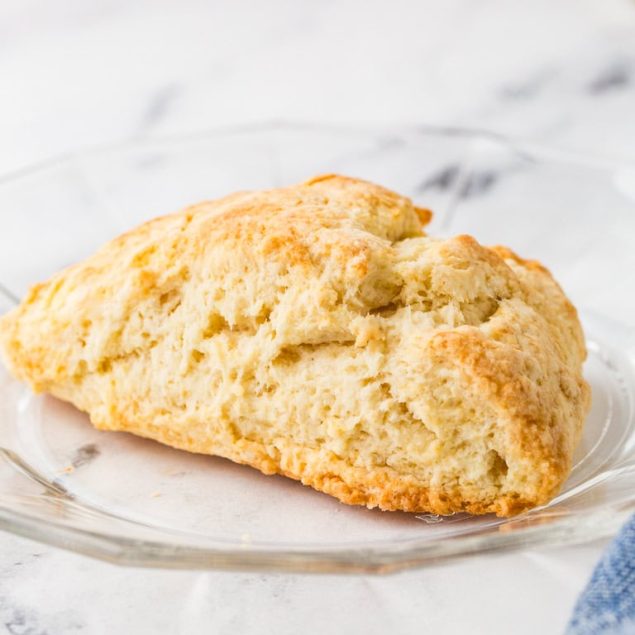
These scones feature a juicy apple bite. The dessert itself has a crispy edge that you won’t be able to resist dipping into your favorite coffee or tea. By balancing the right combination of sweet and buttery, this treat is a perfect way to start your day or perk up your afternoon. Not to mention, you’ll be able to skip waiting in line at your favorite bakery.
The top tip for flaky scones
I get it, making your own pastry—particularly a homemade dough—can be intimidating. The key to a great flaky dough starts with cold butter. You can take it a step further by chilling your bowl and pastry cutter in the freezer as well; the colder you can keep the dough as you prepare it, the flakier your result will be.
Why is this? When the pastry is baking, the water in the solid butter turns to steam. This steam is expelled from the dough, separating the layers and creating a flaky finish. You won’t get this result if the butter is softened or melted, so be sure to stick with cold.
How do I store leftovers?
Apple scones taste best when they’re fresh from the oven, but leftovers keep well if stored properly. I don’t like to keep them in the fridge; they tend to dry out. Instead, you can keep them in an airtight container at room temperature for up to 2 days. For longer storage, freeze them on a baking sheet, then transfer them to a freezer-safe bag for up to 2 months.
Serving suggestions
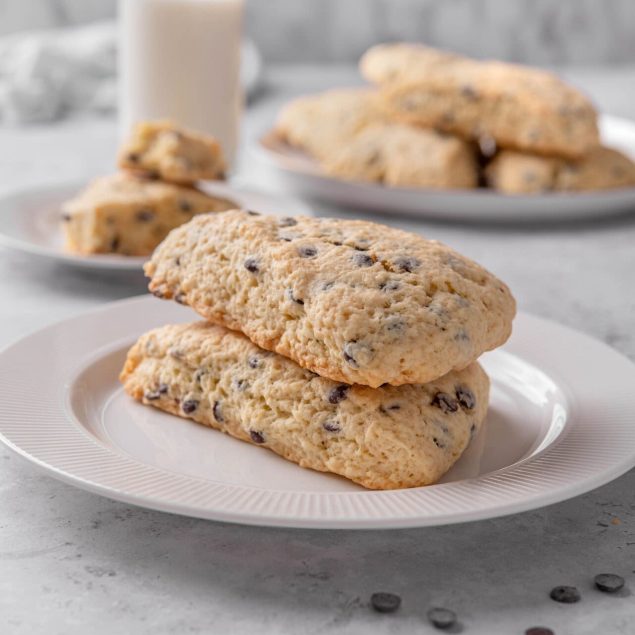
Grab your scone as a quick breakfast on your way out the door, or enjoy it as a nice break in your day. Of course, you can have a cup of hot tea or coffee along with it. Want to try even more fun flavors of this simple treat? Try these Chocolate Scones, these Strawberry Scones, or these Blueberry-Lemon Scones With Lemon Glaze.

Apple Scones
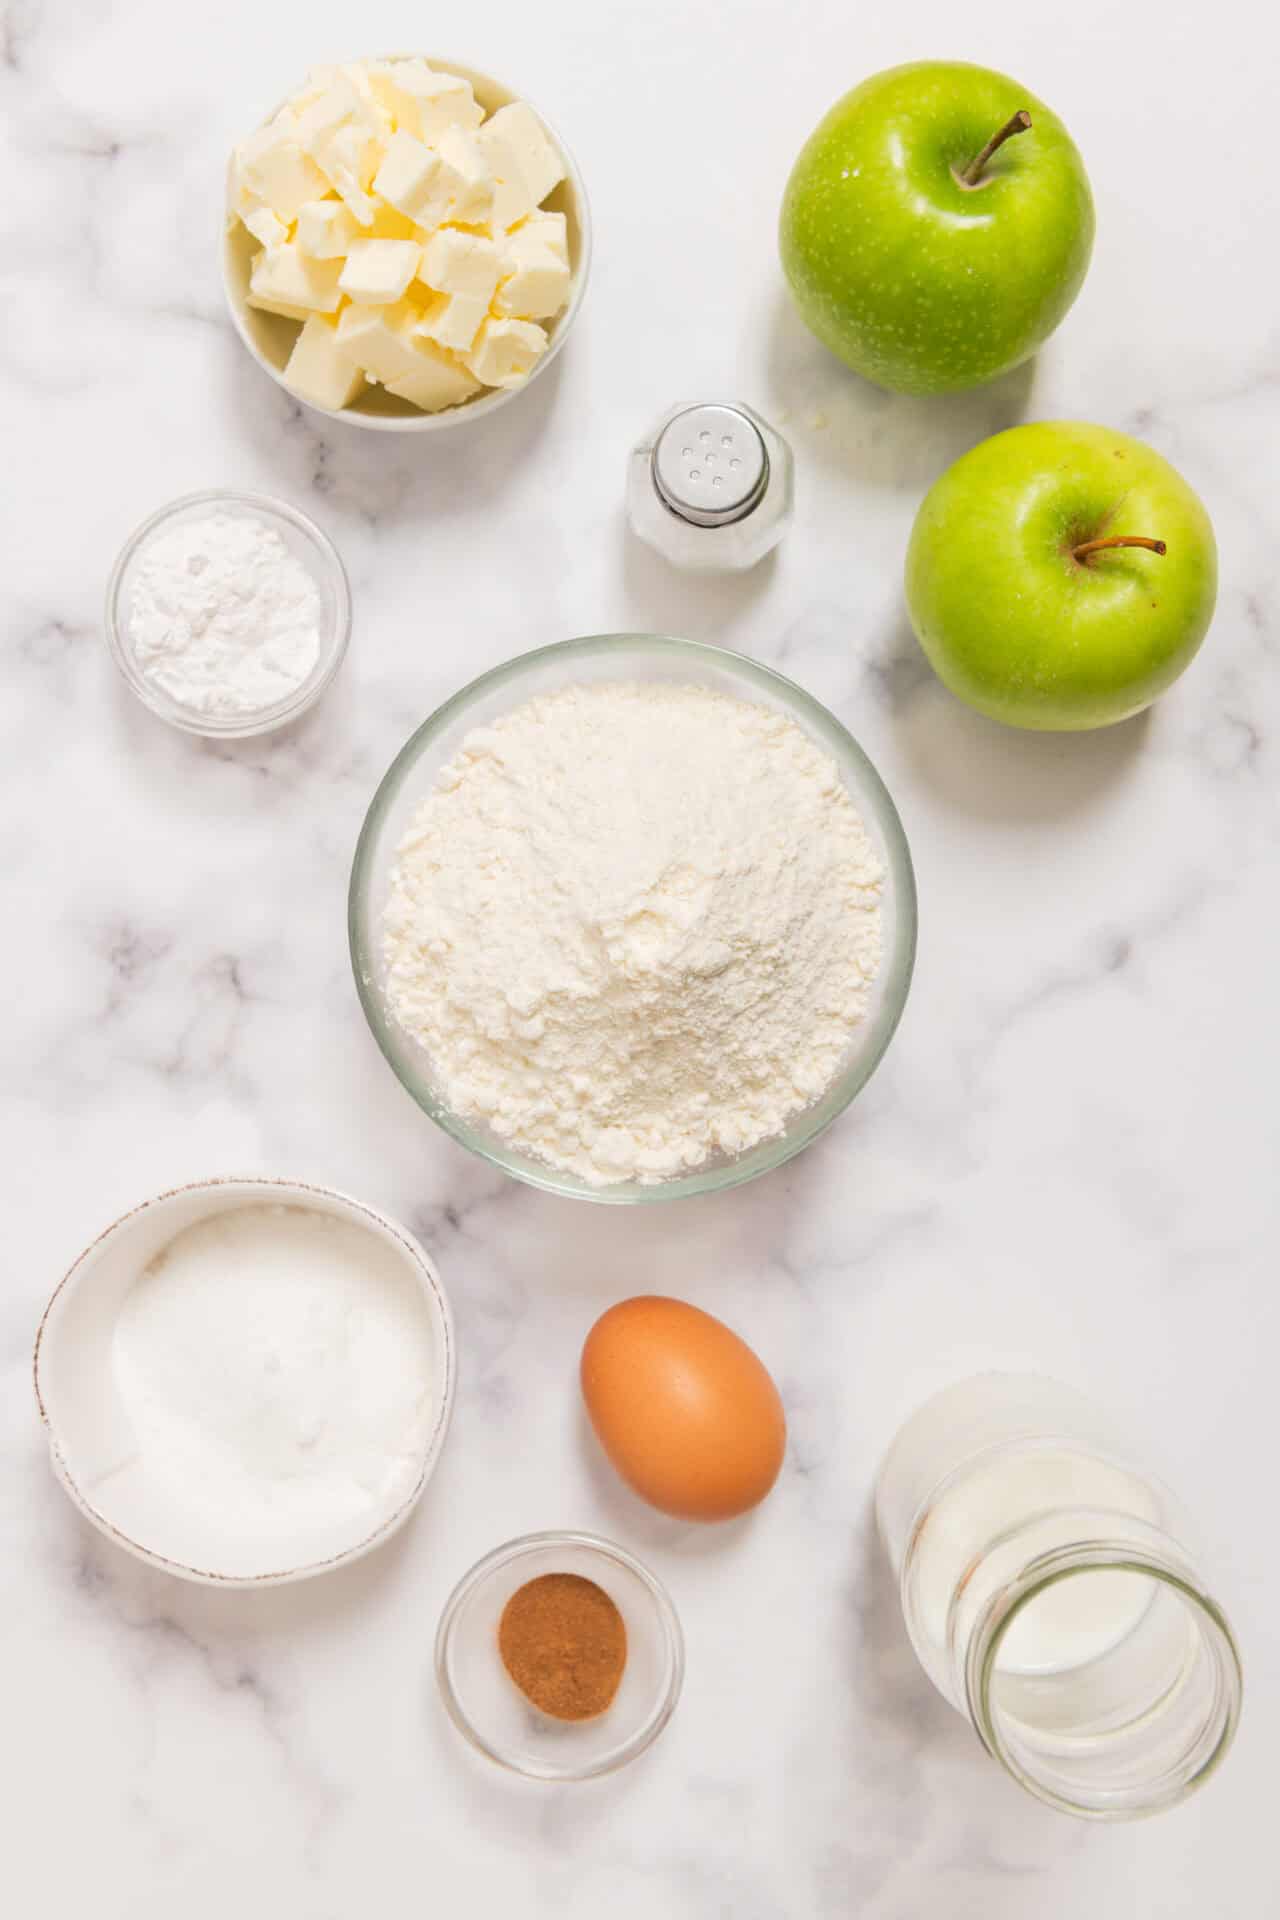
Ingredients
- 2 cups all-purpose flour
- 1/3 cup granulated sugar
- 1 tablespoon baking powder
- 1/2 teaspoon ground cinnamon
- 1/2 teaspoon salt
- 8 tablespoons unsalted butter cold and cubed
- 1 large egg
- 1/2 cup whole milk
- 1 cup tart apples peeled and diced (such as Granny Smith)
Instructions
- Preheat oven to 425°F and line a baking sheet with parchment paper.
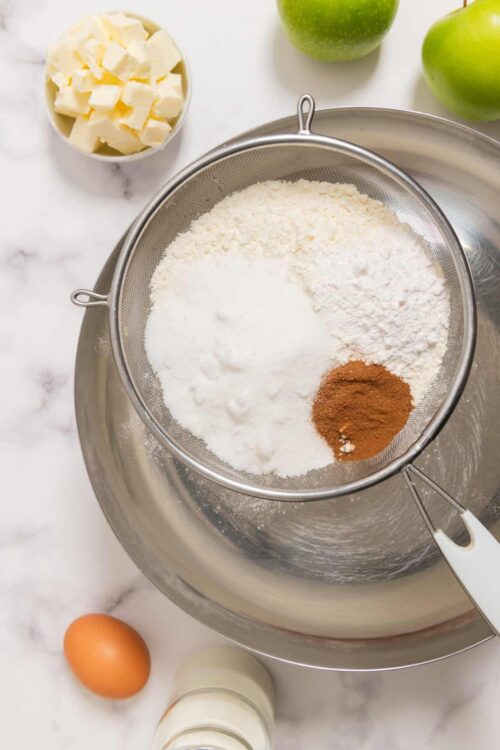
- In a large bowl, whisk together flour, sugar, baking powder, cinnamon, and salt.
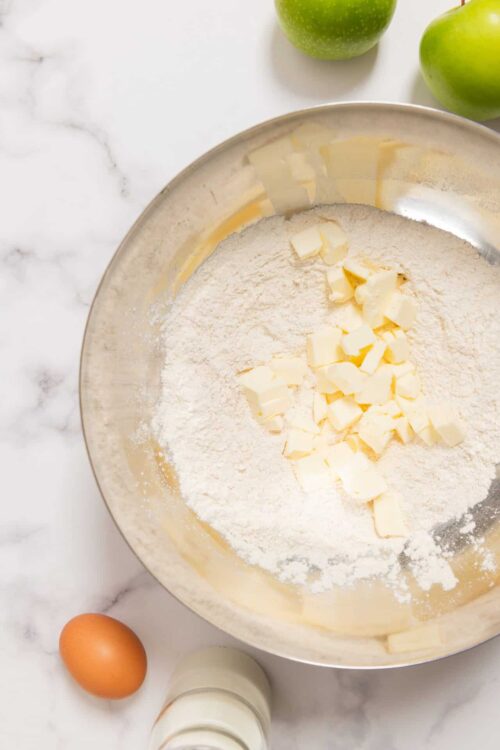
- Add cold, cubed butter to the dry ingredients. Using a pastry cutter or your fingers, work the butter into the mixture until it resembles coarse crumbs.
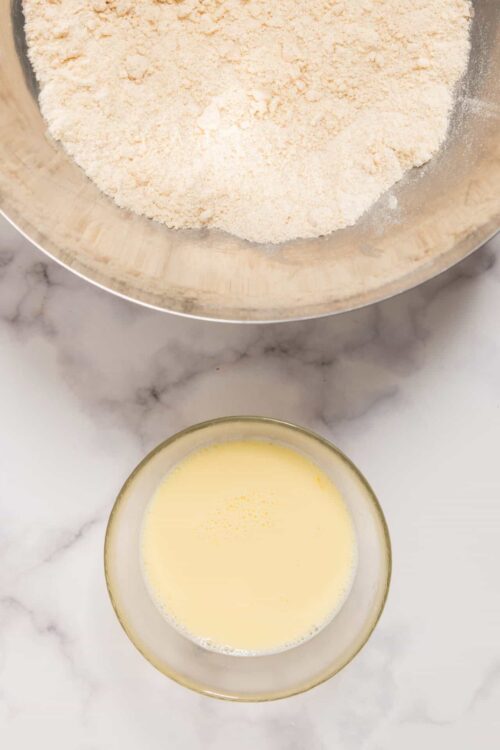
- In a small bowl, beat the egg and mix with milk. Pour into the flour mixture and stir until just combined.
- Fold in the diced apples until evenly distributed throughout the dough.
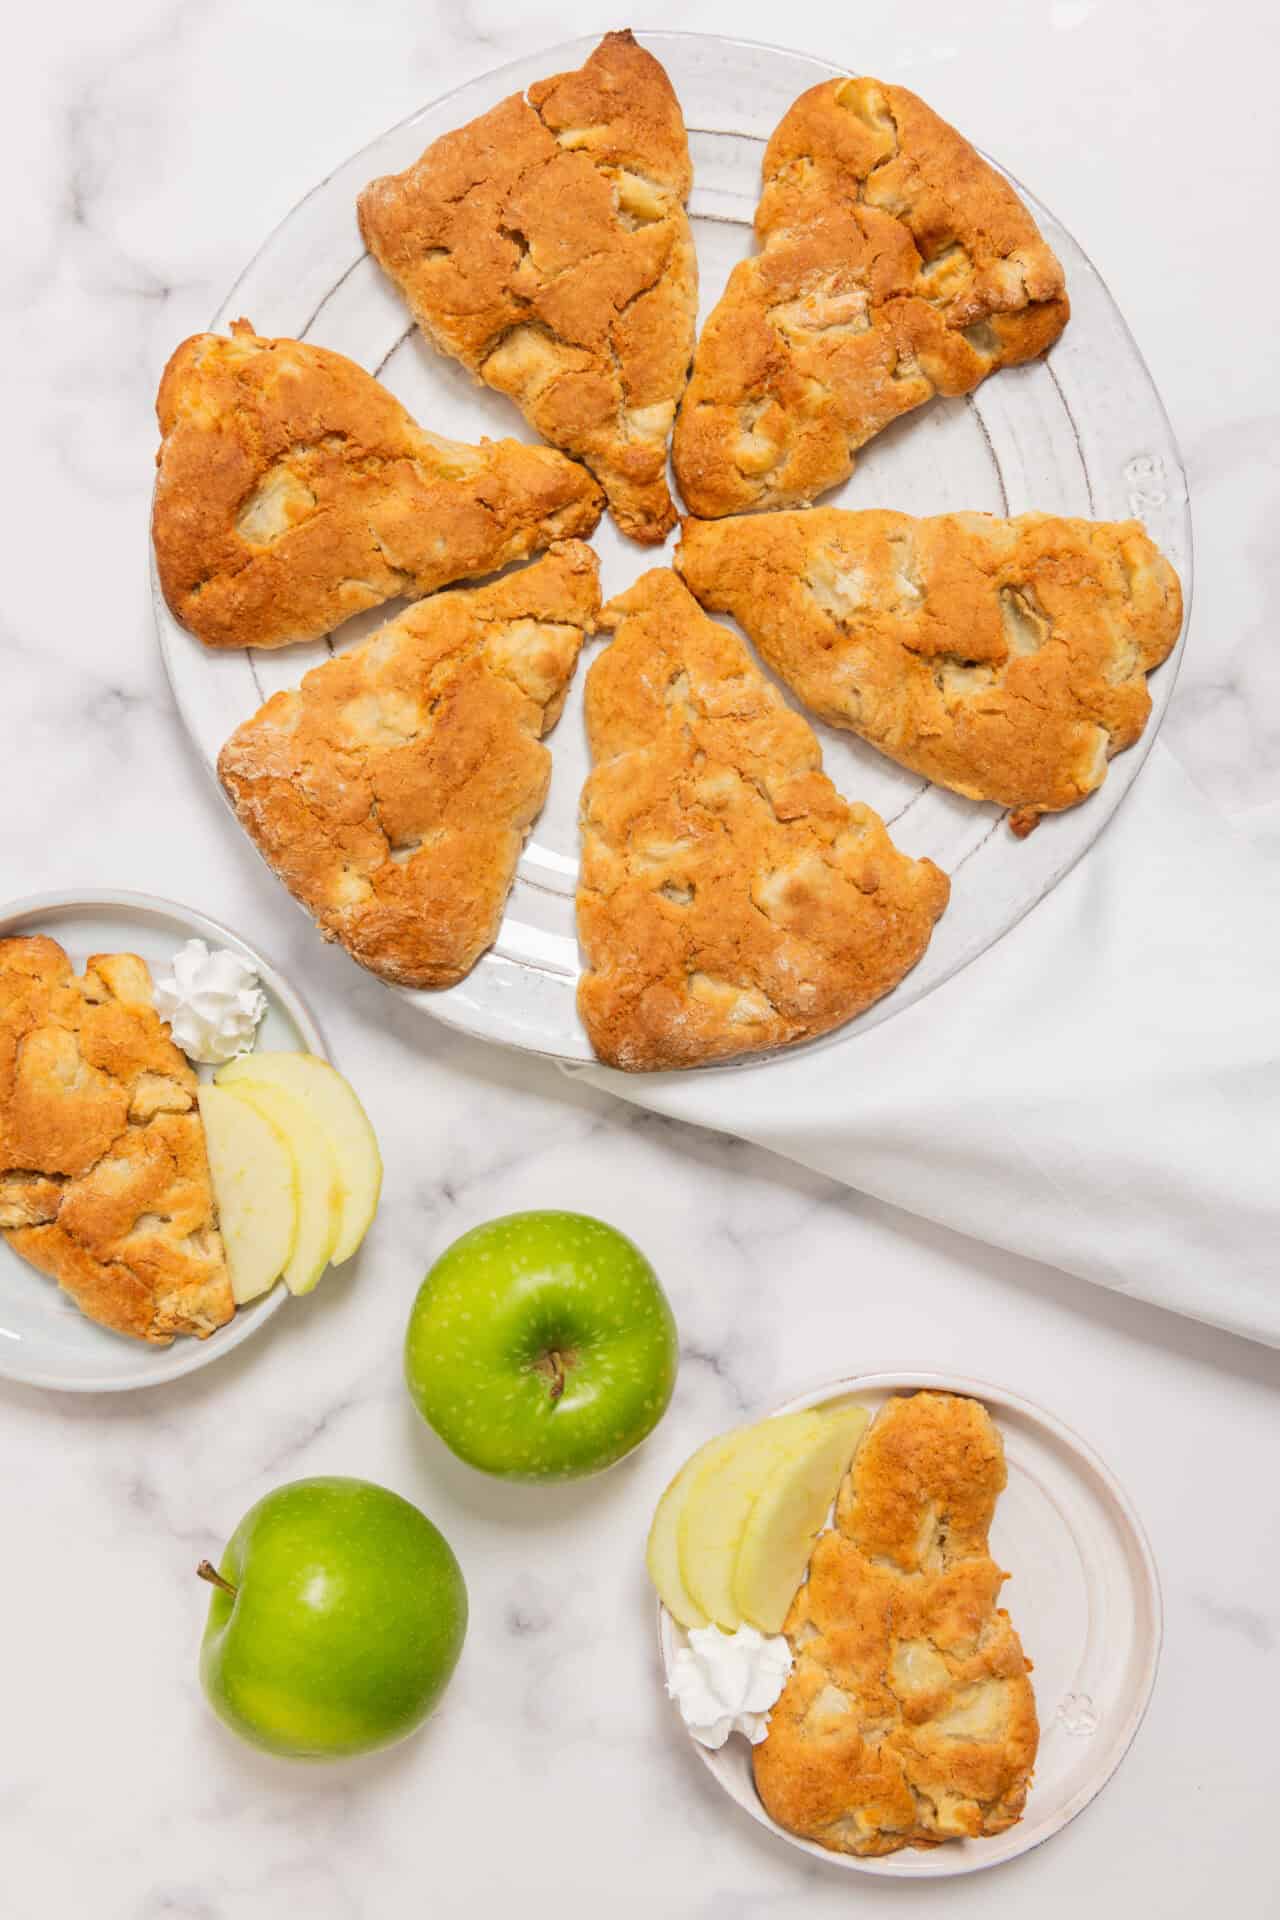
- Turn the dough out onto a floured surface and knead gently a few times. Pat the dough into a 1-inch thick round.
- Cut the round into 8 wedges and place on the prepared baking sheet, leaving space between each scone.
- Bake for 18-20 minutes or until the scones are golden brown and a toothpick inserted into the center comes out clean.
- Remove from the oven and let cool on the baking sheet for 5 minutes before transferring to a wire rack to cool completely.
Leave a Comment