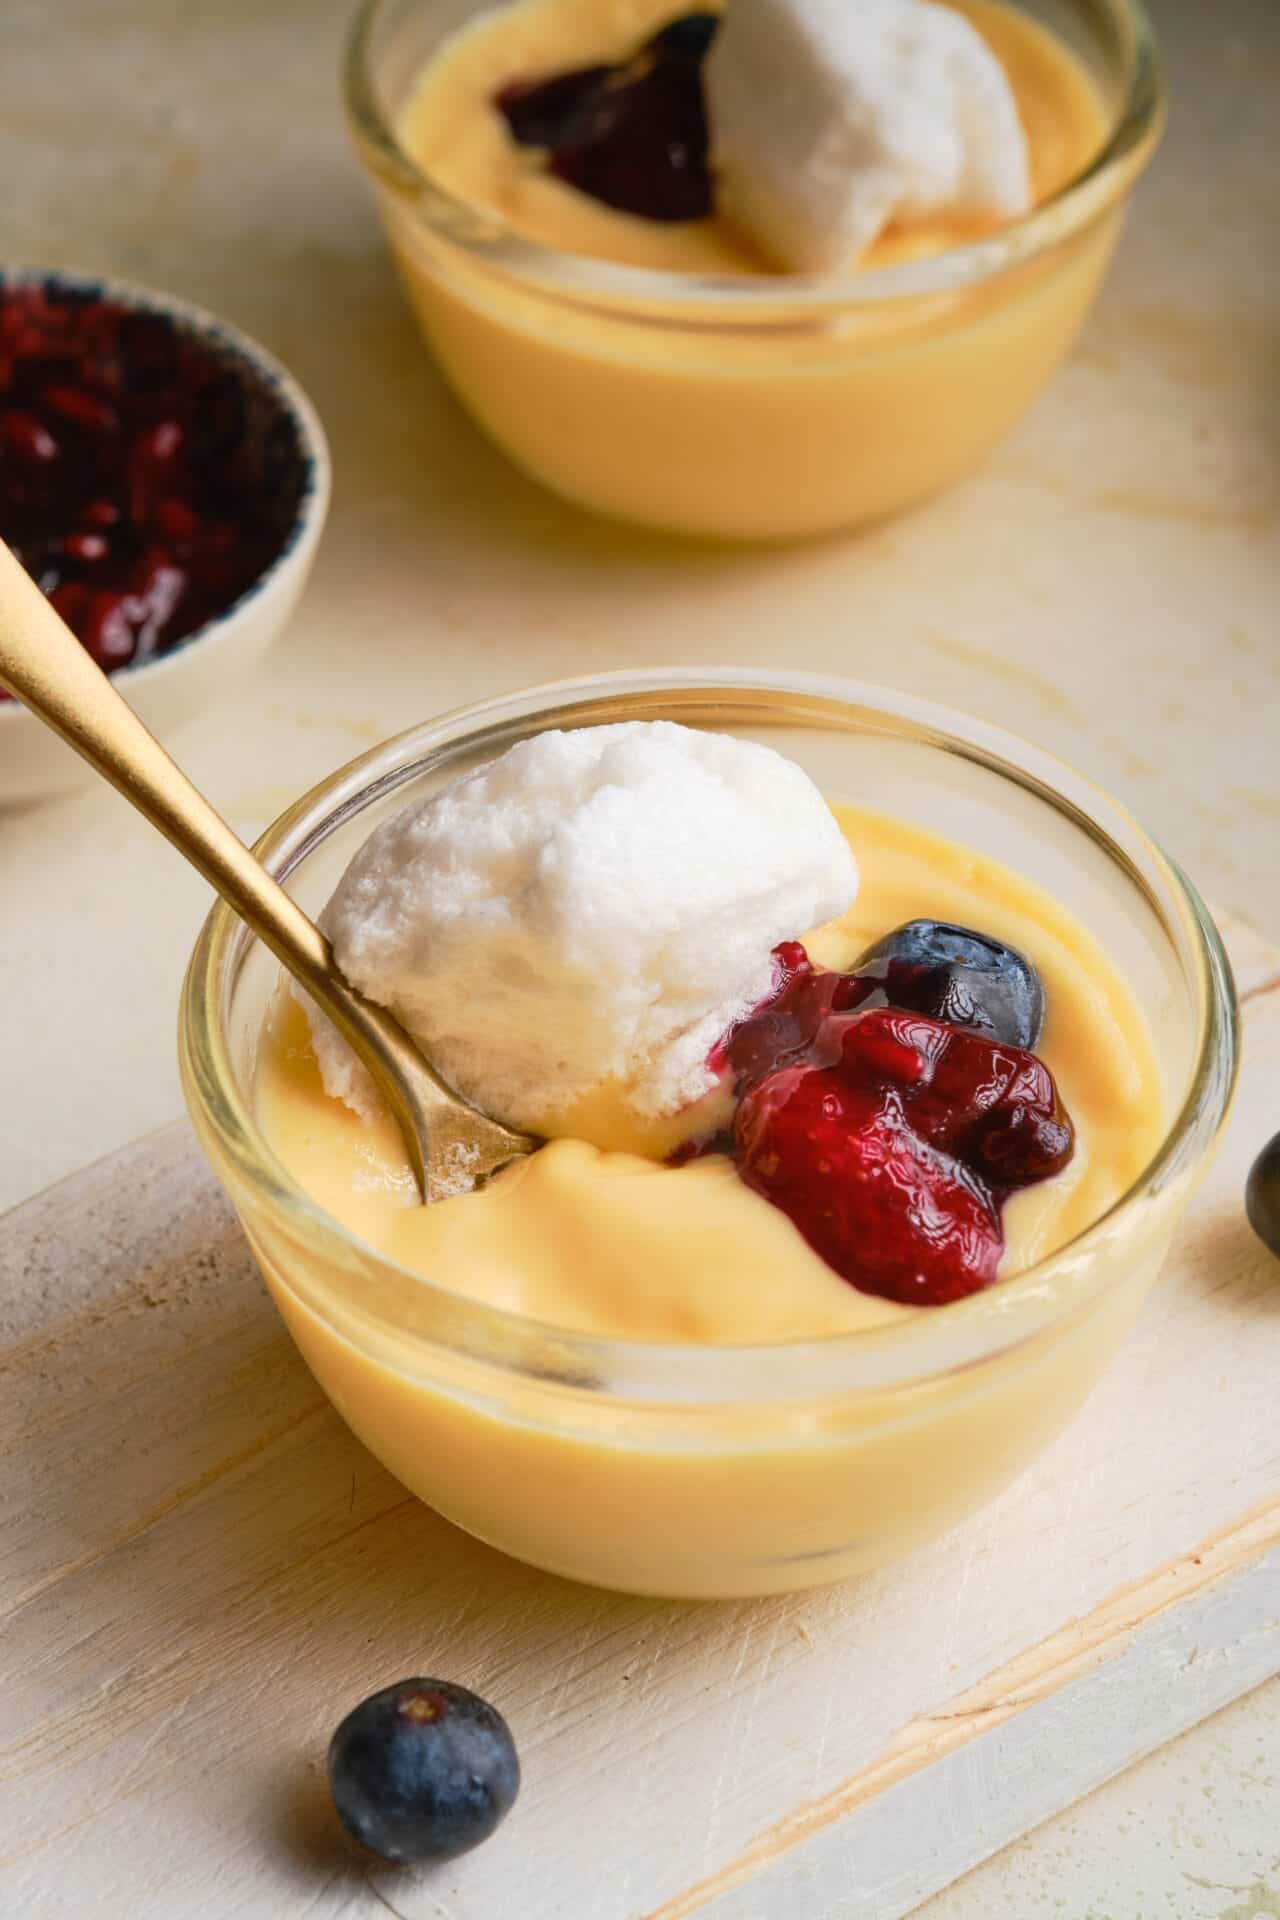
The ultimate comfort food: homemade Vanilla Pudding.
Pudding is nothing new. While it may not be the most exciting dish, this delicious, creamy dessert has kind of a wild history. In ancient Arab cuisine, there was a creamy dish made from rice and almonds called muhallebi (or mahalabia), which is the ancestor to European blancmange, a creamy white dish with cream as its base but topped with meat. This was a top-shelf meal for Medieval Europeans. However, by the 17th century, the meat was dropped from the dish (thank you!), and sweetener, more cream, and eggs were added. By the 1800s, arrowroot was added to give pudding that thick texture that we know and love. Who knew simple pudding had such a convoluted, long backstory?
While today you can buy vanilla pudding in premade pudding cups or instant pudding mix and make some at home, made-from-scratch pudding is not that hard. And it’s so much cleaner, health-wise! No artificial flavors or weird additives to contend with. Making your own pudding, whether just to enjoy in a bowl or to use in other recipes like trifle, banana pudding, or pudding pops, is an easy way to enjoy this comfort food.
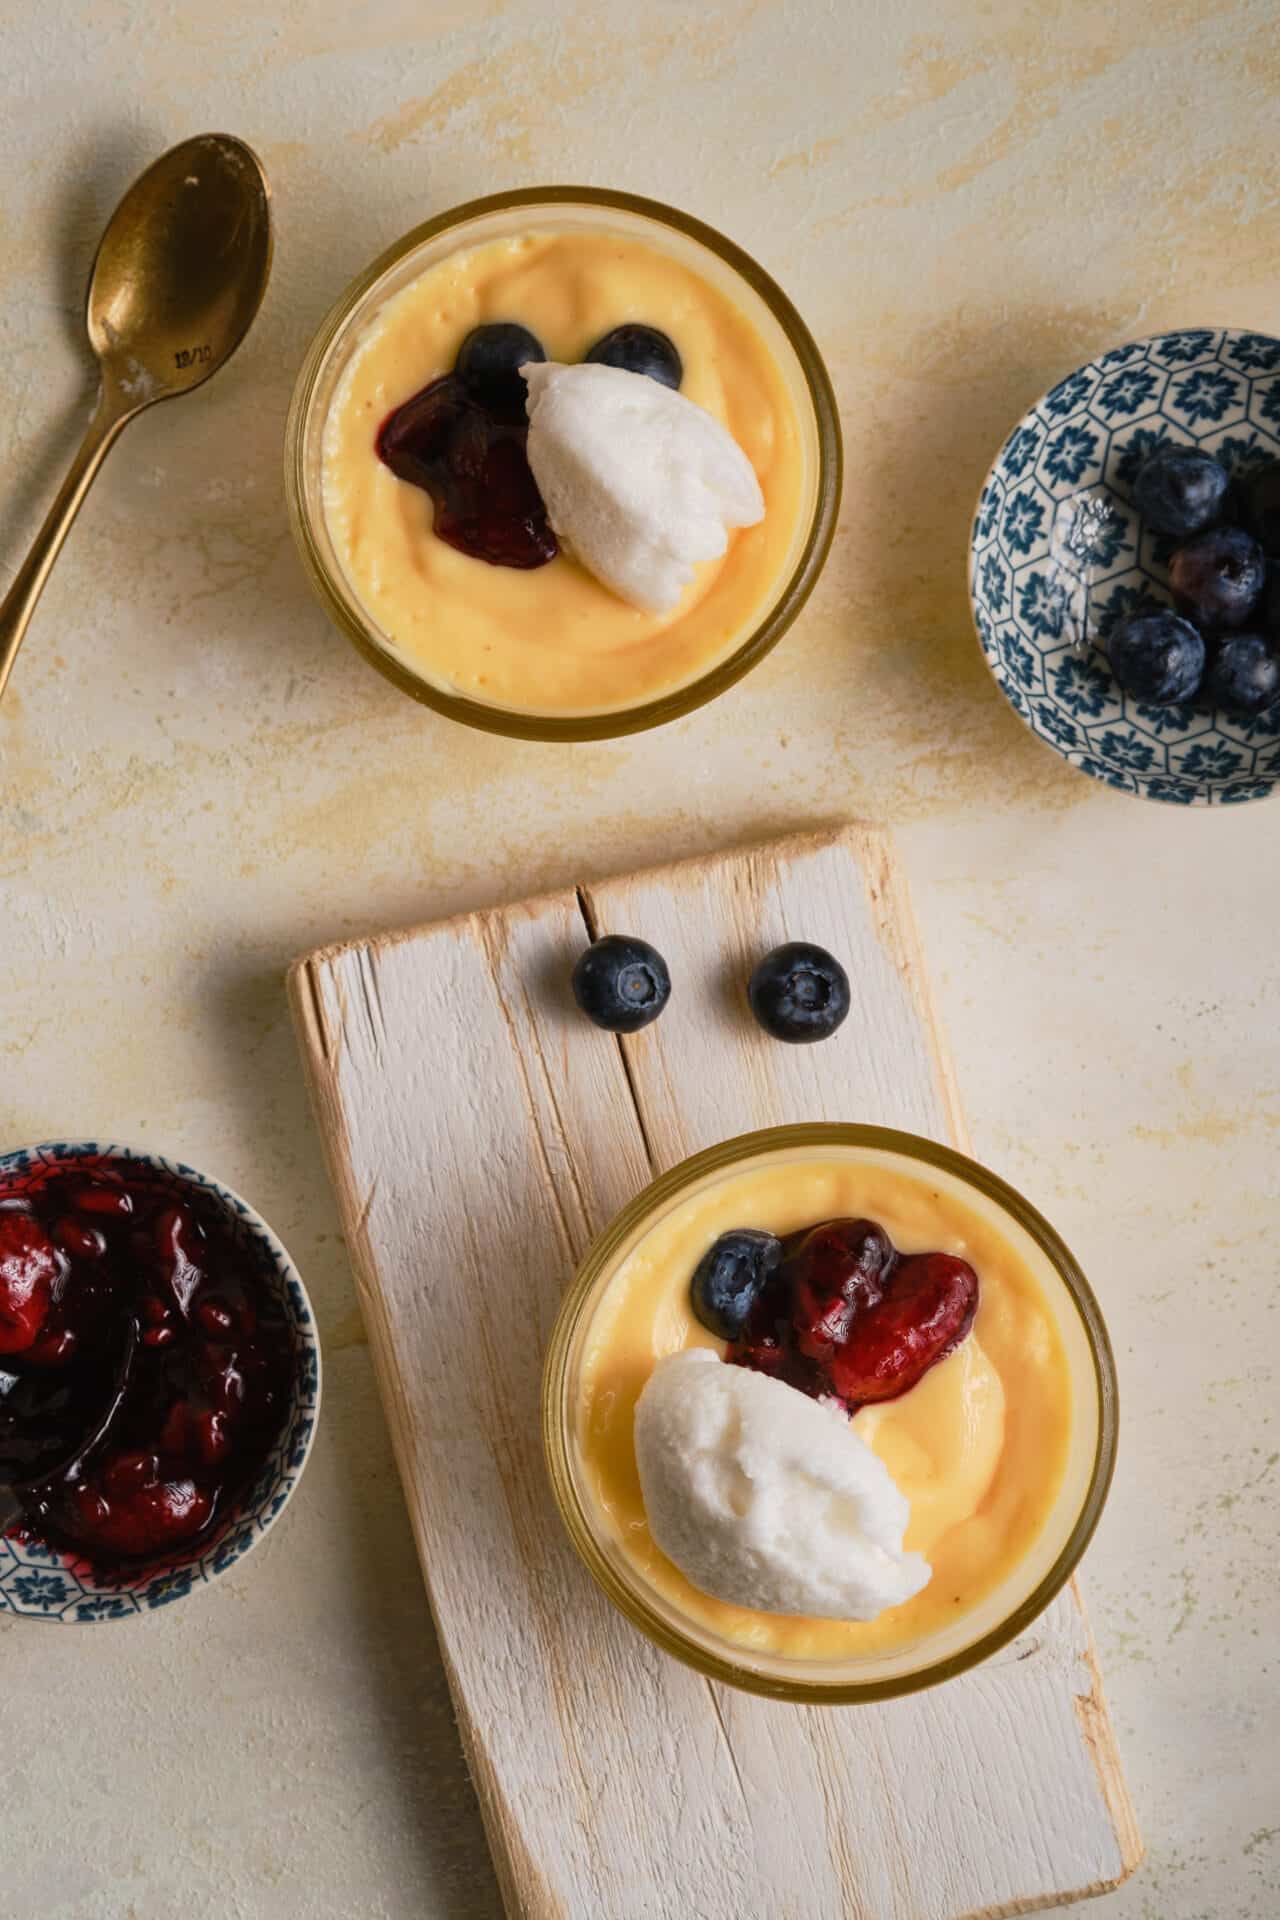
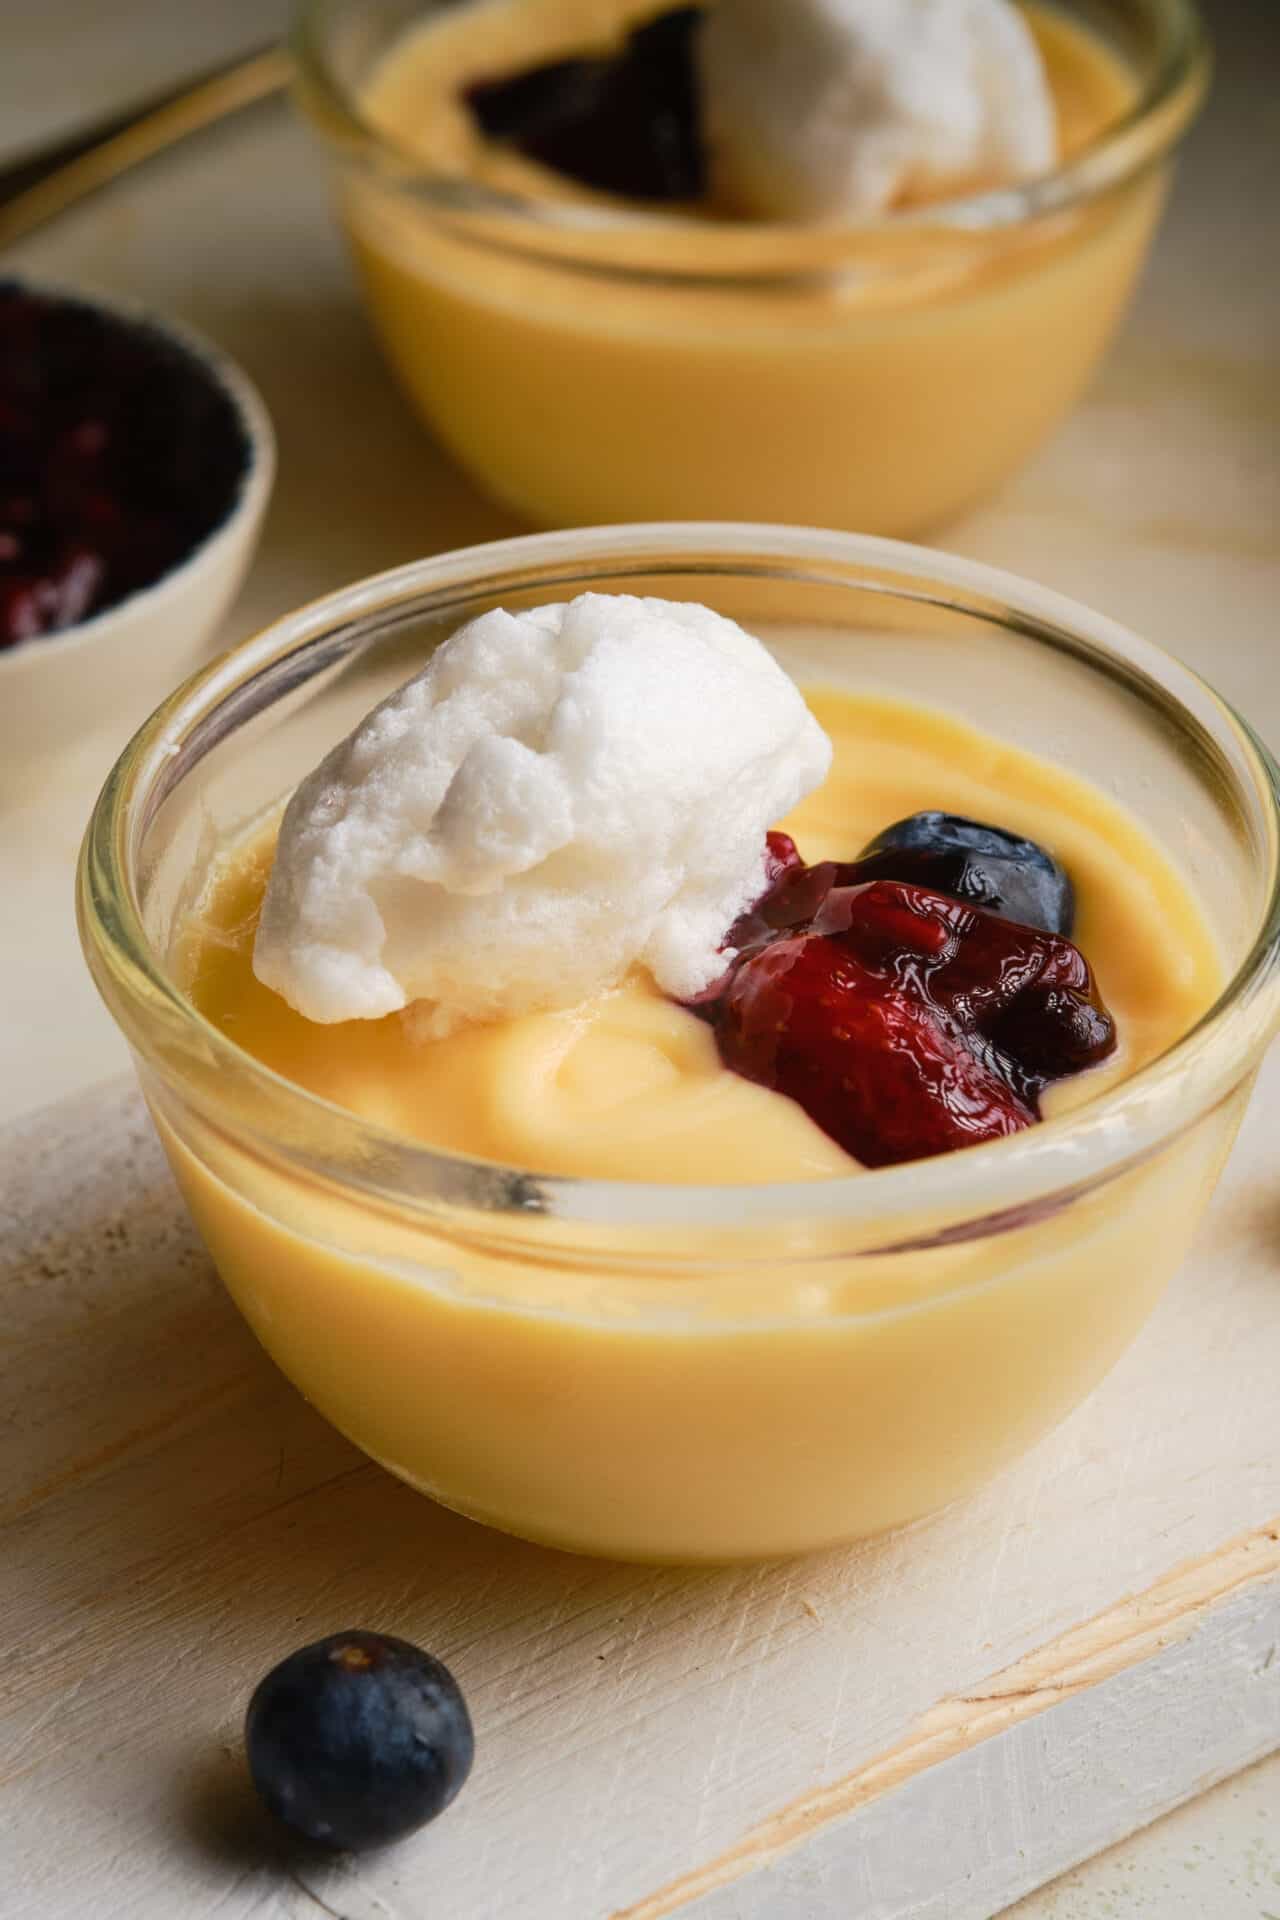
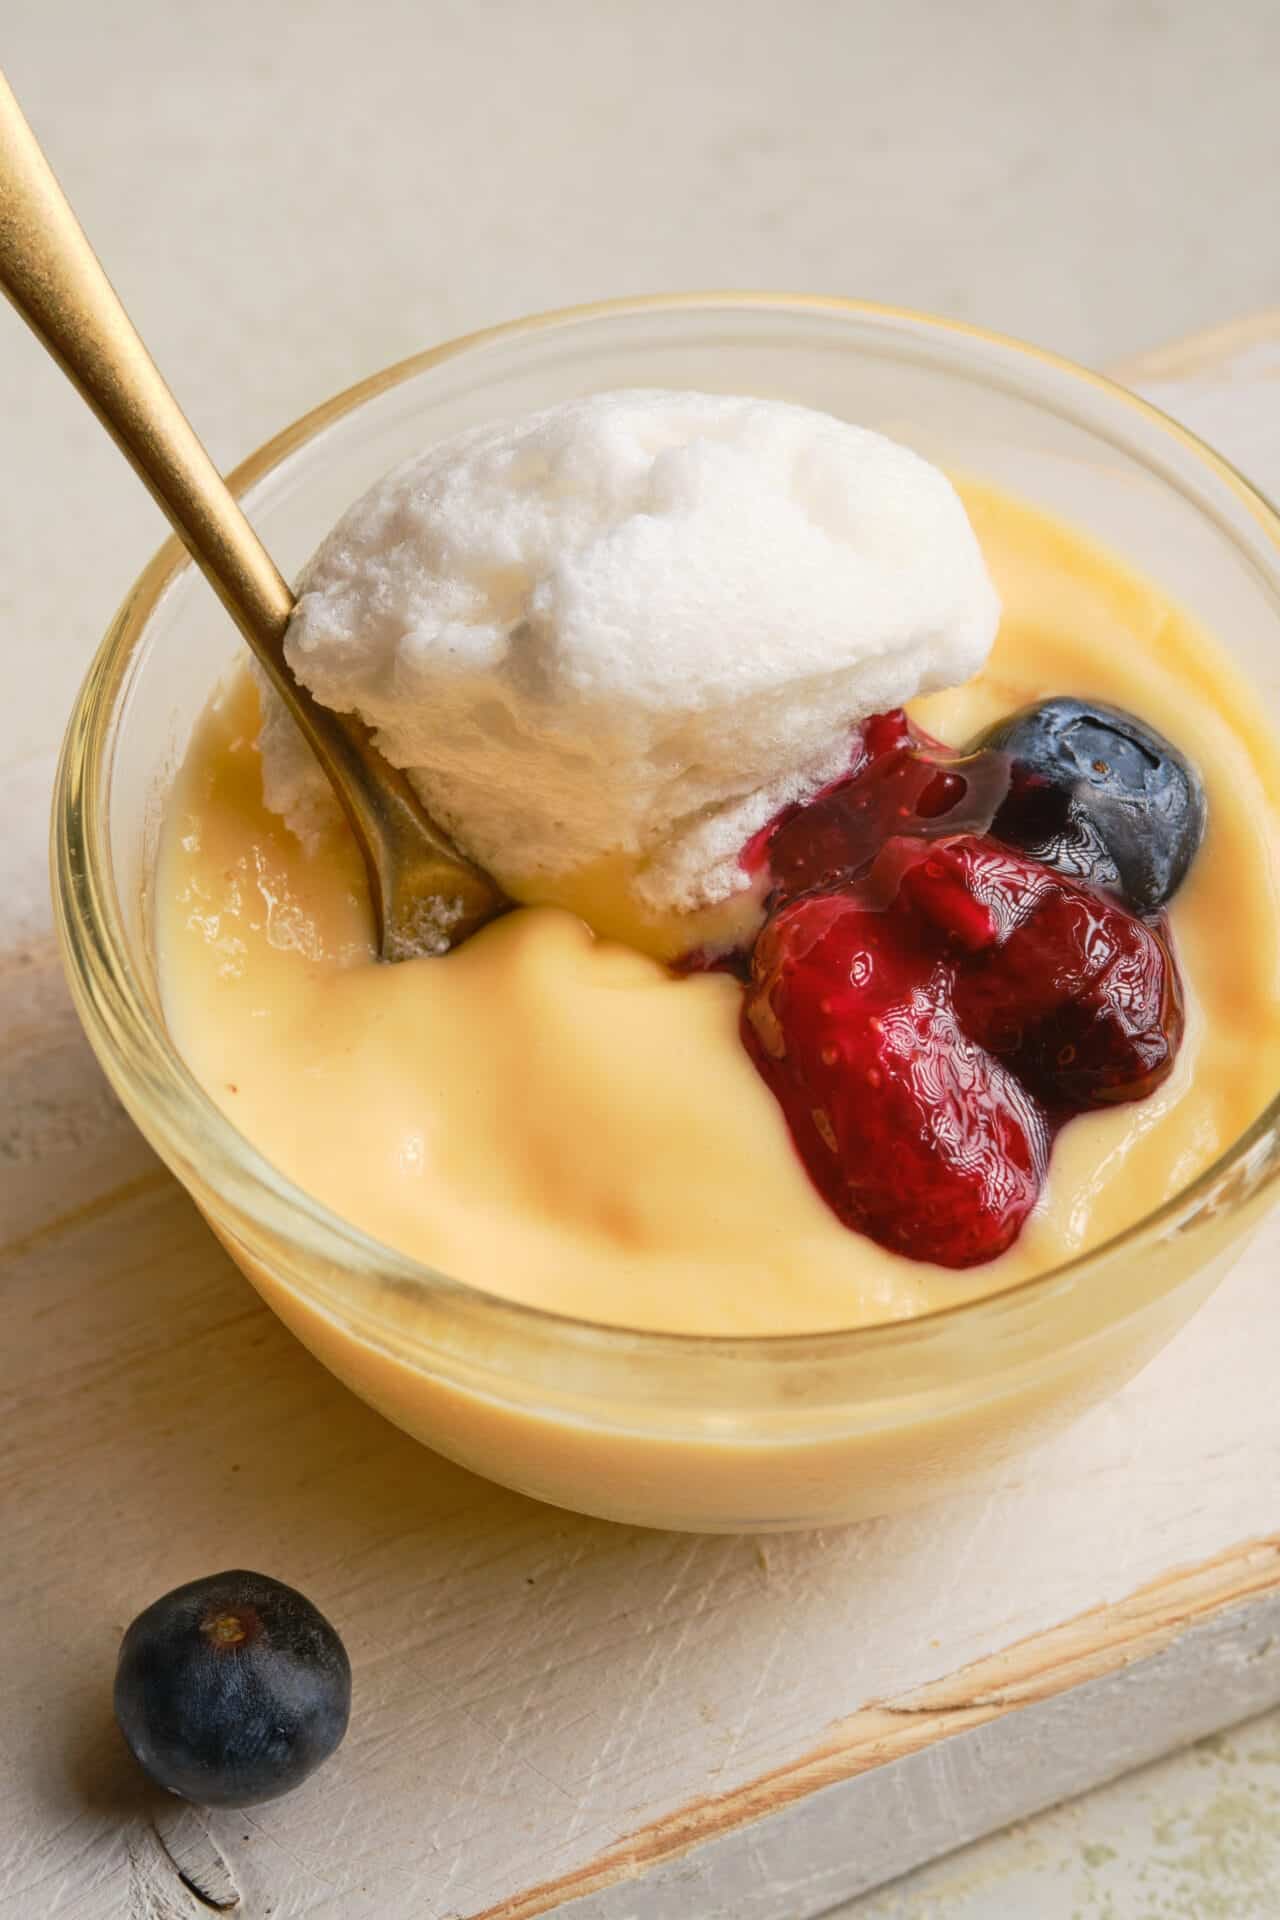
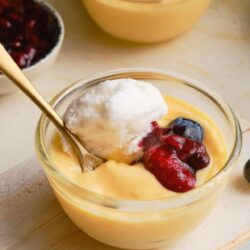
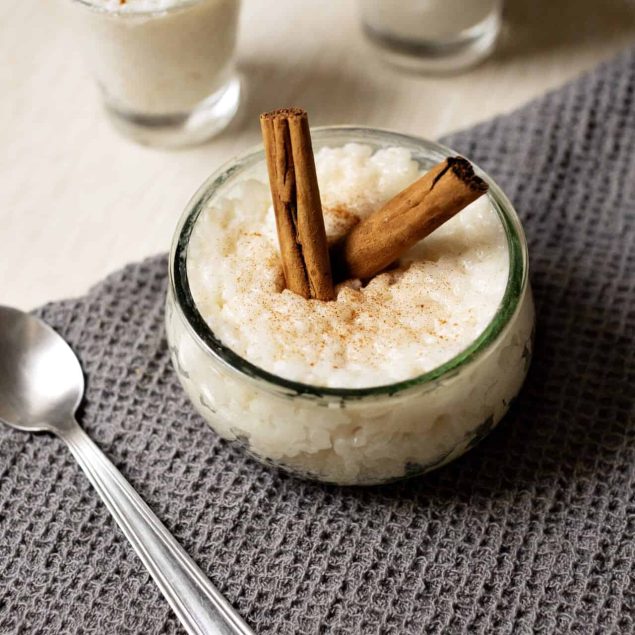
The rich flavor and smooth, creamy texture of homemade vanilla pudding will win you over for sure. Sweet but not cloying, this vanilla pudding recipe capitalizes on the warm, nostalgic flavor notes of vanilla extract. Pudding is a great make-ahead dessert or treat as well —if you’re having company over, get this done ahead of time, and you’re good to go. It can be simple on its own or dressed up with fruit, cookies, and/or whipped cream for toppings.
Cornstarch: Gluten-Free Magic!
One of the best parts of our Vanilla Pudding recipe is that it is a naturally gluten-free dessert. That’s thanks to cornstarch (also known as corn starch, corn flour, or maize starch, depending on where you’re from. Note that corn flour and cornstarch are not necessarily the same thing in the U.S.). Cornstarch is derived from the endosperm of the corn plant: that’s the part that nourishes the seed, and it is rich in starch. Since it is from corn, it is gluten-free and has been used as a thickener for pudding, sauces, stews, gravies, and other recipes since the 1800s in place of flour (which is definitely not gluten-free!).
Heat causes the starch fibers to swell. In general, you shouldn’t straight up add cornstarch to hot liquid. First, mix it with room-temperature water or cooled liquid to make a slurry (paste), and then gradually stir in the slurry. In this pudding recipe, you don’t have to worry about it: by mixing the cornstarch with the dry ingredients and then gradually heating up the milk in the same saucepan, you will get a smooth texture.
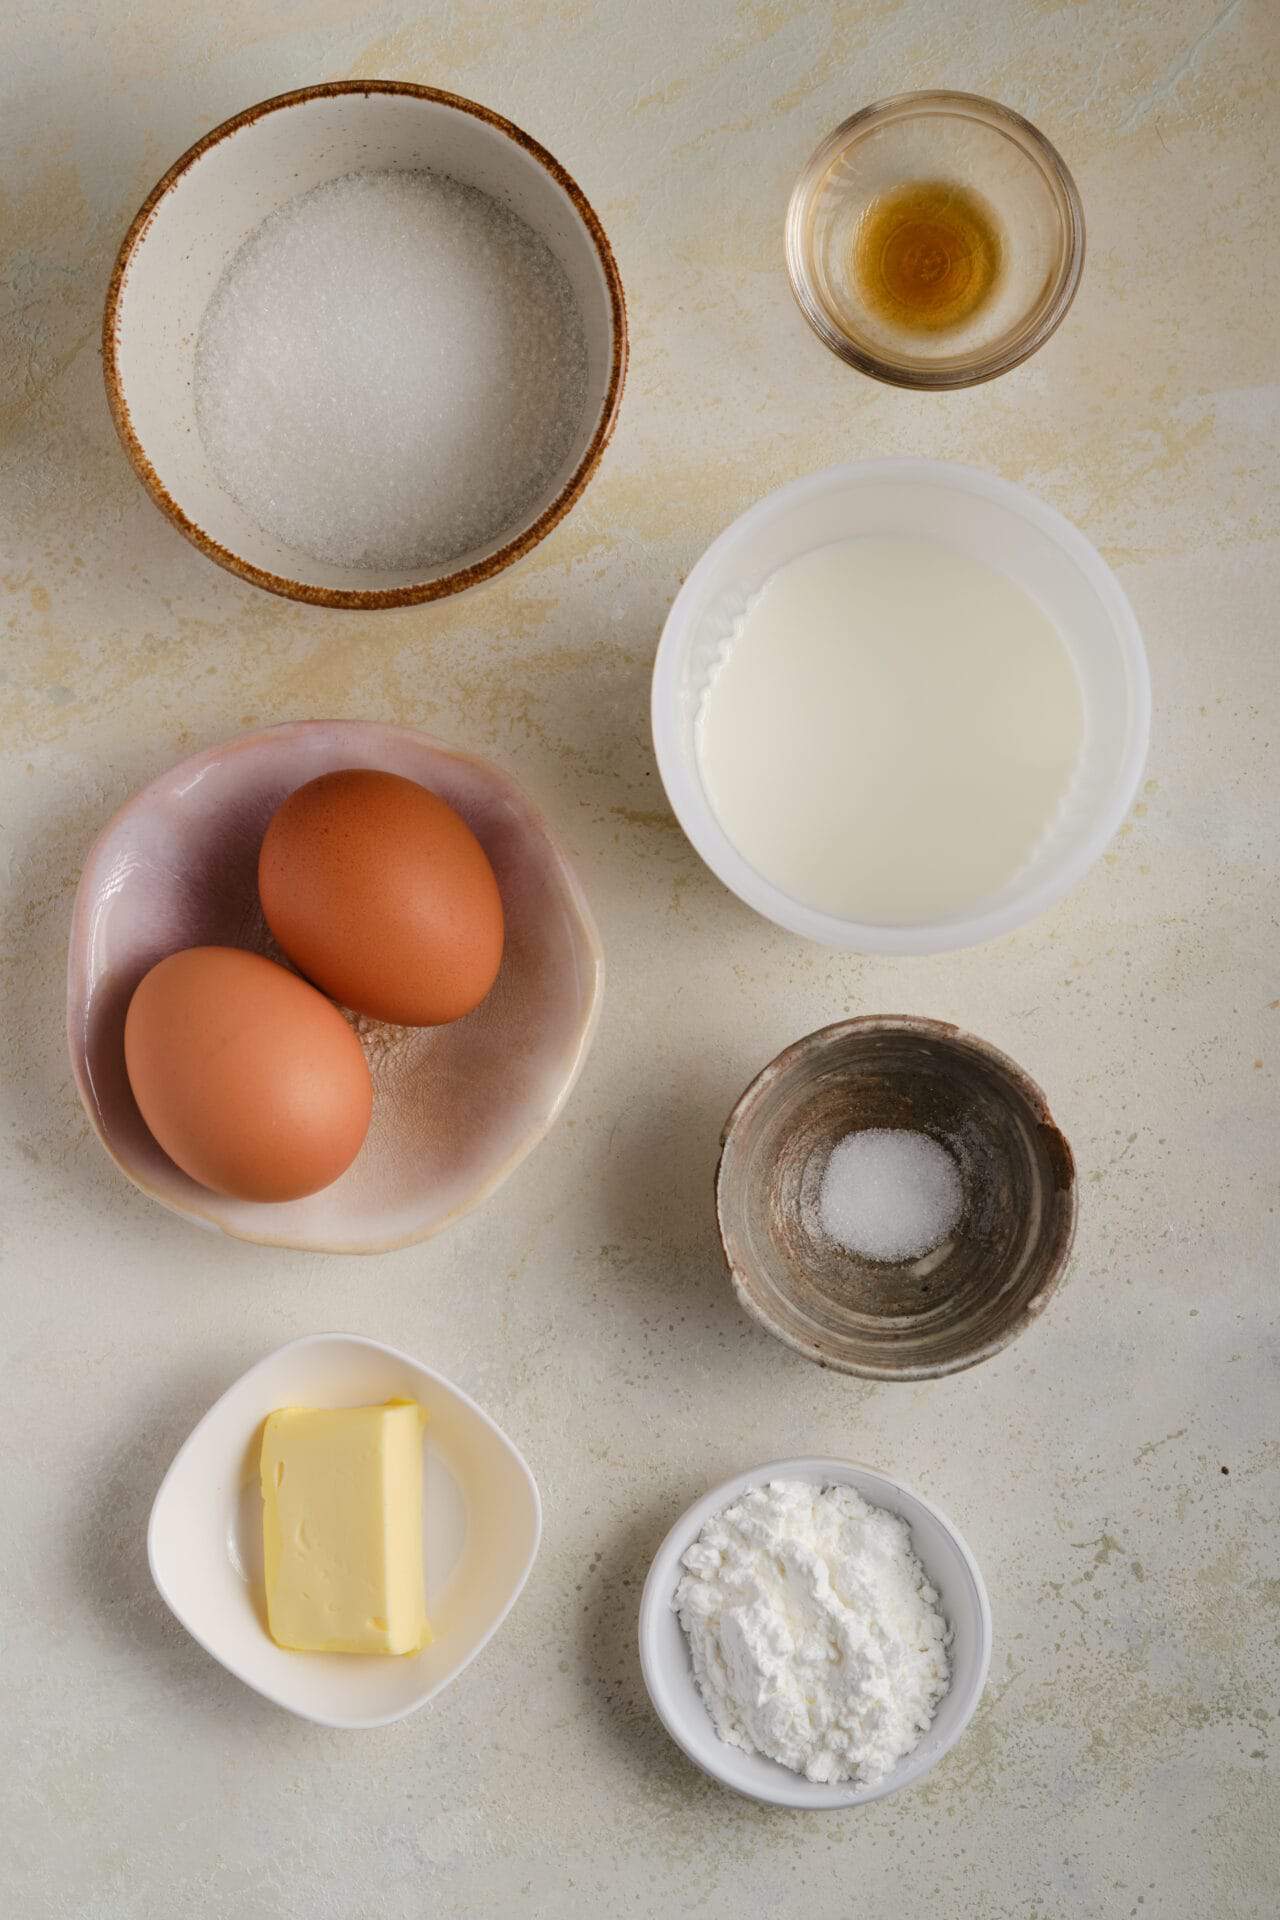
Ingredients
- 2/3 cup granulated sugar
- 1/4 cup cornstarch
- 1/8 teaspoon salt
- 2 1/2 cups whole milk
- 3 large egg yolks
- 2 tablespoons unsalted butter
- 1 1/2 teaspoons pure vanilla extract
How to Make Vanilla Pudding
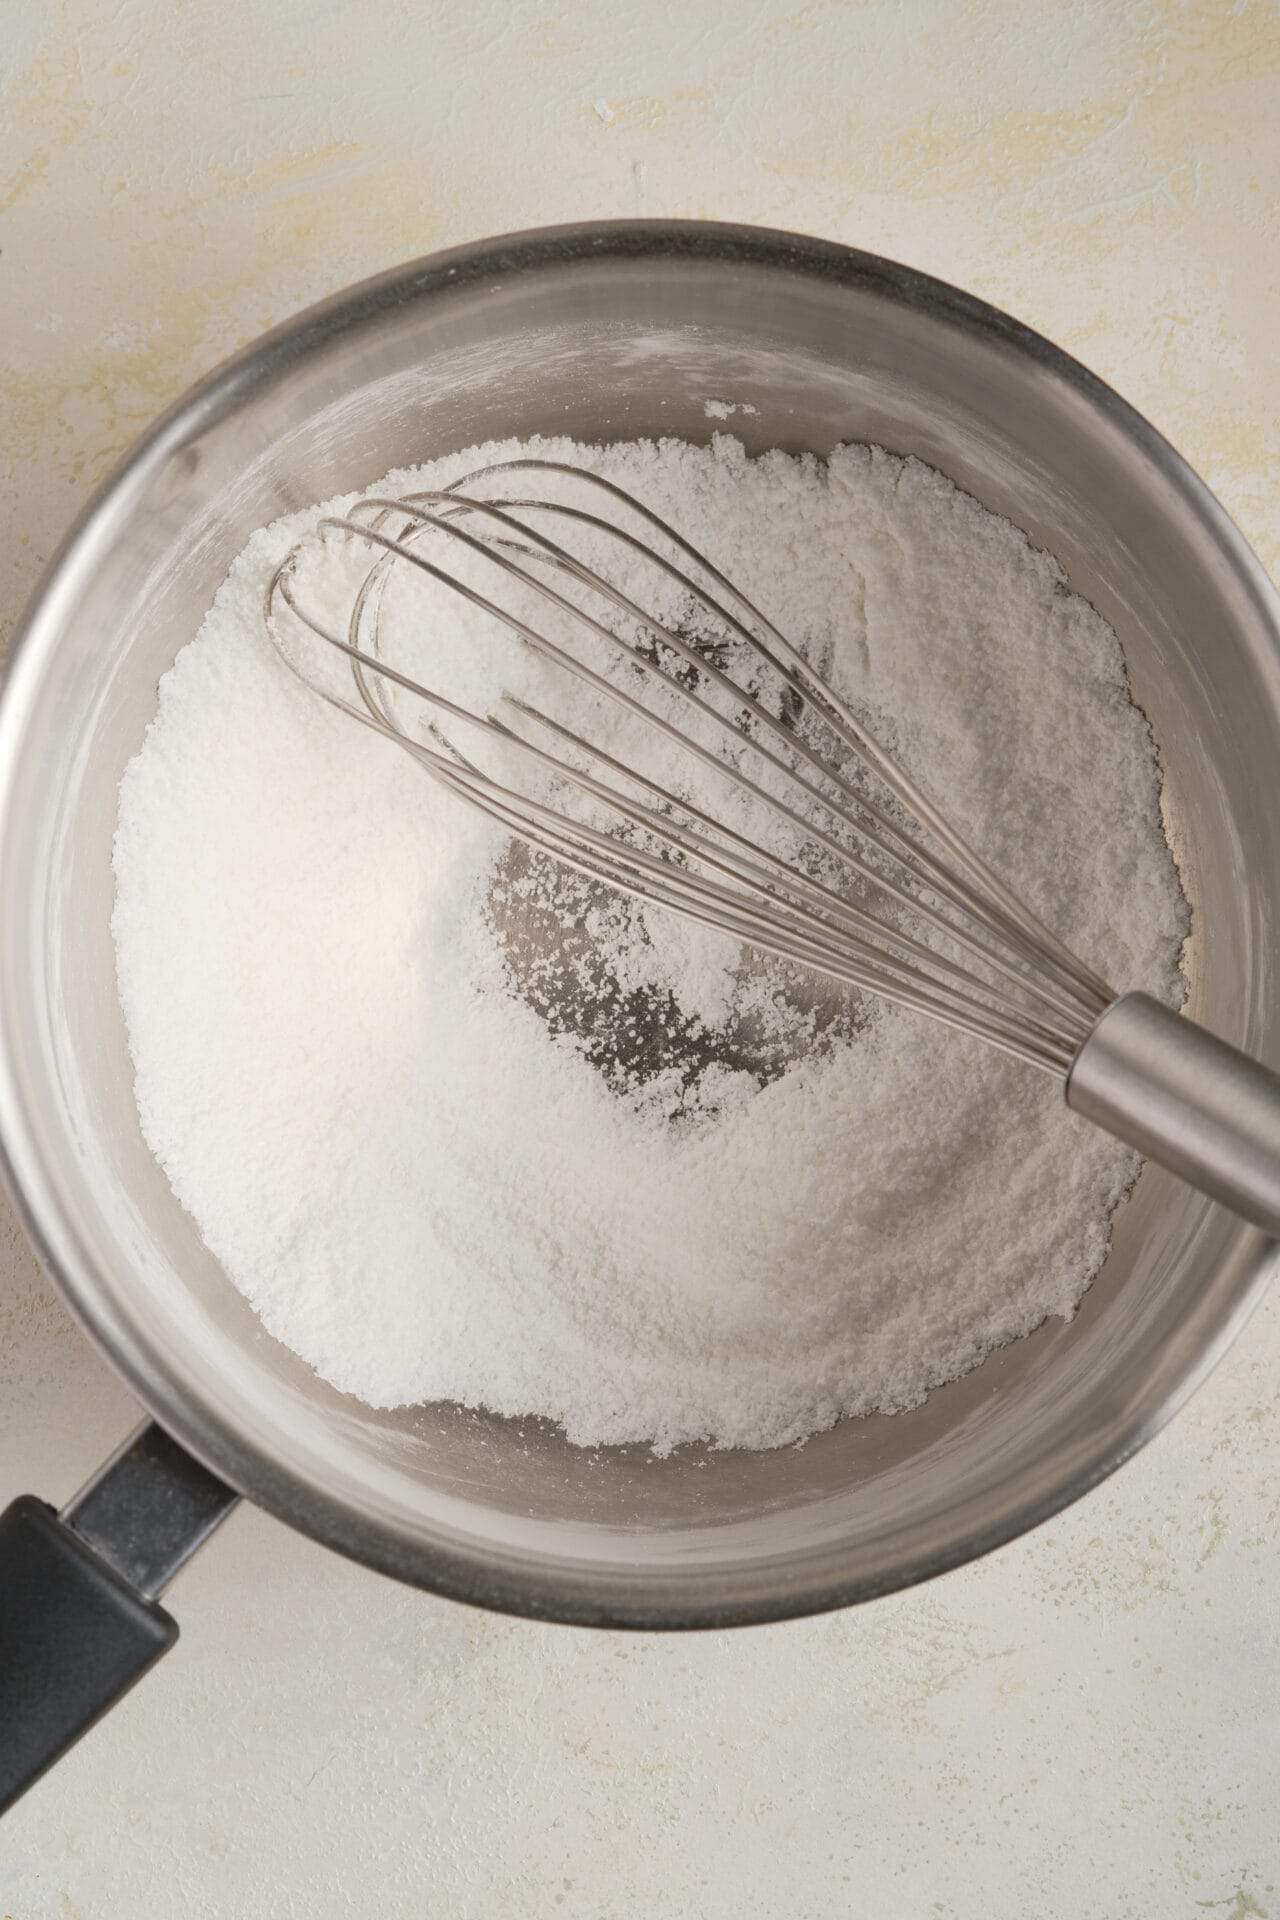
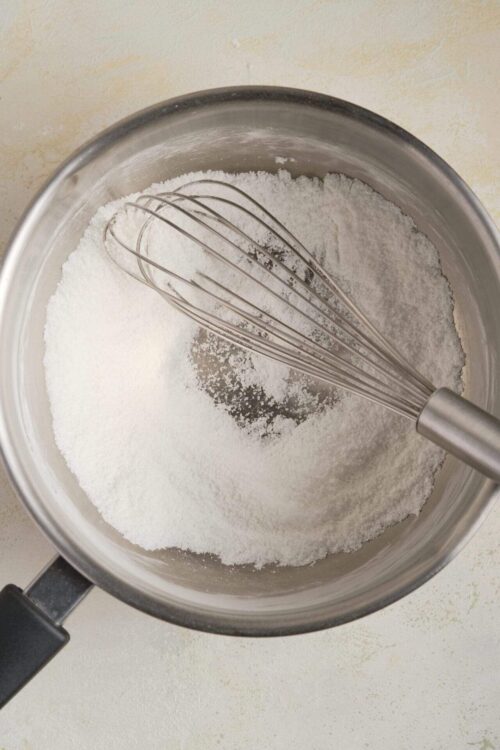
Step 1: In a medium saucepan, combine granulated sugar, cornstarch, and salt.
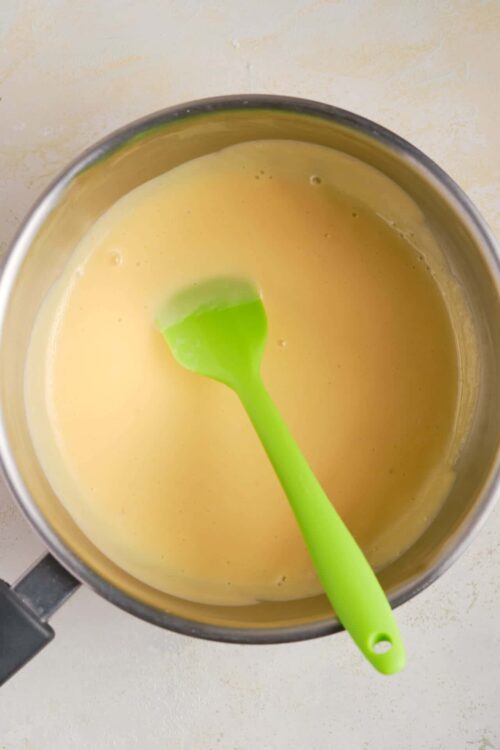
Step 2: Gradually whisk in the whole milk until smooth.
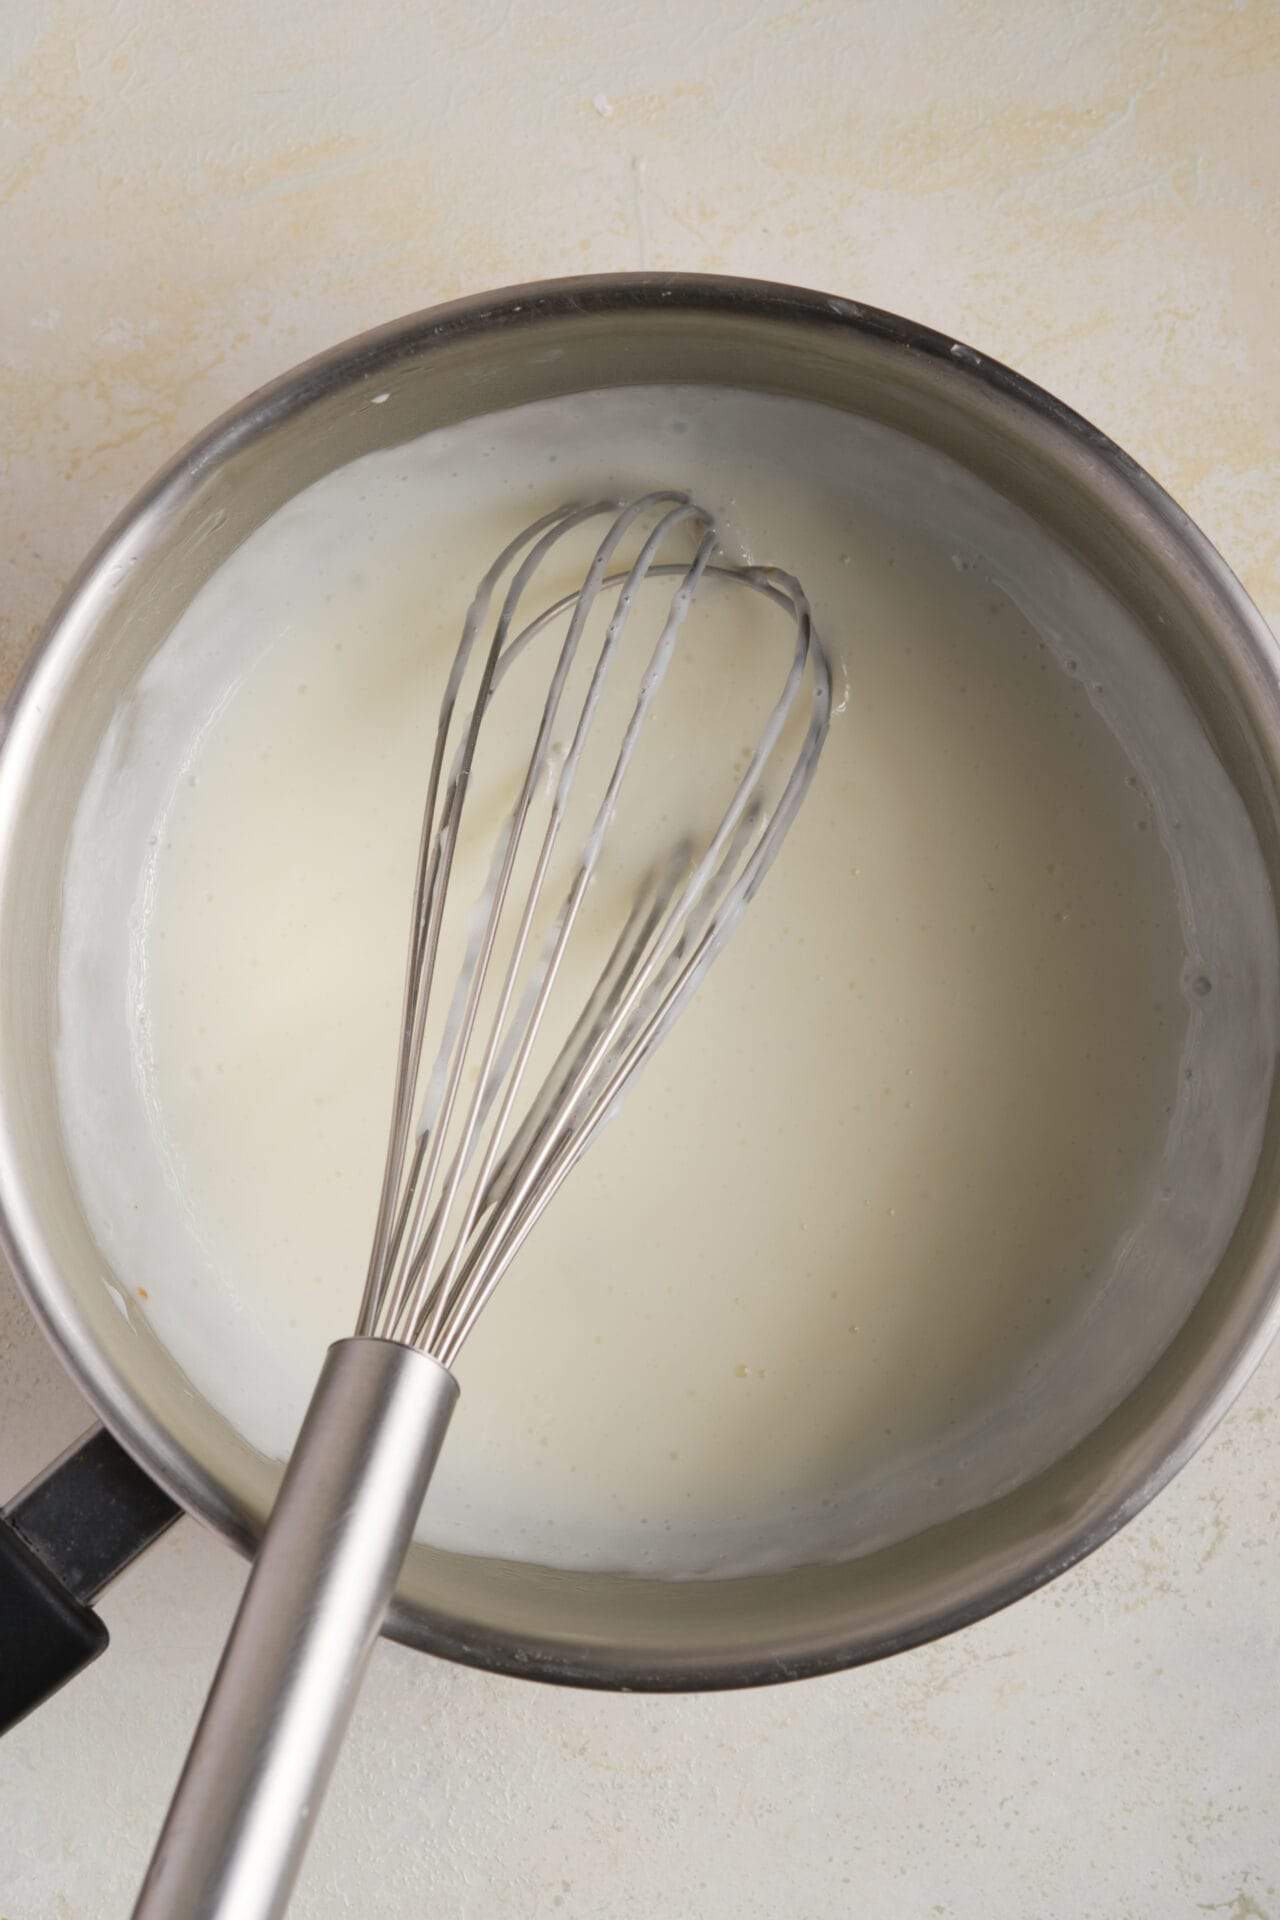
Step 3: Cook over medium heat, stirring constantly, until the mixture thickens and comes to a gentle boil.
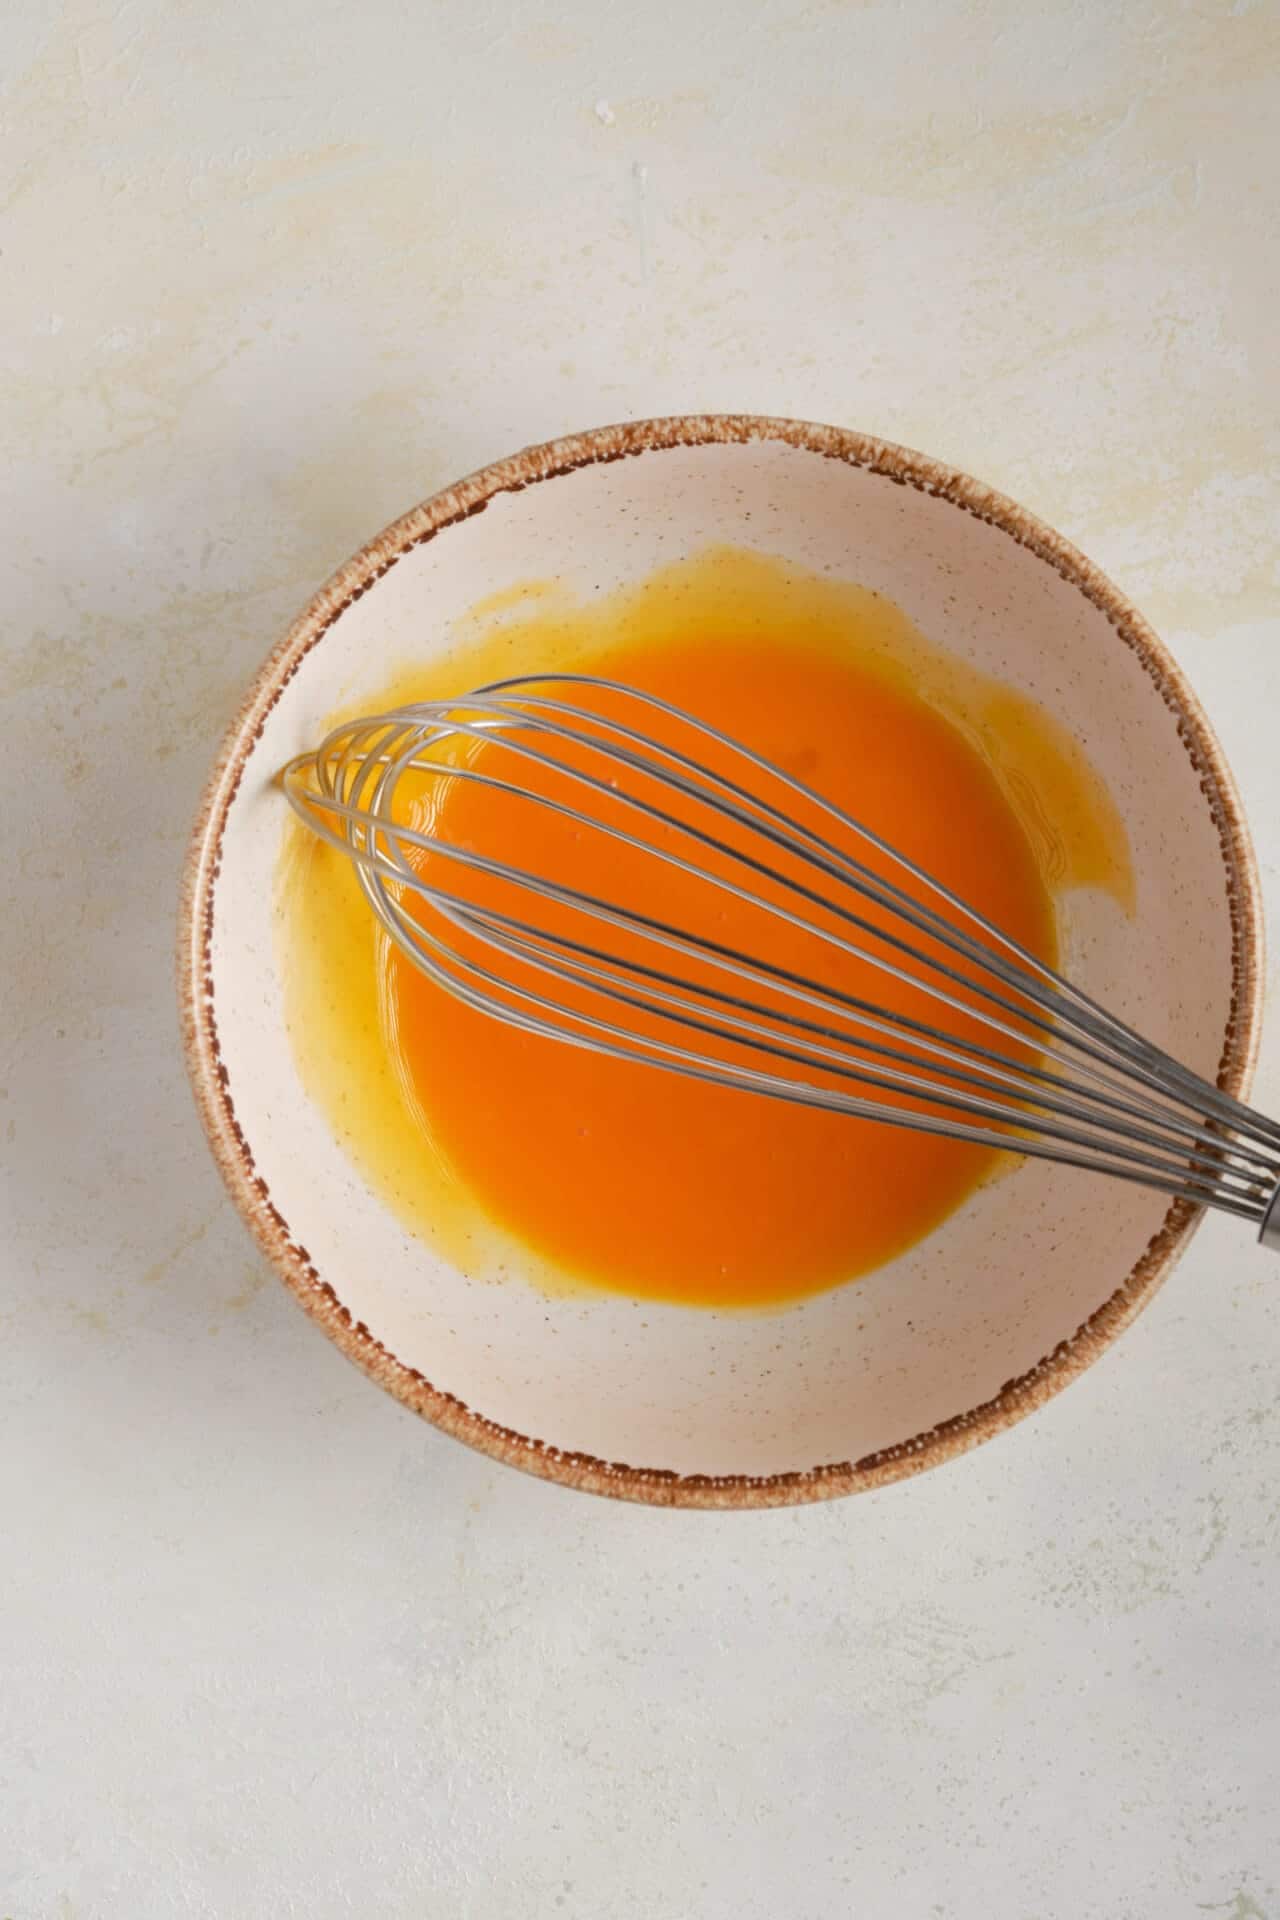
Step 4: In a separate bowl, lightly beat the egg yolks.
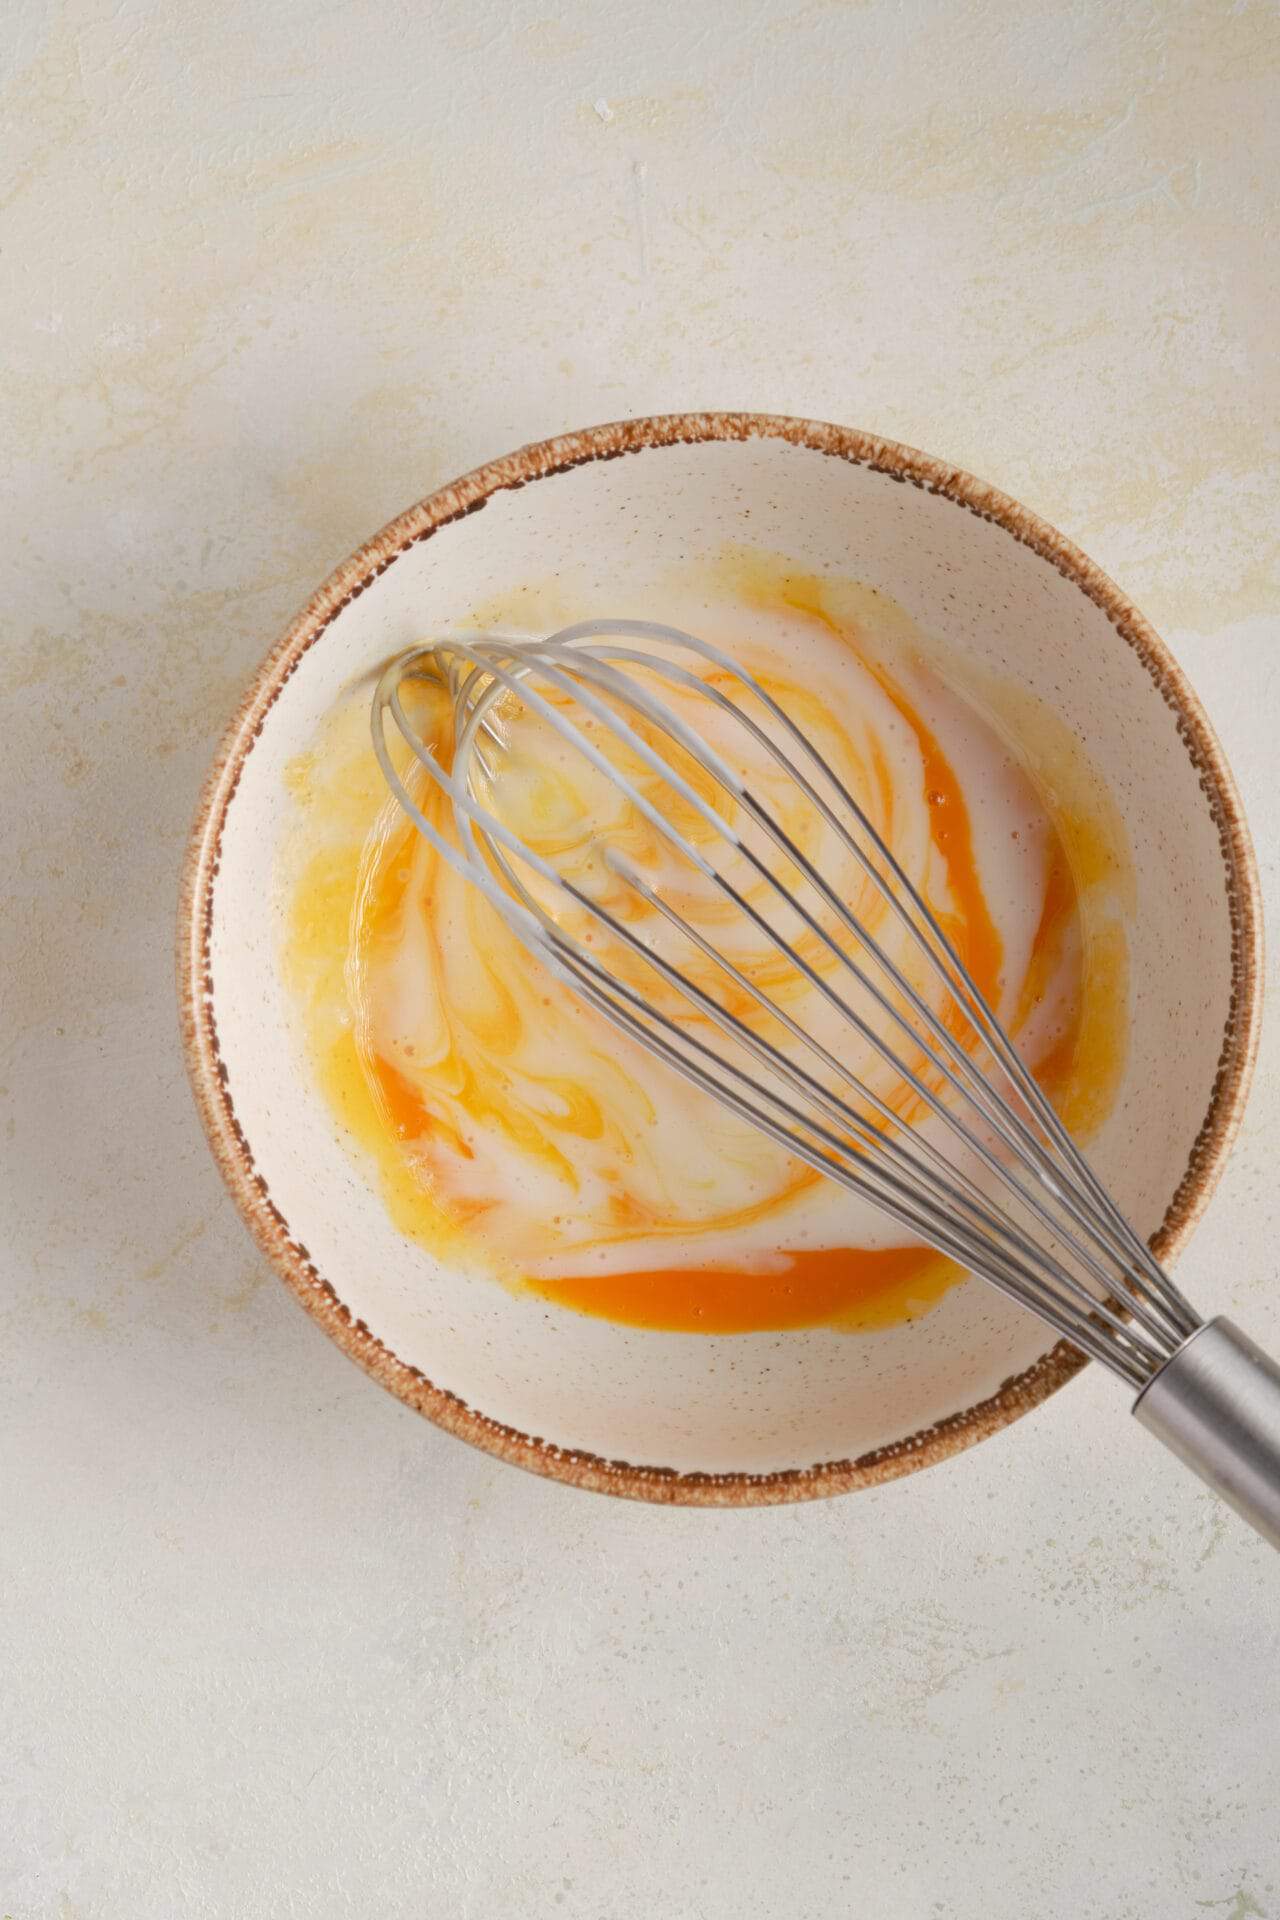
Step 5: Temper the egg yolks by slowly pouring in about 1/2 cup of the hot milk mixture, whisking constantly to prevent the eggs from curdling.
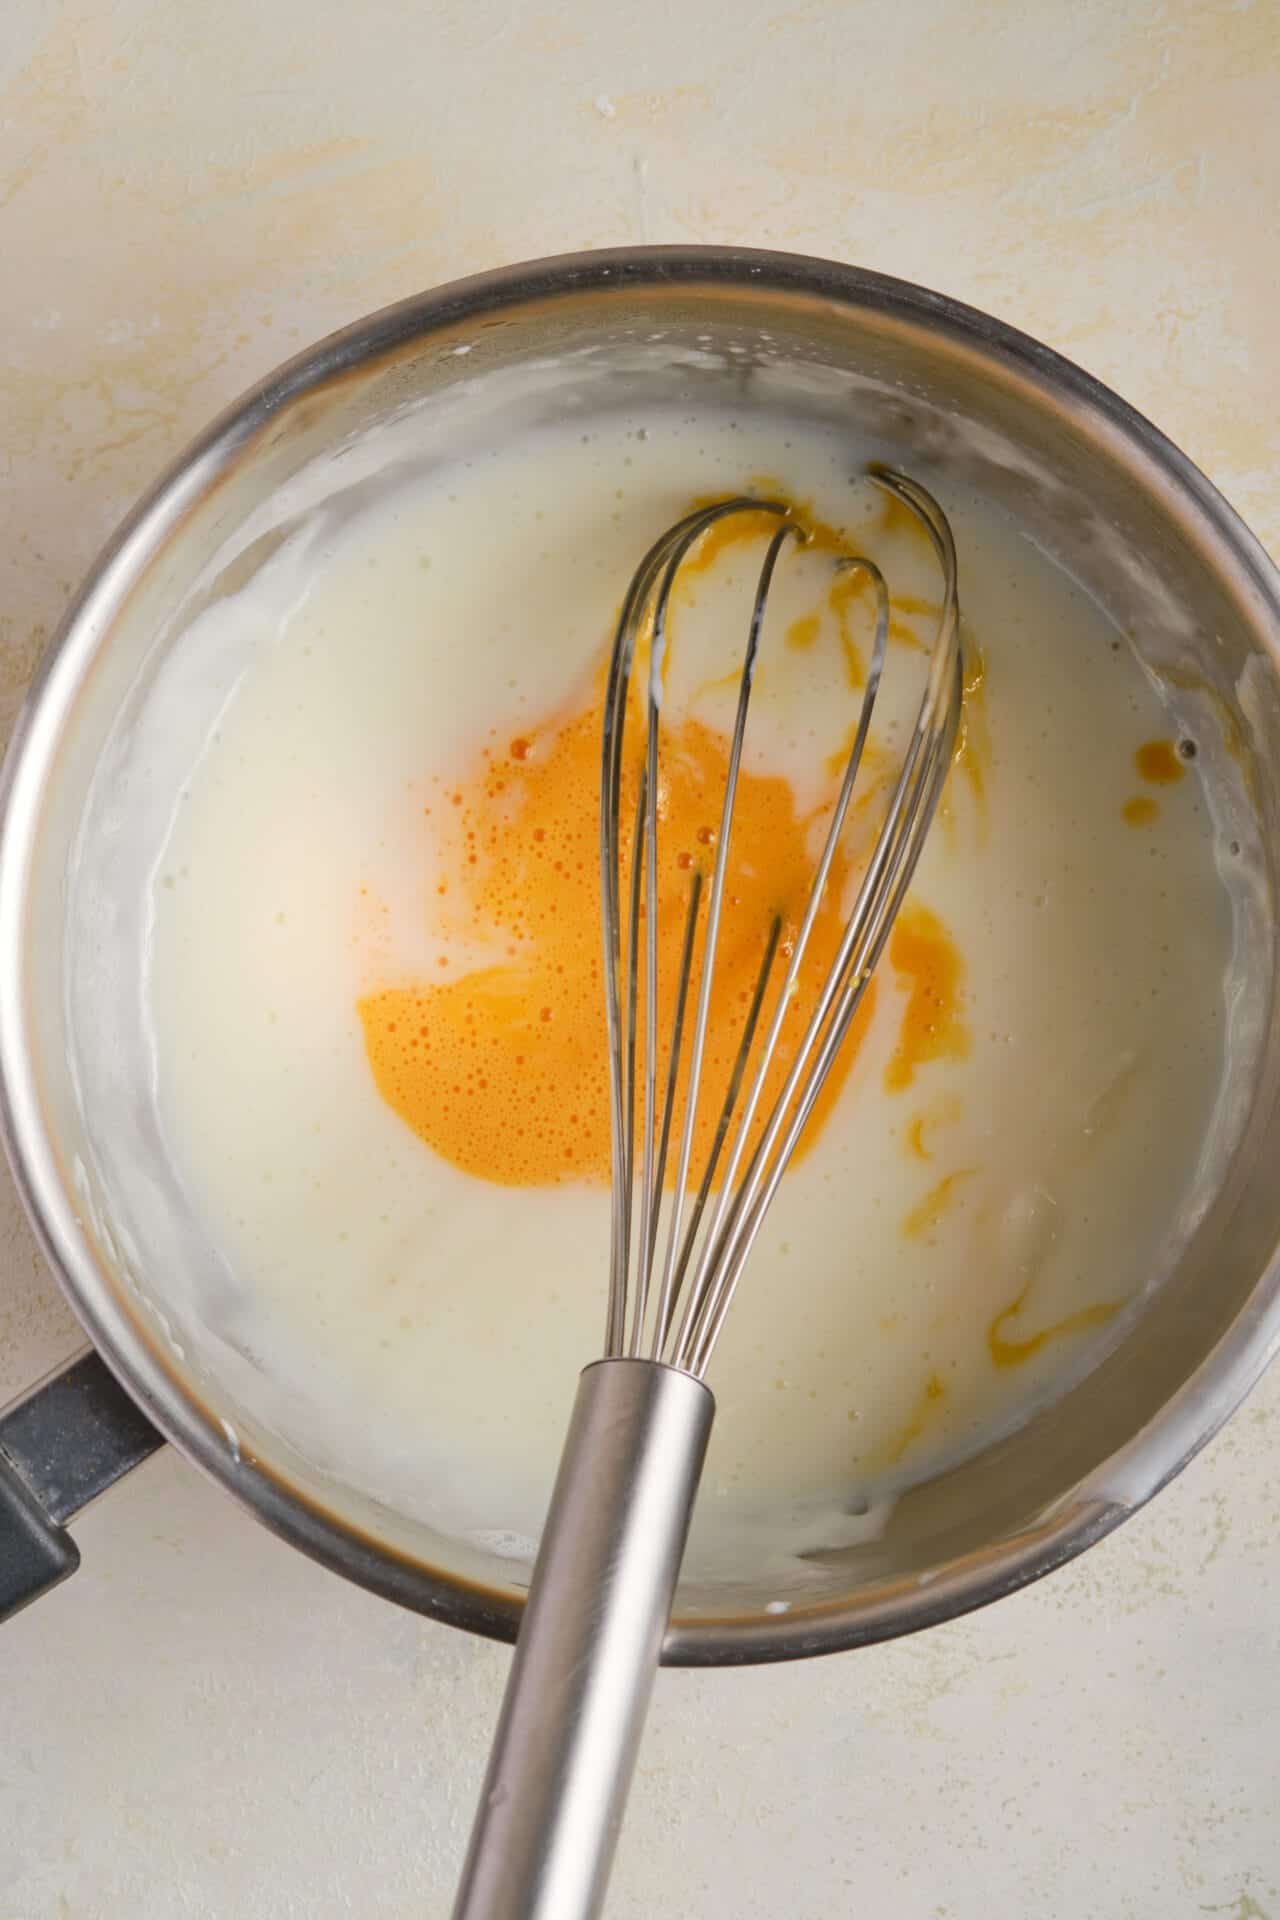
Step 6: Gradually whisk the tempered egg yolks back into the saucepan with the remaining milk mixture.
Step 7: Bring to a gentle boil and cook for an additional minute, stirring continuously.

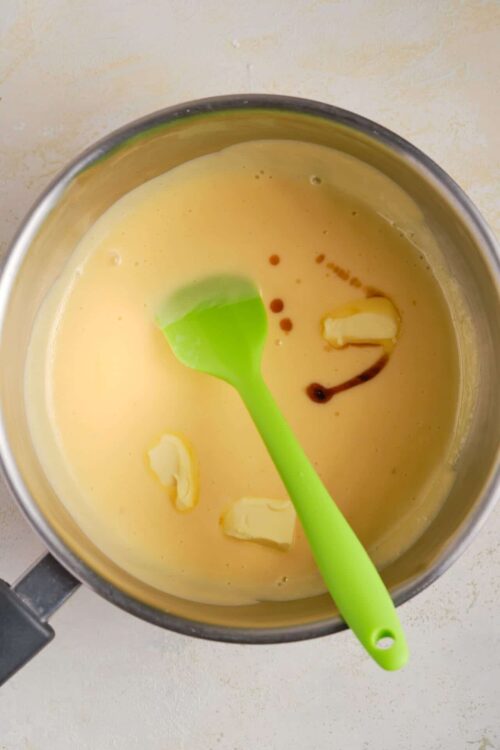
Step 8: Remove from heat and stir in the unsalted butter and pure vanilla extract until well combined.

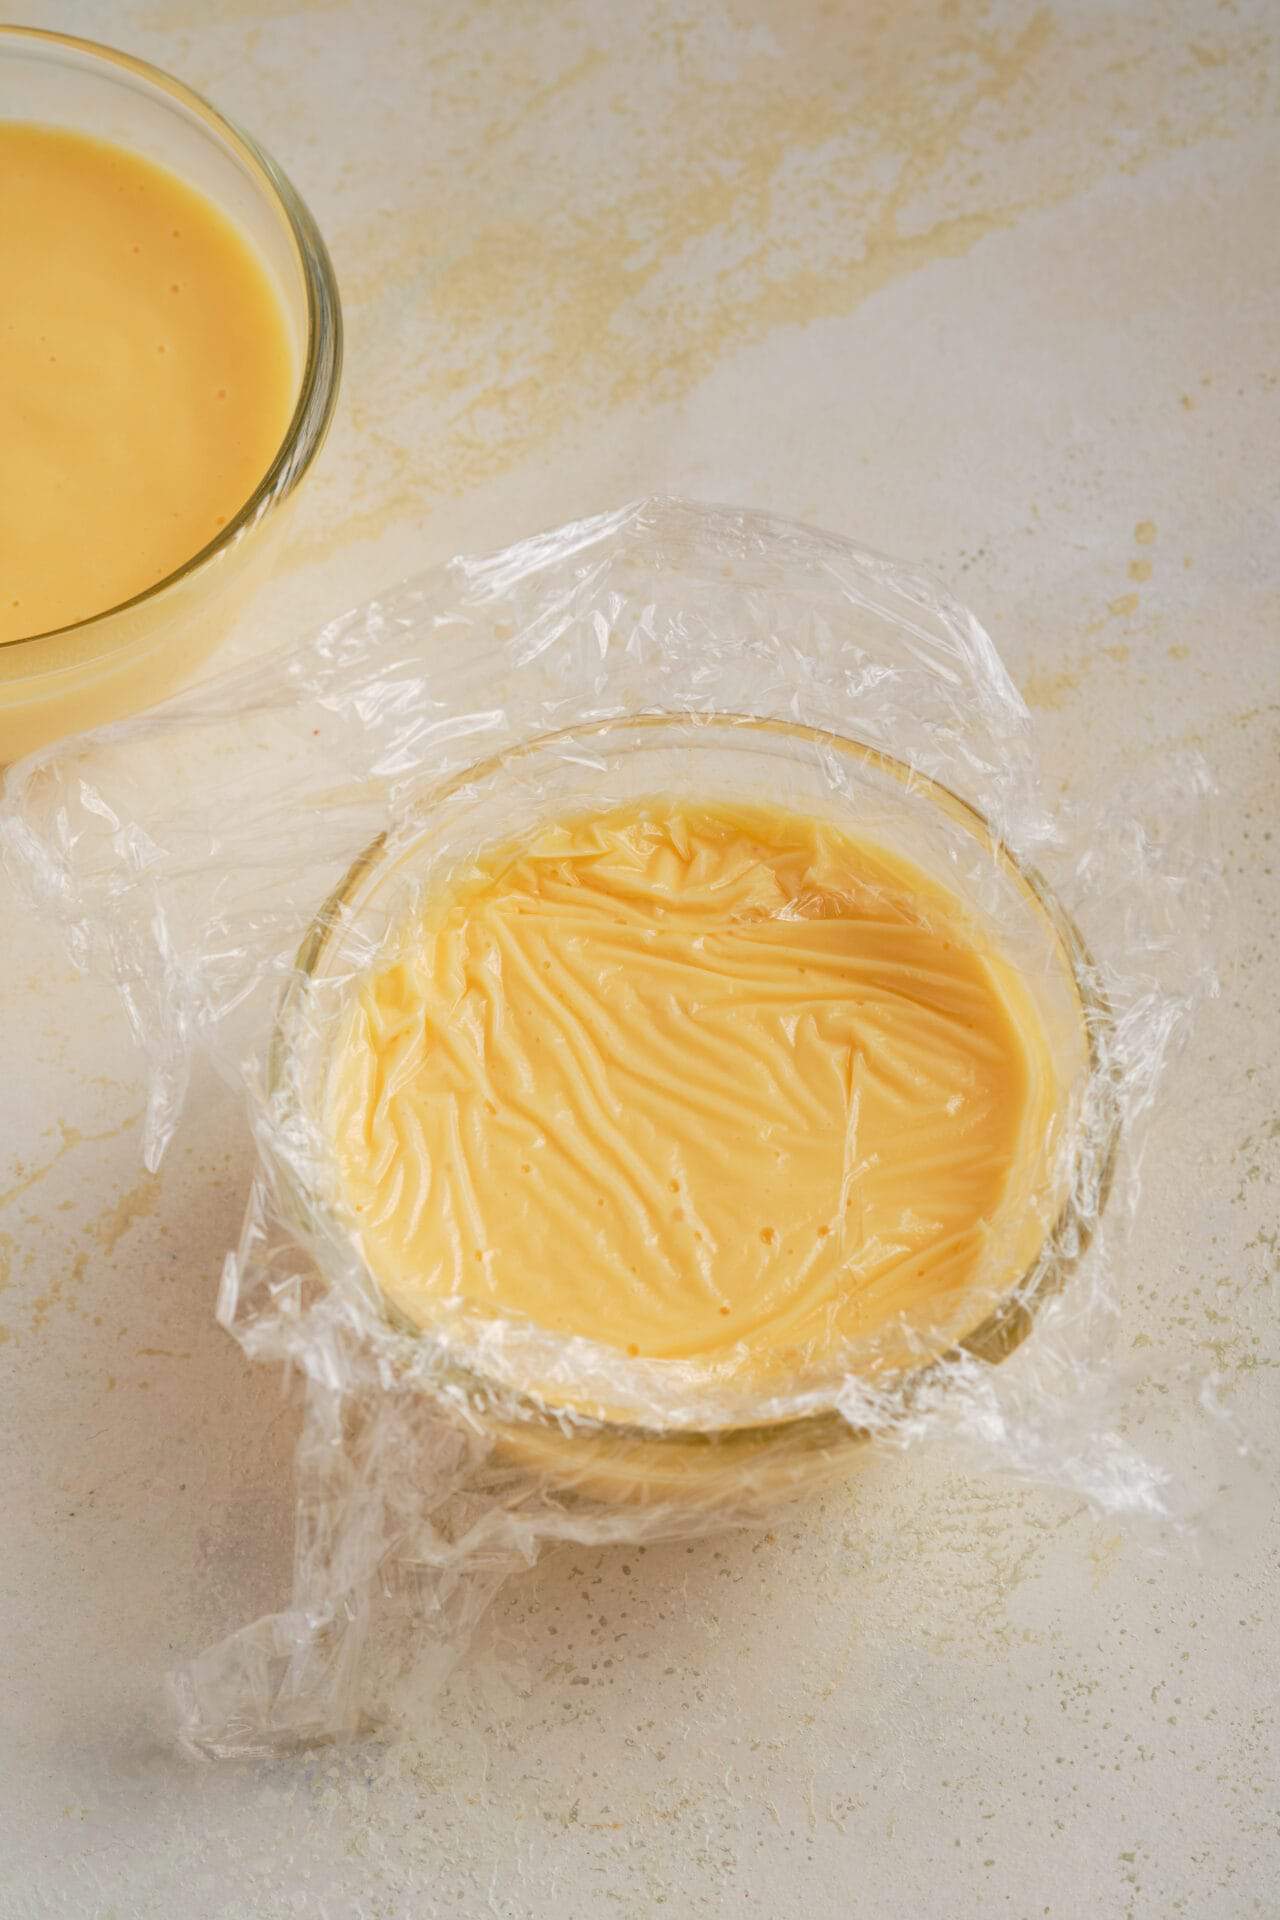
Step 9: Pour the pudding into a bowl or individual serving dishes.

Step 10: To prevent a skin from forming on top, place a piece of plastic wrap directly on the surface of the pudding.
Step 11: Refrigerate until fully chilled and set, about 2-3 hours.
FAQs & Tips
How to Make Ahead and Store?
You definitely want to make Vanilla Pudding ahead. It needs at least 2-3 hours in the fridge to chill and set up correctly. It can be made up to 2 days ahead and served chilled. Leftovers can keep in the fridge for up to 4-5 days. You can freeze the pudding in small portions; let it thaw overnight in the fridge to serve.
Can I sub out skim milk for the whole milk?
Using skim or reduced fat (1% or 2%) is generally not recommended. Whole milk, with its slightly thicker viscosity, is best for puddings. If you use reduced fat or skim milk, you run the risk of a slightly watery pudding, which is not very appetizing. Whole milk’s rich flavor is best for pudding as well, so whole milk is best. If you need to use non-dairy milk, unsweetened plain almond milk is probably best, but the texture will not be quite as creamy as above.
I’m in a rush: can I cook it on a higher temperature?
No, unfortunately, you cannot speed up the process without risking scalded milk. The key is to keep stirring and to be patient. It’s not a hard recipe, but you do have to have time to stay at the stove while the milk mixture heats up. This is what takes the longest, so switch stirring arms if you have to, and keep stirring!
Serving Suggestions
A bowl of this Vanilla Pudding with a little whipped cream and some fruit is so delicious! If you want to try some other toppings, you could top your pudding with mini chocolate chips, vanilla or Oreo cookies, or go for a tropical theme and top with mango and coconut. Our Vanilla Pudding recipe is versatile: you can pour the pudding into popsicle molds and make pudding pops, use it to make the Southern specialty of Banana Pudding, or even pour it into a graham cracker crust to make a vanilla cream pie. For something sweet and delectably chewy to go with Vanilla Pudding, try our Brownie Cookies. You won’t be disappointed!
Vanilla Pudding
Ingredients
- 2/3 cup granulated sugar
- 1/4 cup cornstarch
- 1/8 teaspoon salt
- 2 1/2 cups whole milk
- 3 large egg yolks
- 2 tablespoons unsalted butter
- 1 1/2 teaspoons pure vanilla extract
Instructions
- In a medium saucepan, combine granulated sugar, cornstarch, and salt.
- Gradually whisk in the whole milk until smooth.

- Cook over medium heat, stirring constantly, until the mixture thickens and comes to a gentle boil.
- In a separate bowl, lightly beat the egg yolks.

- Temper the egg yolks by slowly pouring in about 1/2 cup of the hot milk mixture, whisking constantly to prevent the eggs from curdling.

- Gradually whisk the tempered egg yolks back into the saucepan with the remaining milk mixture.

- Bring to a gentle boil and cook for an additional minute, stirring continuously.
- Remove from heat and stir in the unsalted butter and pure vanilla extract until well combined.
- Pour the pudding into a bowl or individual serving dishes.

- To prevent a skin from forming on top, place a piece of plastic wrap directly on the surface of the pudding.

- Refrigerate until fully chilled and set, about 2-3 hours.

Leave a Comment