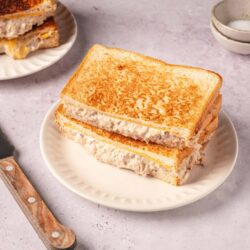
This Tuna Melt tastes just like the classic one from your favorite diner!

They say necessity is the mother of invention, and that is true for the classic American tuna melt, an outrageously good sandwich that combines everything we love about grilled cheese (buttery, toasty bread and melty cheese) with everything we love about a creamy, savory tuna sandwich.
Legend has it that the tuna melt was invented out of the necessity of not throwing away perfectly good food just because of a busy cook’s error. Apparently, at the Woolworth’s lunch counter in Charleston, S.C., in the 1960s, some tuna salad inadvertently fell on top of a grilled cheese sandwich, and thanks to the counter cook deciding to serve it anyway, the tuna melt was born. Although no one seems to know if this story is actually true, it doesn’t really matter. Tuna melts gained enormous popularity in the 60s and 70s, partly thanks to the availability and affordability of canned tuna, and that still remains the case today.
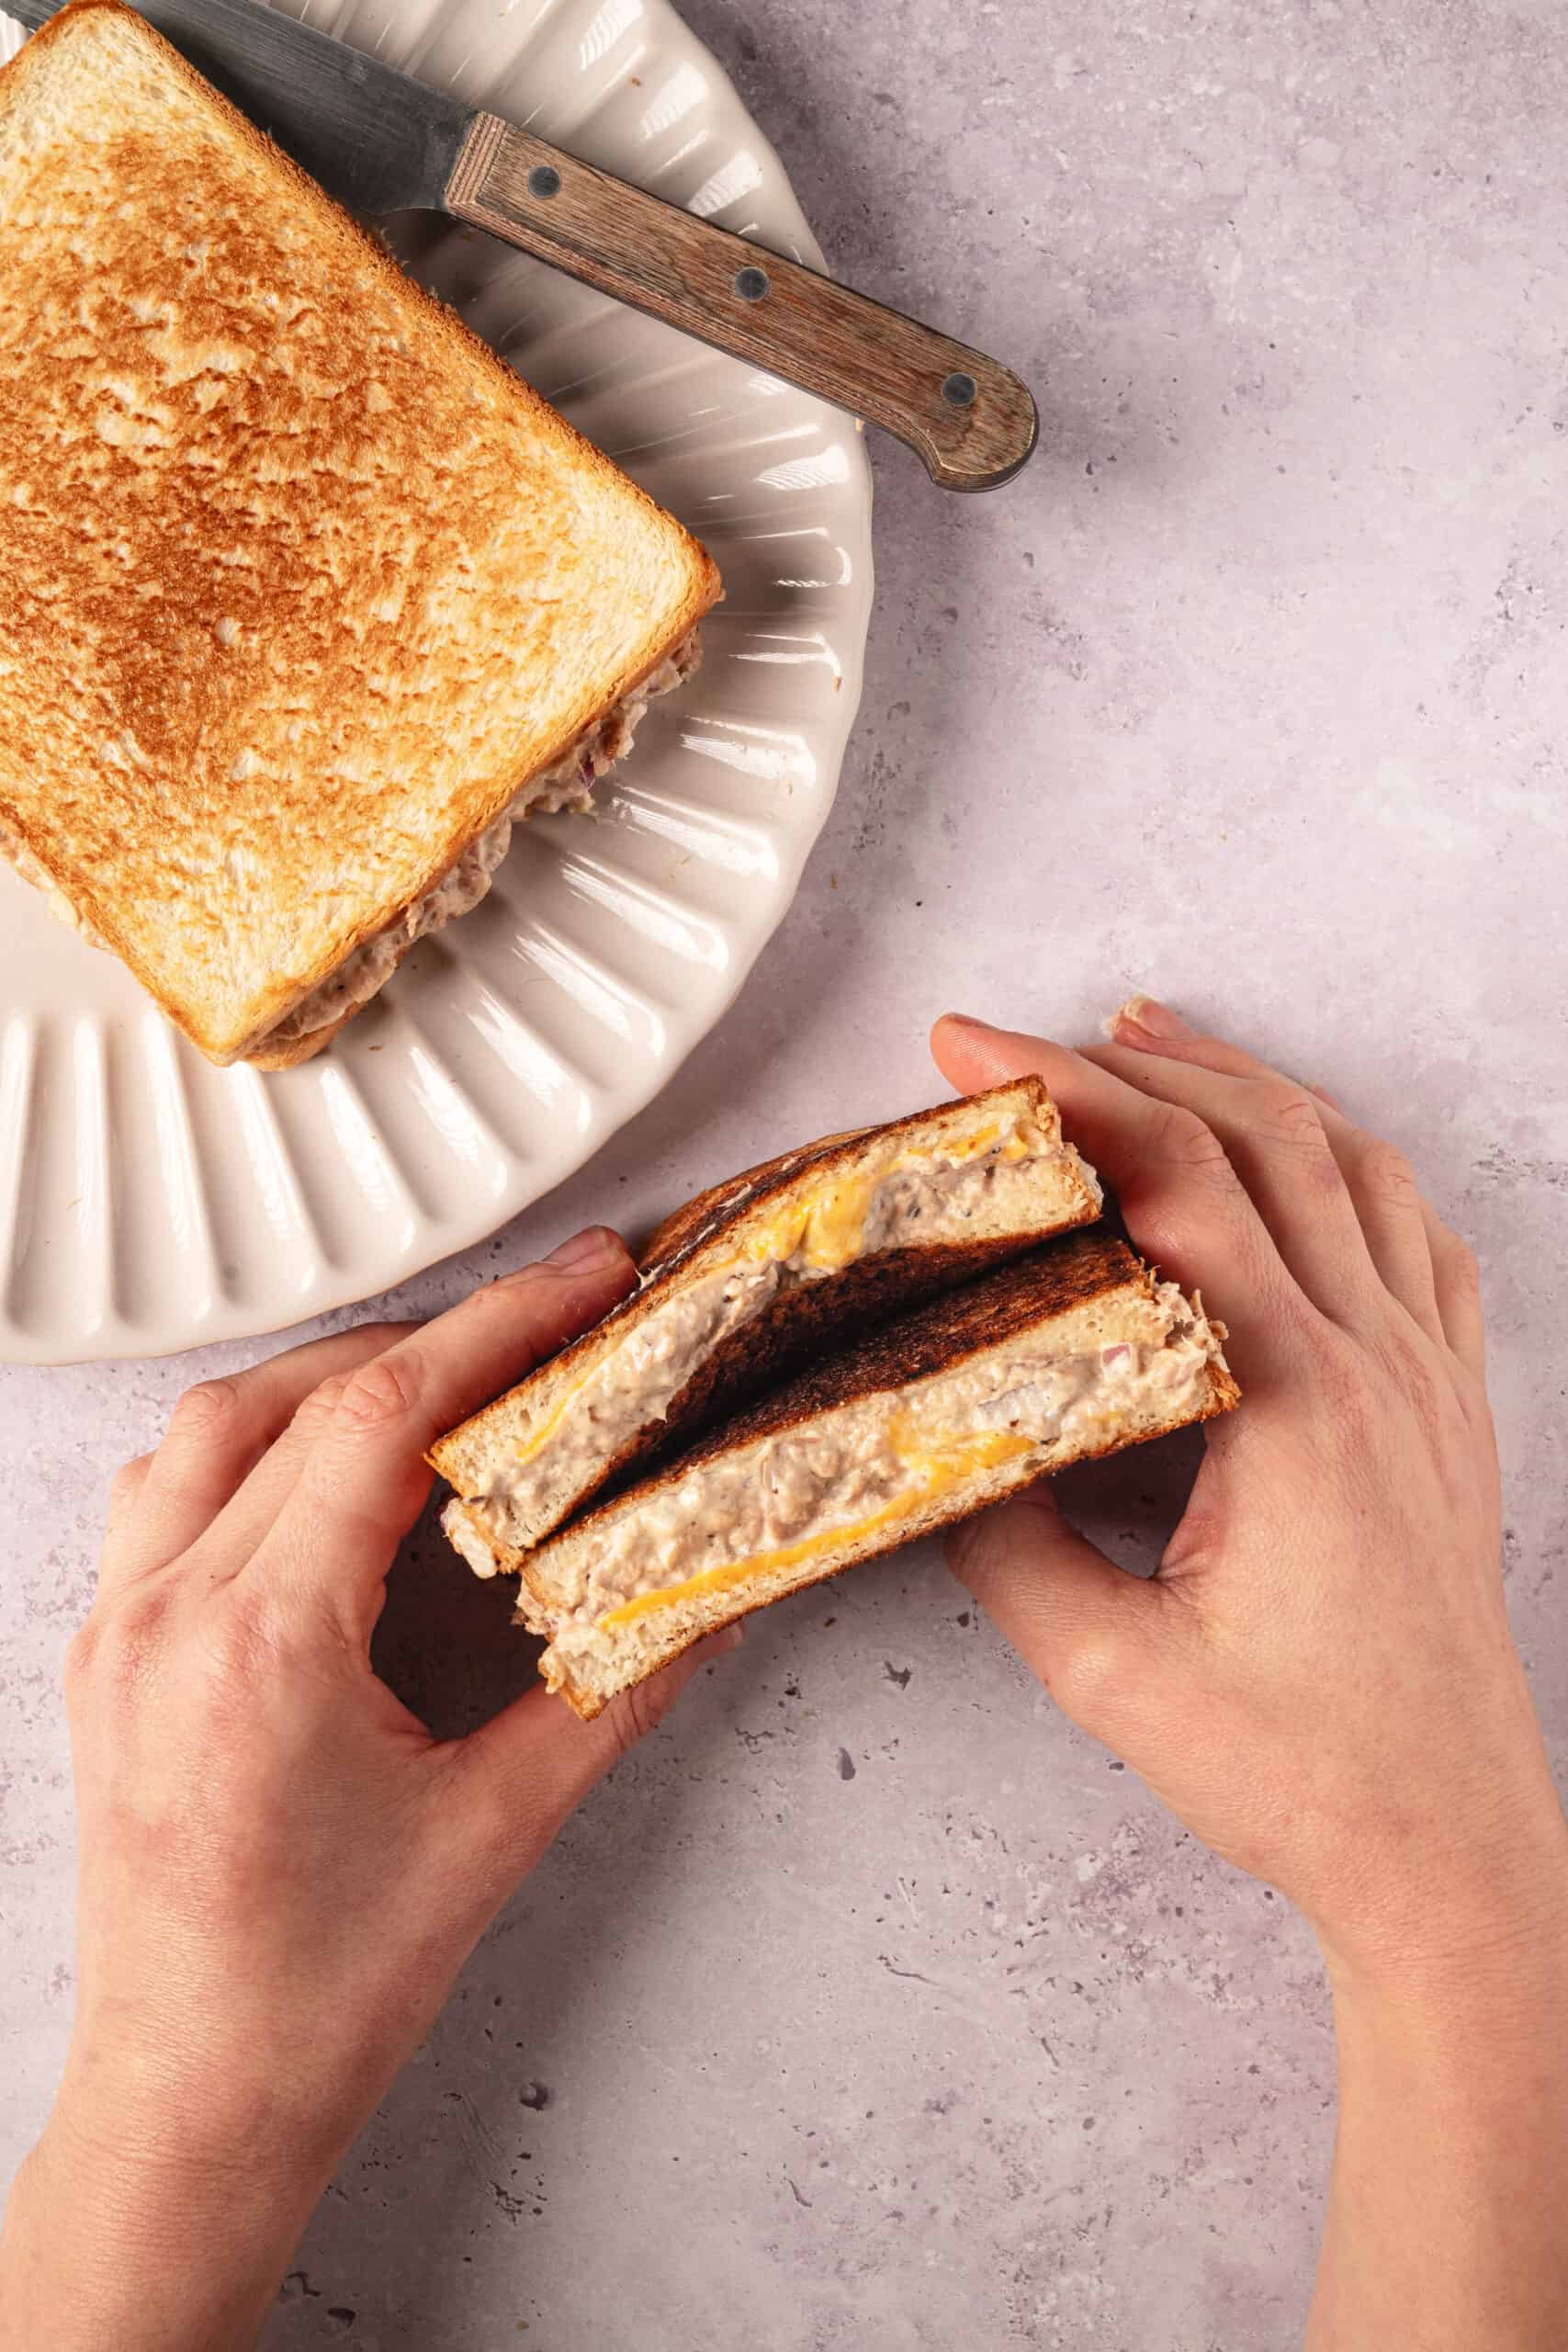
It’s very quick and easy to make a tuna melt. Just mix together the tuna salad ingredients, butter the outer sides of the bread, layer the inside with the tuna mixture and some sharp cheddar, and cook until golden brown. Truly delicious.
About Canned Tuna
When you go to the grocery store to pick up canned tuna, you’re likely to see an array of choices. There’s “white” tuna, which is 100% albacore and has a mild flavor and firm texture, but there is also “light” tuna, which is made from skipjack or yellowfin fish. It has a stronger taste, is darker in color, and has a softer texture. You’re also going to see both varieties packed in either water or oil (vegetable, soybean, or olive). How to choose? Well, you know what I always say in these situations: choose the one you like best! I’m partial to light tuna packed in olive oil because I think it has a richer flavor, and I love the texture. But you do you!

How Do I Store Leftovers?
The tuna melt is best eaten as soon as it comes out of the pan, but you can store it in the refrigerator, tightly wrapped in plastic or foil, for up to 3 days. Reheat it on a sheet pan in the oven for 5-10 minutes. These sandwiches will not freeze well.
Serving Suggestions
At my favorite diner, they serve tuna melts with hot and crispy French Fries, but sometimes we just need our taters “jacked” up, so I make the fabulous Jack’s Urban Fries. And if you want to keep with this theme but also want to add a vegetable to this meal, try these Asparagus Fries with a side of Homemade Ranch Dressing for dipping!
There are also lots of bright and tangy things that go perfectly with a tuna melt, like Bread-And-Butter Pickles, Pickled Red Onions, Marinated Artichoke Hearts, or Roasted Peppers. And to add a little sweetness, serve your tuna melts with this classic diner favorite, the Strawberry Ice Cream Soda.

Tuna Melt
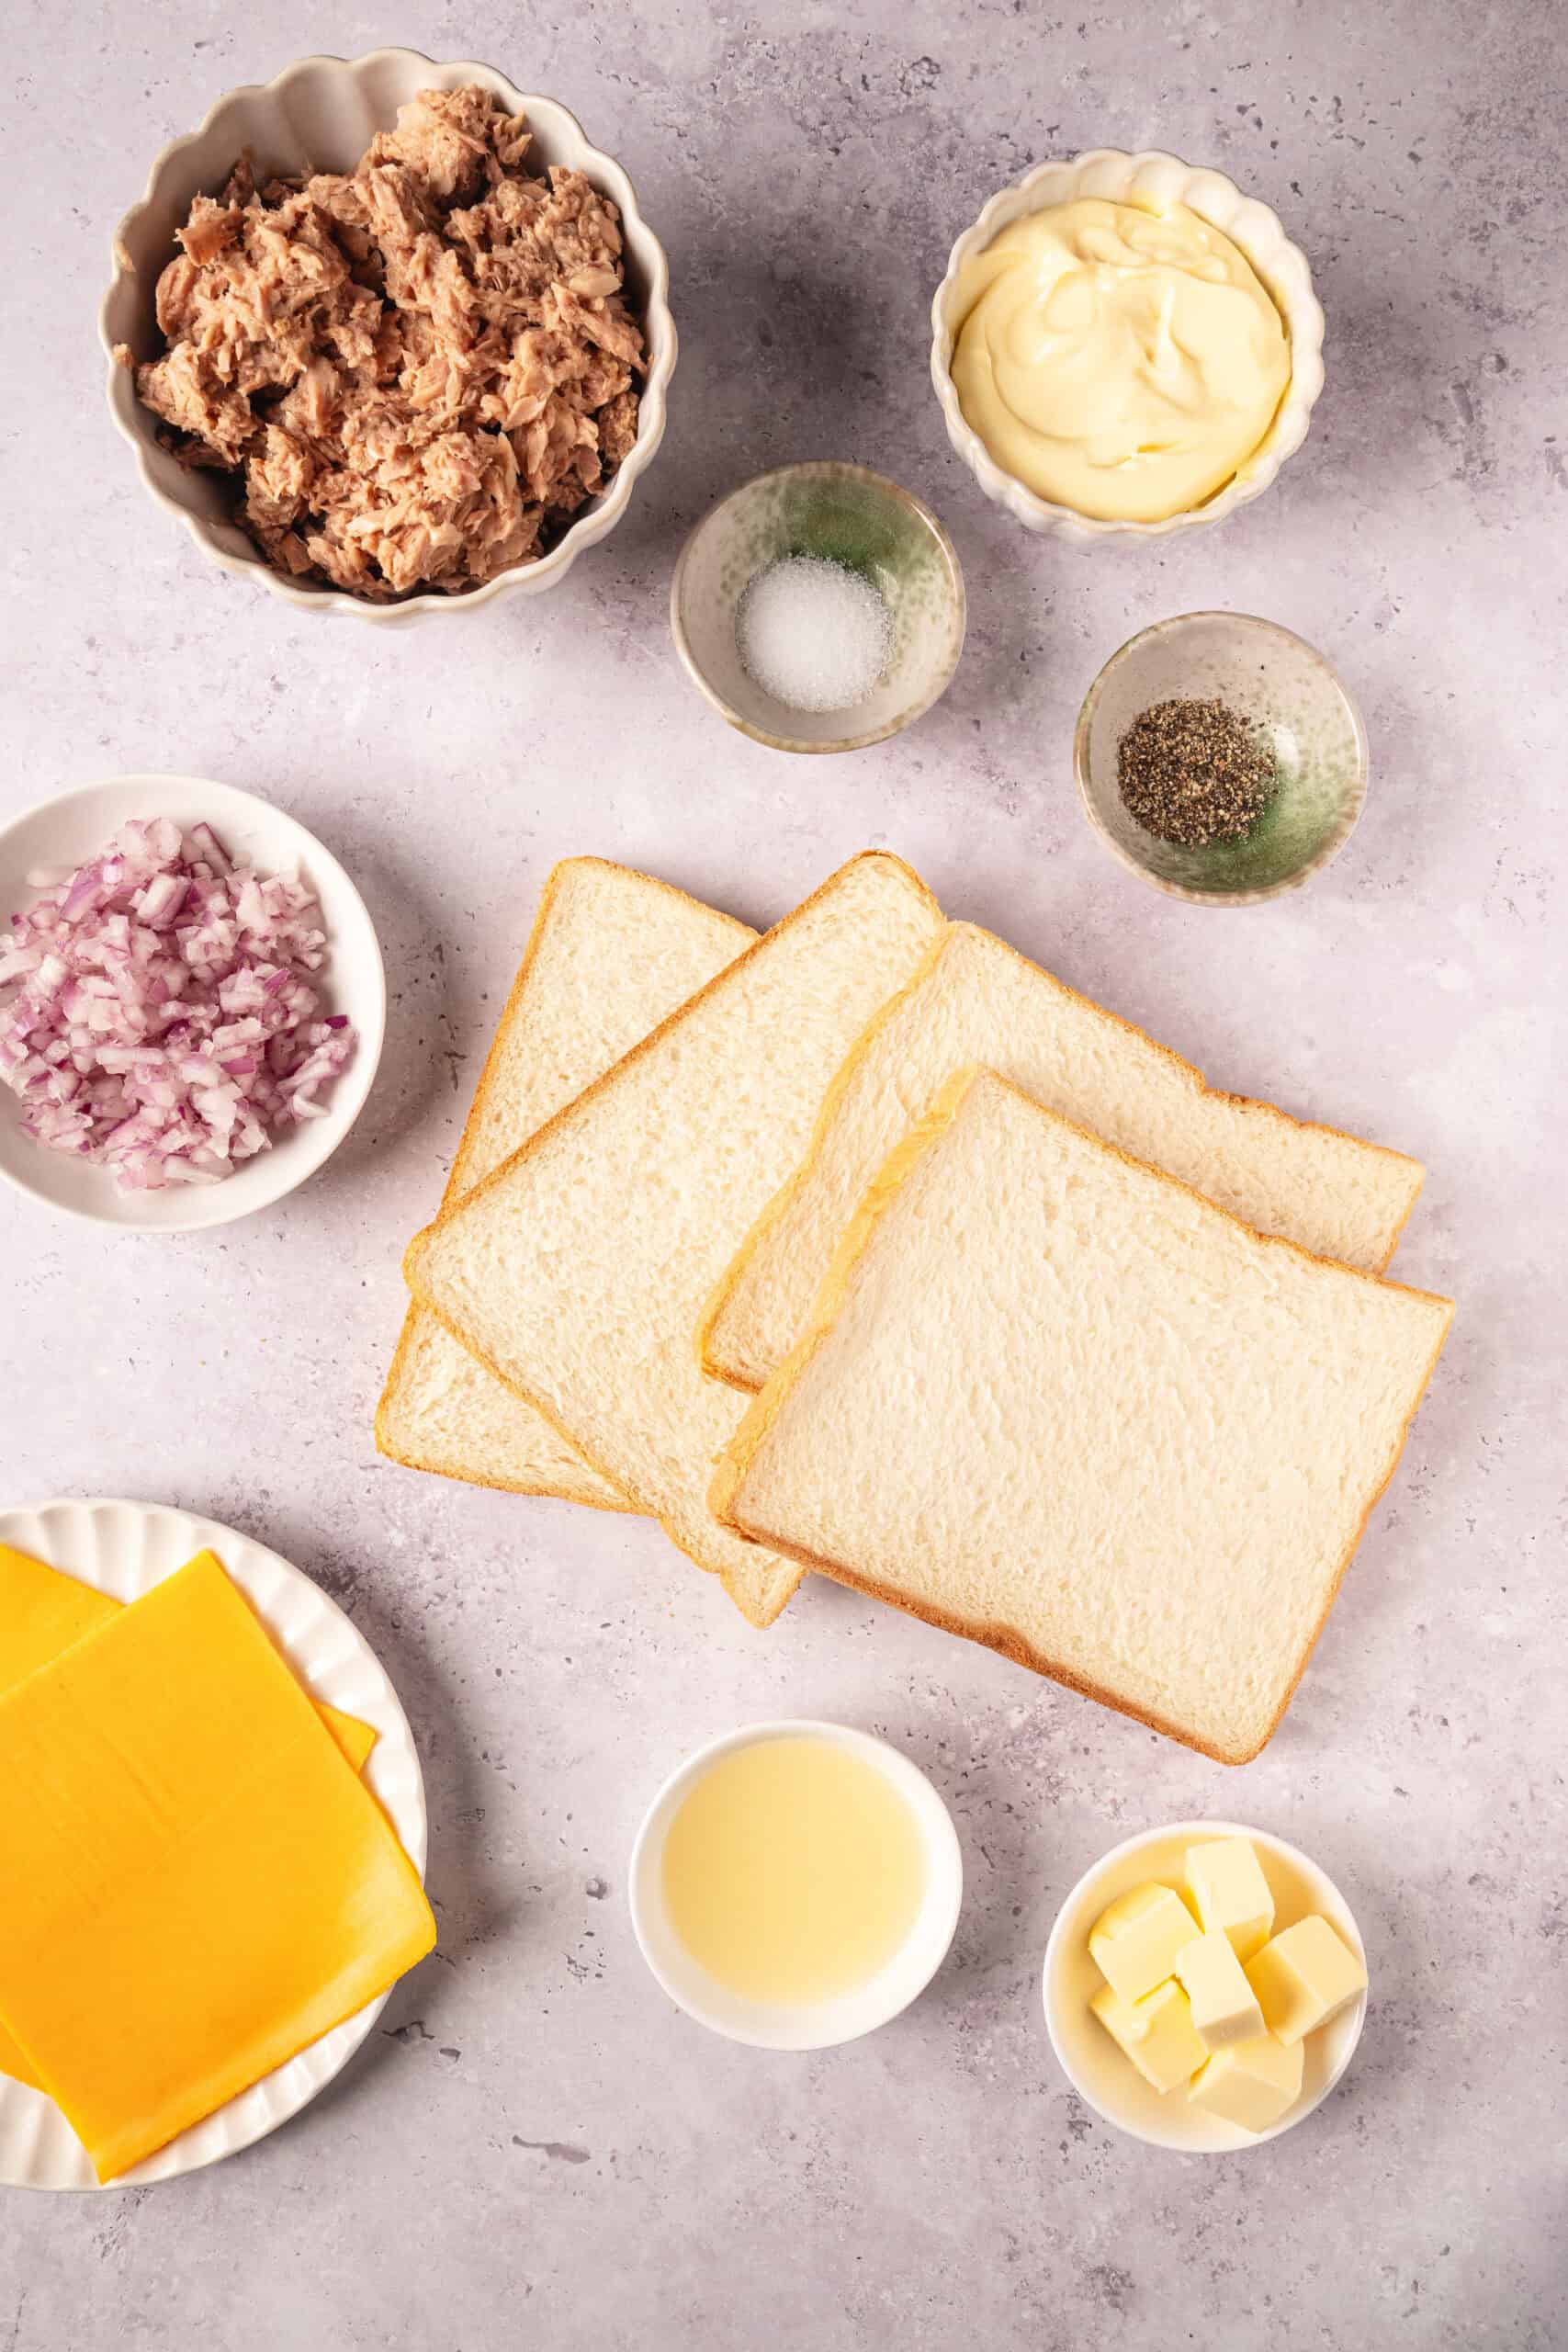
Ingredients
- 1 can tuna (12 ounces) drained
- 5 tablespoons mayonnaise
- 2 tablespoons finely chopped red onion
- 2 teaspoons fresh lemon juice
- Salt and freshly ground black pepper to taste
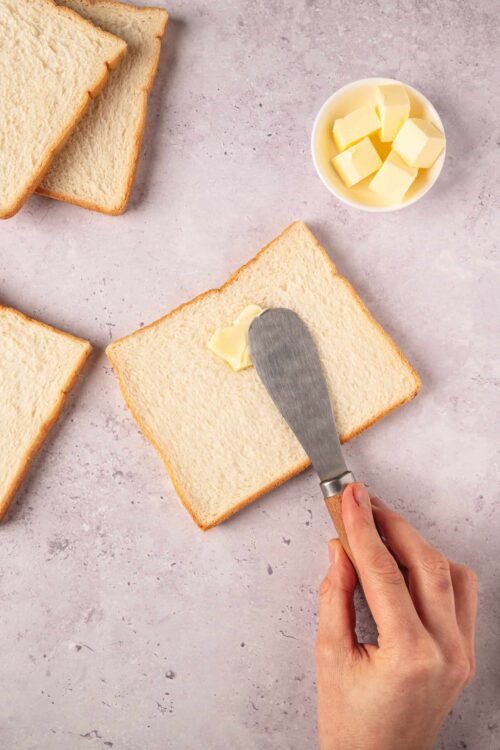
- 2 tablespoons softened butter
- 4 slices thick-cut white bread
- 2 slices cheddar cheese
- Sliced tomato, avocado, and other optional toppings
Instructions
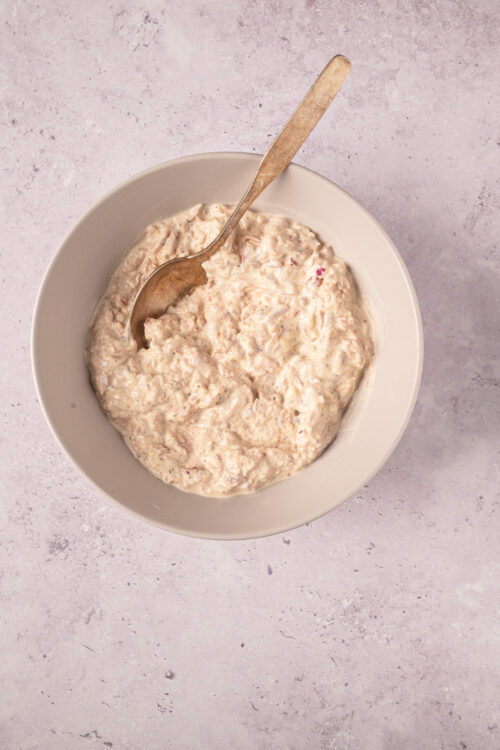
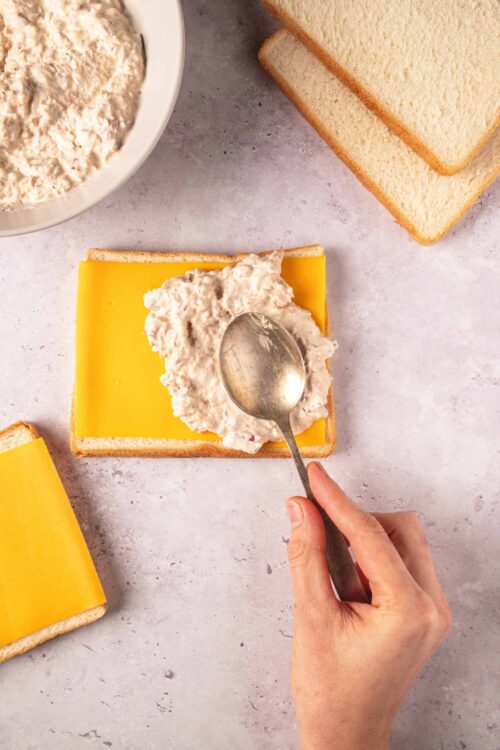
- In a bowl, combine the drained tuna, mayonnaise, chopped red onion, lemon juice, salt, and pepper. Stir until the ingredients are well mixed. Adjust mayo or seasoning to taste.
- Butter one side of each slice of bread.
- On the unbuttered side of two slices of bread, place a slice of cheddar cheese. Add a layer of the tuna mixture on top of the cheese. Add any other ingredients you’d like, such as tomato or avocado slices.
- Finally, cover with the remaining slices of bread, ensuring the buttered sides face outward.
- Heat a skillet over medium-low. Cook the sandwiches 2-5 minutes per side, pressing gently for even toasting.
- When both sides are golden and the cheese is melted, remove from the skillet and serve immediately.
Leave a Comment