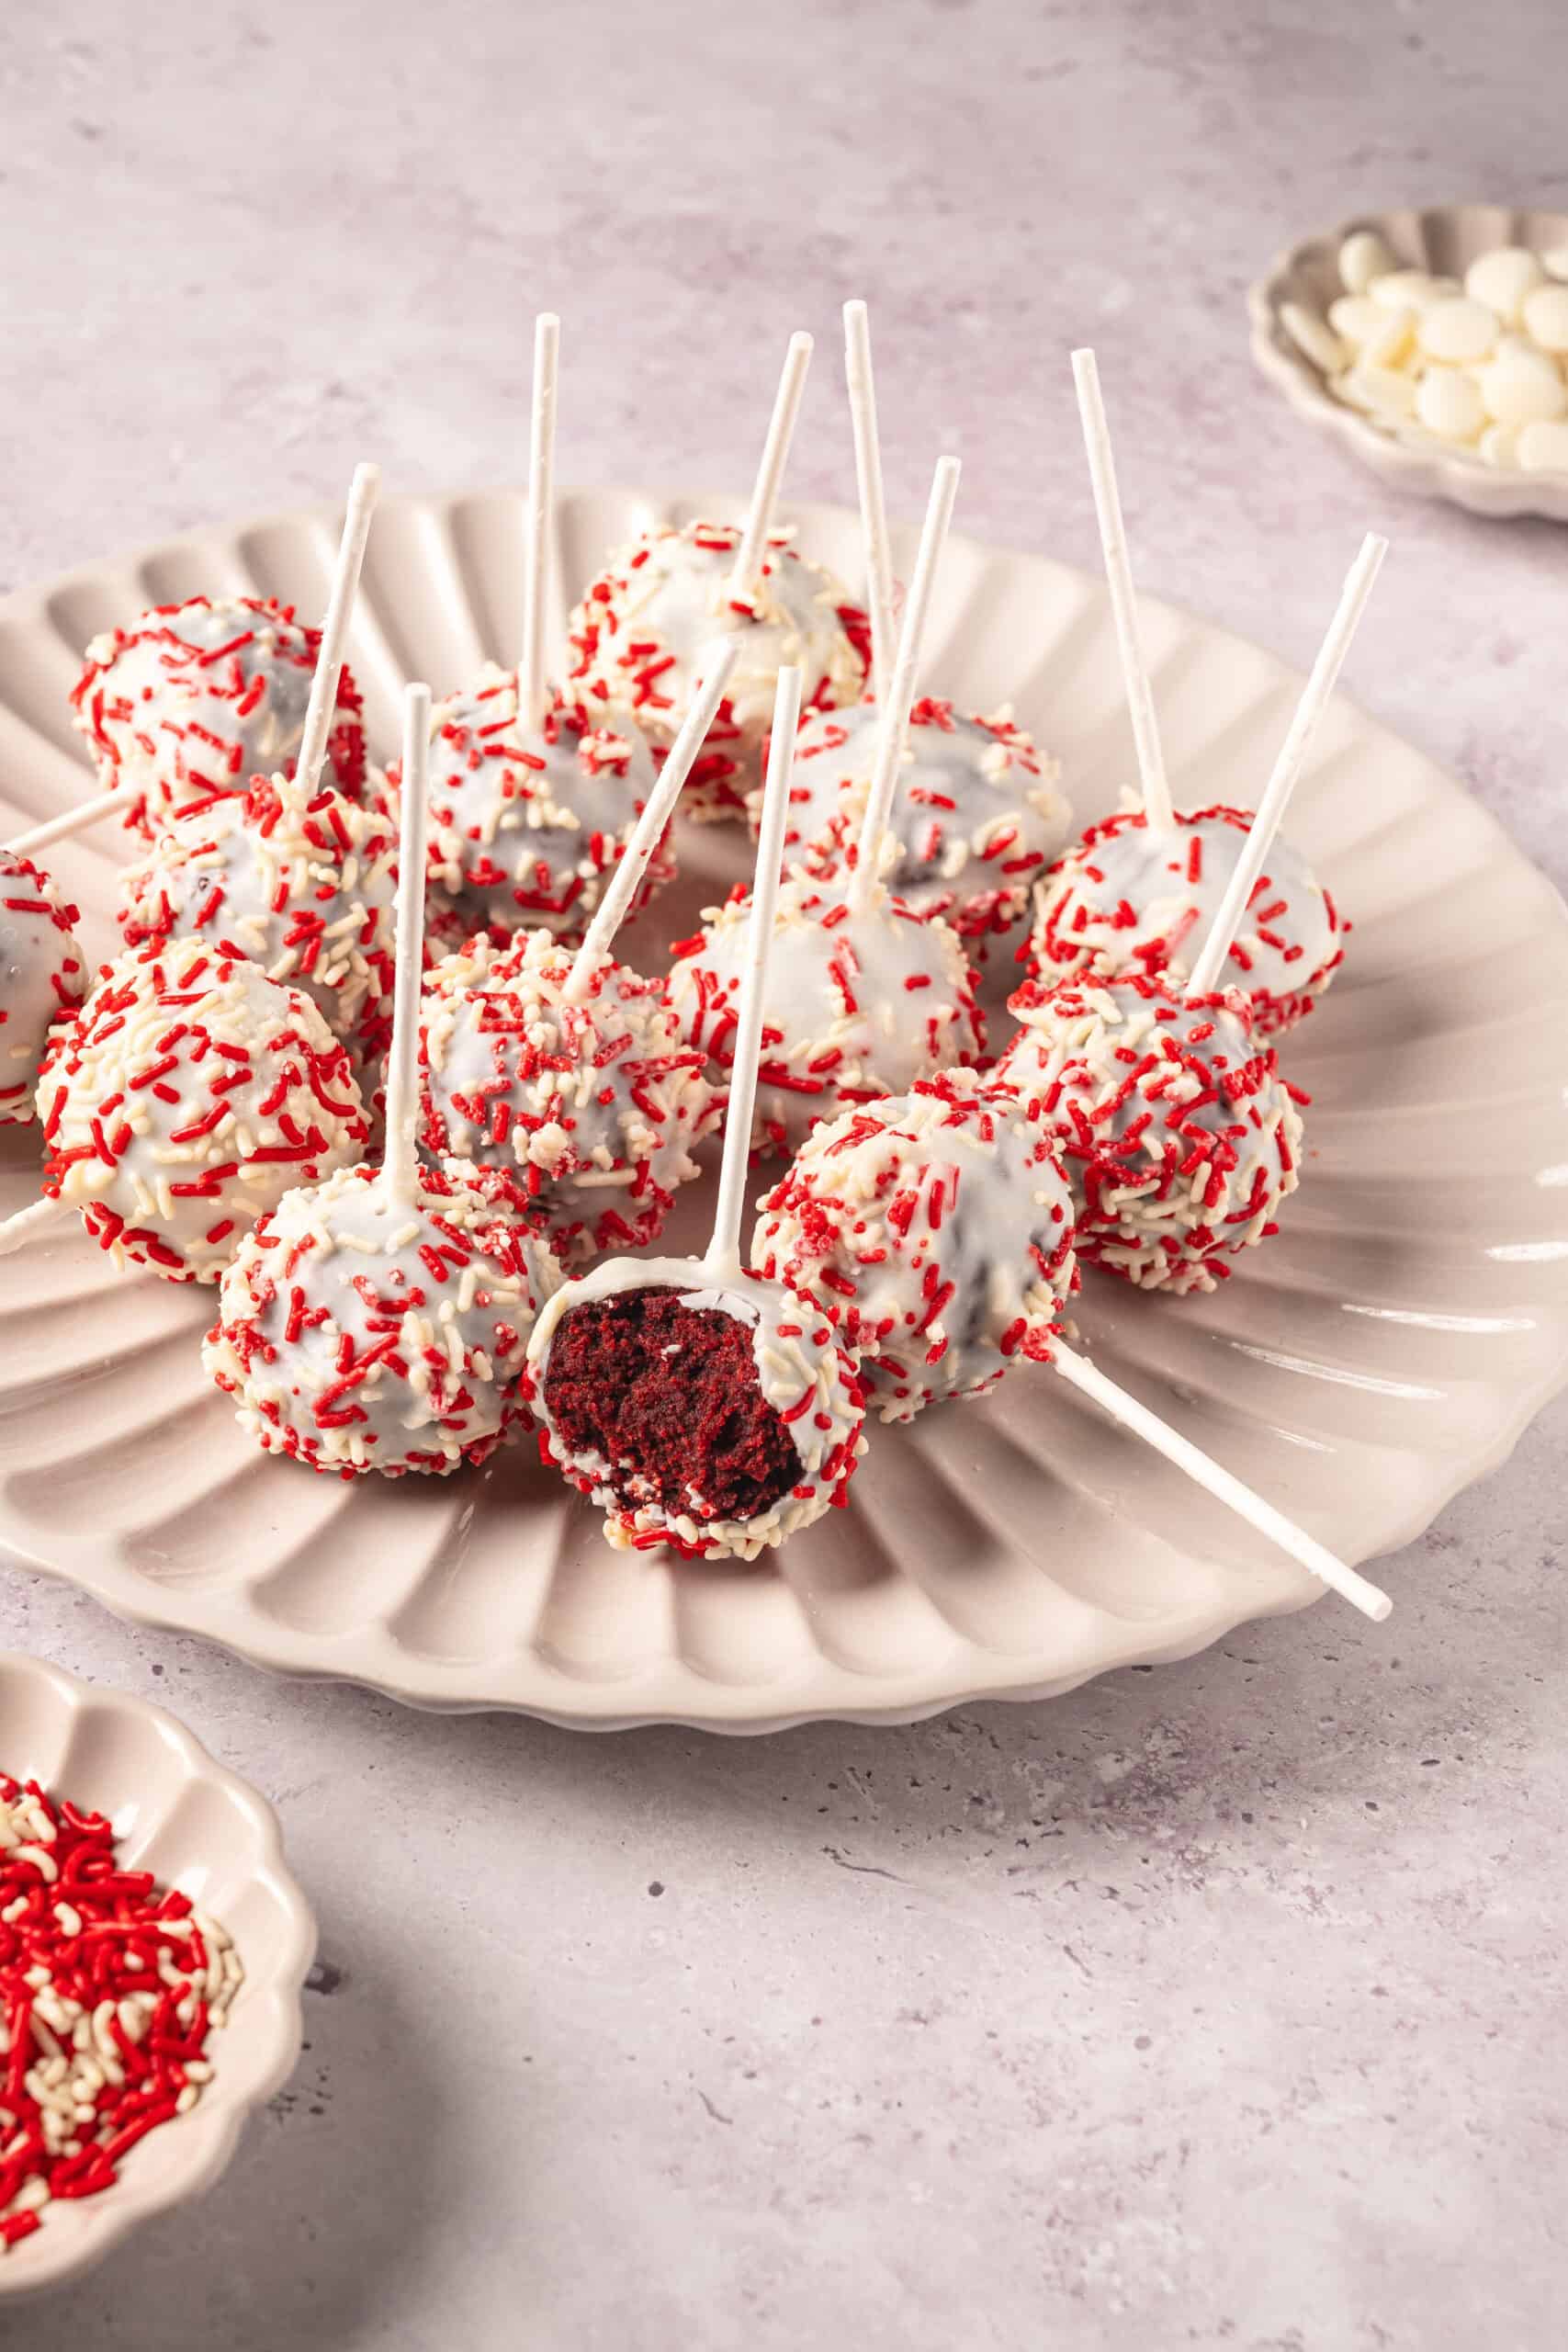
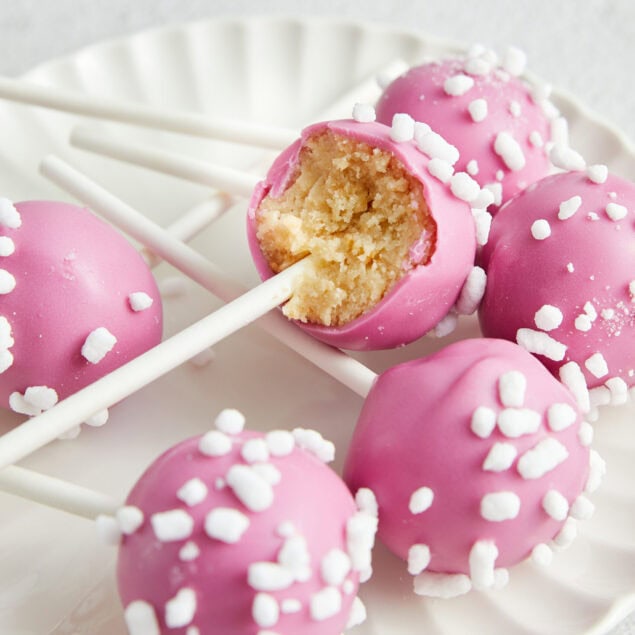
With their deep chocolate flavor and gorgeous crimson color, Red Velvet Cake Pops are always a huge hit.
Don’t you love a dramatic dessert? I do. Whether it’s a flambéed baked Alaska or something garnished with edible gold leaf, I am drawn in and mesmerized by sweets that take dessert up a notch (or two… or three). While most of these kinds of spectacular sweets are things I generally wouldn’t tackle at home, I think anything red velvet is right up there with the most special desserts, and that delicious cake is very easy to make at home.
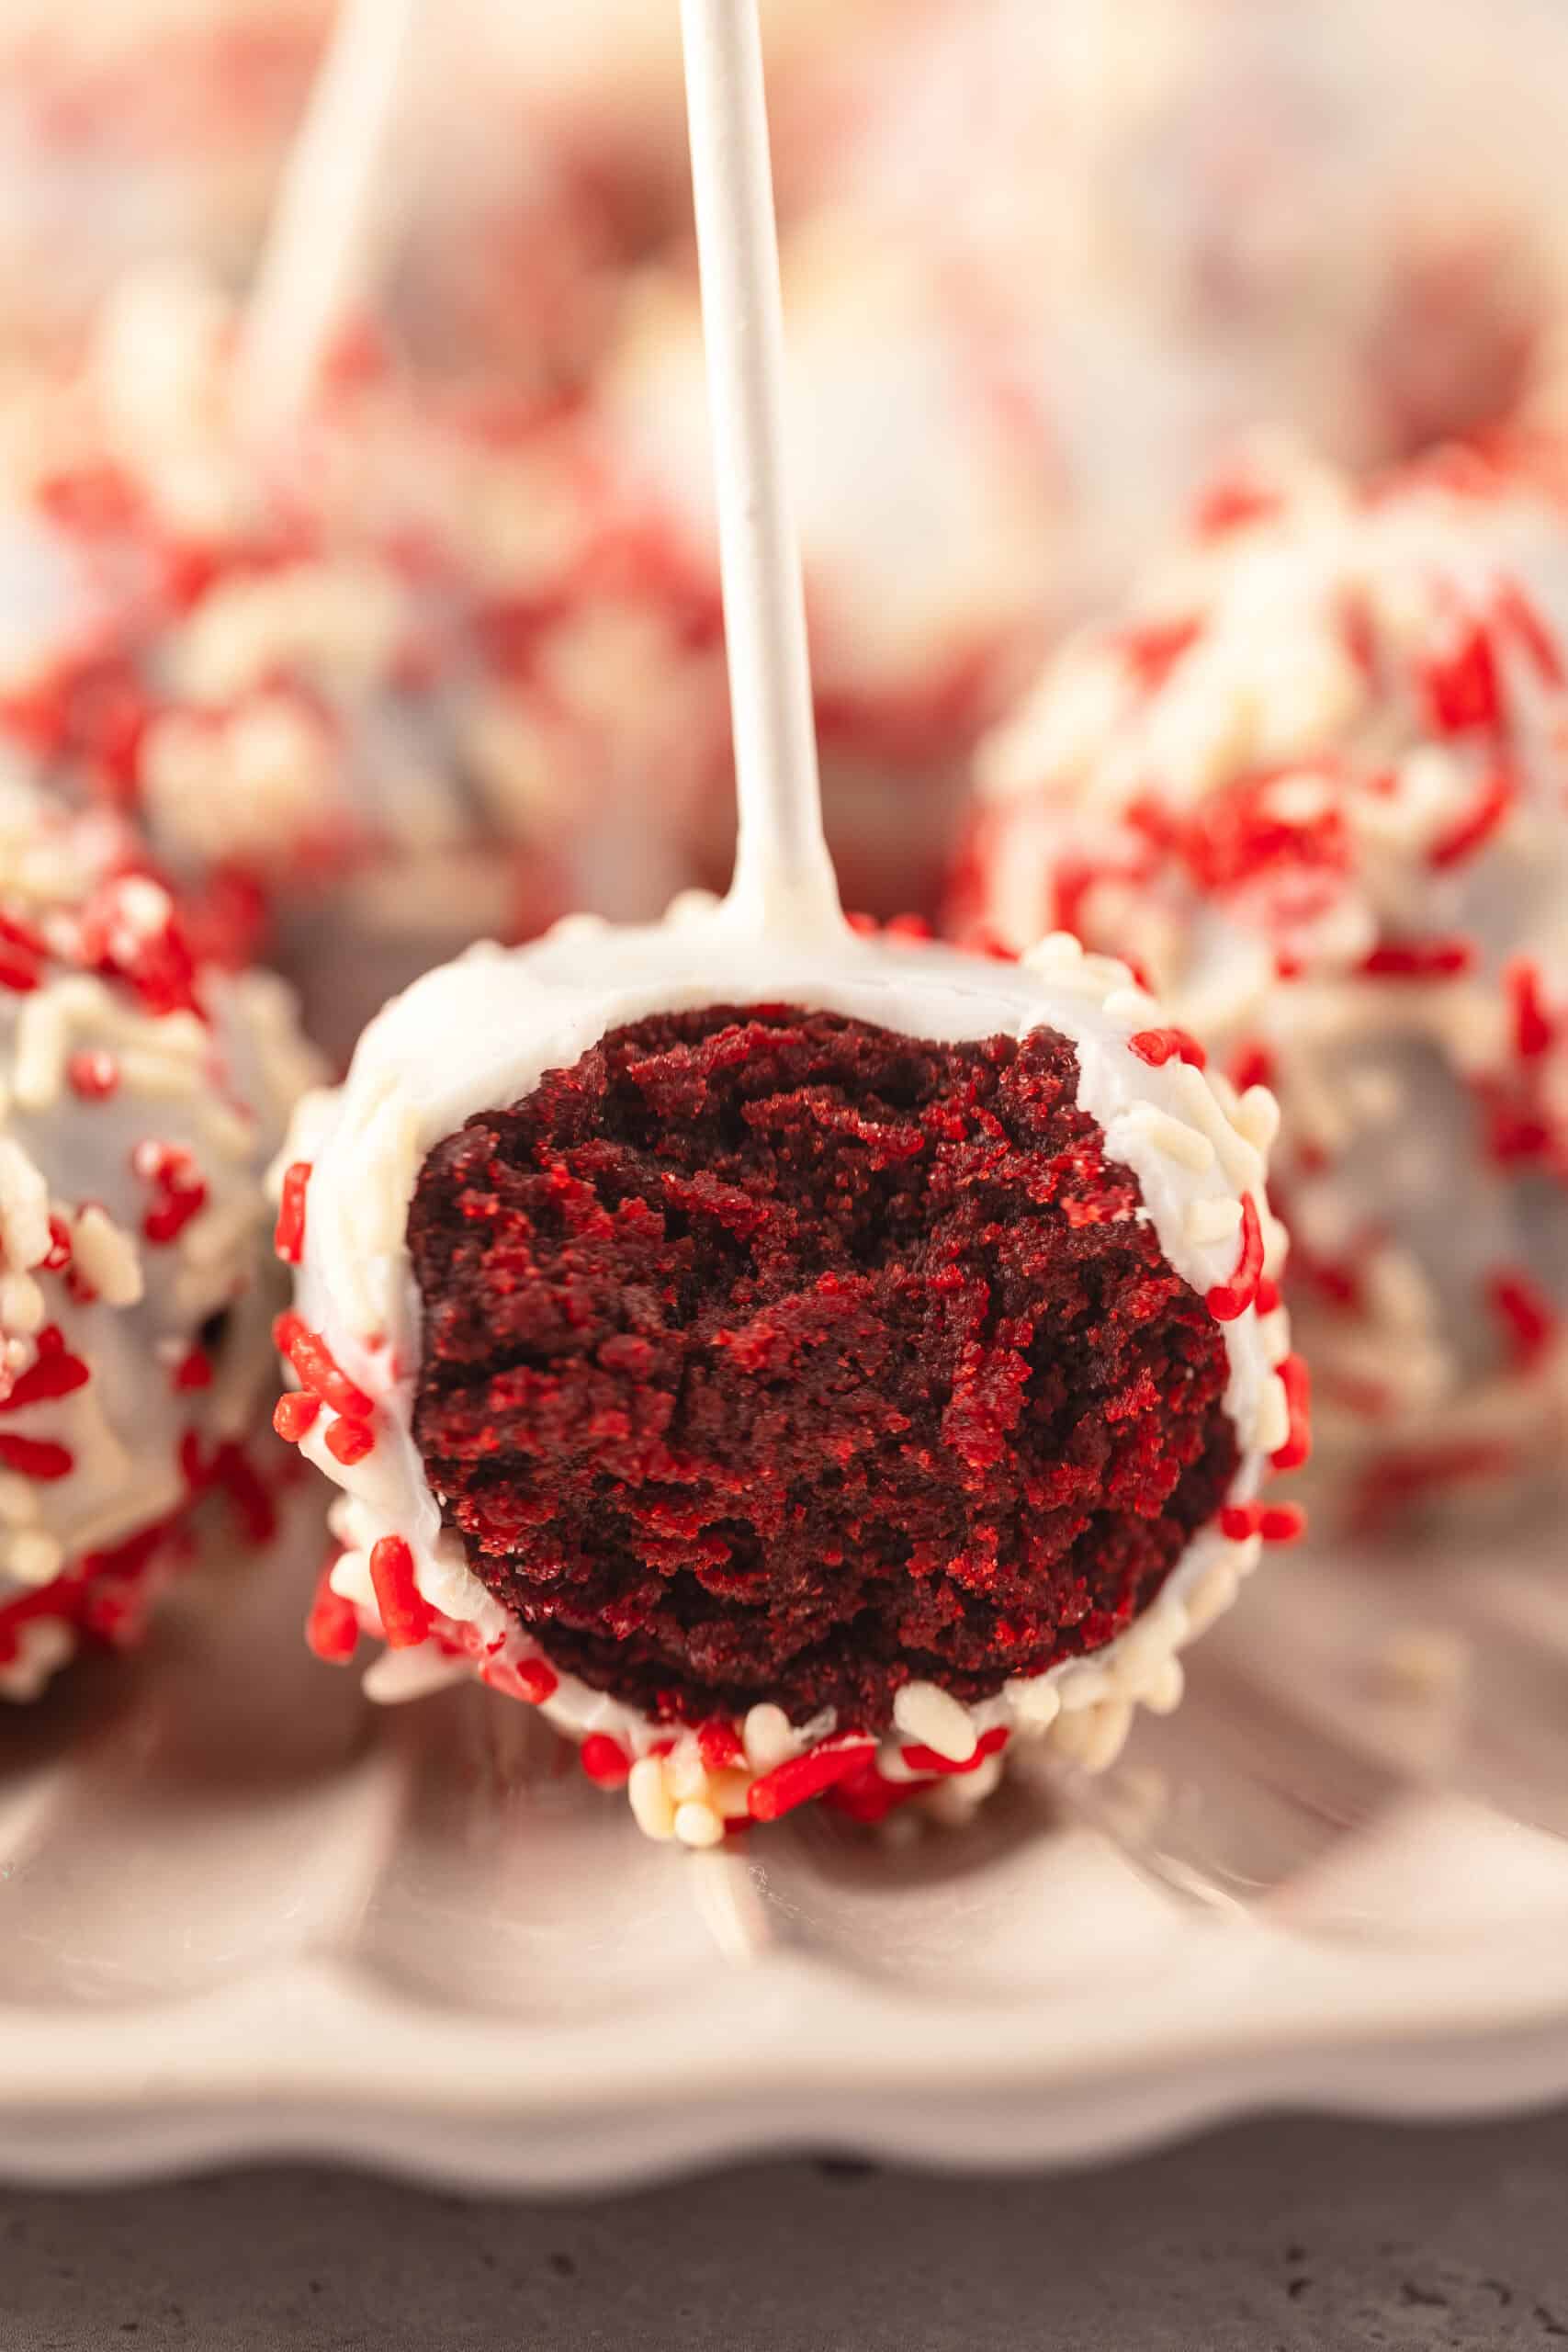
The name alone evokes elevated elegance, but it’s the cake’s extraordinary moistness and spectacularly deep chocolaty taste that make it a one-of-a-kind dessert worthy of celebrating any occasion. But when you transform this confection into red velvet cake pops, you don’t have to save them for a special moment. These little spheres of yumminess coated in a delicious white candy shell are the perfect size for satisfying your sweet tooth, for surprising your family with a fun weeknight dessert, or for having a one-bite mini-celebration of the fact that you made red velvet cake pops in your very own kitchen and so deserve to have one right away!
I’m always surprised and delighted when I discover a recipe, especially for a dessert, whose results make me look like a professional pastry chef, and these red velvet cake pops do just that. They come out perfectly, and that cream cheese frosting mixed into the crumbled red velvet cake gives the pops a distinctive tang that makes them even more delicious. In our recipe, we say the sprinkles are optional, but I think you’ll love the wow factor they bring to these yummy treats.
The origin of red velvet cake
While there is no definitive origin of red velvet cake, mostly because there is no written record of it, most historians agree that it appeared in the United States during the 1800s when bakers began using cocoa powder to achieve a velvet-like texture in cakes. When these bakers added an acid to the mix, most likely buttermilk or vinegar, the cake took on a mild red hue. In the 1920s or 30s (no one is sure), the famous Waldorf Astoria Hotel in New York began to serve red velvet cake and claims to have been the first to serve it, but food scholars tend to think that the hotel merely popularized the cake, as it already existed in the South. As time went on, boiled beets were added to give the cake a deeper red color, but once red food coloring came on the market, it became responsible for the iconic crimson color we associate with red velvet cake today.

How do I store leftovers?
Red velvet cake pops can be stored in an airtight container in the refrigerator for up to 5 days and in the freezer for up to 3 months. Thaw at room temperature.
Serving suggestions
I have a cousin whose absolute favorite dessert is red velvet cake. Last year, for a surprise birthday party we threw for her, I did a red velvet dessert extravaganza! I made the red velvet cake pops, but I also made Red Velvet Cupcakes, Red Velvet Shortbread Cookies, and Red Velvet Cheesecake Cups. And you know how I love to do theme dinners, so for this party I went with red: I made these Easy Lasagna Roll-Ups, a Meatless Lasagna, Easy And Delicious Caprese Skewers, and instead of bread, I did a pizza with this recipe for How to Make Pizza Crust and topped it with Roasted Peppers (I only used red ones!) and Marinated Mozzarella.

Red Velvet Cake Pops
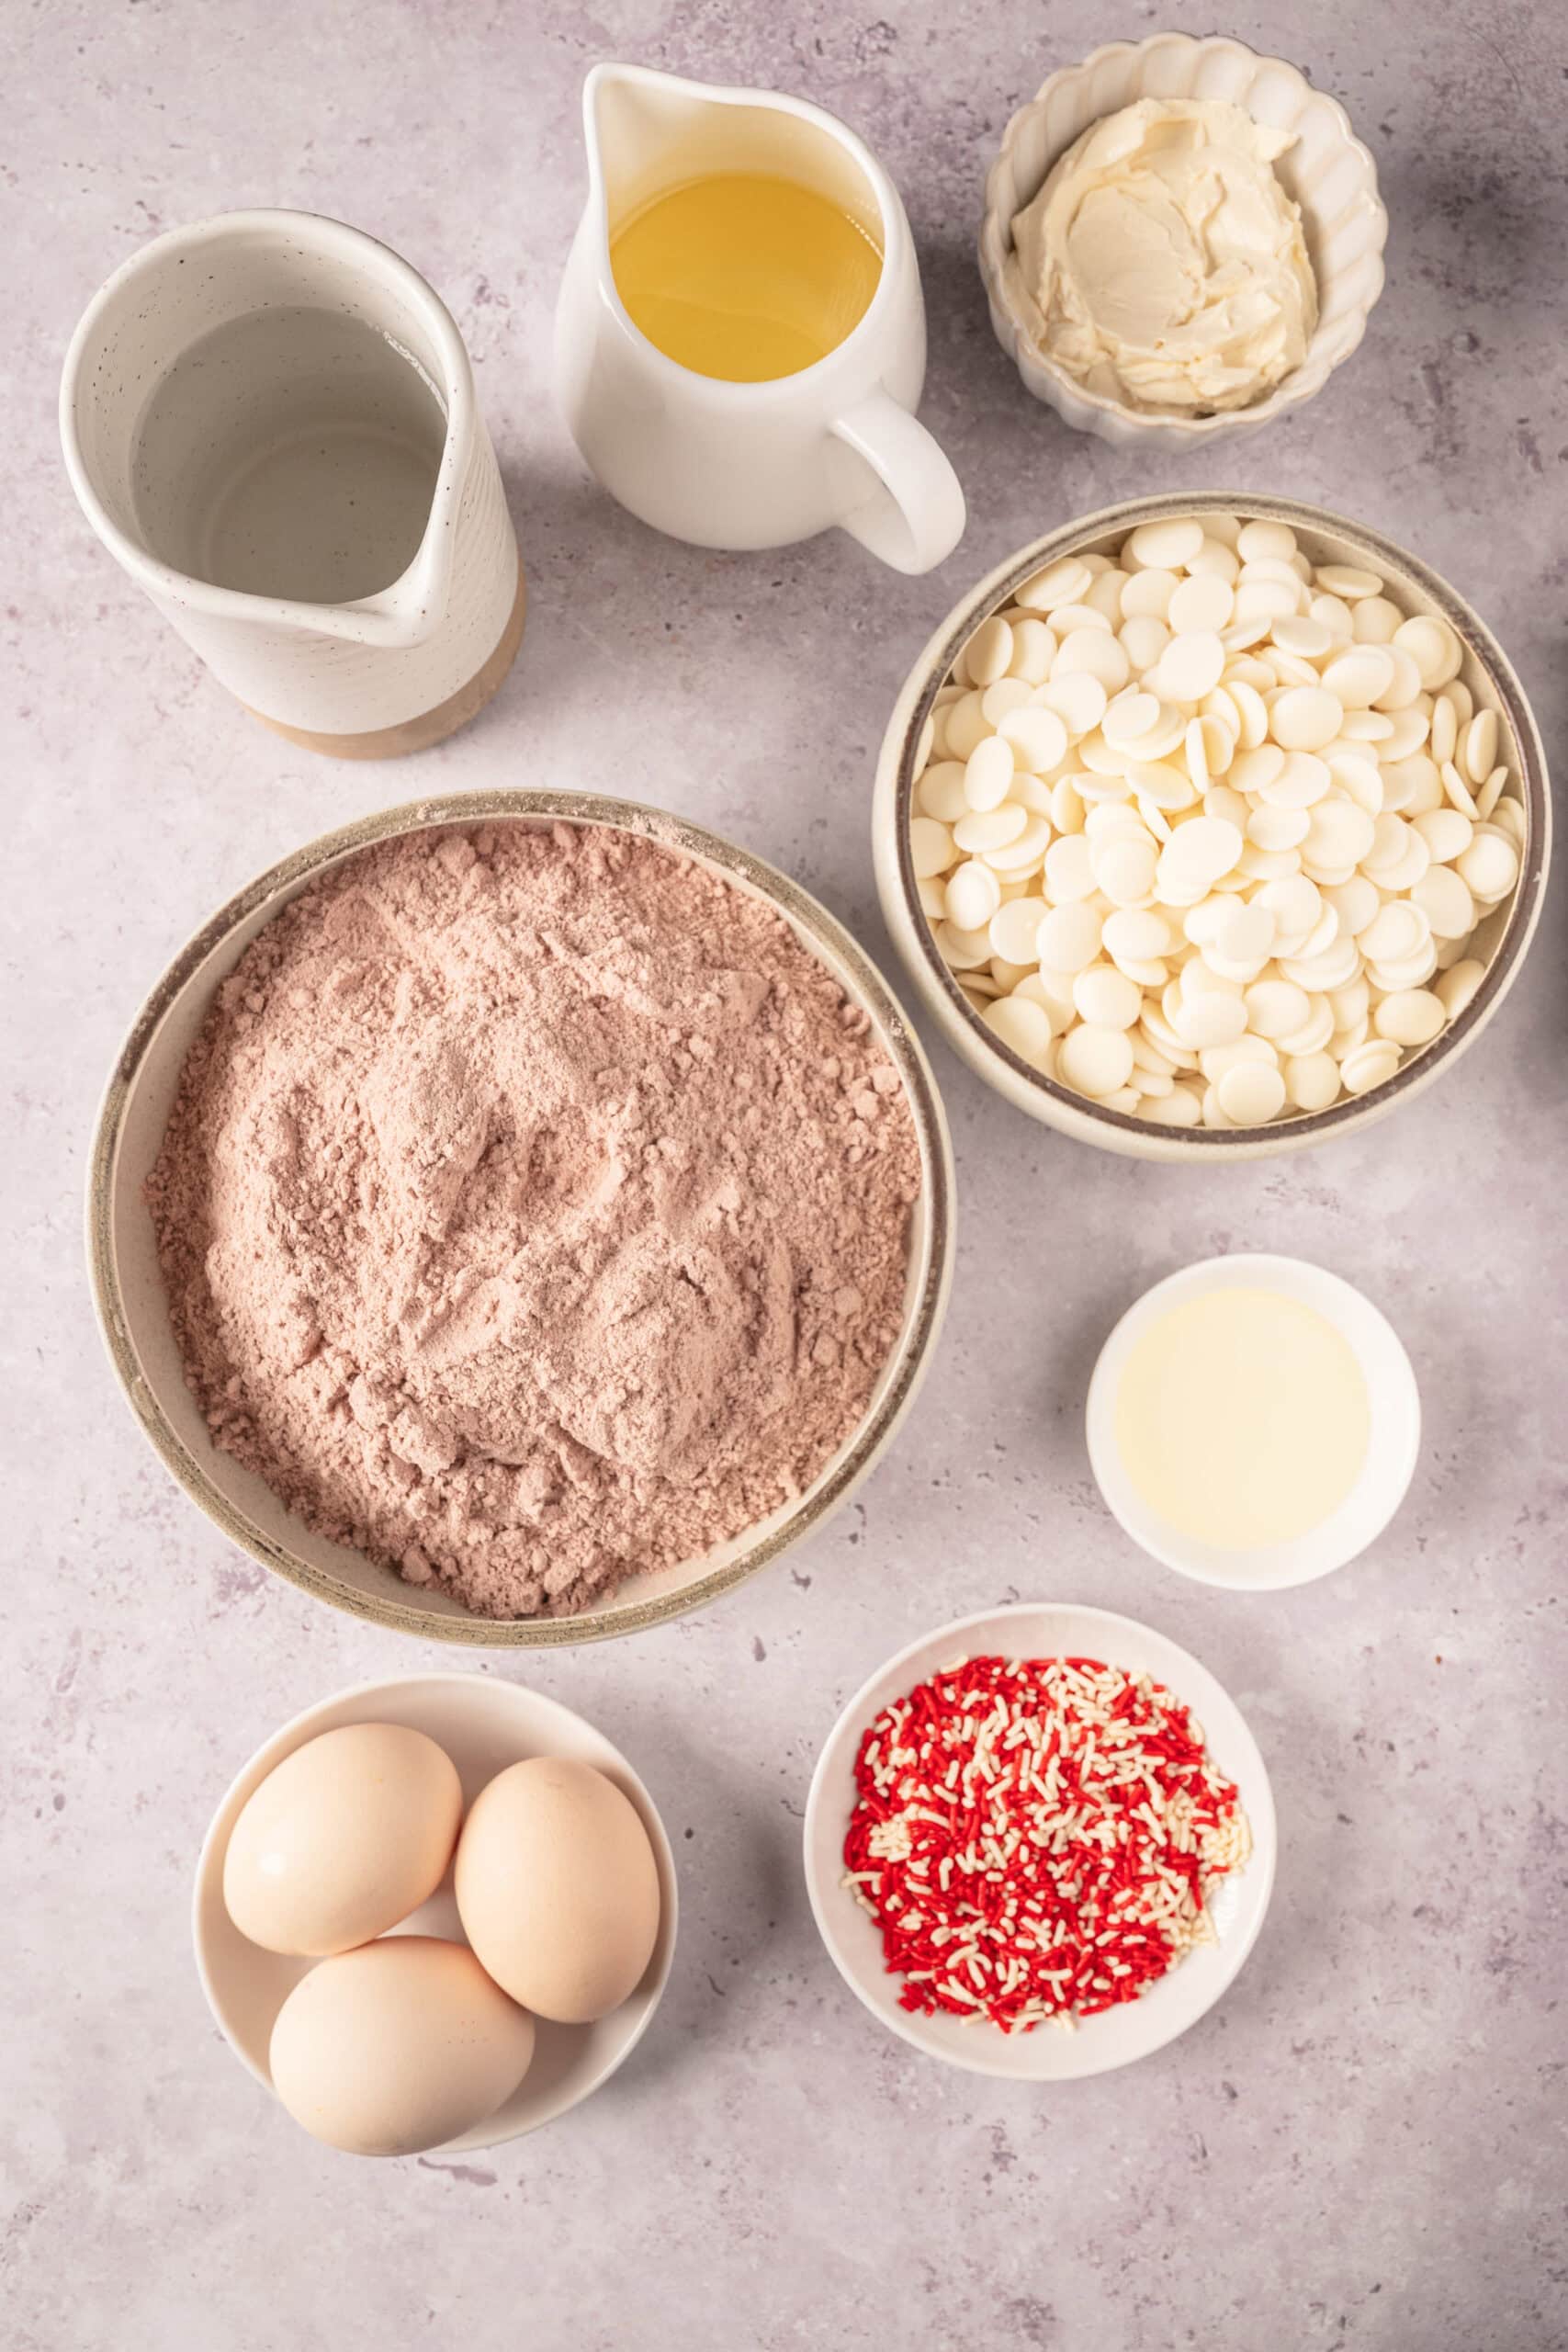
Ingredients
- 1 box red velvet cake mix use ingredients as directed on the box
- 1 cup water or as directed
- 1/3 cup vegetable oil or as directed
- 3 large eggs or as directed
- 1/3 cup cream cheese frosting softened
- 12 ounces white candy melts
- 1/2 teaspoon vegetable oil for melting chocolate
- Sprinkles optional
Instructions
- Preheat your oven to 350°F. Grease a 9×13-inch pan. Mix the red velvet cake mix with water, oil, and eggs according to the package directions.
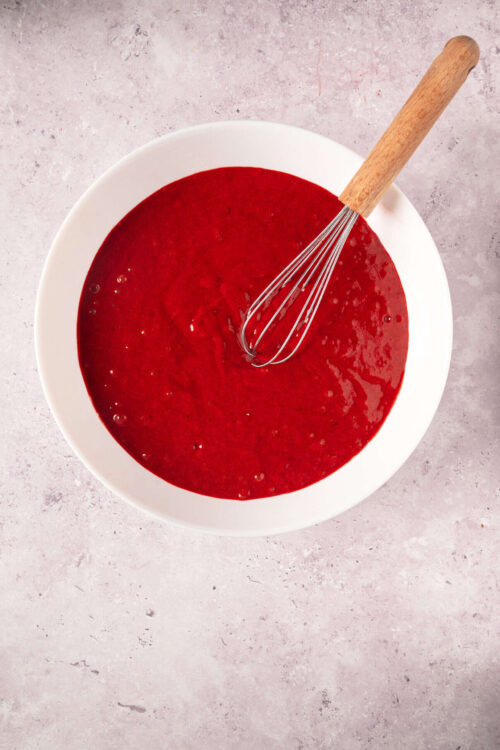
- Pour the batter into the pan and bake according to the suggested time on the package (approximately 25 minutes), or until the cake is thoroughly baked. Allow the cake to cool completely on a wire rack.
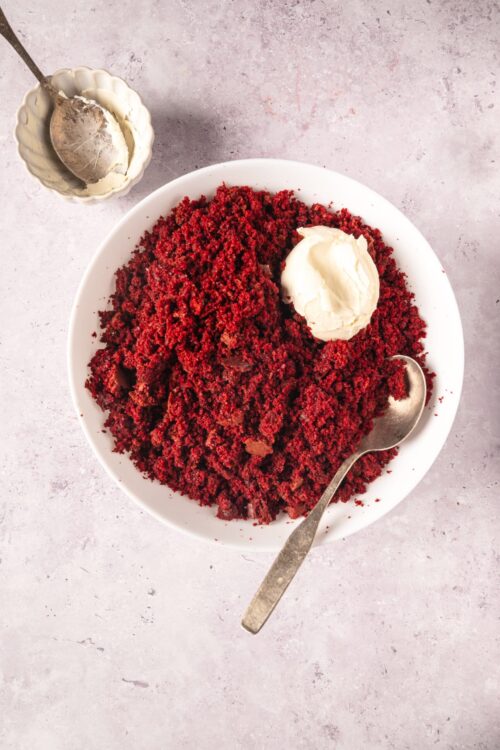
- Crumble the cooled cake into a large bowl. Gradually add the cream cheese frosting and mix until the crumbs hold together. If the mixture seems dry, add 1 more tablespoon of frosting at a time until it is a consistency that you can roll into a ball.
- Scoop about 1 tablespoon of the mixture and roll it into a ball. Place the balls on a baking sheet and chill them in the freezer for 15 minutes to firm up.
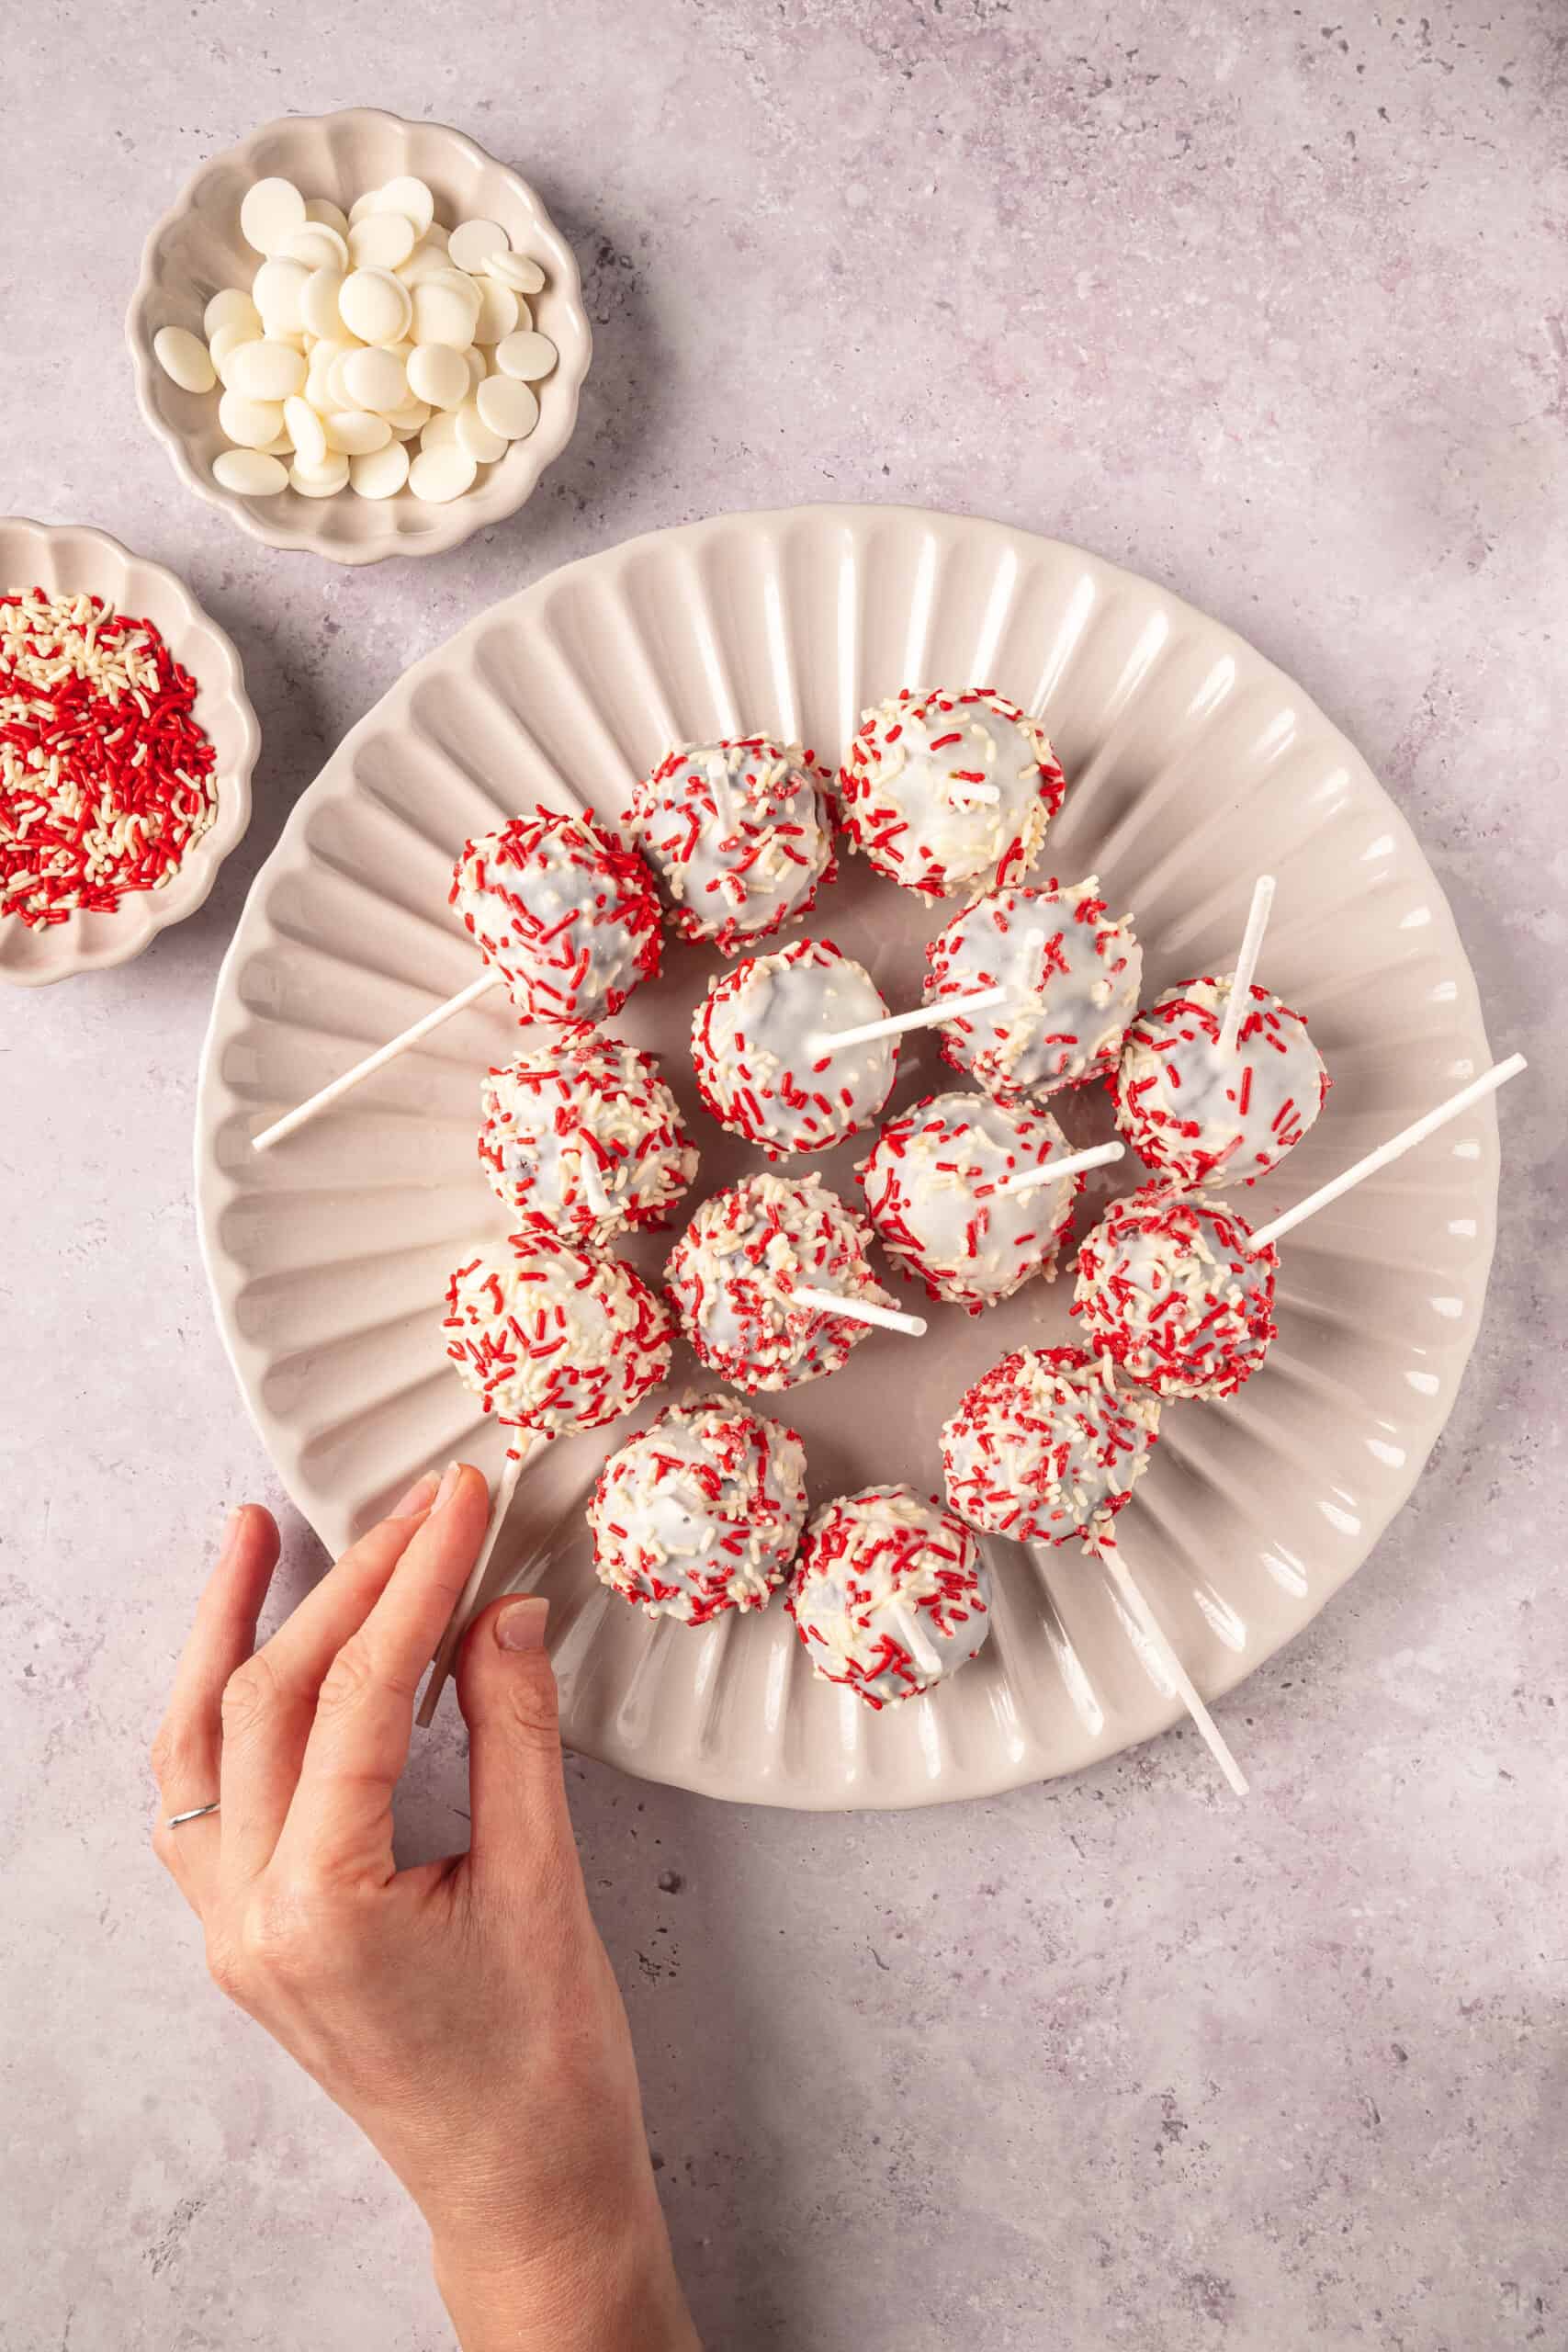
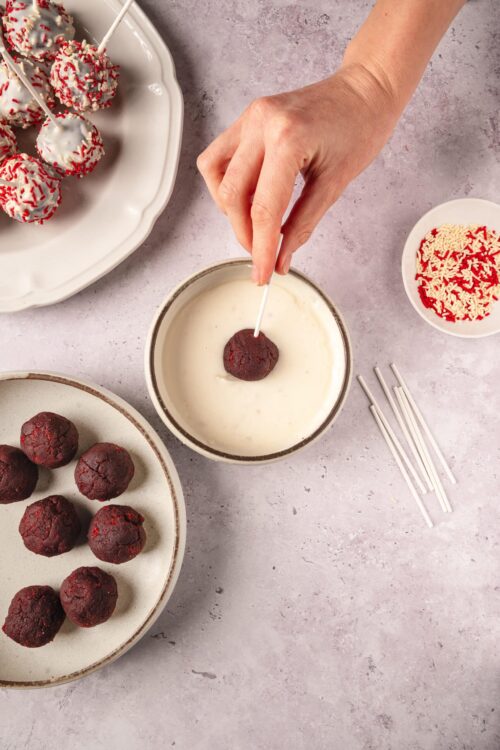
- Place the white candy melts and vegetable oil in a microwave-safe bowl. Microwave in 25-second intervals, stirring after each, until smooth. Dip the tip of a cake pop stick into the melted candy and insert it into a chilled cake ball.
- Dip each ball completely into the melted candy, allowing any excess to drip off. If using, sprinkle on some sprinkles before the chocolate sets. Set the dipped cake pops on wax paper to harden completely.

Leave a Comment