Skip the complicated canning process, but preserve and mellow your precious cloves with this quick and easy fridge-based pickling recipe!
I’m a big fan of all the briny foods. From dill pickles to pickled eggs to sauerkraut, I love that tangy hit of bright acidity! I’m also a garlic lover—so this recipe for pickled garlic ranks among my favorite culinary inspirations.
What I’m not a big fan of is home canning. All that sterilizing and boiling and precise timing just seems like a lot of mess and work. This recipe requires none of that! You can easily accomplish all the hands-on work in 20 minutes—then all you have left to do is wait for the brine to work its magic. It’ll mellow the garlic’s sharpness while maintaining or enhancing its naturally delicious flavors. Plus, this quick pickling method helps preserve those gorgeous cloves so they don’t end up drying out or getting moldy on your kitchen counter.
This pickled garlic is an excellent addition to all kinds of dishes, from salads and sandwiches to stir-fries, omelets, and pasta sauces. Whether your goal is less of a harsh garlic bite or more of a soft, spreadable garlicky delight, this recipe fits the bill!

Tips for fabulous pickled garlic
- Use fresh, firm garlic for the best results.
- To make peeling easier, blanch your garlic in boiling water for 1 minute, then transfer it to an ice bath.
- Check the label to make sure you’re using vinegar with at least five percent acidity, such as distilled white or apple cider vinegar, for more reliable pickling.
- To prevent the garlic from turning blue, use kosher or sea salt, stainless steel or enamel cookware and utensils, and distilled water. And shield your finished product from sunlight!
- For additional flavor, consider adding herbs or spices such as dill, thyme, peppercorns, or chili flakes to your brine.
- For a spicy kick, add hot sauce or chili powder after the initial pickling, then let it marinate for a few hours.
How do I store leftovers?
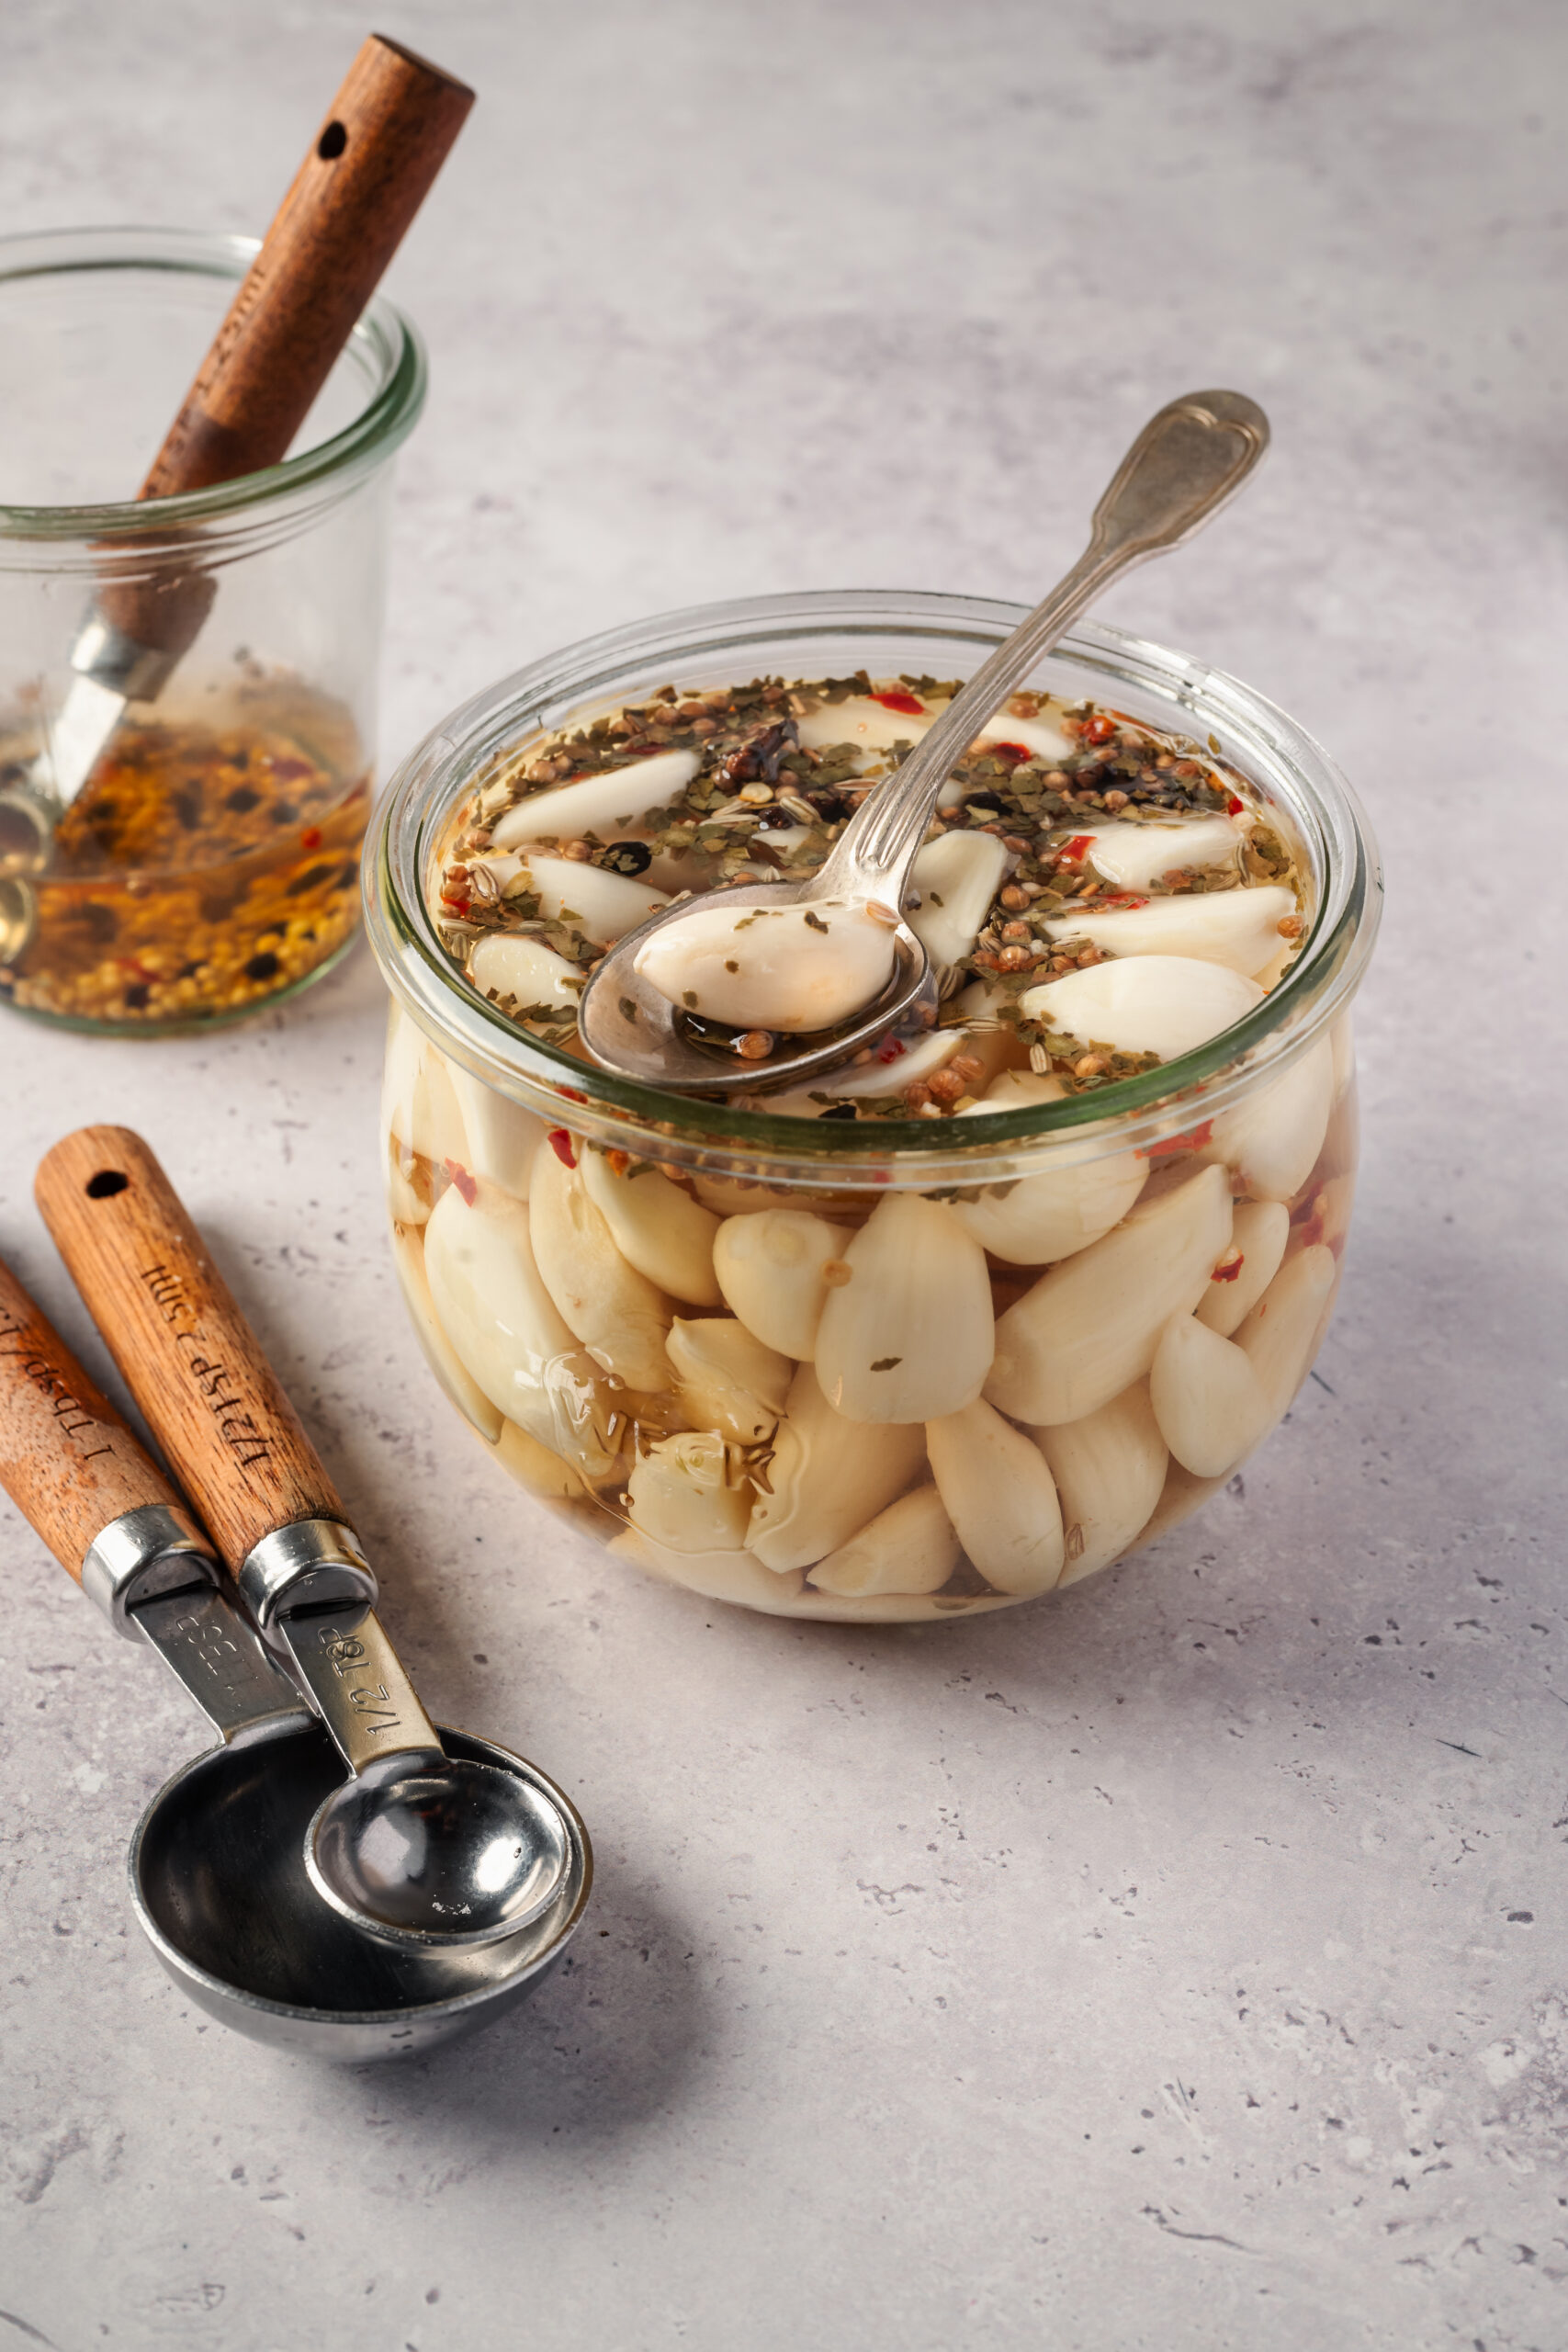
Store your pickled garlic in the same clean, tightly sealed jar you used for pickling, making sure the cloves stay fully submerged in the brine. This is not a shelf-stable recipe, but it’ll keep in the fridge for up to 1 month, with the flavor continuing to mellow and develop over the first 1-2 weeks. Always use a clean utensil—not your fingers—to remove cloves so you won’t introduce new bacteria into the jar. This dish does not freeze well, as the brine can turn cloudy, and the cloves tend to soften and lose their appealing texture once thawed.
Serving suggestions
Serve your pickled garlic alongside any dish that could use a deeply savory flavor boost. Slice and sprinkle a clove over this Italian Sub Dip, Spinach-Artichoke Bruschetta, or Tzatziki Sauce Recipe. Add it to this Potato Salad Recipe or this Roasted Red Pepper Soup for extra depth. Or use it as an elevated accent for a New Year’s Eve Cheeseboard or this Grand Cru-Inspired Cheese Board With Apple-Cranberry Chutney.
Pickled Garlic
Ingredients
- 10 ounces whole garlic cloves peeled
- 1 pinch red pepper flakes optional
- 1 1/4 cups white vinegar
- 1 1/4 teaspoons sugar
- 1/2 teaspoon kosher salt
- 2 teaspoons pickling spice
Instructions
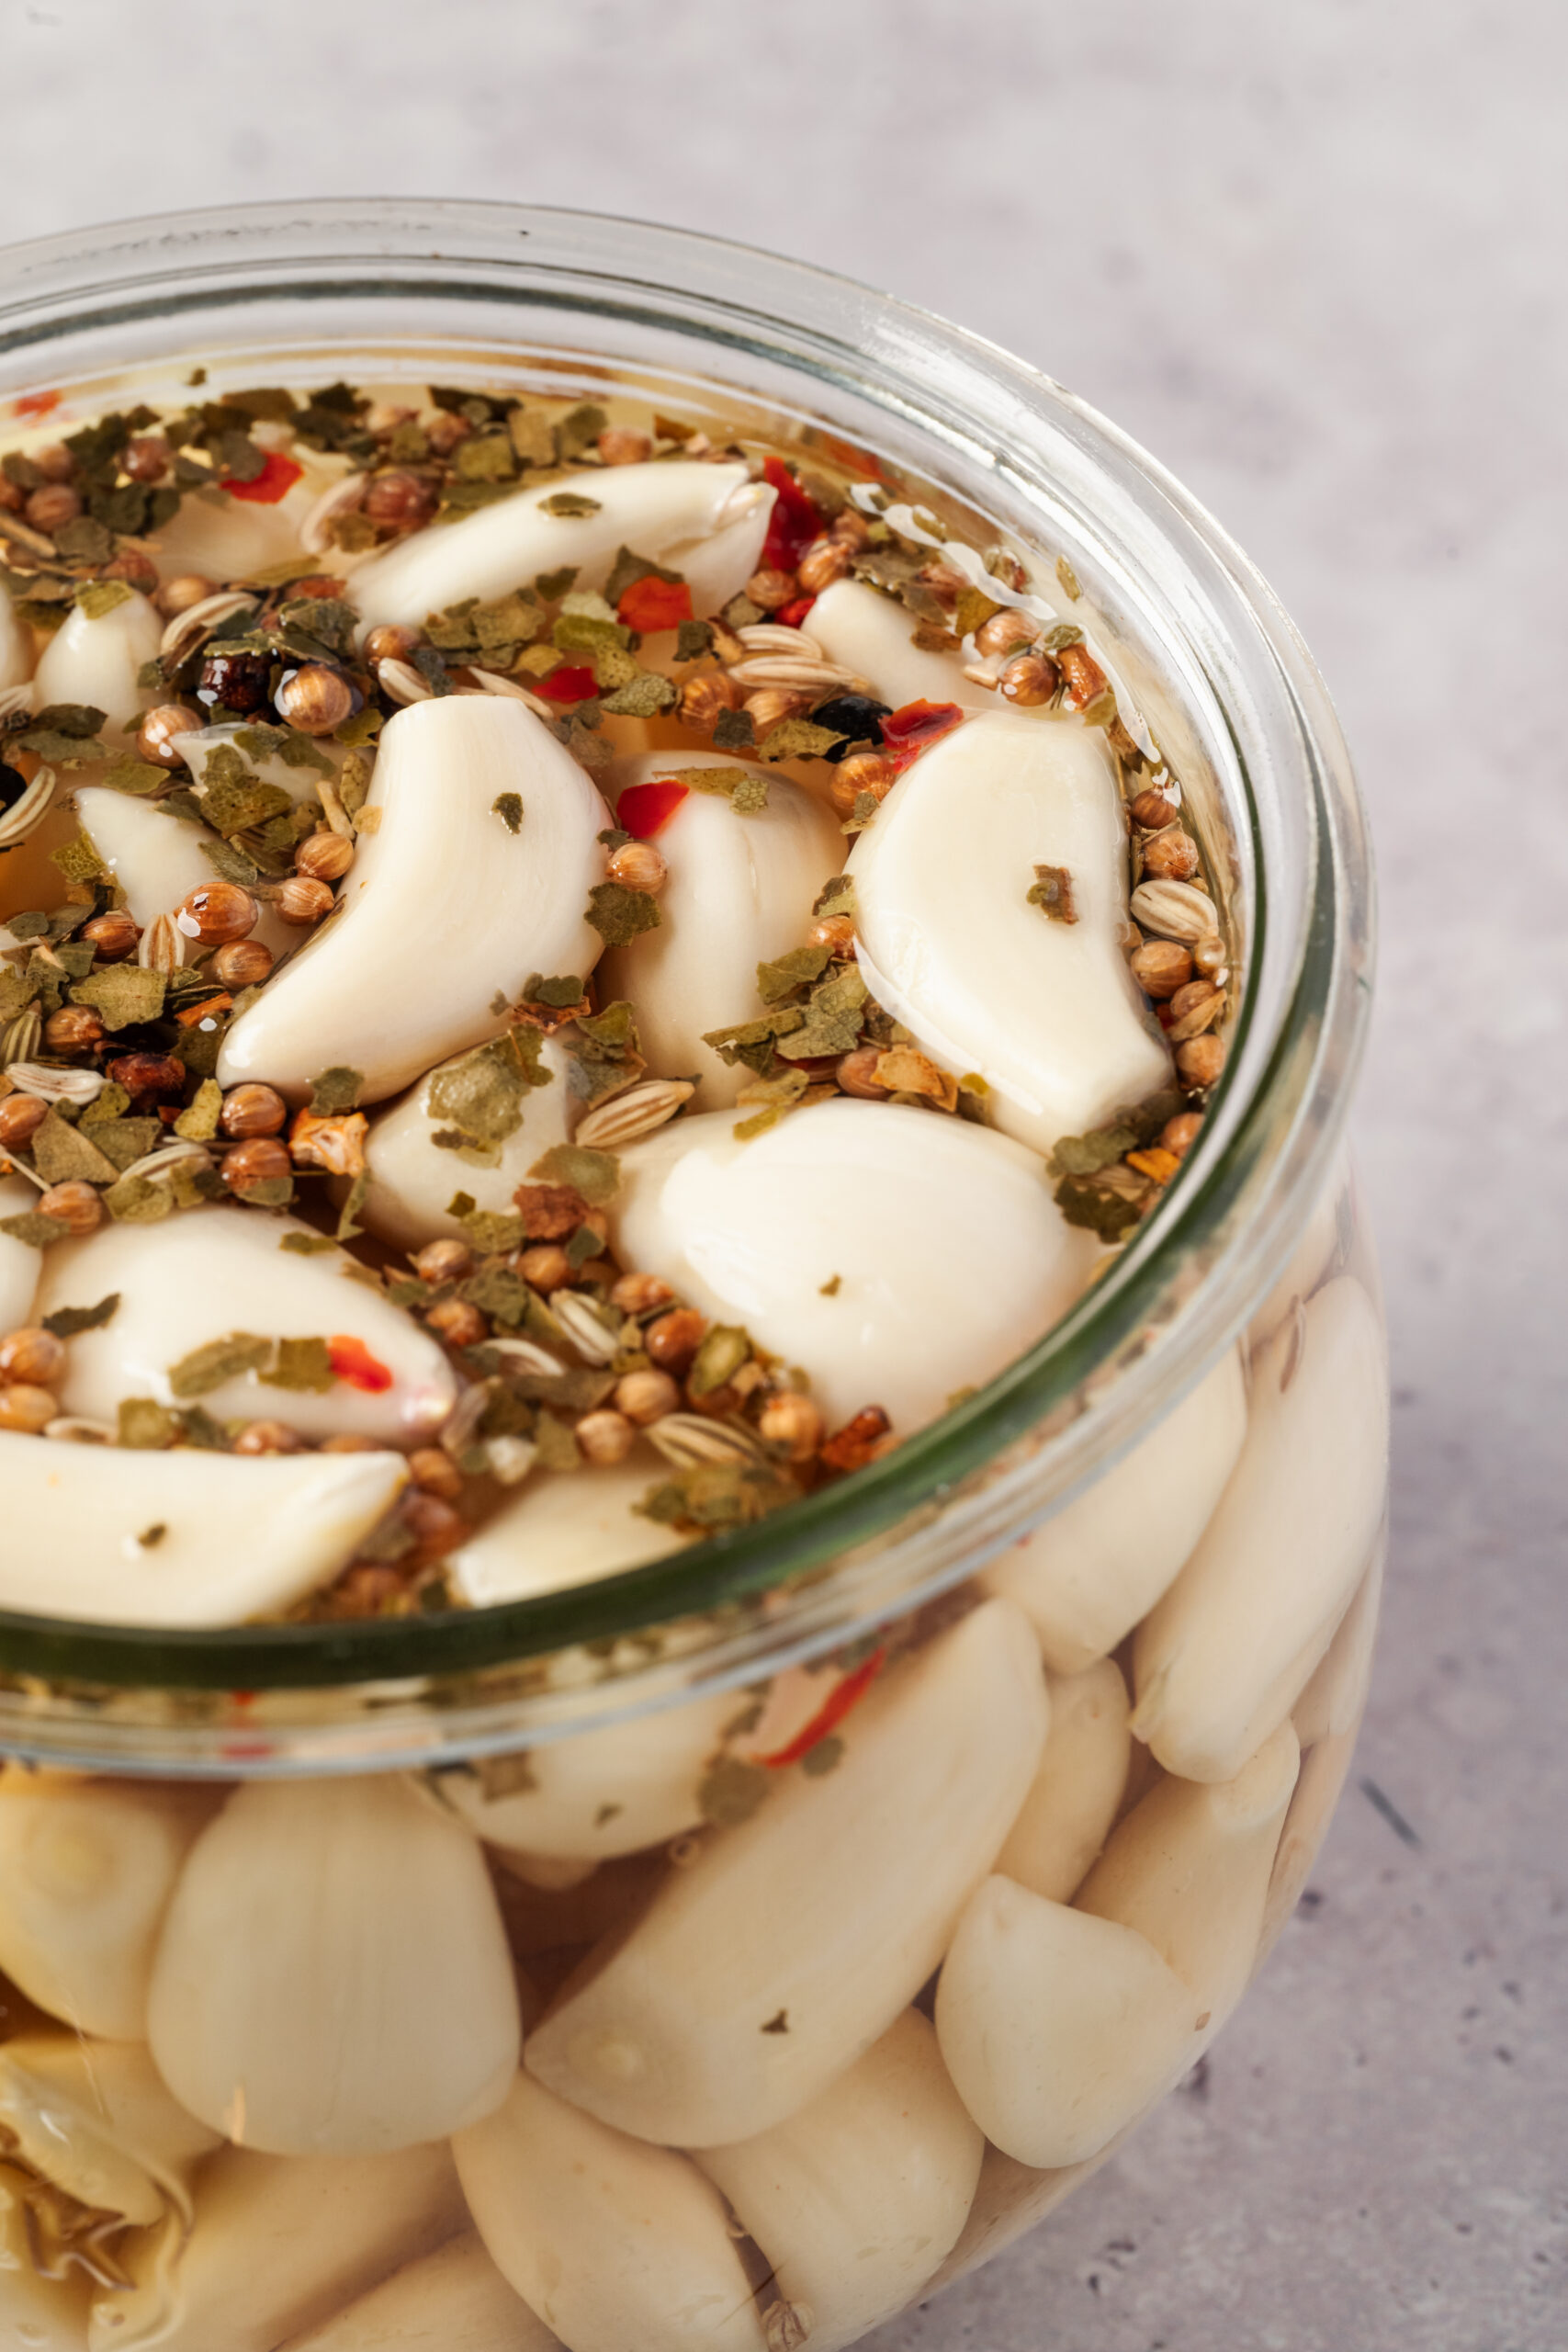
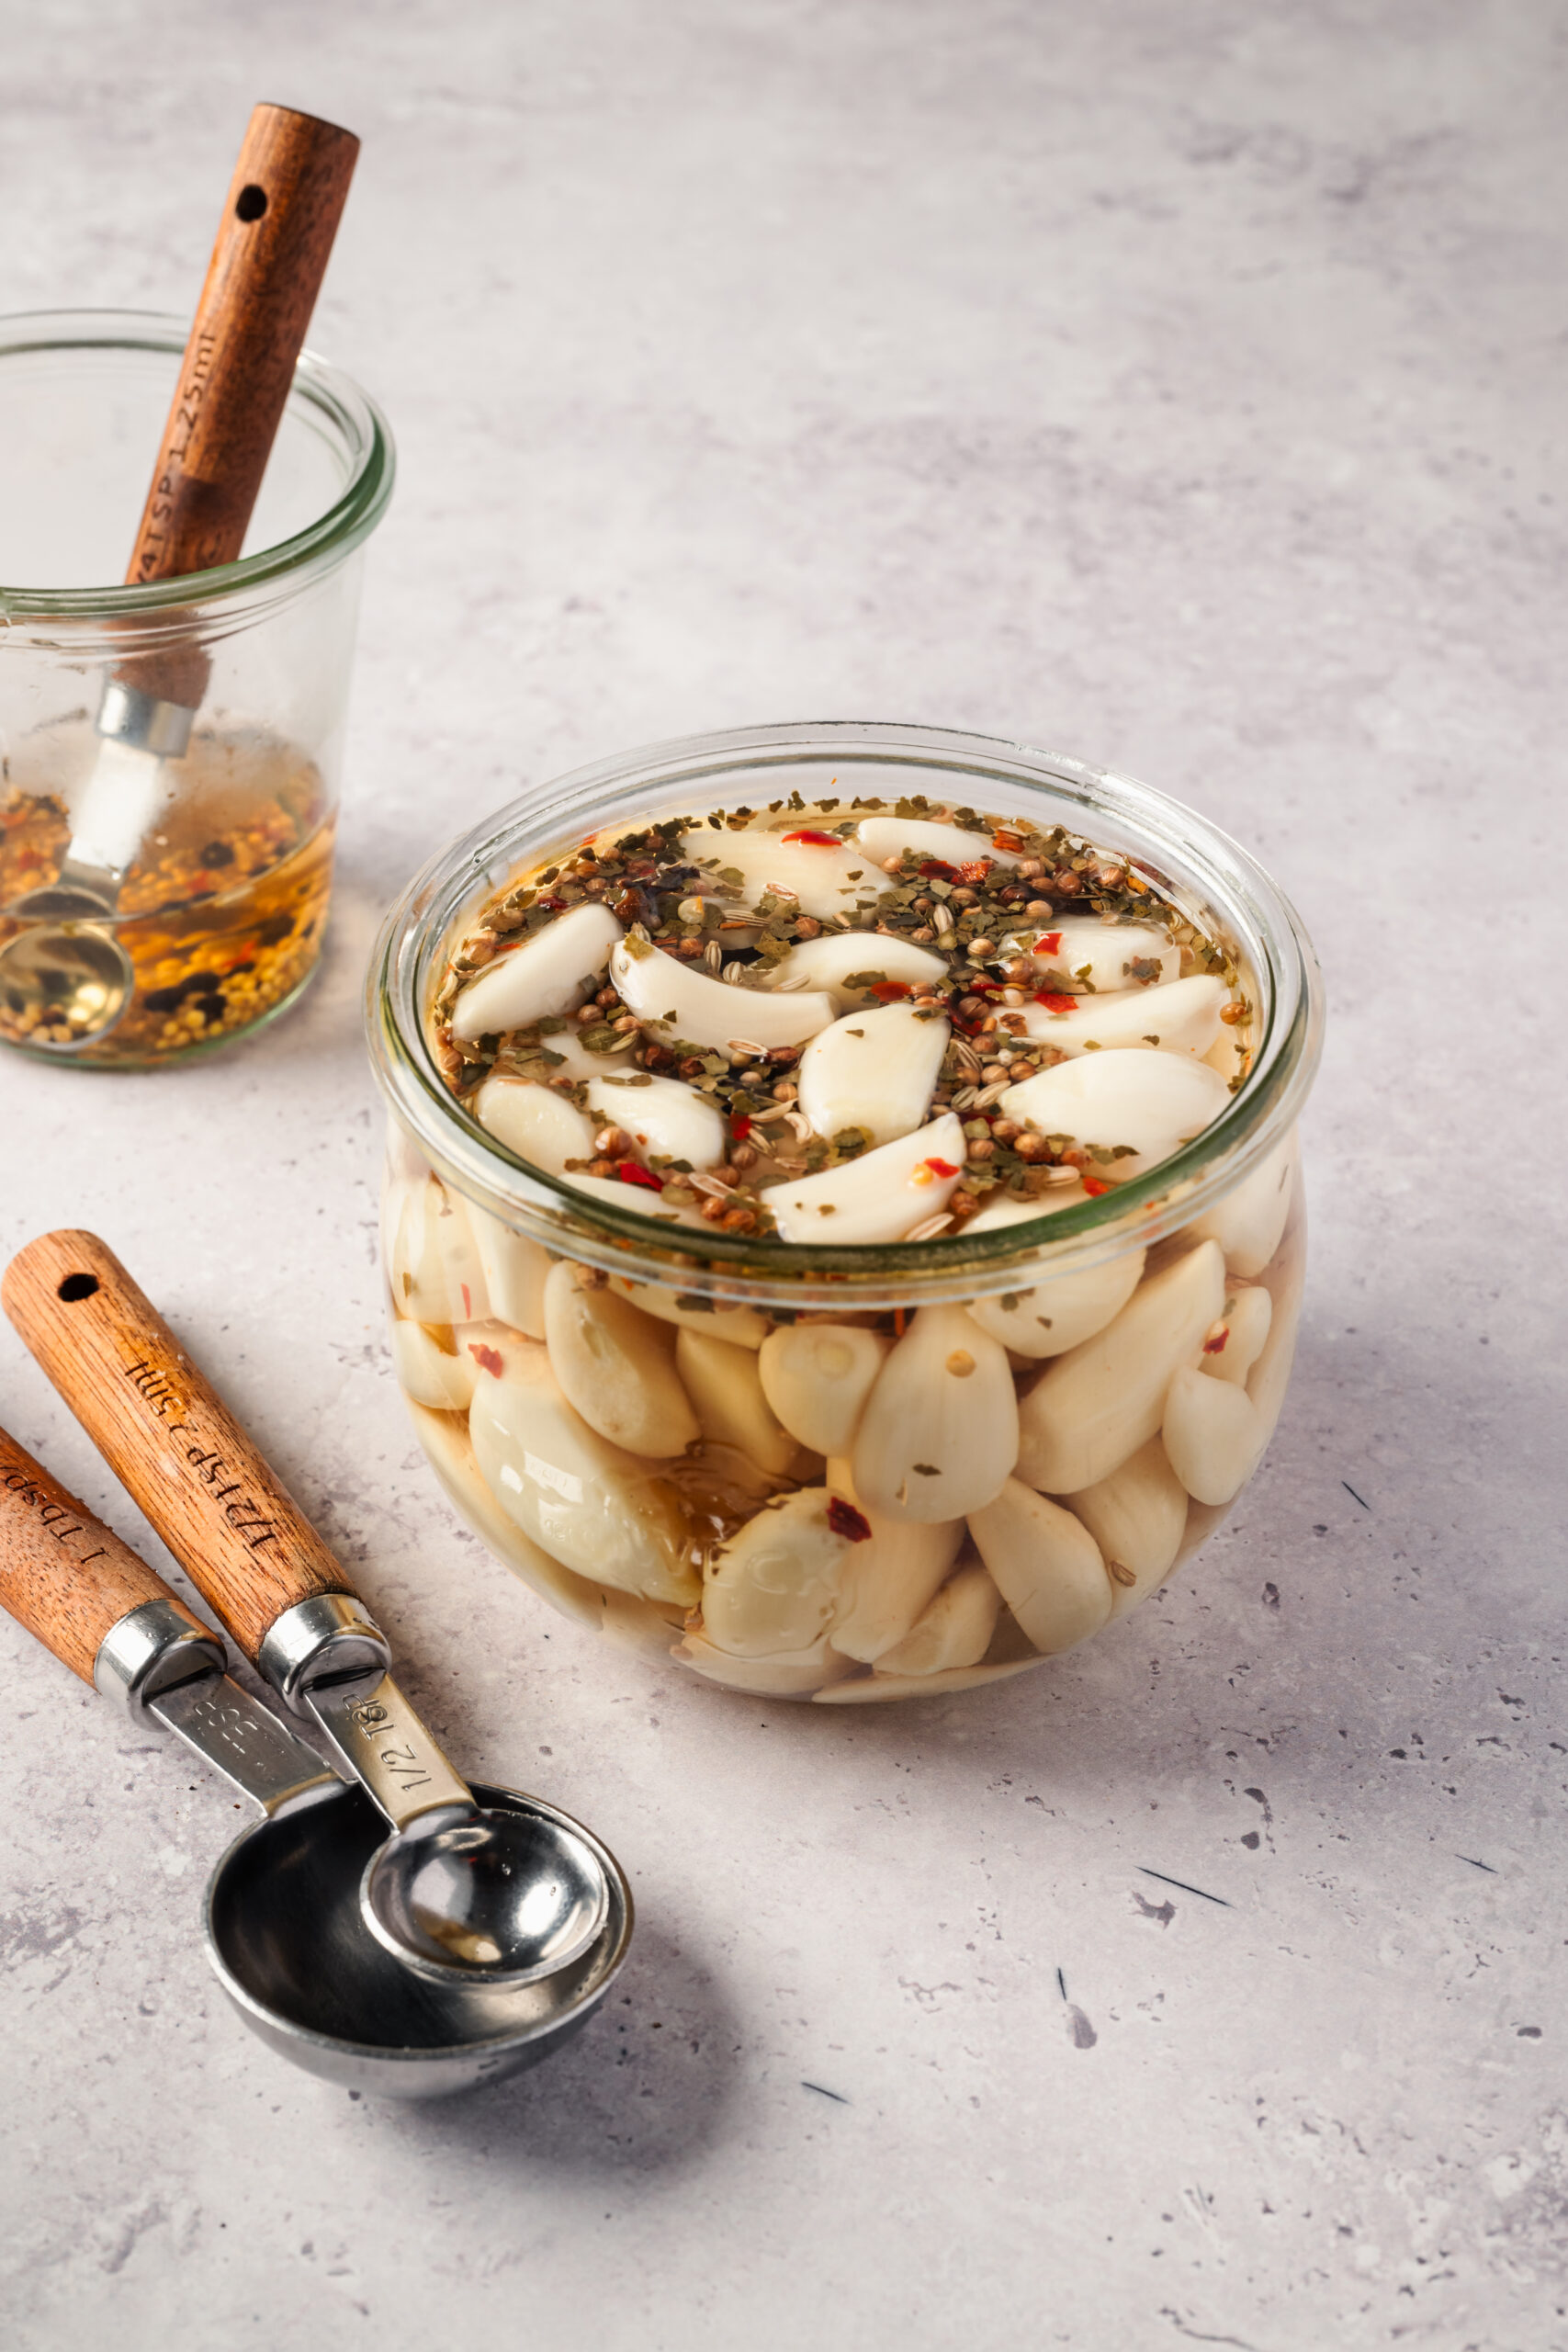
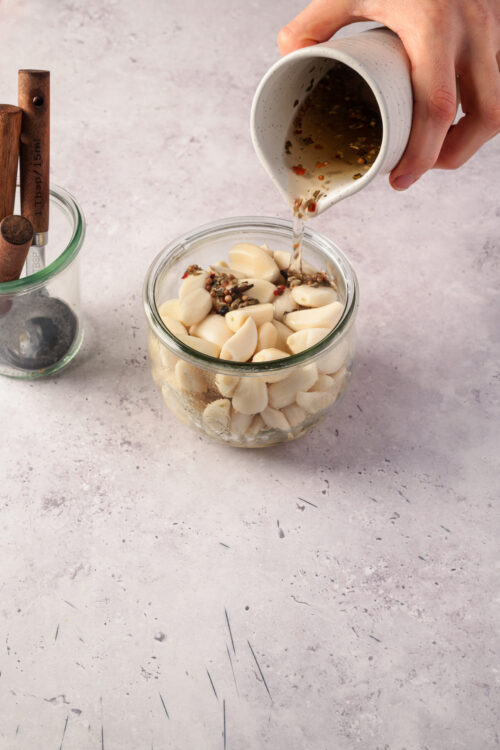
- Pack the peeled garlic into clean, sterilized, 8-ounce jars, leaving about 1/2 an inch of headspace. If using, sprinkle in red pepper flakes.

- In a small saucepan, combine the white vinegar, sugar, and kosher salt.
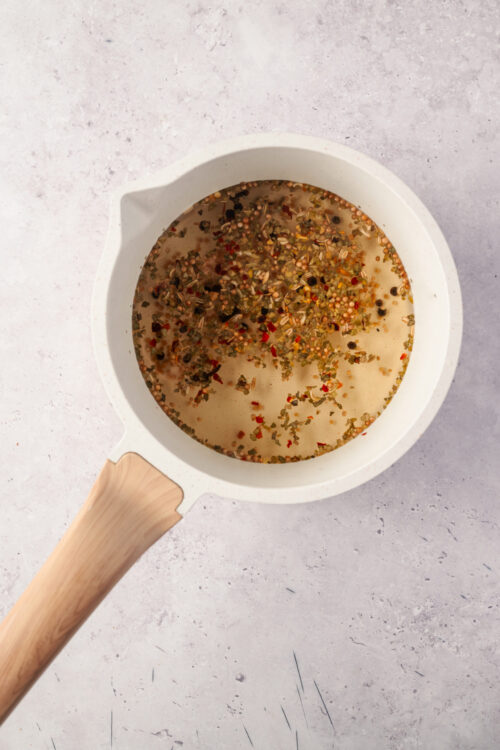
- Bring to a boil over medium heat, stirring until the sugar and salt dissolve. Remove from the heat, then stir in the pickling spice.
- Carefully pour the hot brine over the garlic in the jars, ensuring the garlic is completely covered. Gently tap the jars to remove any air bubbles and adjust to maintain a 1/2-inch headspace.
- Let the jars cool at room temperature until no longer warm to the touch, about 1 hour. Seal them tightly, then refrigerate. For the best flavor and texture, let the garlic pickle for at least 3 days before serving. The flavor will continue to develop over 1-2 weeks.
Leave a Comment