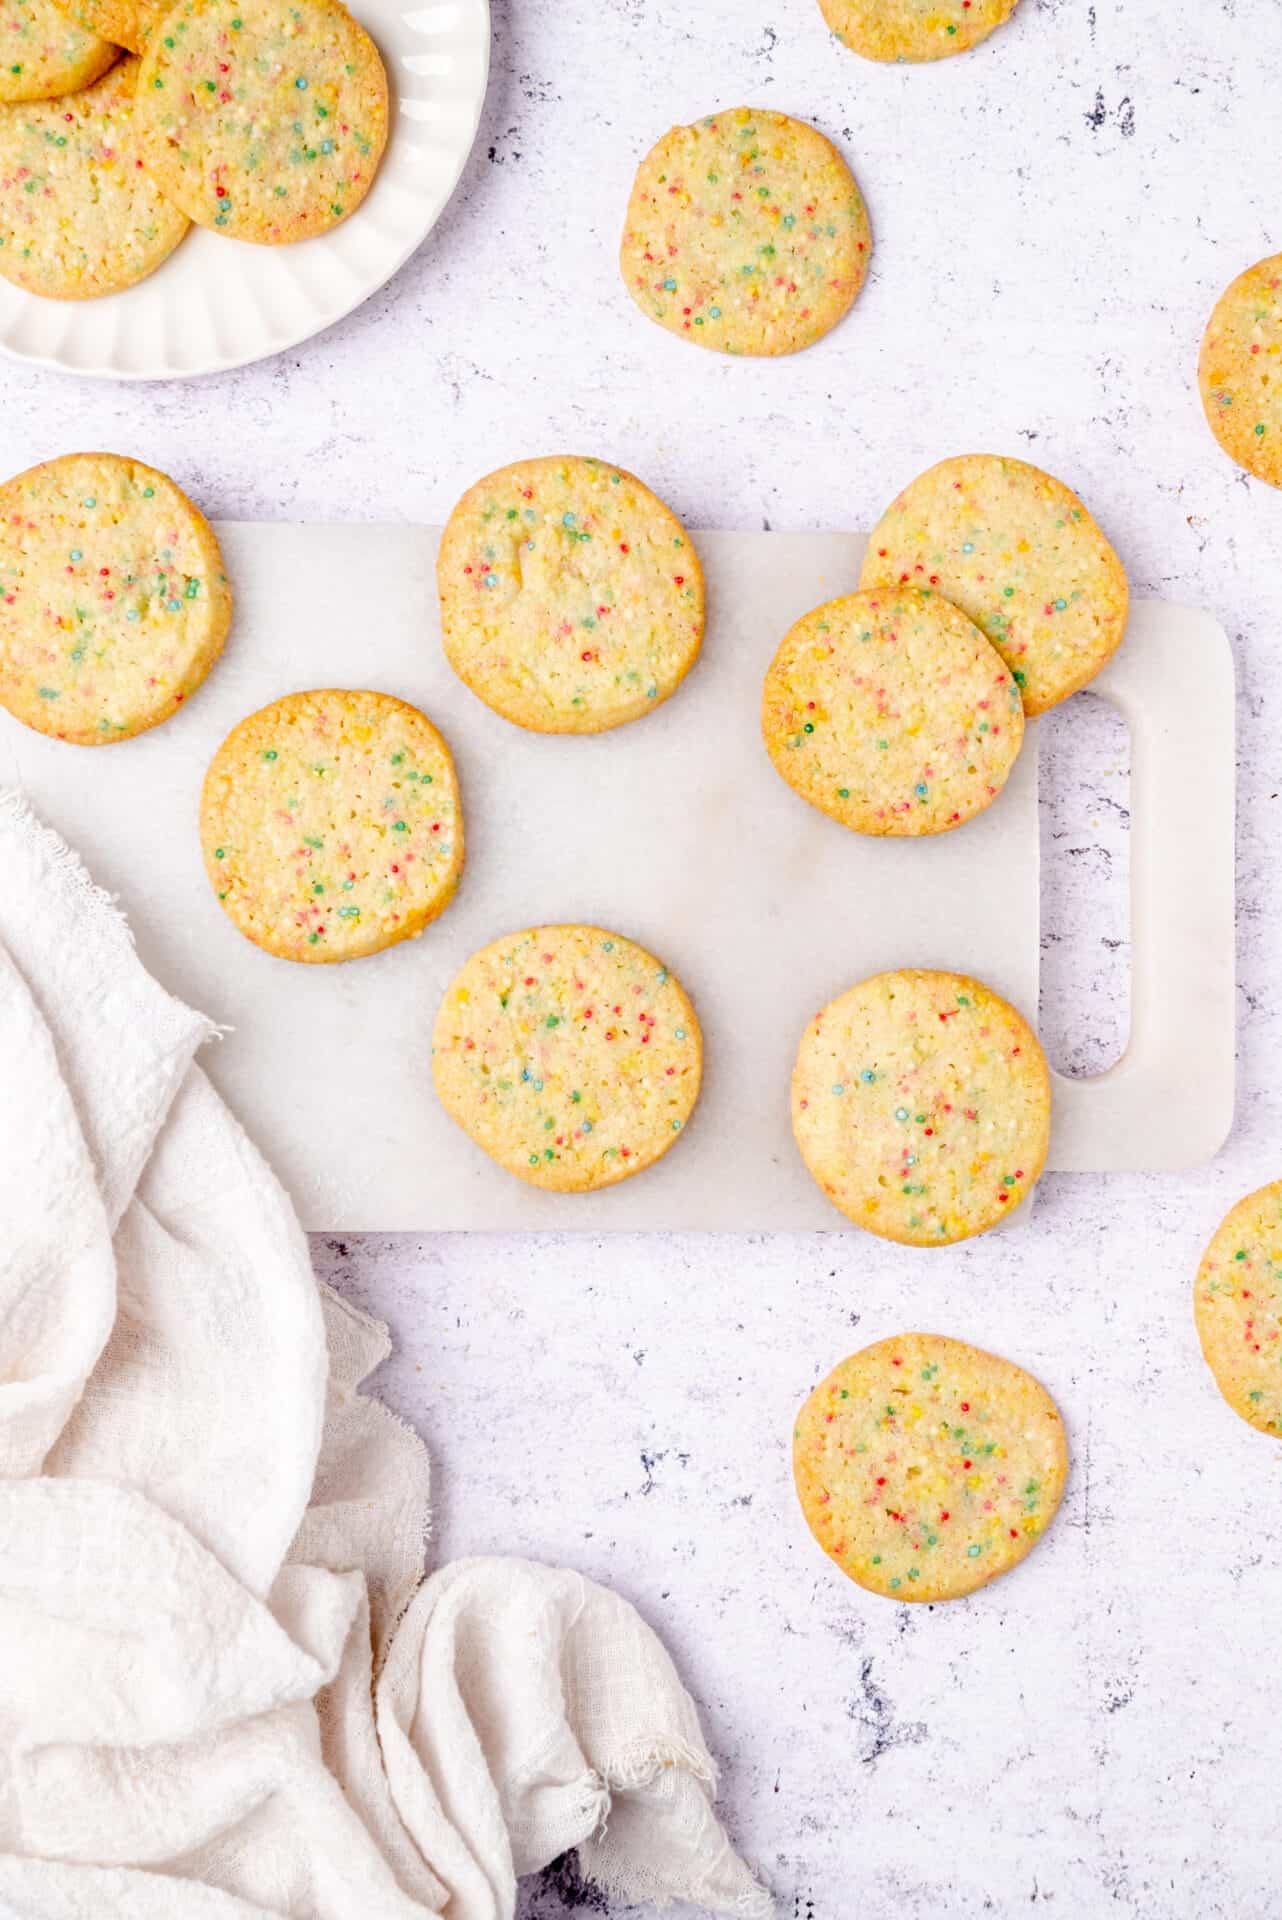
These classic Icebox Cookies are a sweet treat that you will always want to have on hand in the fridge or freezer.
Icebox cookies are a classic, wholesome dessert that is sure to put a smile on everyone’s face. While the recipe is simple and easy to put together, the history of these treats actually goes back over 100 years! Recipes for icebox cookies began appearing in cookbooks and family recipe books in the 1920s when the icebox itself started to become a popular appliance found in most household kitchens. According to Wikipedia, the “icebox” dates all the way back to the early 1800s. It is considered the precursor to the modern electric refrigerator. It was used to keep food items cold with a large block of ice stored in, yep, you guessed it… a box! Typically, the large ice block was stored in a compartment on top, while separate food storage compartments were kept cold just below it. Although these were considered antiquated by the 1940s, the icebox is still considered a prime example of innovation and forever changed the way people cooked and prepared food for their families.
The creation of icebox cookie recipes was no exception to this! The cookies were technically born out of the need for convenience and saving time (which is, apparently, something every generation deals with in their own way!). With the use of the icebox now available to them, homemakers had the option of making their dough ahead of time, keeping it chilled or frozen until they were ready to slice and bake. This allowed them the ability to bake fresh cookies each day without mixing dough from scratch every single time. We all love a good time-saving hack, and I personally love knowing that our great-great-grandmothers were no different.
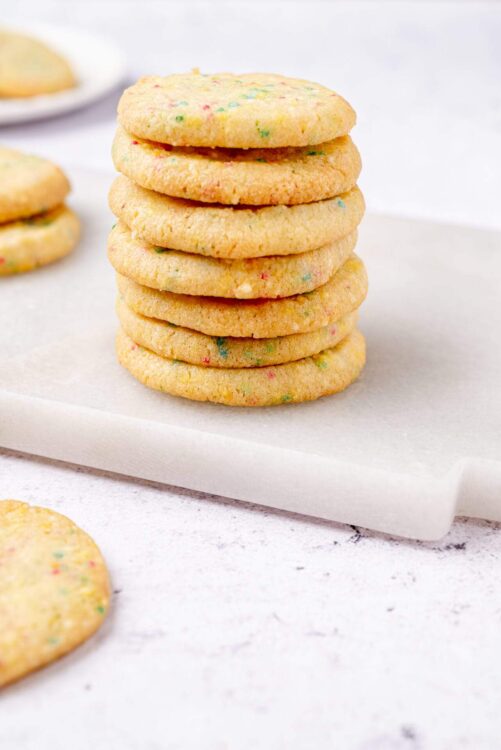
This recipe is a go-to favorite for so many reasons. First, the convenience of being able to make this dough ahead of time and bake it as needed is a huge win for busy households. Many of us love a home-baked cookie but don’t always have the energy, time, or desire to make a dough from scratch. Having some frozen dough on hand solves both of those problems in a very delicious way. Second, this recipe offers a “blank canvas” in terms of flavor. The dough on its own offers a rich, buttery flavor and a light but crisp texture. You can then choose to bring this flavor in any direction you like by customizing it with a variety of toppings and add-ins.
So Many Fun Options…
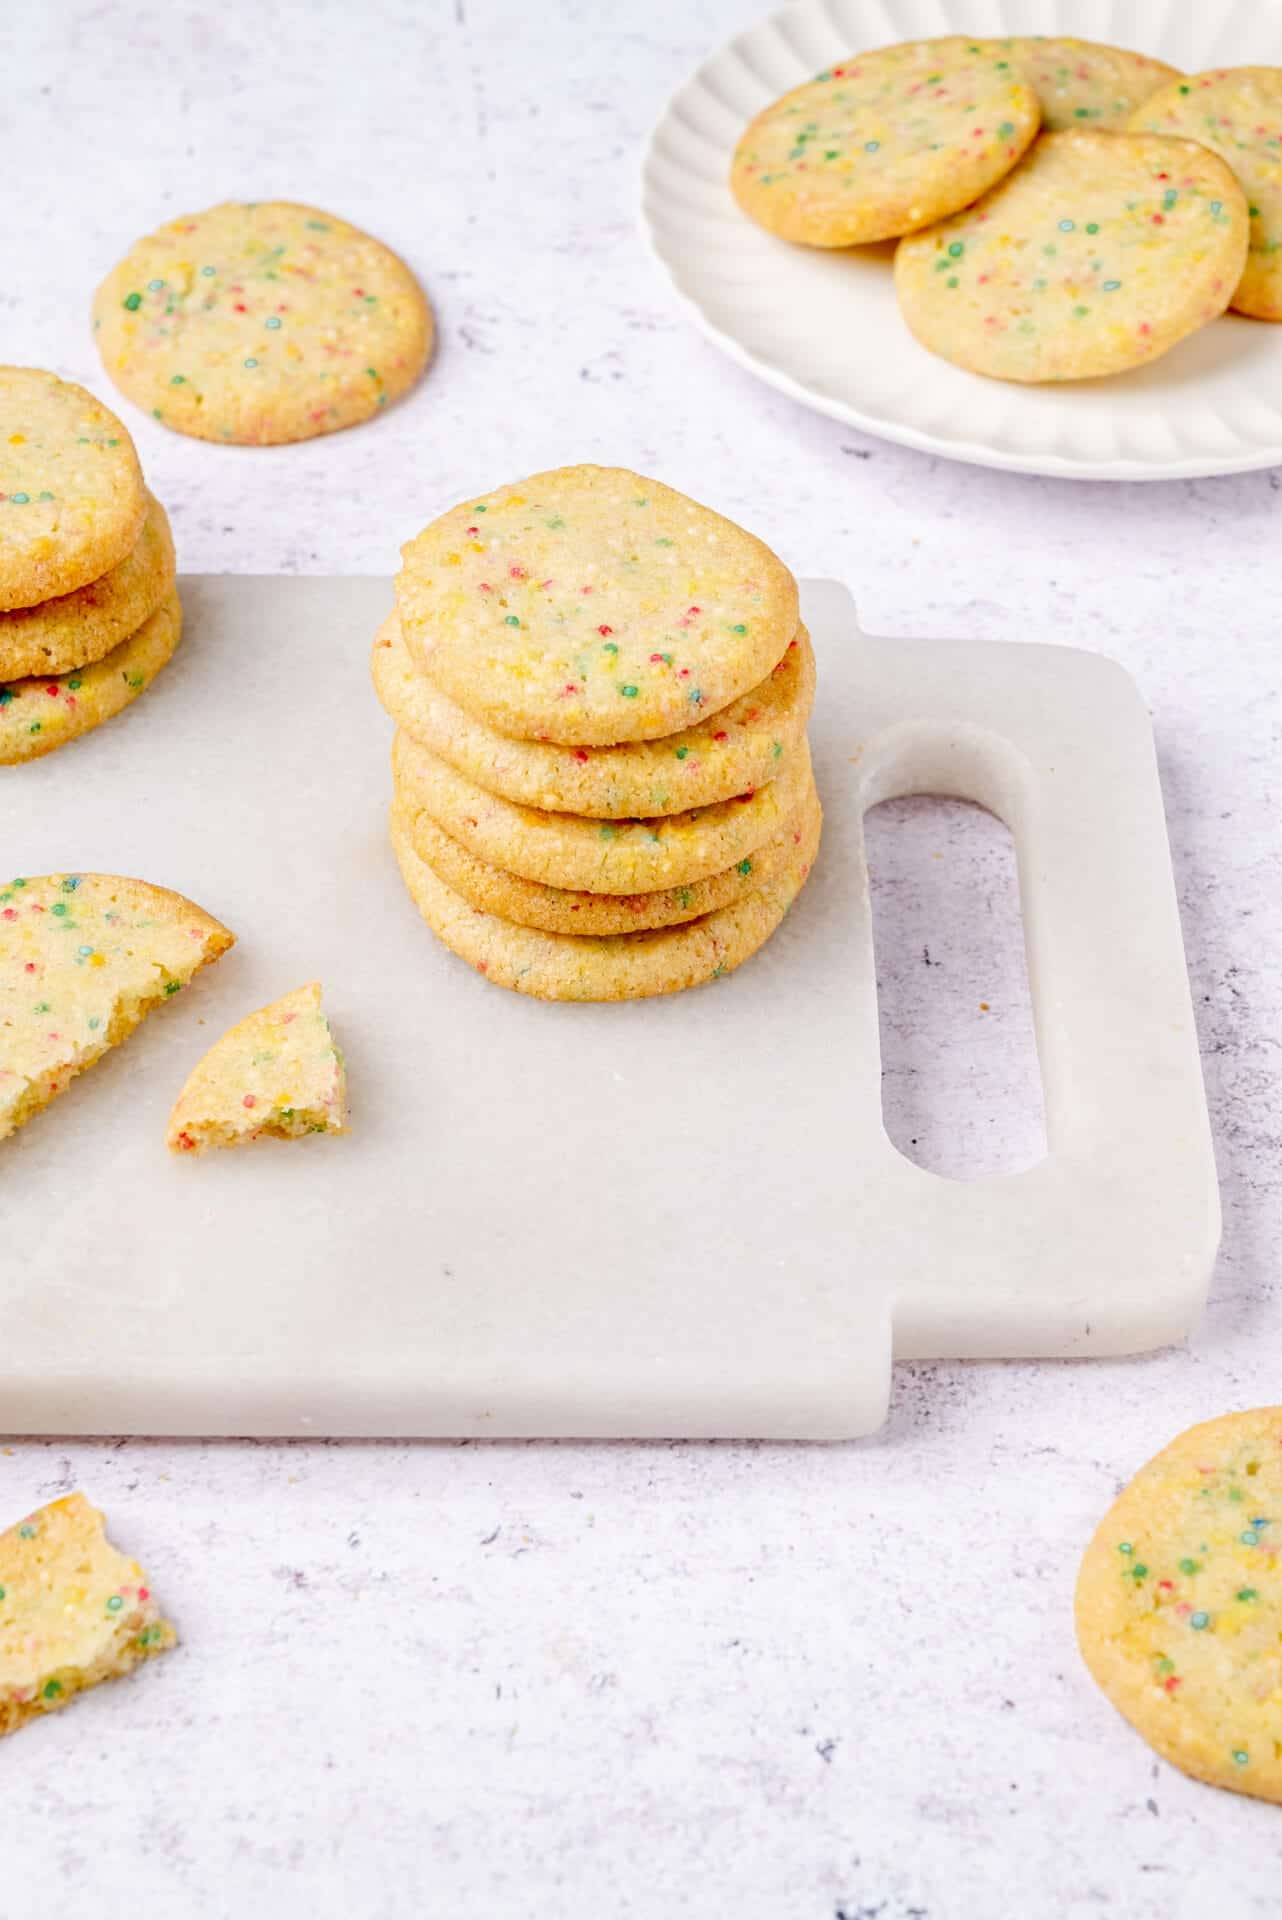
As mentioned, this recipe is versatile and has plenty of room for customization. You can add in just about anything your heart desires! Popular options include adding sprinkles for a “funfetti” taste and look, while adding chocolate chips or cocoa powder tends to be crowd-pleasers, too. If you’re not a chocolate lover (I’ll forgive you), you can also consider mixing in chopped nuts, dried fruit, or even espresso powder. The best part is that you can have fun experimenting, even within the same batch. This recipe yields 2 logs of dough, so you can always customize each one differently if you can’t decide on one flavor.

How Can I Store Icebox Cookies?
Once baked, these cookies will remain fresh for about 3-5 days when kept at room temperature. However, it is recommended that they be placed in the refrigerator after this time frame. Whether at room temperature or under refrigeration, airtight containers or bags are always best to use. These cookies can also be frozen for up to 3 months after being baked.
What Are My Options For Making Ahead?
This is where this recipe really shines! You have many convenient options for preparing these cookies ahead of time. After making and forming the logs of dough, they can be wrapped in plastic and kept in the fridge for up to 1 week, taking them out and slicing them whenever you’re ready to bake them. You also have the option of freezing the logs by wrapping them in plastic and placing them in freezer bags. Or, you can slice them before freezing, saving yourself even more time later on. Either way, the dough can be frozen for up to 3 months. When ready to bake, thaw them in the fridge overnight and then follow the instructions for baking.
Serving Suggestions
I would be remiss if I did not suggest the original, classic companion for these icebox cookies: a tall glass of ice-cold milk! However, if that’s not really up your alley, I’ve still got you covered. These icebox cookies would be a home-run dessert when served with a scoop (or two) of ice cream. Depending on the flavor you choose for your cookies, you can serve them with a classic Vanilla Ice Cream, a creamy Coffee Ice Cream, or a decadent Salted Cinnamon Ice Cream. Strawberry Ice Cream would even make a great pairing, too, especially in the summertime! You can serve it all together in a bowl or have even more fun with it and create ice cream sandwiches. Go crazy! You have my permission. If you’re in need of other cookies to serve these with, consider mixing it up and pairing it with Brownie Cookies or Red Velvet Shortbread Cookies. And if this leaves you even more intrigued by the idea of other icebox recipes, go ahead and give this Cookies and Cream Icebox Cake a try. You won’t be disappointed!


Icebox Cookies
Ingredients
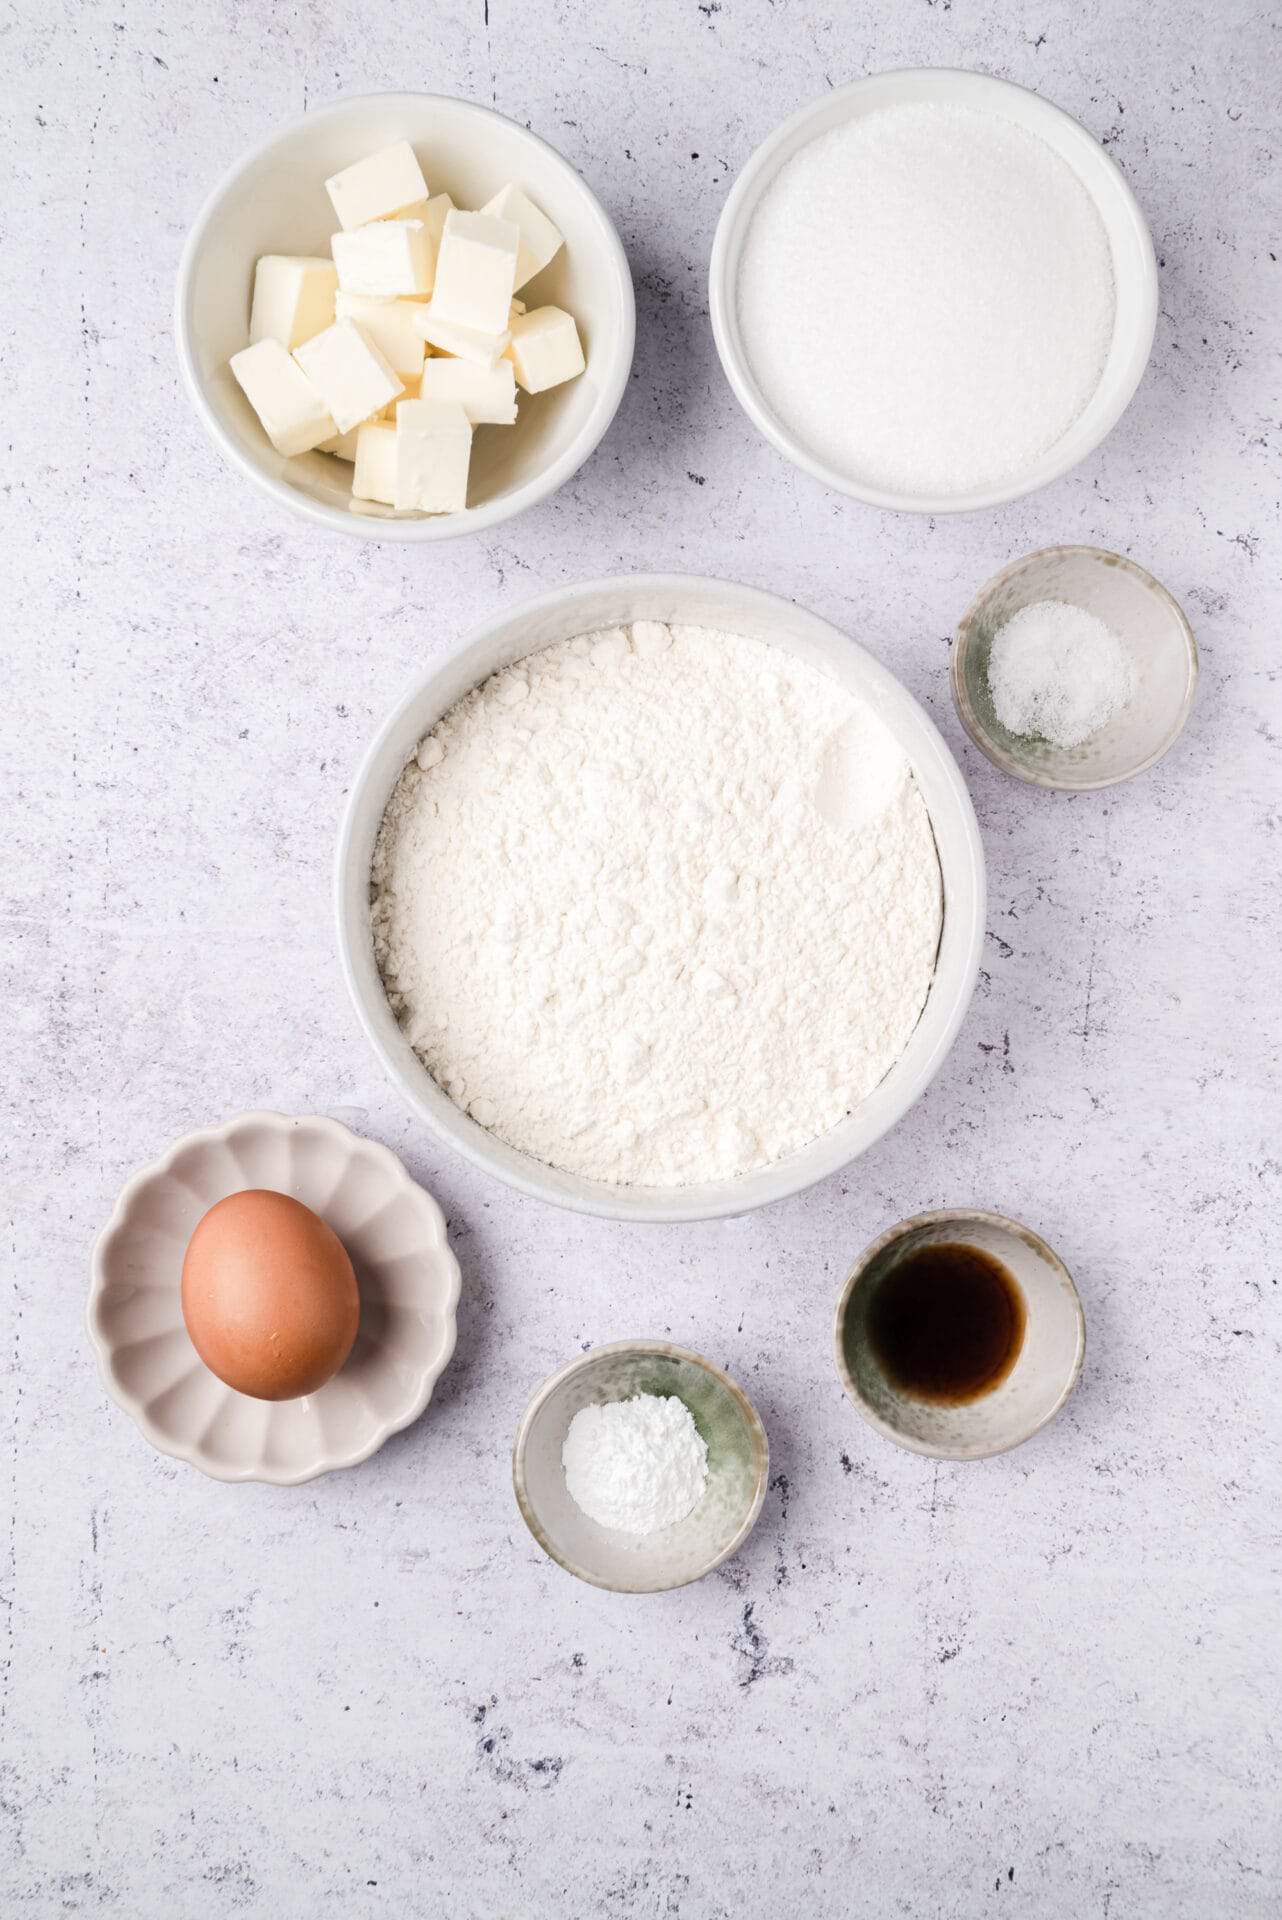
- 1 cup unsalted butter softened
- 1 1/2 cups granulated sugar
- 1 large egg room temperature
- 1 teaspoon vanilla extract
- 2 1/2 cups all-purpose flour
- 1 teaspoon baking powder
- 3/4 teaspoon salt
- Optional: sprinkles chopped nuts, or chopped chocolate for add-ins
Instructions
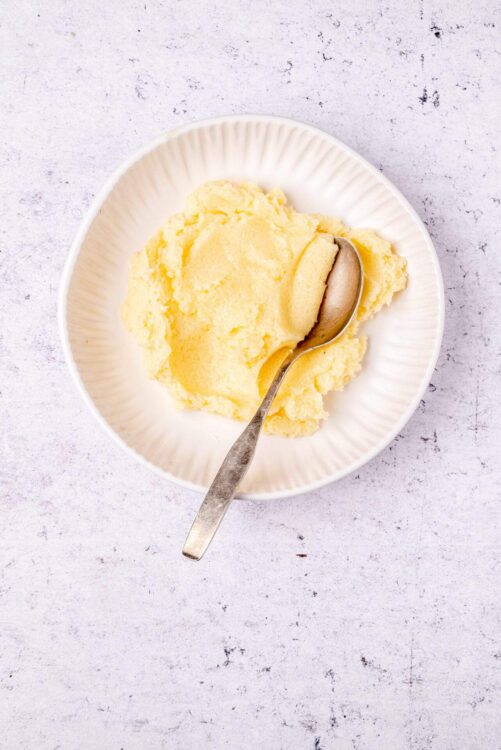
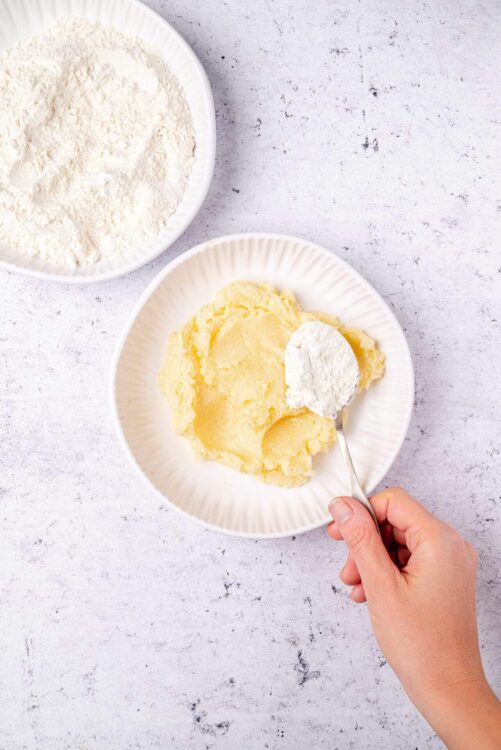
- In a large mixing bowl, cream together the softened butter, granulated sugar, egg, and vanilla extract until smooth.
- In a separate bowl, whisk together the all-purpose flour, baking powder, and salt.
- Gradually add the dry ingredients to the wet mixture, mixing on low speed until the dough is fully combined.
- If desired, fold in any optional add-ins such as sprinkles, nuts, or chocolate.
- Divide the dough in half and shape each portion into a log approximately 1 1/2 to 2 inches in diameter.
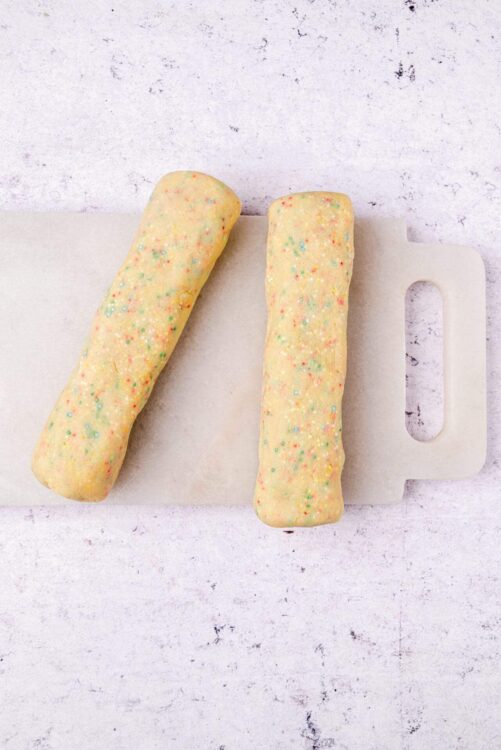
- Wrap the dough logs in plastic wrap and refrigerate for a minimum of 4 hours, up to overnight, to firm up.
- When ready to bake, preheat the oven to 350°F (175°C) and line a baking sheet with parchment paper.
- Slice the chilled dough into 1/4 inch thick rounds and place them on the prepared baking sheet, spaced about 2 inches apart.
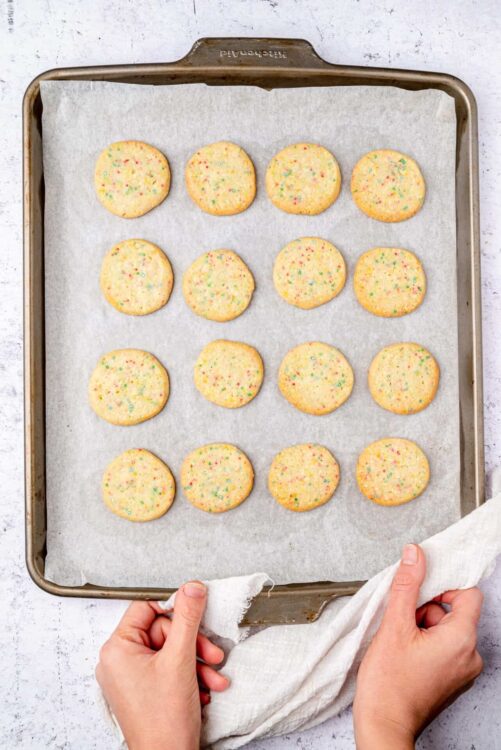
- Bake in the preheated oven for 10 to 12 minutes, or until the edges are just turning golden brown.
- Allow the cookies to cool on the baking sheet for a few minutes before transferring them to a wire rack to cool completely.
Leave a Comment