Are you looking to learn how to make pie crust? Look no further! My pie crust recipe is simple to follow, and you’ll use no more than six ingredients.
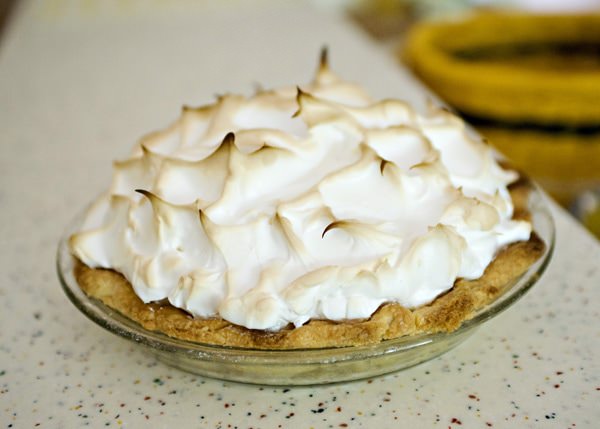
I used to be scared of pie crust. Really scared. I would avoid making pie crust like the plague because I was shaking in my boots over the thought that I had to make it myself. One night my grandmother was over for dinner and she told me that my pie (lemon meringue, thankyouverymuch) was delicious but my crust needed some work. If it were anyone else, I would have probably cried, but coming from her (she is an amazing baker) I took it as a challenge to learn to make a really good pie crust. I don’t know why I was so scared. It is very simple really. You just need to be mindful of a few things and you will never have to subject yourself (or your grandmother) to mediocre pie crust ever again.
There are many different theories and beliefs about pie crust. All butter. All shortening. Both butter and shortening. By hand. In a food processor. Try them all and see which one you like best.
I do like to do it by hand sometimes because it makes me feel very domestic. I picture myself in a cute little antro apron and a Stepford Wife smile on my face. But the reality is, I am usually baking in my pj’s, and I am usually in a rush. I like the food processor method because it is fast. Which helps me get out of the kitchen quickly, but is also good for the pie crust. More on that later.
I used to use all butter. I love butter and think that we should sing songs about how wonderful it is. And I just so happen to think that shortening is gross. But once I tried adding a little shortening to my pie crust, I understand now why pie bakers (the hard core ones that you see on all of the pie baking challenges on the Food network. Oh, how I love a good Food Network Challenge) use some amount of shortening in their award winning crusts.
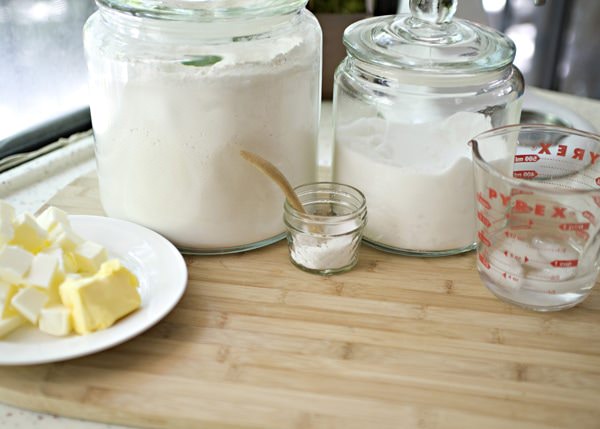
Ingredients
For a 9-inch single crust:
- 1 1/2 cups flour
- 2 Tablespoons sugar
- 3/4 teaspoon salt
- 1 1/4 sticks very, very cold butter cut into pieces
- 2 1/2 Tablespoons shortening
- 1/4 cup ice cold water
For a 9-inch double crust:
- 3 cups flour
- 1/4 cup sugar
- 1 1/2 teaspoons salt
- 2 1/2 sticks very, very cold butter cut into pieces
- 1/3 cup shortening
- 1/2 cup ice cold water
Instructions
Step 1: I put the bowl of the food processor in the freezer with the flour, sugar, and salt for a bit before I am ready to get working. Give it a quick pulse to combine.
Step 2: Add the frozen butter and shortening to the bowl.
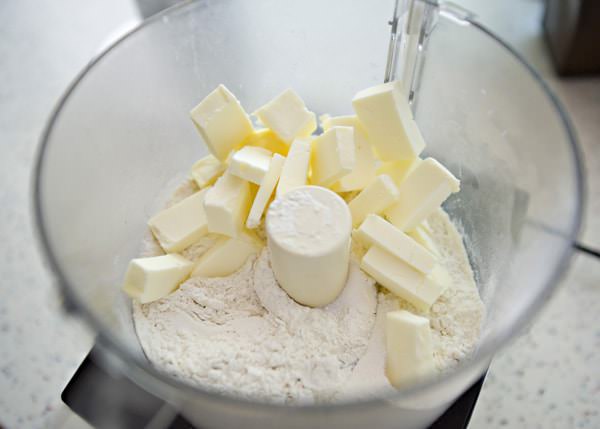
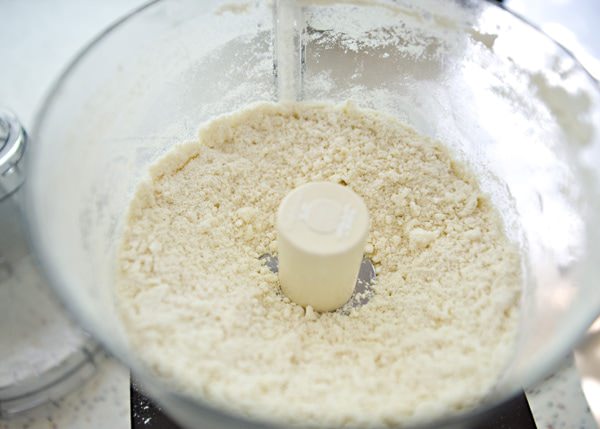
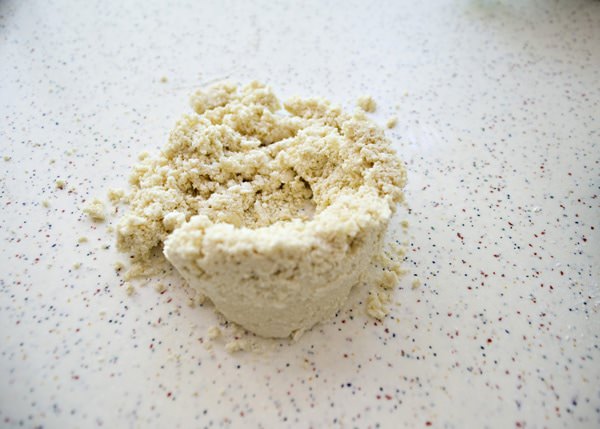
Step 3: Pulse until the butter and flour mixture resemble a coarse meal. Dorie says that you are aiming for some pieces to look like peas and others to look like barley.
Step 4: Slowly, add a Tablespoon at a time of the ice cold water. The goal is to have it wet enough that it will stick together when pinched, but not too much water that it will be sticky. Pulse the food processor until the dough just comes together. I think that this step is the hardest in the entire dough making process.
Step 5: I added a little too much water. (It is hard to take pictures of pouring water sometimes and concentrate on the perfect amount for my pie crust) It ended up being just fine after it was chilled, but I would add a Tablespoon at a time until the consistency is just right. Do as I say, not as I do.
Step 6: Turn the dough out give it a quick knead until it comes together. If you are making a double crust, cut the dough in half.
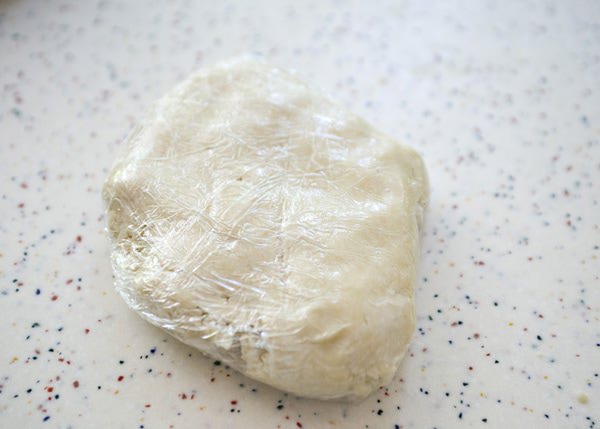
Step 7: Wrap the dough in plastic wrap and put in the fridge for an hour. It really needs to be cold. So you sense a theme here? Cold. Very, very cold. You can freeze the dough at this point or keep in the fridge for a day or two.
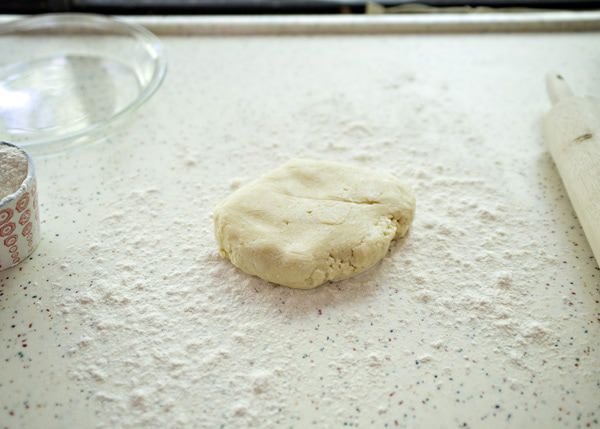
Step 8: When you are ready to roll out the dough, make sure that you have everything ready. Your rolling pin, flour, and pie plate.
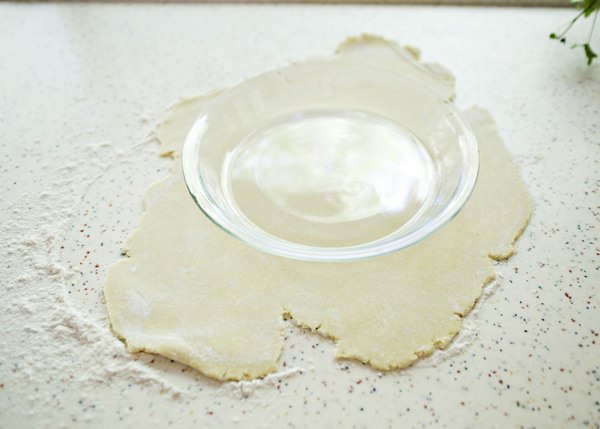
Step 9: Roll out the dough to the desired thickness. As you can see, I have not perfected getting a perfect circle. They sell those mats that help you roll it out into the right shape and diameter. I should get one of those. I use my pie plate as my guide.
Step 10: I roll my crust up onto my rolling pin and then unroll it over my pie plate. I use a pair of kitchen shears to trim the overhang.
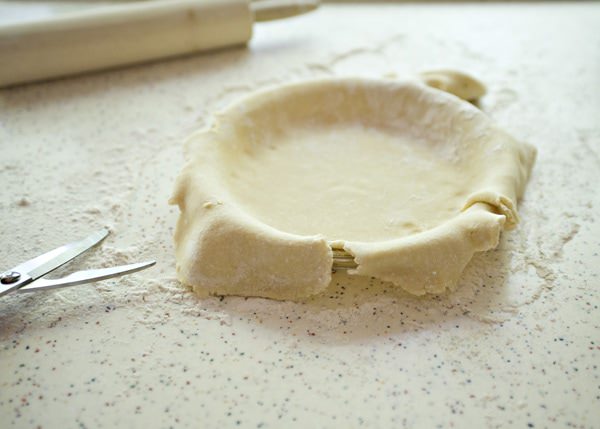
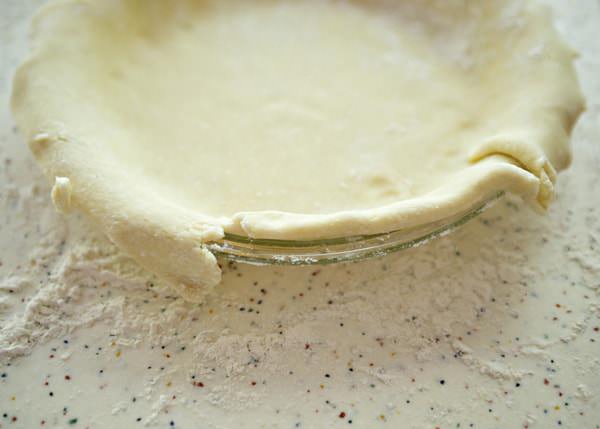
Step 11: I tuck the edges underneath back into the pie plate.
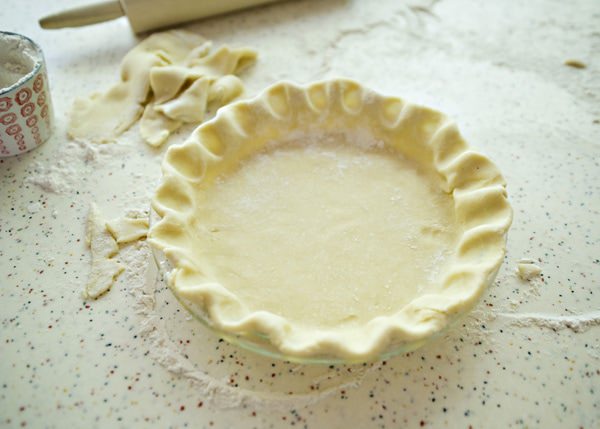
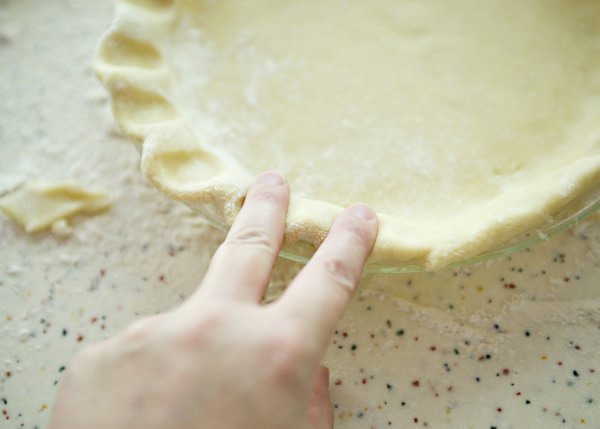
Step 12: Then using two fingers I press down to crimp the edges.
Step 13: Beautiful. I put the pie crust back into the freezer until I am ready to bake it.
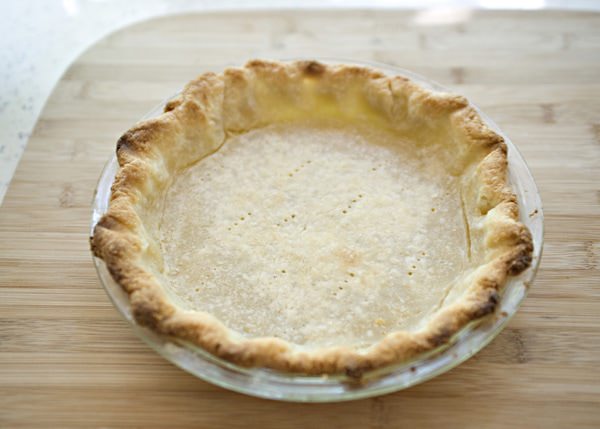
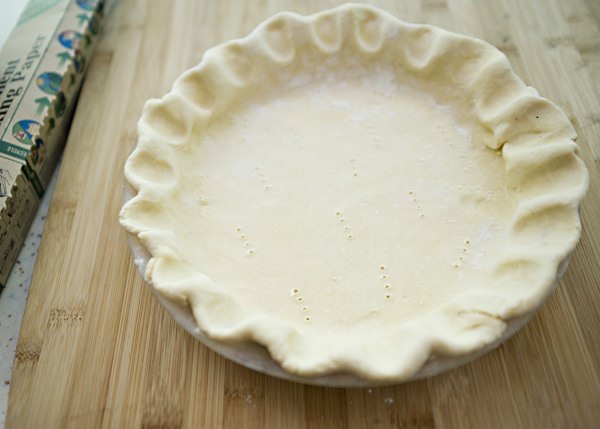
Step 14: When you are ready to bake the shell, (I am blind baking this pie crust, but if you were going to make a fruit pie or something, then you would bake it all at the same time) preheat your oven to 400 degrees. Take a fork and pierce the pie crust a few times to let air escape.
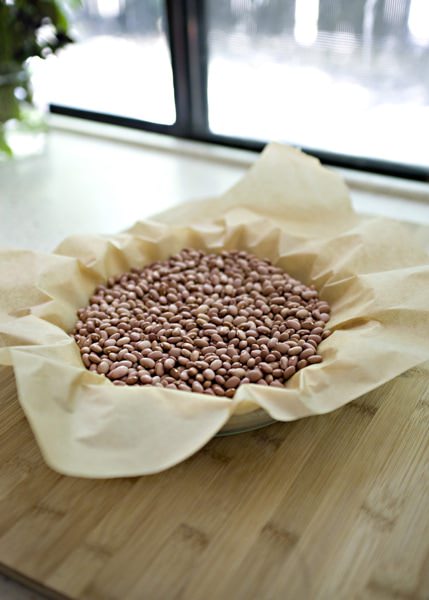
Step 15: Cover the pie with parchment paper and fill with pie weights. I use dried beans. I keep a few jars of these beans in my pantry and they are only used for this purpose. You cannot eat these after you have baked them.
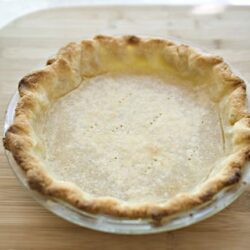
Step 16: You can use tin foil instead of parchment if you like. Put the pie crust on a baking sheet and bake for 25 minutes. Carefully remove the parchment paper and pie weights. If the crust has puffed up press it down with the back of a spoon. For a partially baked crust, return the pie to the oven for another 8 minutes. To fully bake the crust, bake it for another 10 minutes. If your outer crust is getting a little dark, make a tin foil cuff to go around the outside, it will still cook without coloring. Let the pie cool before you fill it.
See, not so scary after all.
Tips & Tricks
The most important tip that I can give you is to make sure all of your ingredients are very cold. Like I put everything (even the flour) in the freezer for a little while before I get to work, cold.
This pie crust recipe comes from Dorie Greenspan’s gorgeous book called Baking From My Home to Yours. If you are a beginning baker, or an advanced baker, I cannot urge you enough to have this book in your cookbook collection. It is a wonderful resource and I have been using my friend Corey’s for a long time. I need to buy my own. Stat.
How to Make Pie Crust
Ingredients
For a 9-inch single crust
- 1 1/2 cups flour
- 2 Tablespoons sugar
- 3/4 teaspoon salt
- 1 1/4 sticks very very cold butter cut into pieces
- 2 1/2 Tablespoons shortening
- 1/4 cup ice cold water
For a 9-inch double crust
- 3 cups flour
- 1/4 cup sugar
- 1 1/2 teaspoons salt
- 2 1/2 sticks very very cold butter cut into pieces
- 1/3 cup shortening
- 1/2 cup ice cold water
Instructions
- I put the bowl of the food processor in the freezer with the flour, sugar, and salt for a bit before I am ready to get working. Give it a quick pulse to combine.
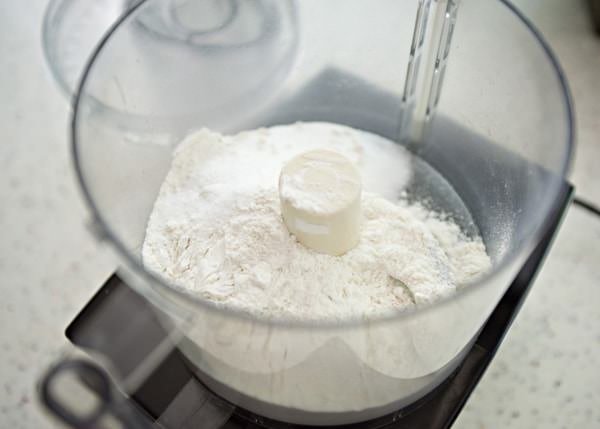
- Add the frozen butter and shortening to the bowl.
- Pulse until the butter and flour mixture resemble a coarse meal. Dorie says that you are aiming for some pieces to look like peas and others to look like barley.
- Slowly, add a Tablespoon at a time of the ice cold water. The goal is to have it wet enough that it will stick together when pinched, but not too much water that it will be sticky. Pulse the food processor until the dough just comes together. I think that this step is the hardest in the entire dough making process.
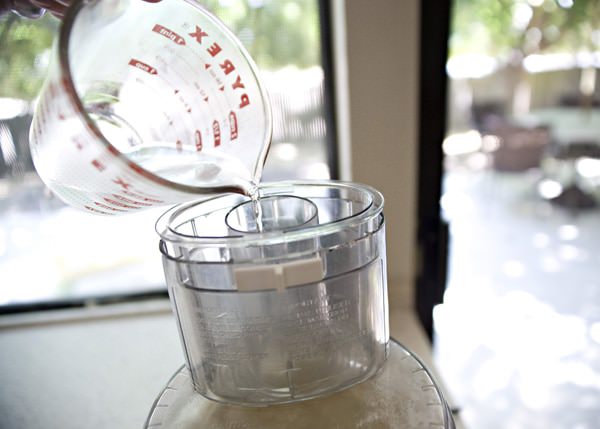
- I added a little too much water. (It is hard to take pictures of pouring water sometimes and concentrate on the perfect amount for my pie crust) It ended up being just fine after it was chilled, but I would add a Tablespoon at a time until the consistency is just right. Do as I say, not as I do.
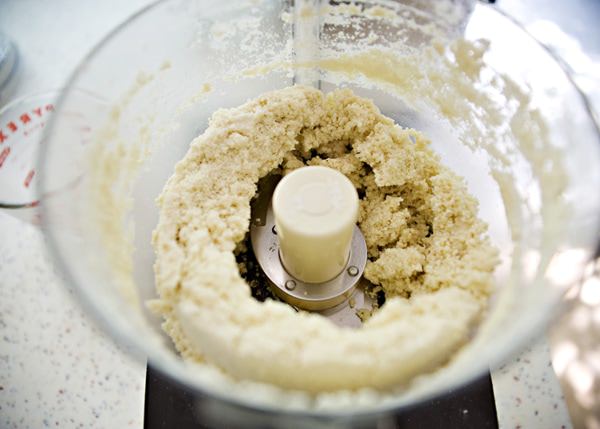
- Turn the dough out give it a quick knead until it comes together. If you are making a double crust, cut the dough in half.
- Wrap the dough in plastic wrap and put in the fridge for an hour. It really needs to be cold. So you sense a theme here? Cold. Very, very cold. You can freeze the dough at this point or keep in the fridge for a day or two.
- When you are ready to roll out the dough, make sure that you have everything ready. Your rolling pin, flour, and pie plate.
- Roll out the dough to the desired thickness. As you can see, I have not perfected getting a perfect circle. They sell those mats that help you roll it out into the right shape and diameter. I should get one of those. I use my pie plate as my guide.
- I roll my crust up onto my rolling pin and then unroll it over my pie plate. I use a pair of kitchen shears to trim the overhang.
- I tuck the edges underneath back into the pie plate.
- Then using two fingers I press down to crimp the edges.
- Beautiful. I put the pie crust back into the freezer until I am ready to bake it.
- When you are ready to bake the shell, (I am blind baking this pie crust, but if you were going to make a fruit pie or something, then you would bake it all at the same time) preheat your oven to 400 degrees. Take a fork and pierce the pie crust a few times to let air escape.
- Cover the pie with parchment paper and fill with pie weights. I use dried beans. I keep a few jars of these beans in my pantry and they are only used for this purpose. You cannot eat these after you have baked them.
- You can use tin foil instead of parchment if you like. Put the pie crust on a baking sheet and bake for 25 minutes. Carefully remove the parchment paper and pie weights. If the crust has puffed up press it down with the back of a spoon. For a partially baked crust, return the pie to the oven for another 8 minutes. To fully bake the crust, bake it for another 10 minutes. If your outer crust is getting a little dark, make a tin foil cuff to go around the outside, it will still cook without coloring. Let the pie cool before you fill it.


Leave a Comment