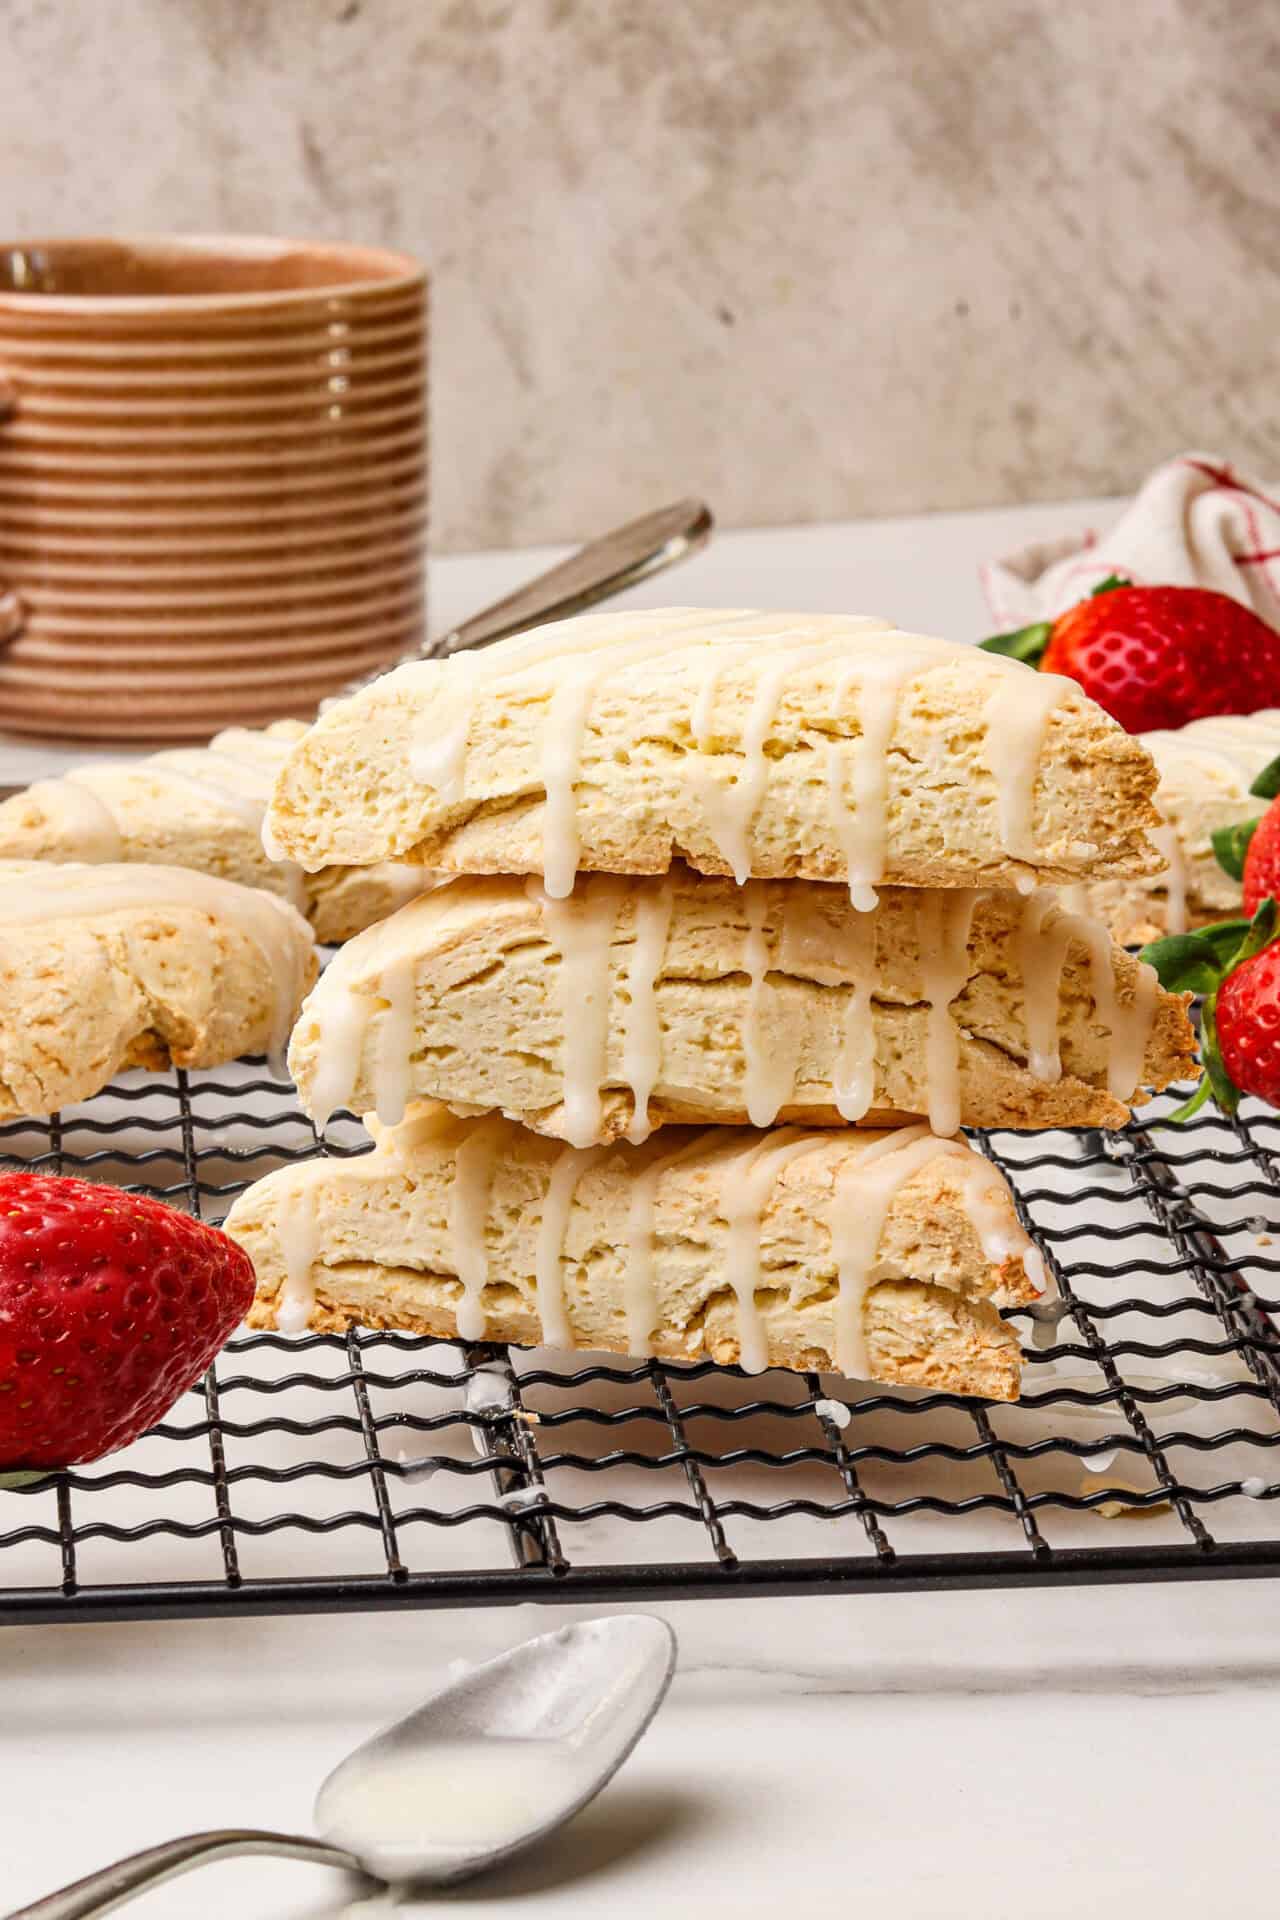
Astound your friends and family with a shocking revelation: these easy-to-make, delicious, and flaky Scones are good AND gluten-free!
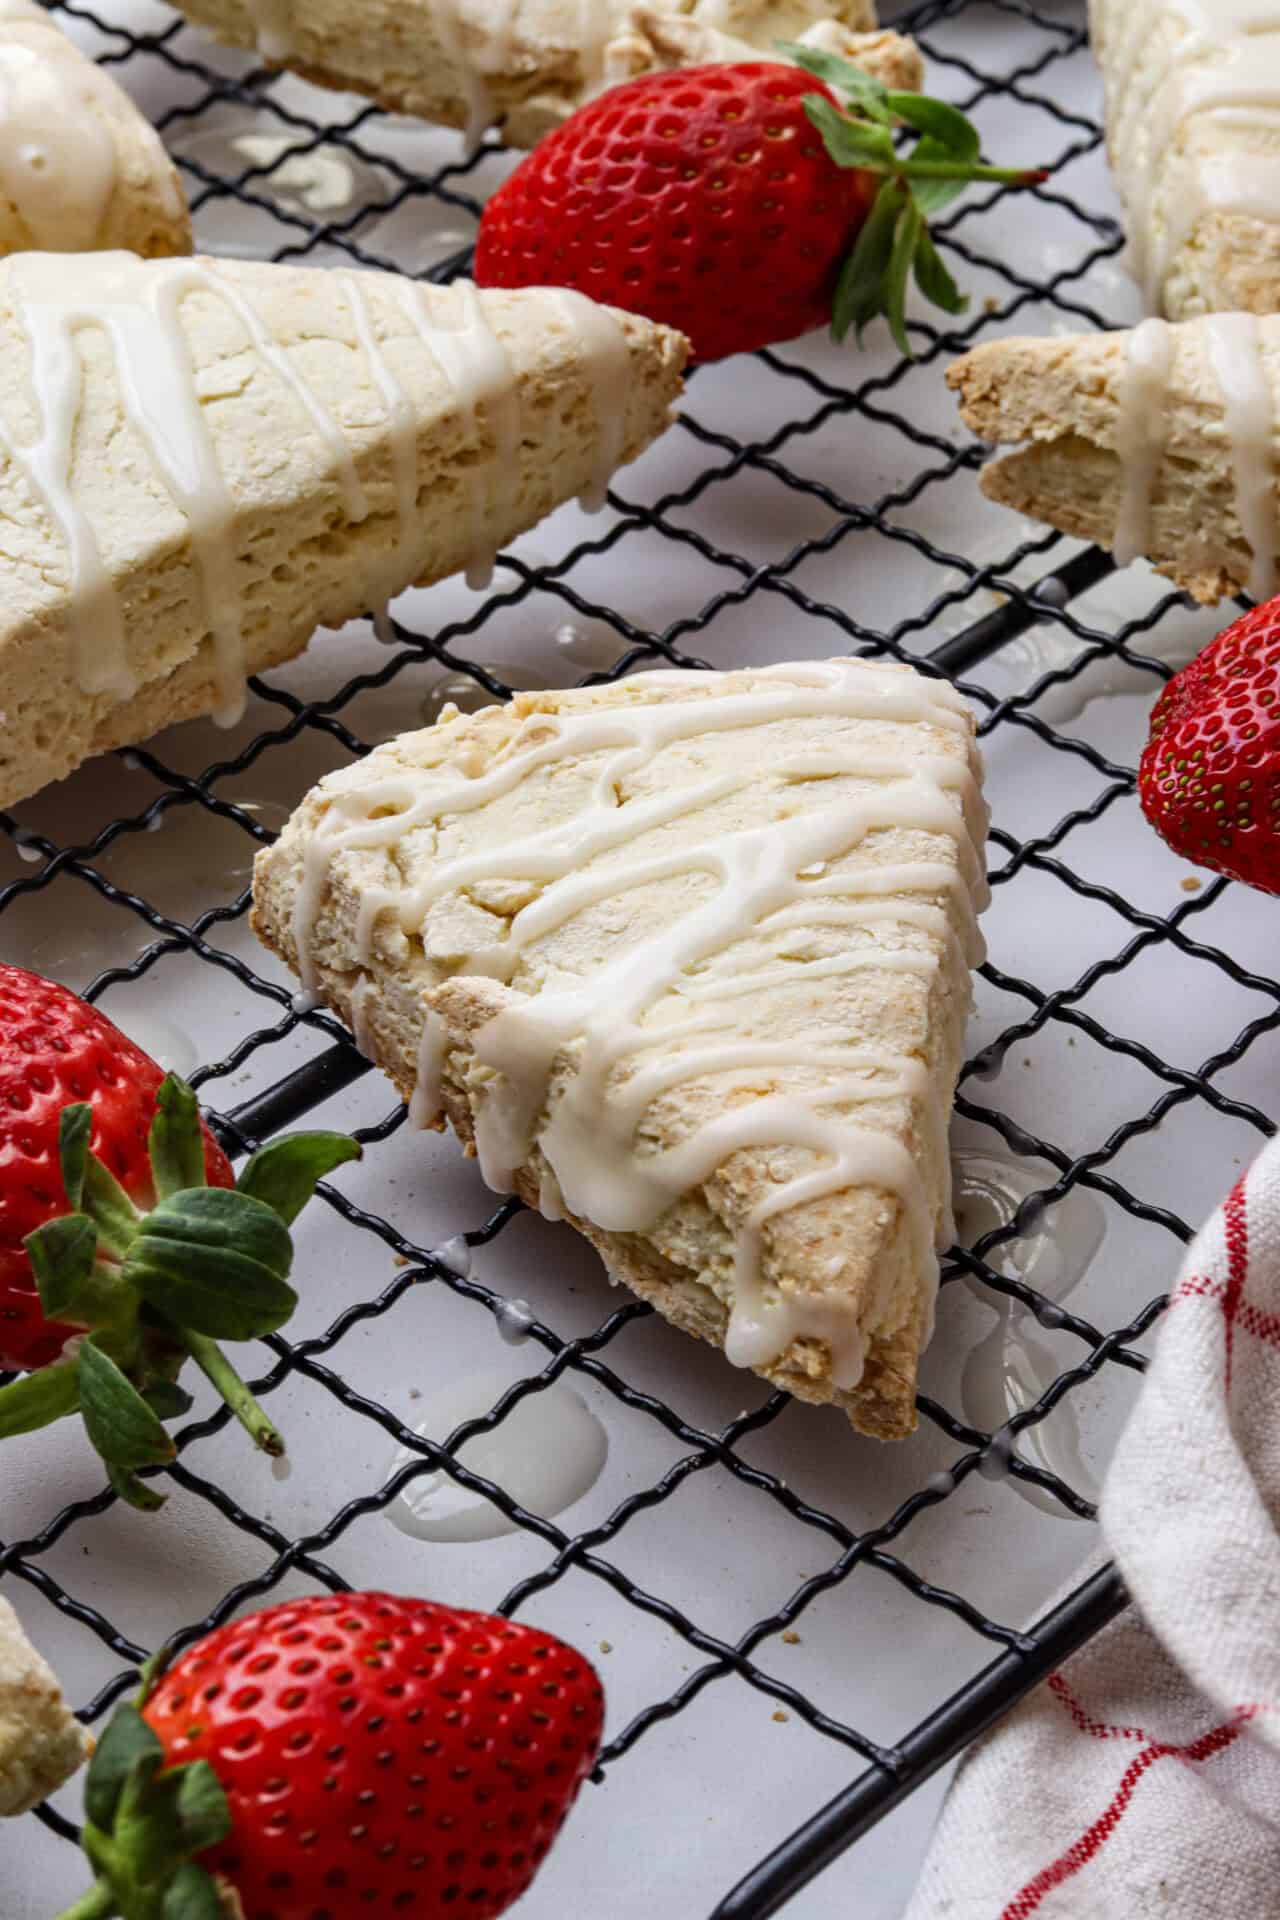
Scones are a classic and versatile treat to have whenever the mood strikes. They can be eaten with sweet additions such as jams and cream or even with more savory toppings like guacamole. Though believed to have come from Scotland sometime in the fifteen hundreds, scones rose to popularity in England when tea rooms began to serve delicious snacks along with beverages for afternoon tea.
That said, scones are by no means limited to being served with tea. You can eat them on a coffee break, for breakfast, with lunch, for a snack, as a dessert, or at any time your heart desires with one to two quick bites. Well, one to two quick bites per scone, that is. After all, you can always have another one straight after!
Why Scones Work Well Without Gluten
When making the choice to switch to gluten-free food for whatever reason, scones like this will keep you from even realizing that you’ve changed a thing. They’re not just passable or better than nothing (like a lot of gluten-free options out there); these scones are genuinely delicious! That’s because you do not need gluten for scones the way you do in traditional bread, as scones are meant to be flaky rather than stretchy.
Check Your Flour…
When cooking with gluten-free flour, make sure you check the contents of your flour to see if xanthan gum has already been added. If it hasn’t, it’s recommended to throw in half a teaspoon or so of the powder to add a thickness and more ‘glutenous’ texture to your baking that is both gluten-free and vegan.
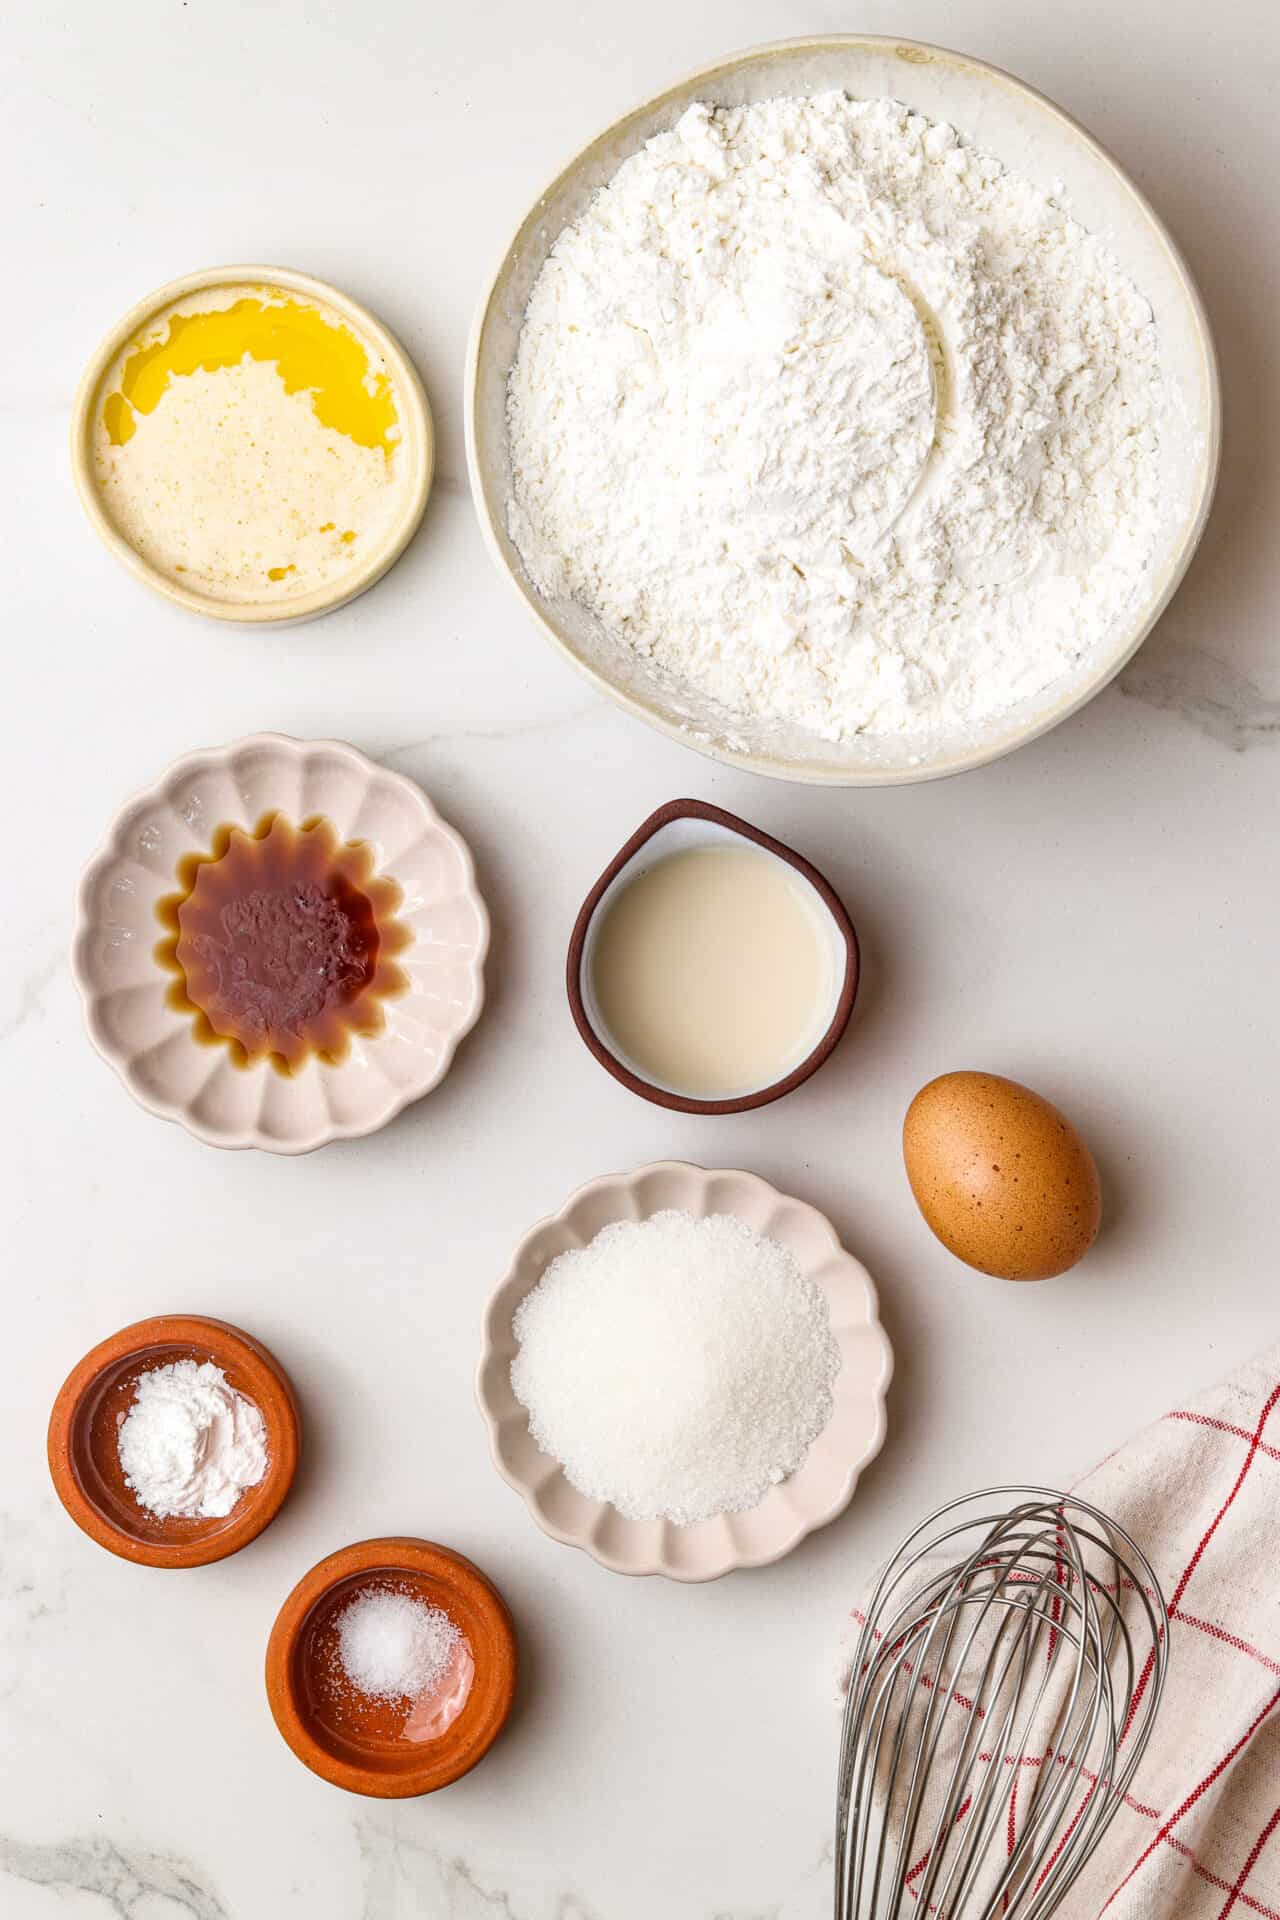
Ingredients
- 2 1/4 cups gluten-free all-purpose flour
- 3 tablespoons granulated sugar
- 1/2 teaspoon baking powder
- 1/4 teaspoon salt
- 3 tablespoons unsalted butter, melted
- 1 tablespoon milk, any variety
- 1 large egg
- 1 teaspoon vanilla extract
How to Make Gluten-Free Scones
Step 1: Preheat your oven to 350°F and line a baking sheet with parchment paper.
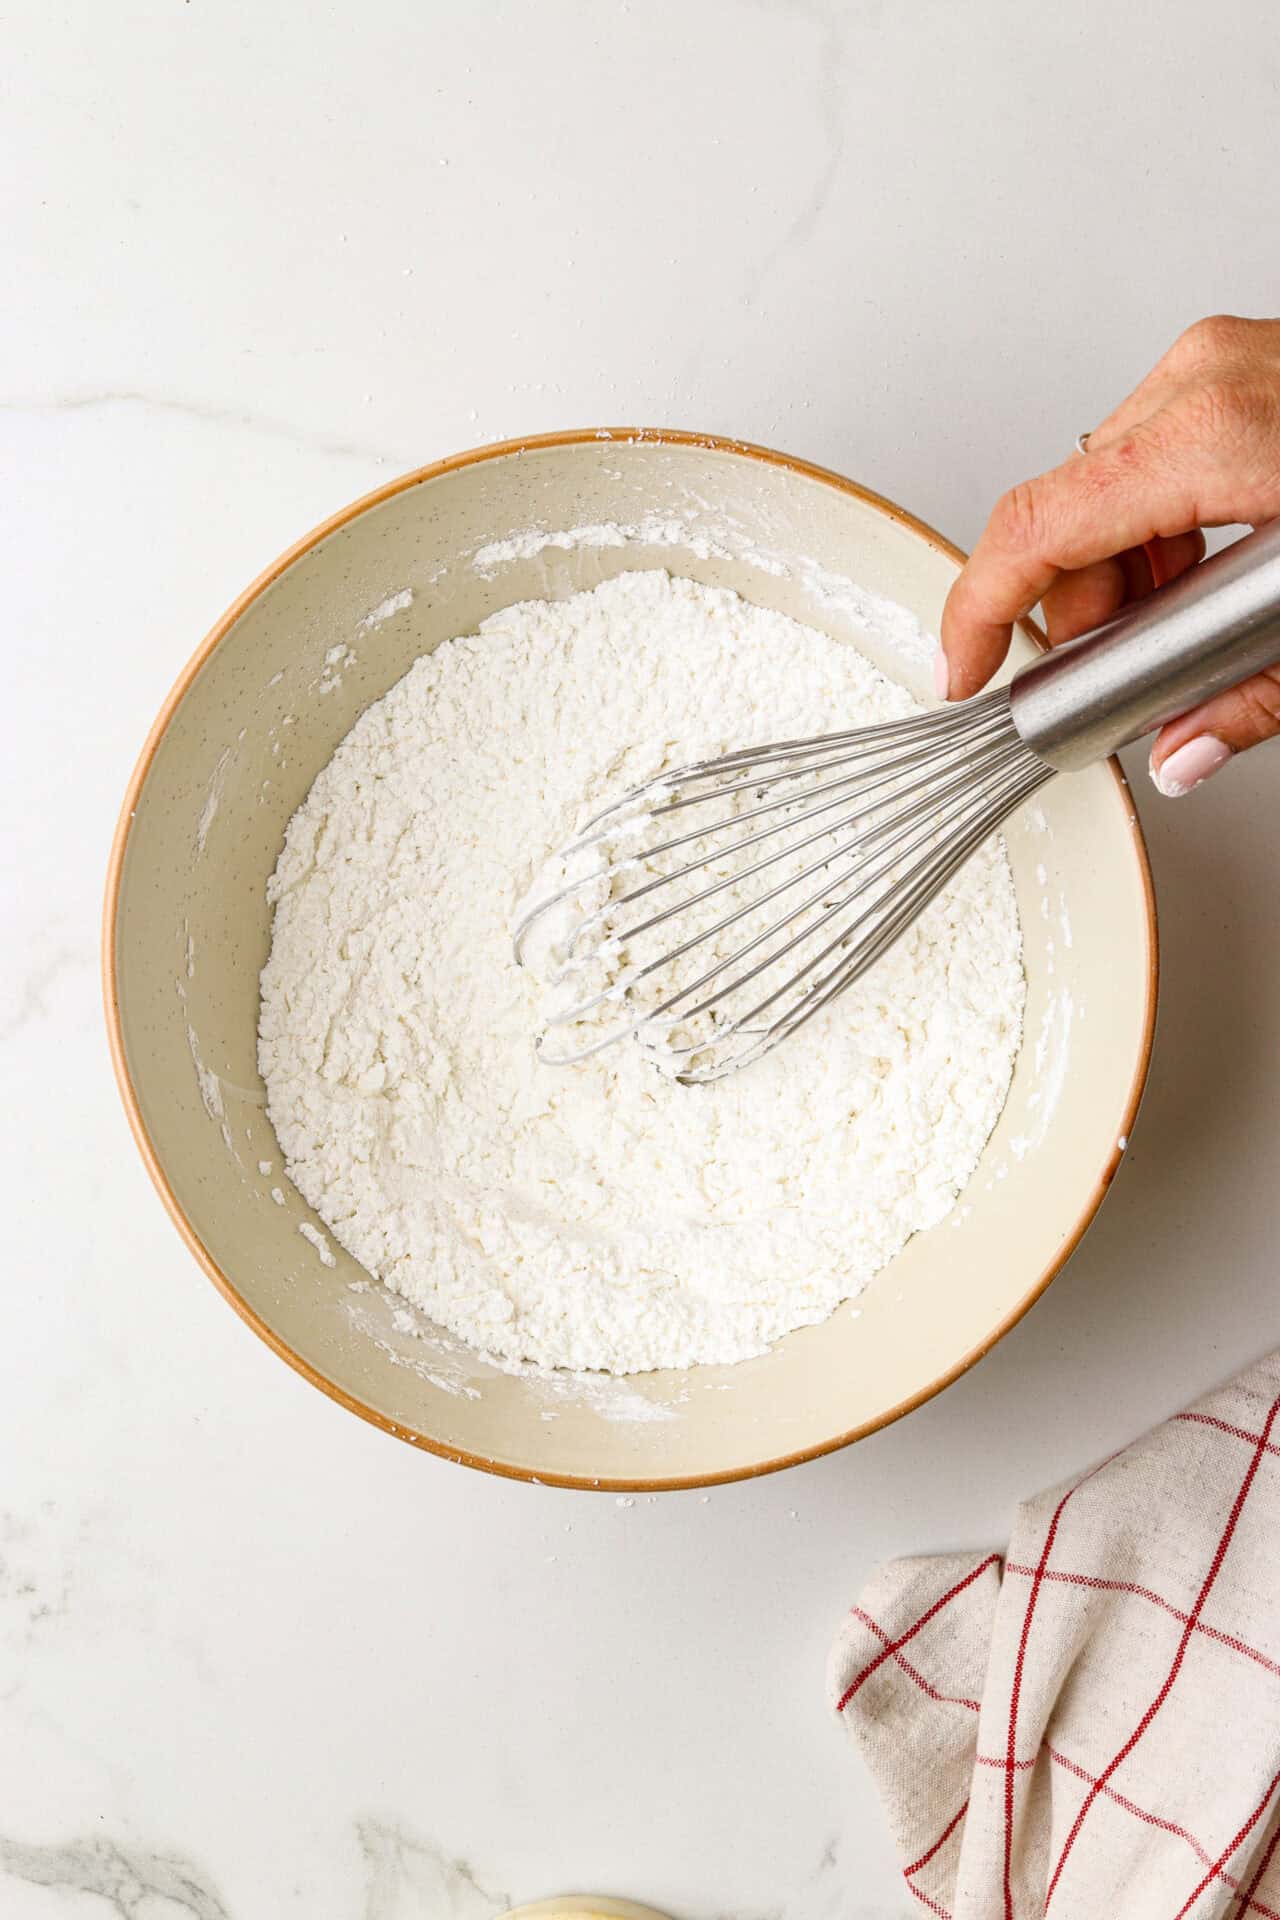
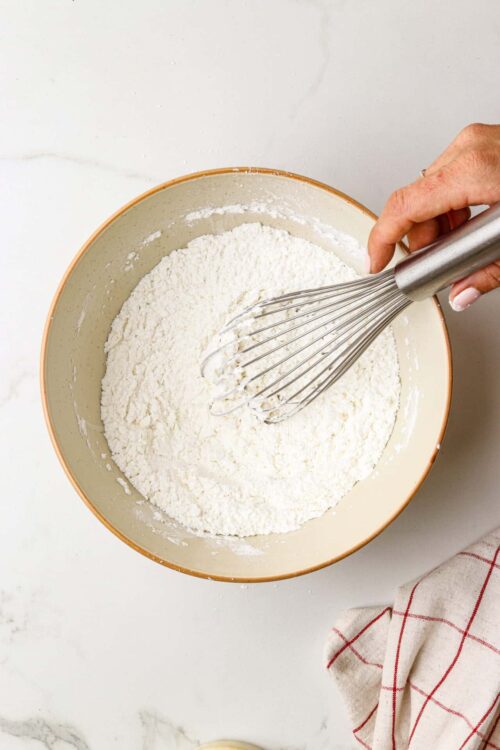
Step 2: In a large mixing bowl, combine the gluten-free all-purpose flour, sugar, baking powder, and salt.
Step 3: In a separate bowl, whisk together the melted butter, milk, egg, and vanilla extract until well blended.

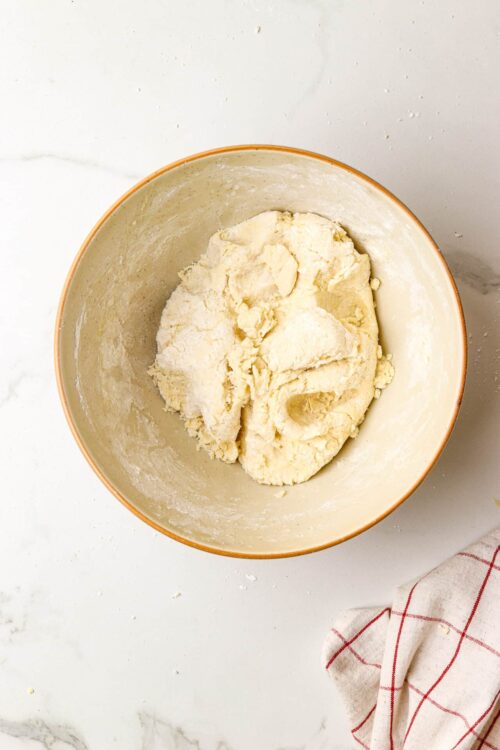
Step 4: Pour the wet ingredients into the dry ingredients and stir until a dough forms.

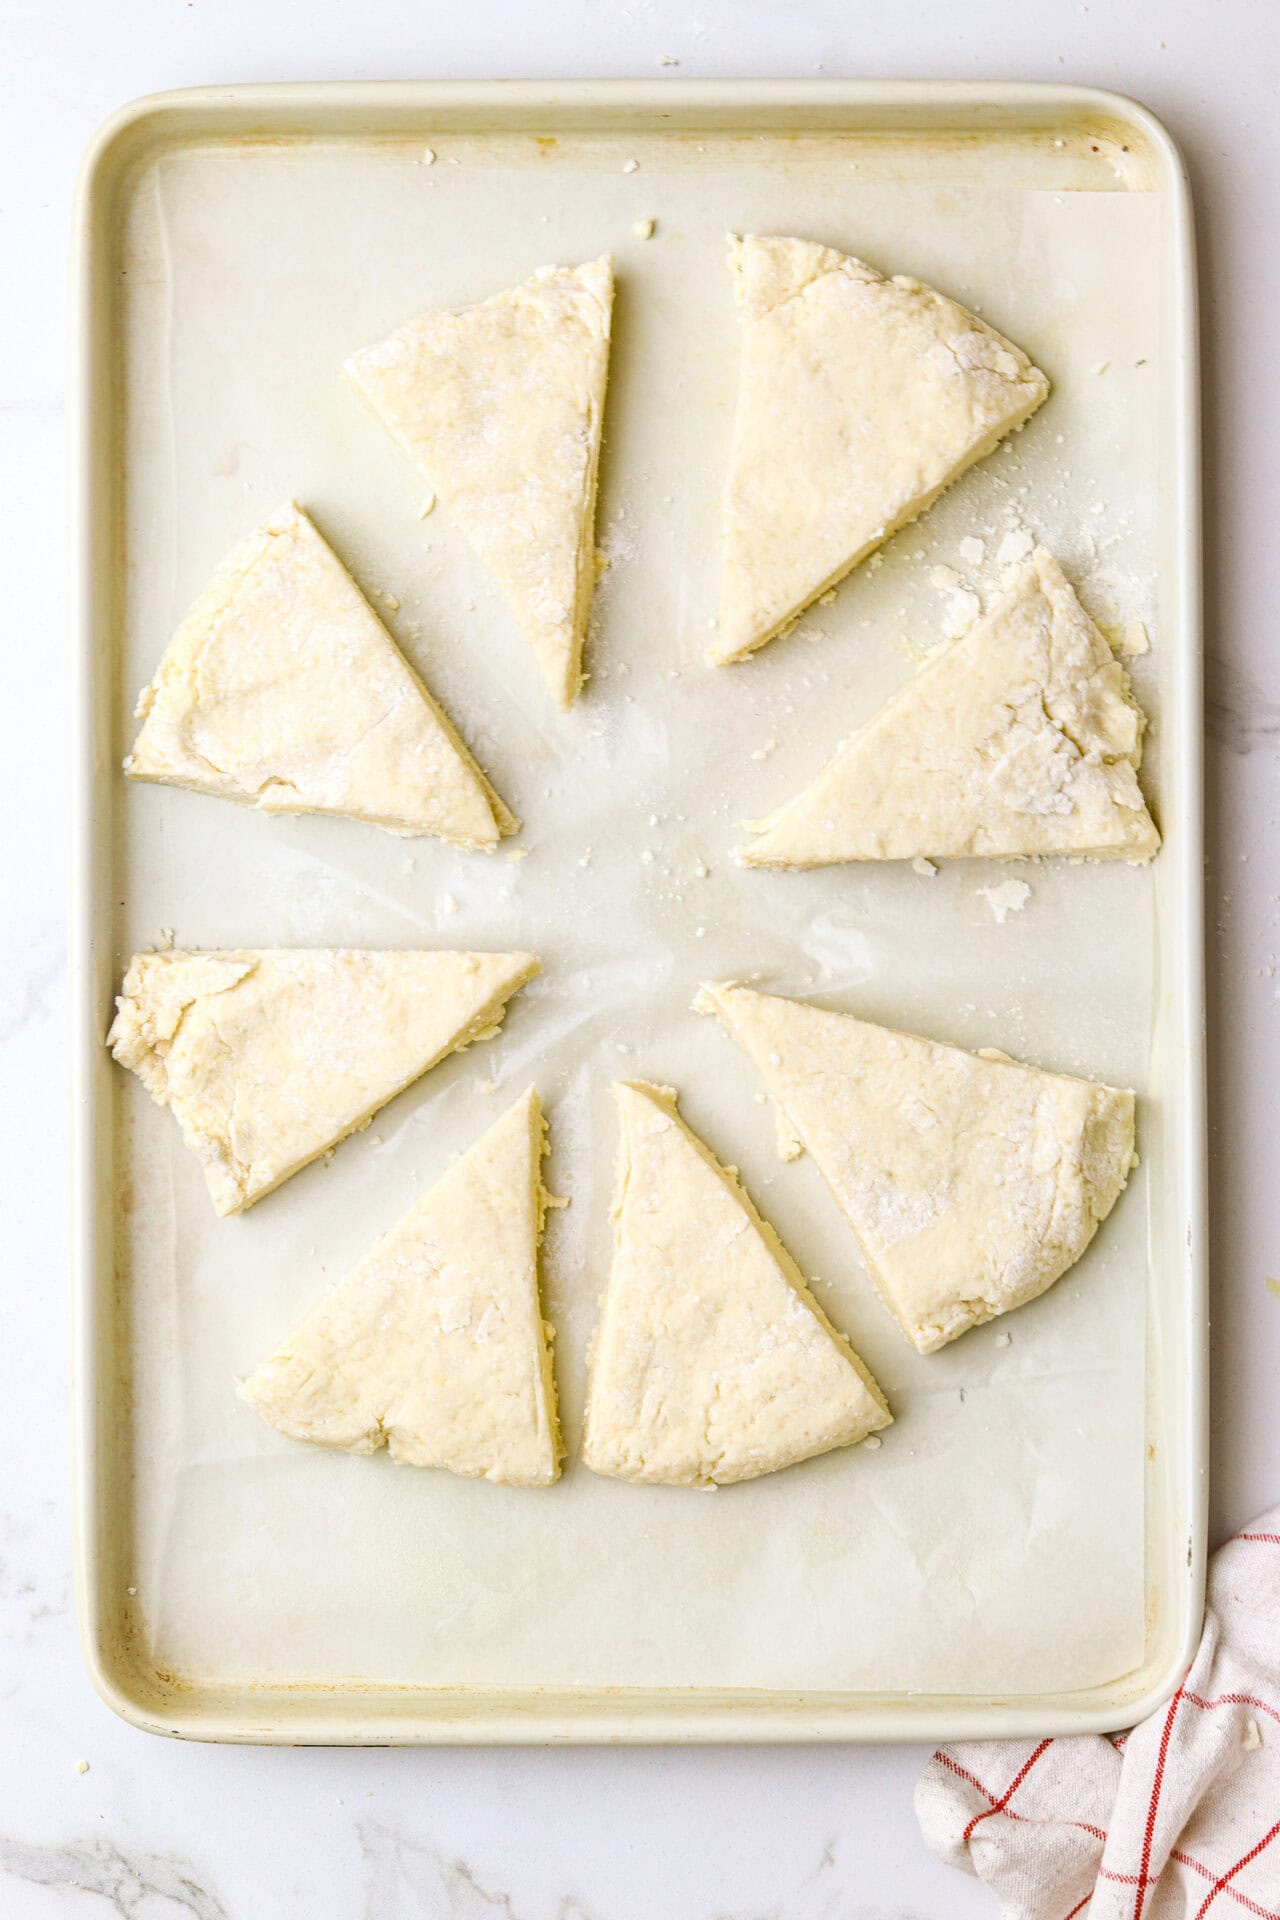
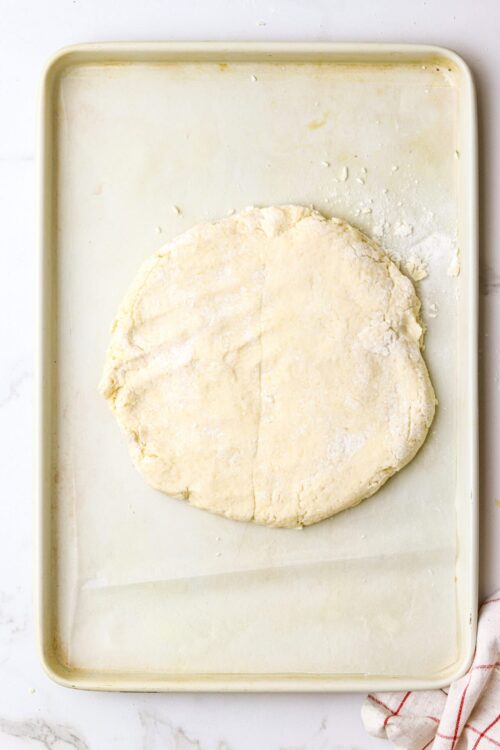
Step 5: Transfer the dough onto the prepared baking sheet and shape into a flat round disc about 1 inch thick.
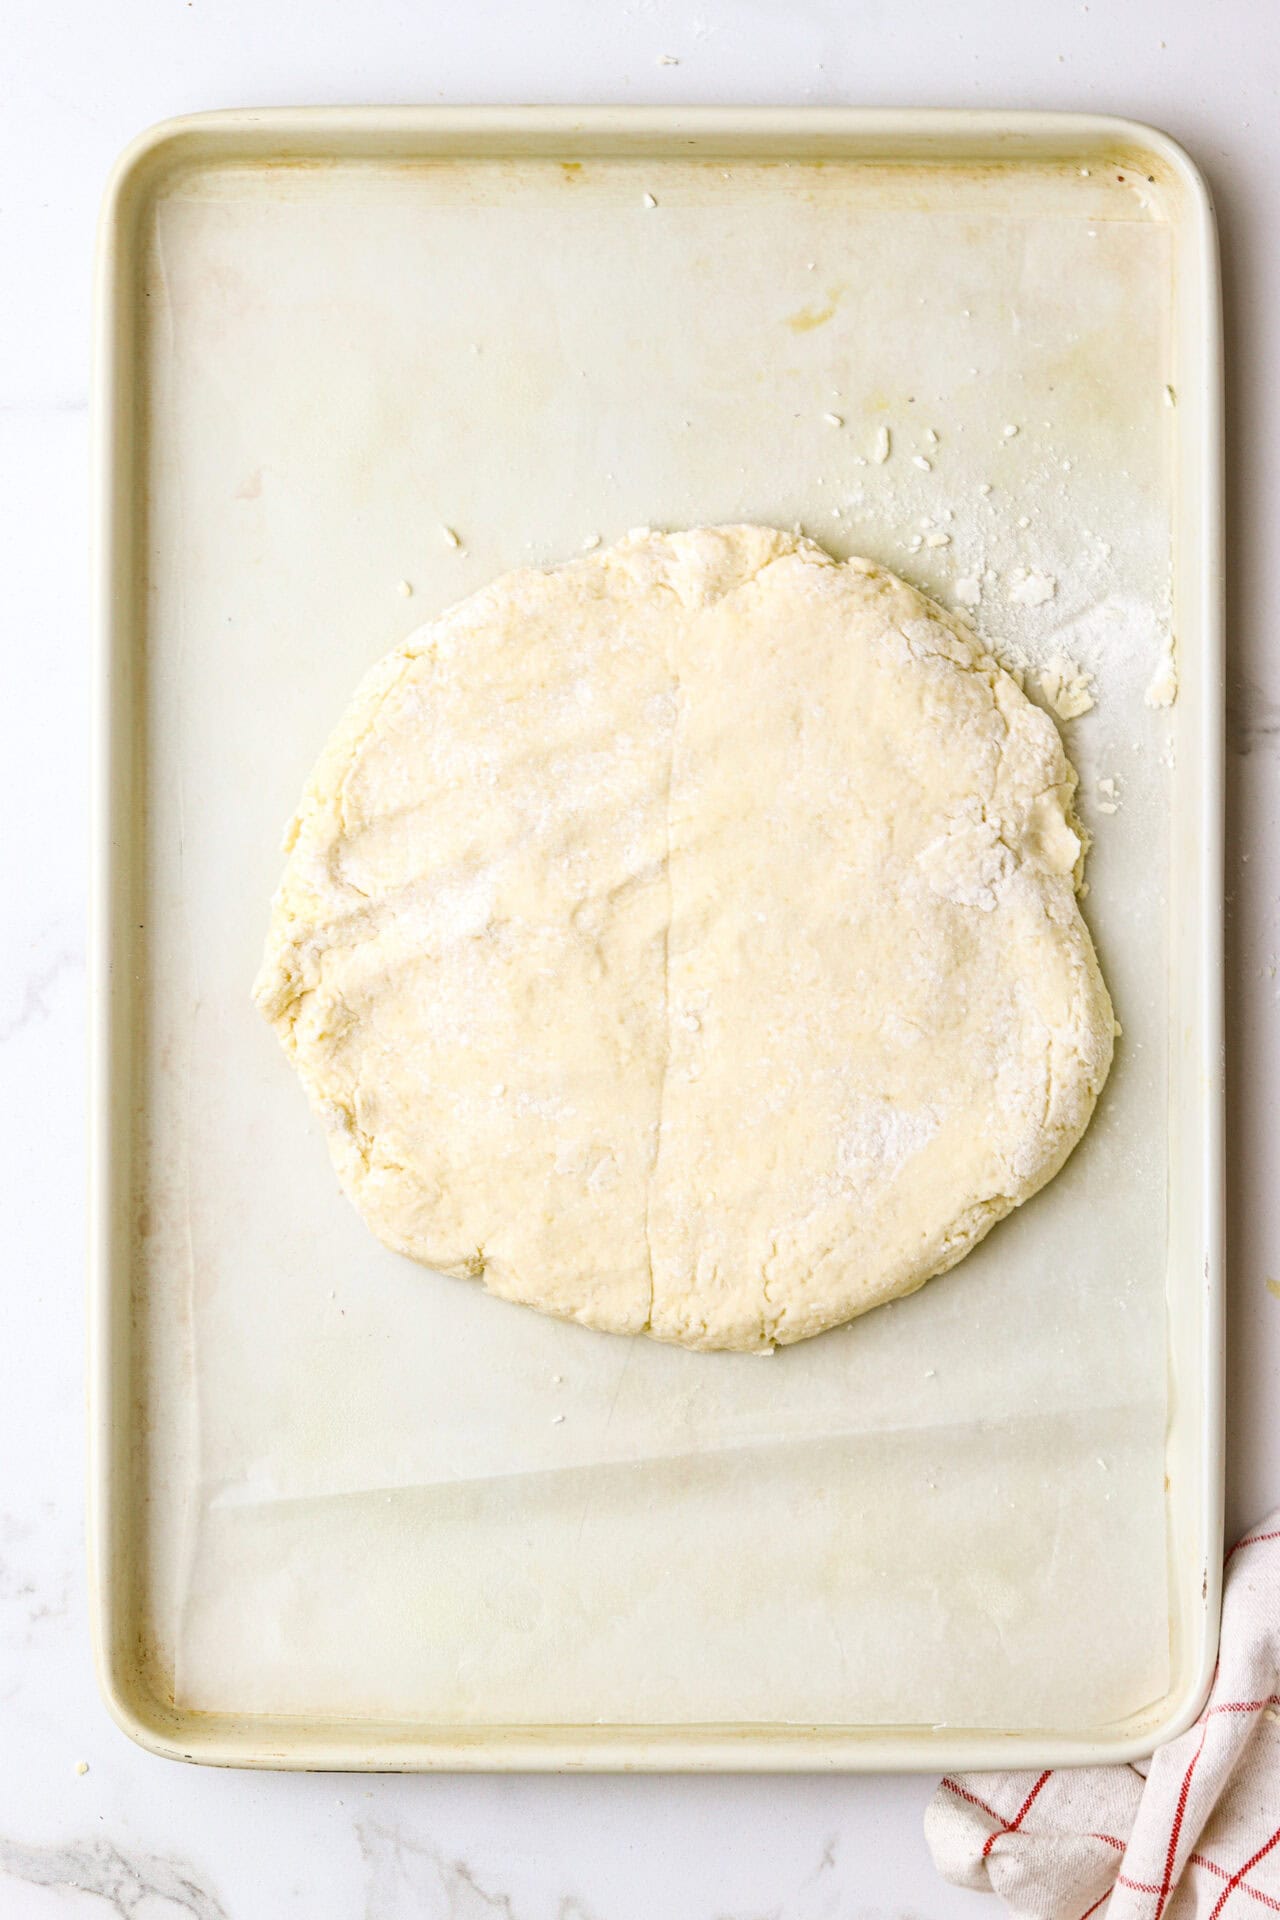
Step 6: Cut the disc into 8 equal wedges and separate them slightly on the baking sheet.
Step 7: Bake in the preheated oven for 25 minutes or until the scones are golden brown and a toothpick inserted into the center comes out clean.
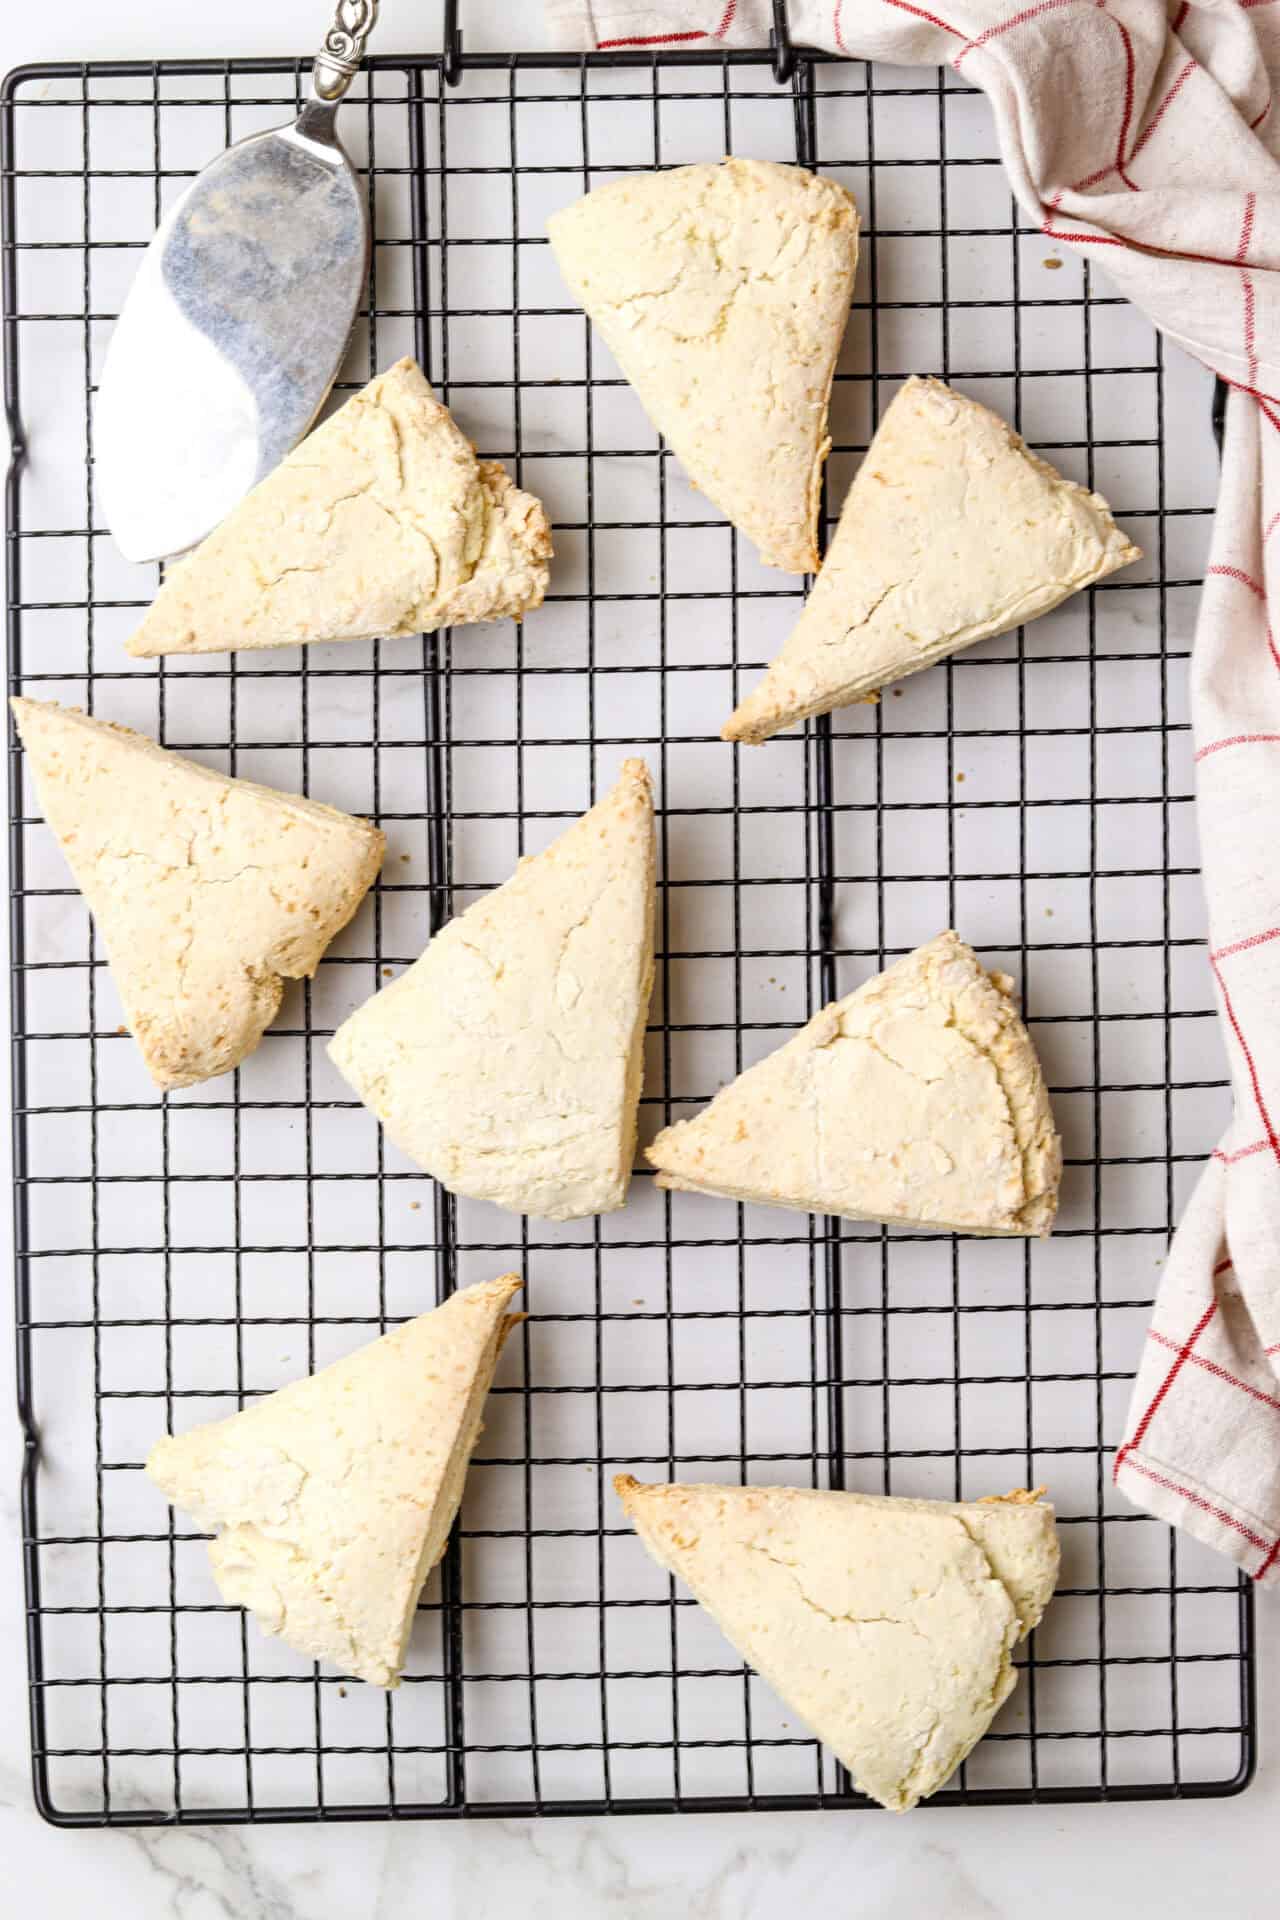
Step 8: Remove from the oven and let cool on the baking sheet for a few minutes before transferring to a wire rack to cool completely.

FAQs & Tips
How to Store Gluten-Free Scones
While scones are best eaten fresh out of the oven, you can store them for up to 2-3 days. They should be in a sealed container, ideally in the fridge. To freshen them up before serving after a day or two in the refrigerator, sprinkle lightly with water and pop them in the microwave for 15-20 seconds. Not only will this soften your scones, but I find scones are always best served warm.
Can This Recipe Be Dairy Free?
Of course! The key to delicious scones and their proper texture is cooking with fat of some kind. This does not need to necessarily be butter made from milk. You can use vegan butter or opt for solid coconut oil. Then just use your preferred milk substitute such as oat or almond milk.
The Secret to a Proper Flake!
The best way to get a fulfilling and flaky mouthful when you bite into your scone is to use only cold ingredients. If your ingredients are too warm, your butter will melt before it has the chance to get baked, which will lead to a less flaky texture. Using a grater on frozen butter will get you the best results, but you could also cut the butter into small pieces and then freeze them before mixing in with everything else until the flour mixture creates bean-sized crumbs.
Be sure to wet your hands with cold water before mixing so it doesn’t stick to your hands, and to keep your hands from melting your grated butter!
Serving Suggestions
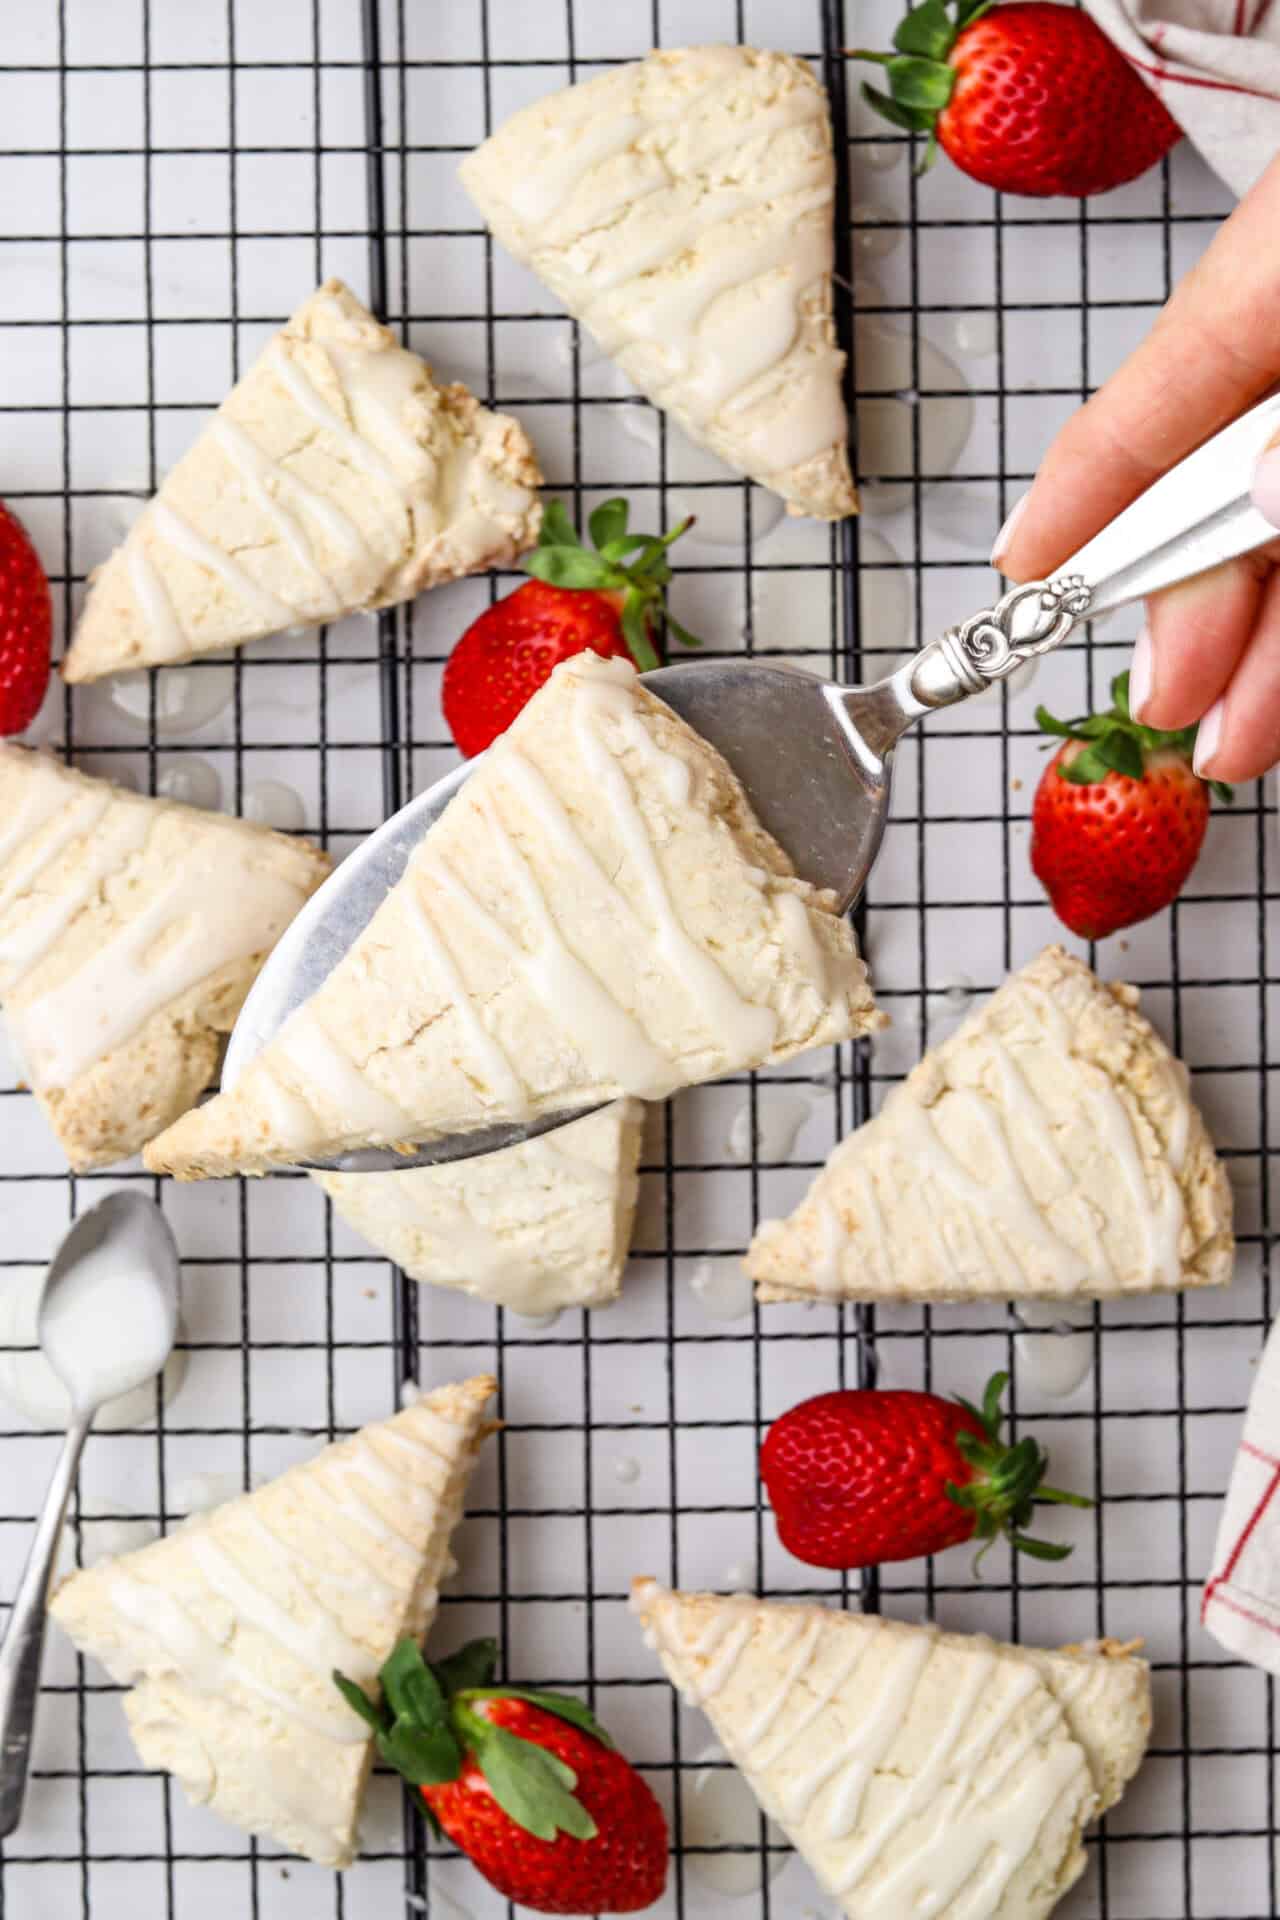
Now that you have your scones, top them with your favorite spread. You can’t go wrong with the classic jam and cream – try this Mixed Berry, Vanilla and Chia Seed Jam for instance, or even this Orange Marmalade.
Don’t be afraid to jazz things up with berries, chocolate chips, raisins, or whatever else catches your fancy. You can also opt for Lemon Curd or pop crunchy bacon bits on a cream-cheese spread for a tasty breakfast option. The limit is your imagination!

Gluten-Free Scones
Ingredients
- 2 1/4 cups gluten-free all-purpose flour
- 3 tablespoons granulated sugar
- 1/2 teaspoon baking powder
- 1/4 teaspoon salt
- 3 tablespoons unsalted butter melted
- 1 tablespoon milk any variety
- 1 large egg
- 1 teaspoon vanilla extract
Instructions
- Preheat your oven to 350°F and line a baking sheet with parchment paper.
- In a large mixing bowl, combine the gluten-free all-purpose flour, sugar, baking powder, and salt.
- In a separate bowl, whisk together the melted butter, milk, egg, and vanilla extract until well blended.

- Pour the wet ingredients into the dry ingredients and stir until a dough forms.
- Transfer the dough onto the prepared baking sheet and shape into a flat round disc about 1 inch thick.
- Cut the disc into 8 equal wedges and separate them slightly on the baking sheet.

- Bake in the preheated oven for 25 minutes or until the scones are golden brown and a toothpick inserted into the center comes out clean.

- Remove from the oven and let cool on the baking sheet for a few minutes before transferring to a wire rack to cool completely.

Leave a Comment