Bake up the soft cookie version of Ohio’s namesake peanut butter and chocolate candy with this quick and easy recipe!
The buckeye is more than just a tree in Ohio—it’s a core part of this state’s identity. I’m a proud Ohioan, born and bred, so I’m quite used to the ubiquitous peanut butter and chocolate treats named after our state tree. They’re meant to emulate the tree’s small, shiny brown nuts with a light tan “eye” that resembles a deer’s eye, which is where the name comes from. Legend has it that early Ohioans carried buckeyes as good-luck charms, a custom that gave rise to our nickname—as well as the mascot and moniker for The Ohio State University’s football team.
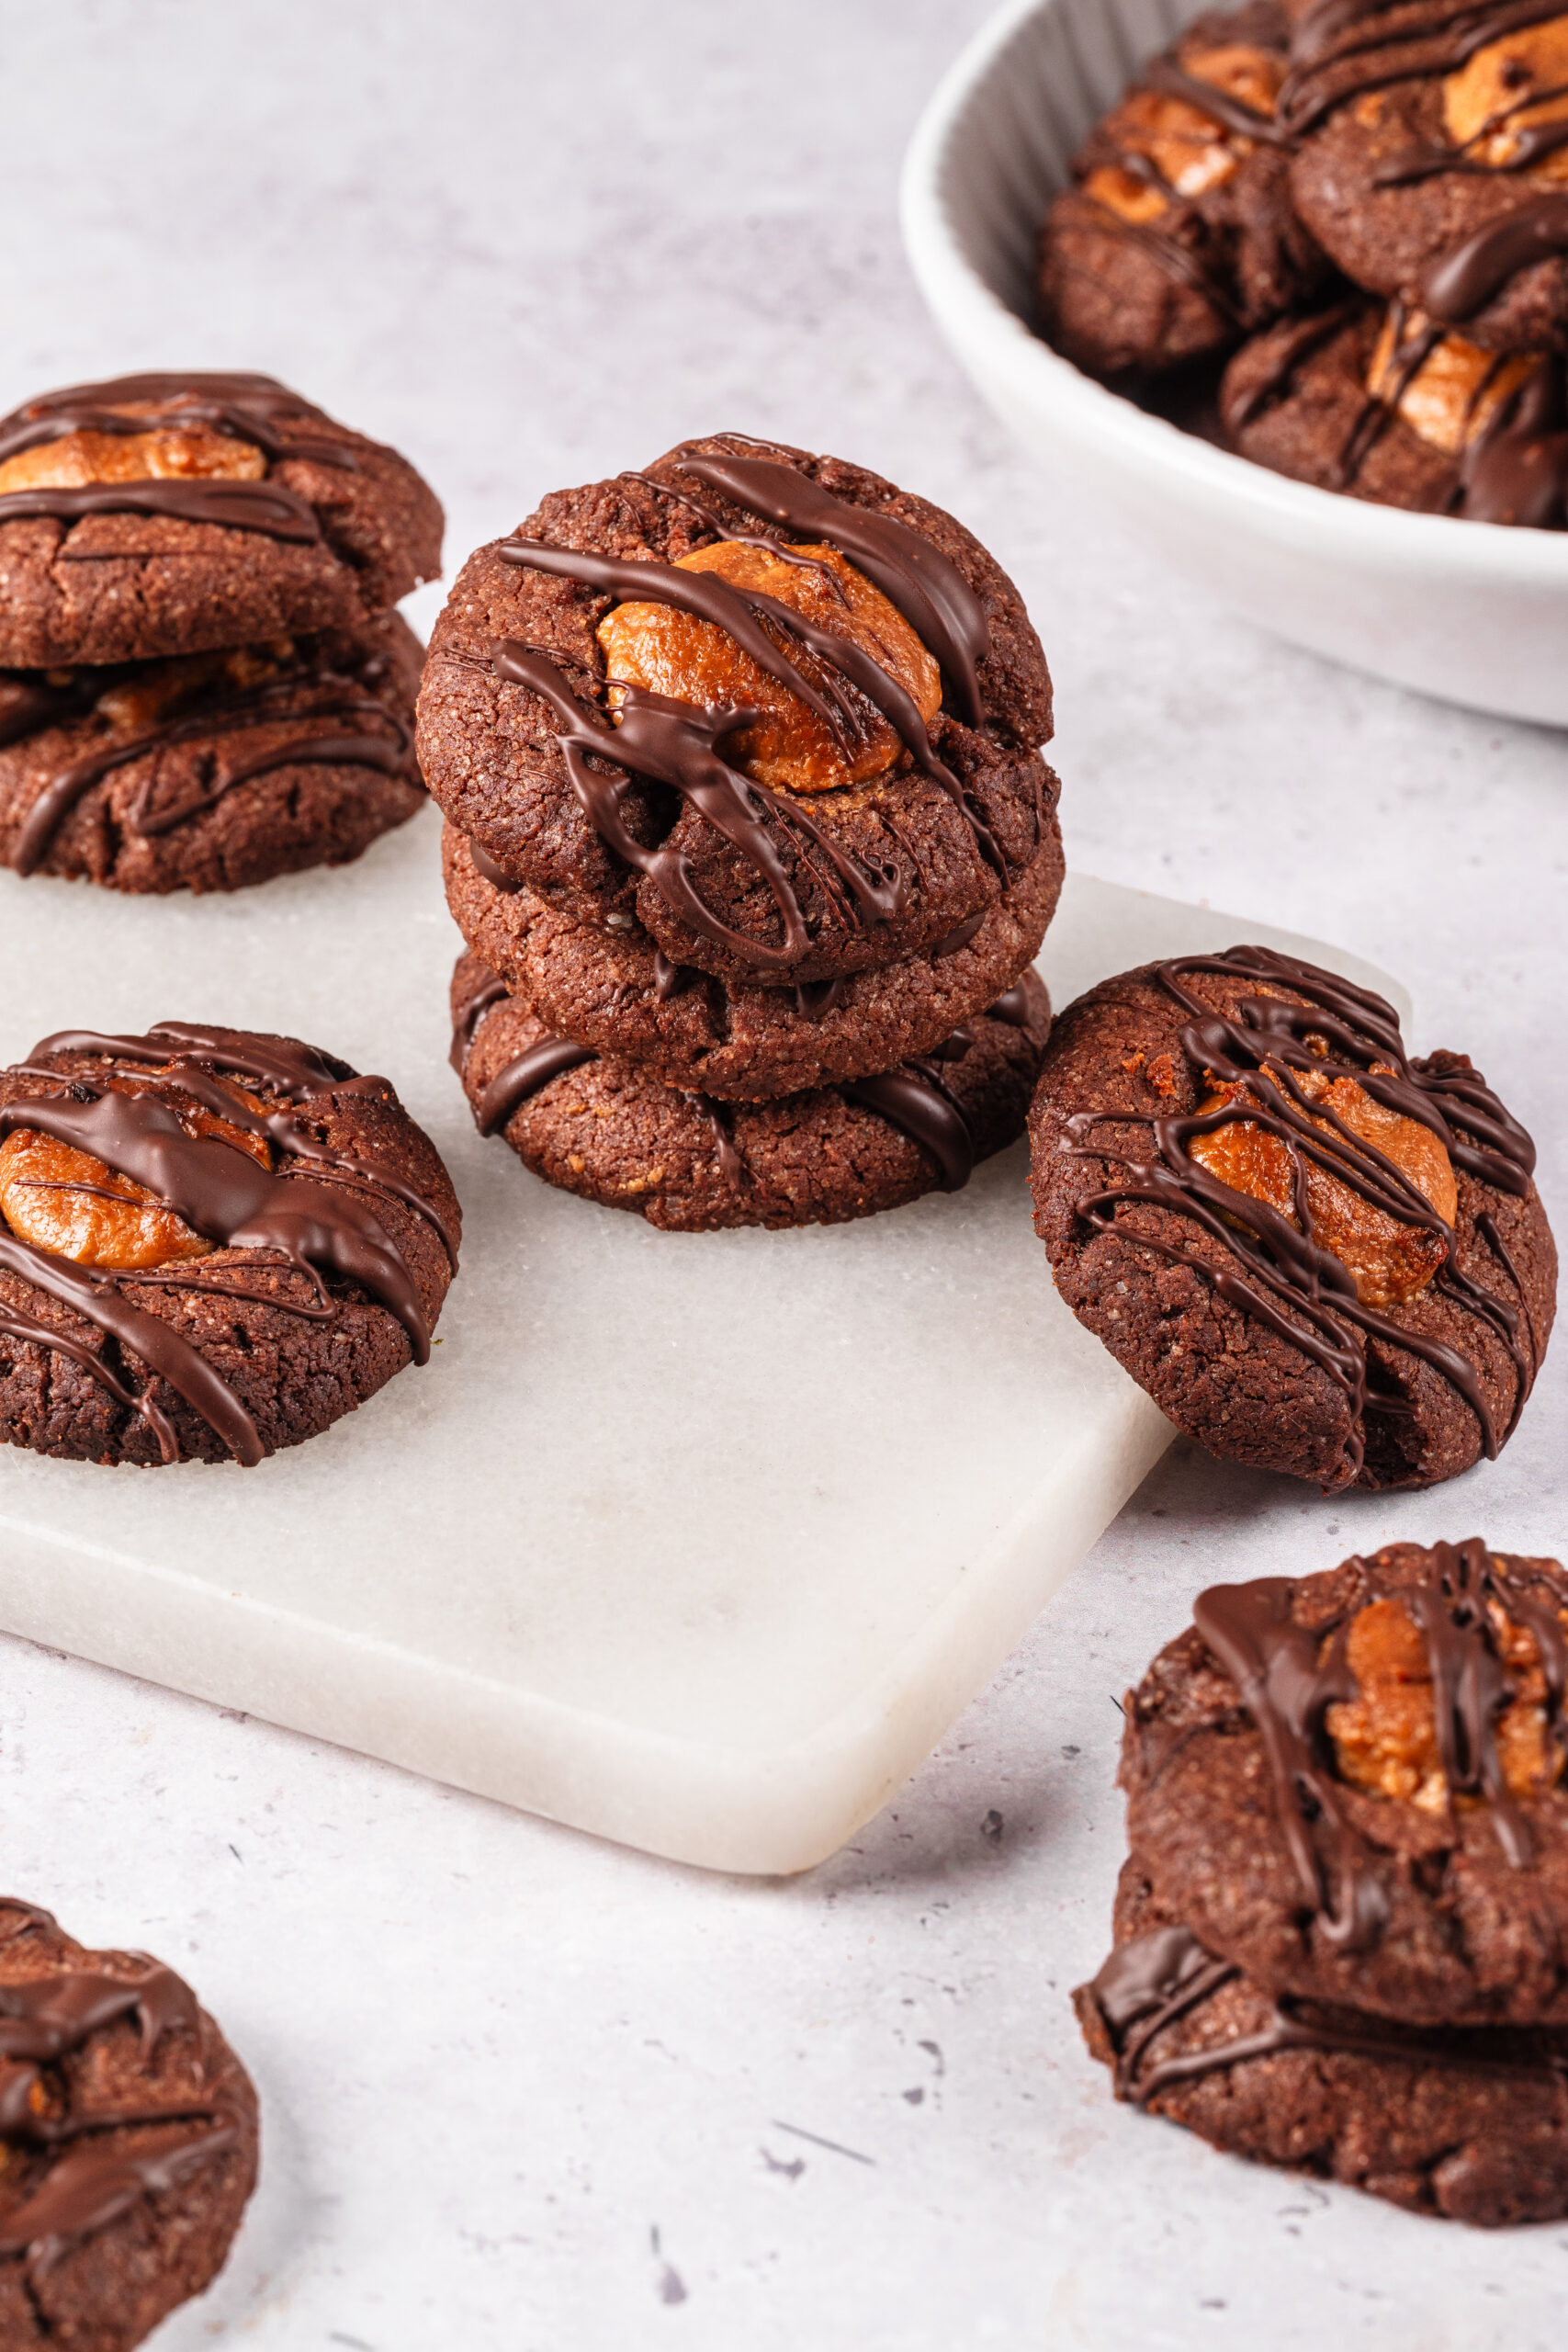
This recipe for buckeye cookies pays homage to all that delicious history. It translates the salty-sweet flavor profile of classic buckeye candies into a quick and easy cookie you can turn out in less than two hours.
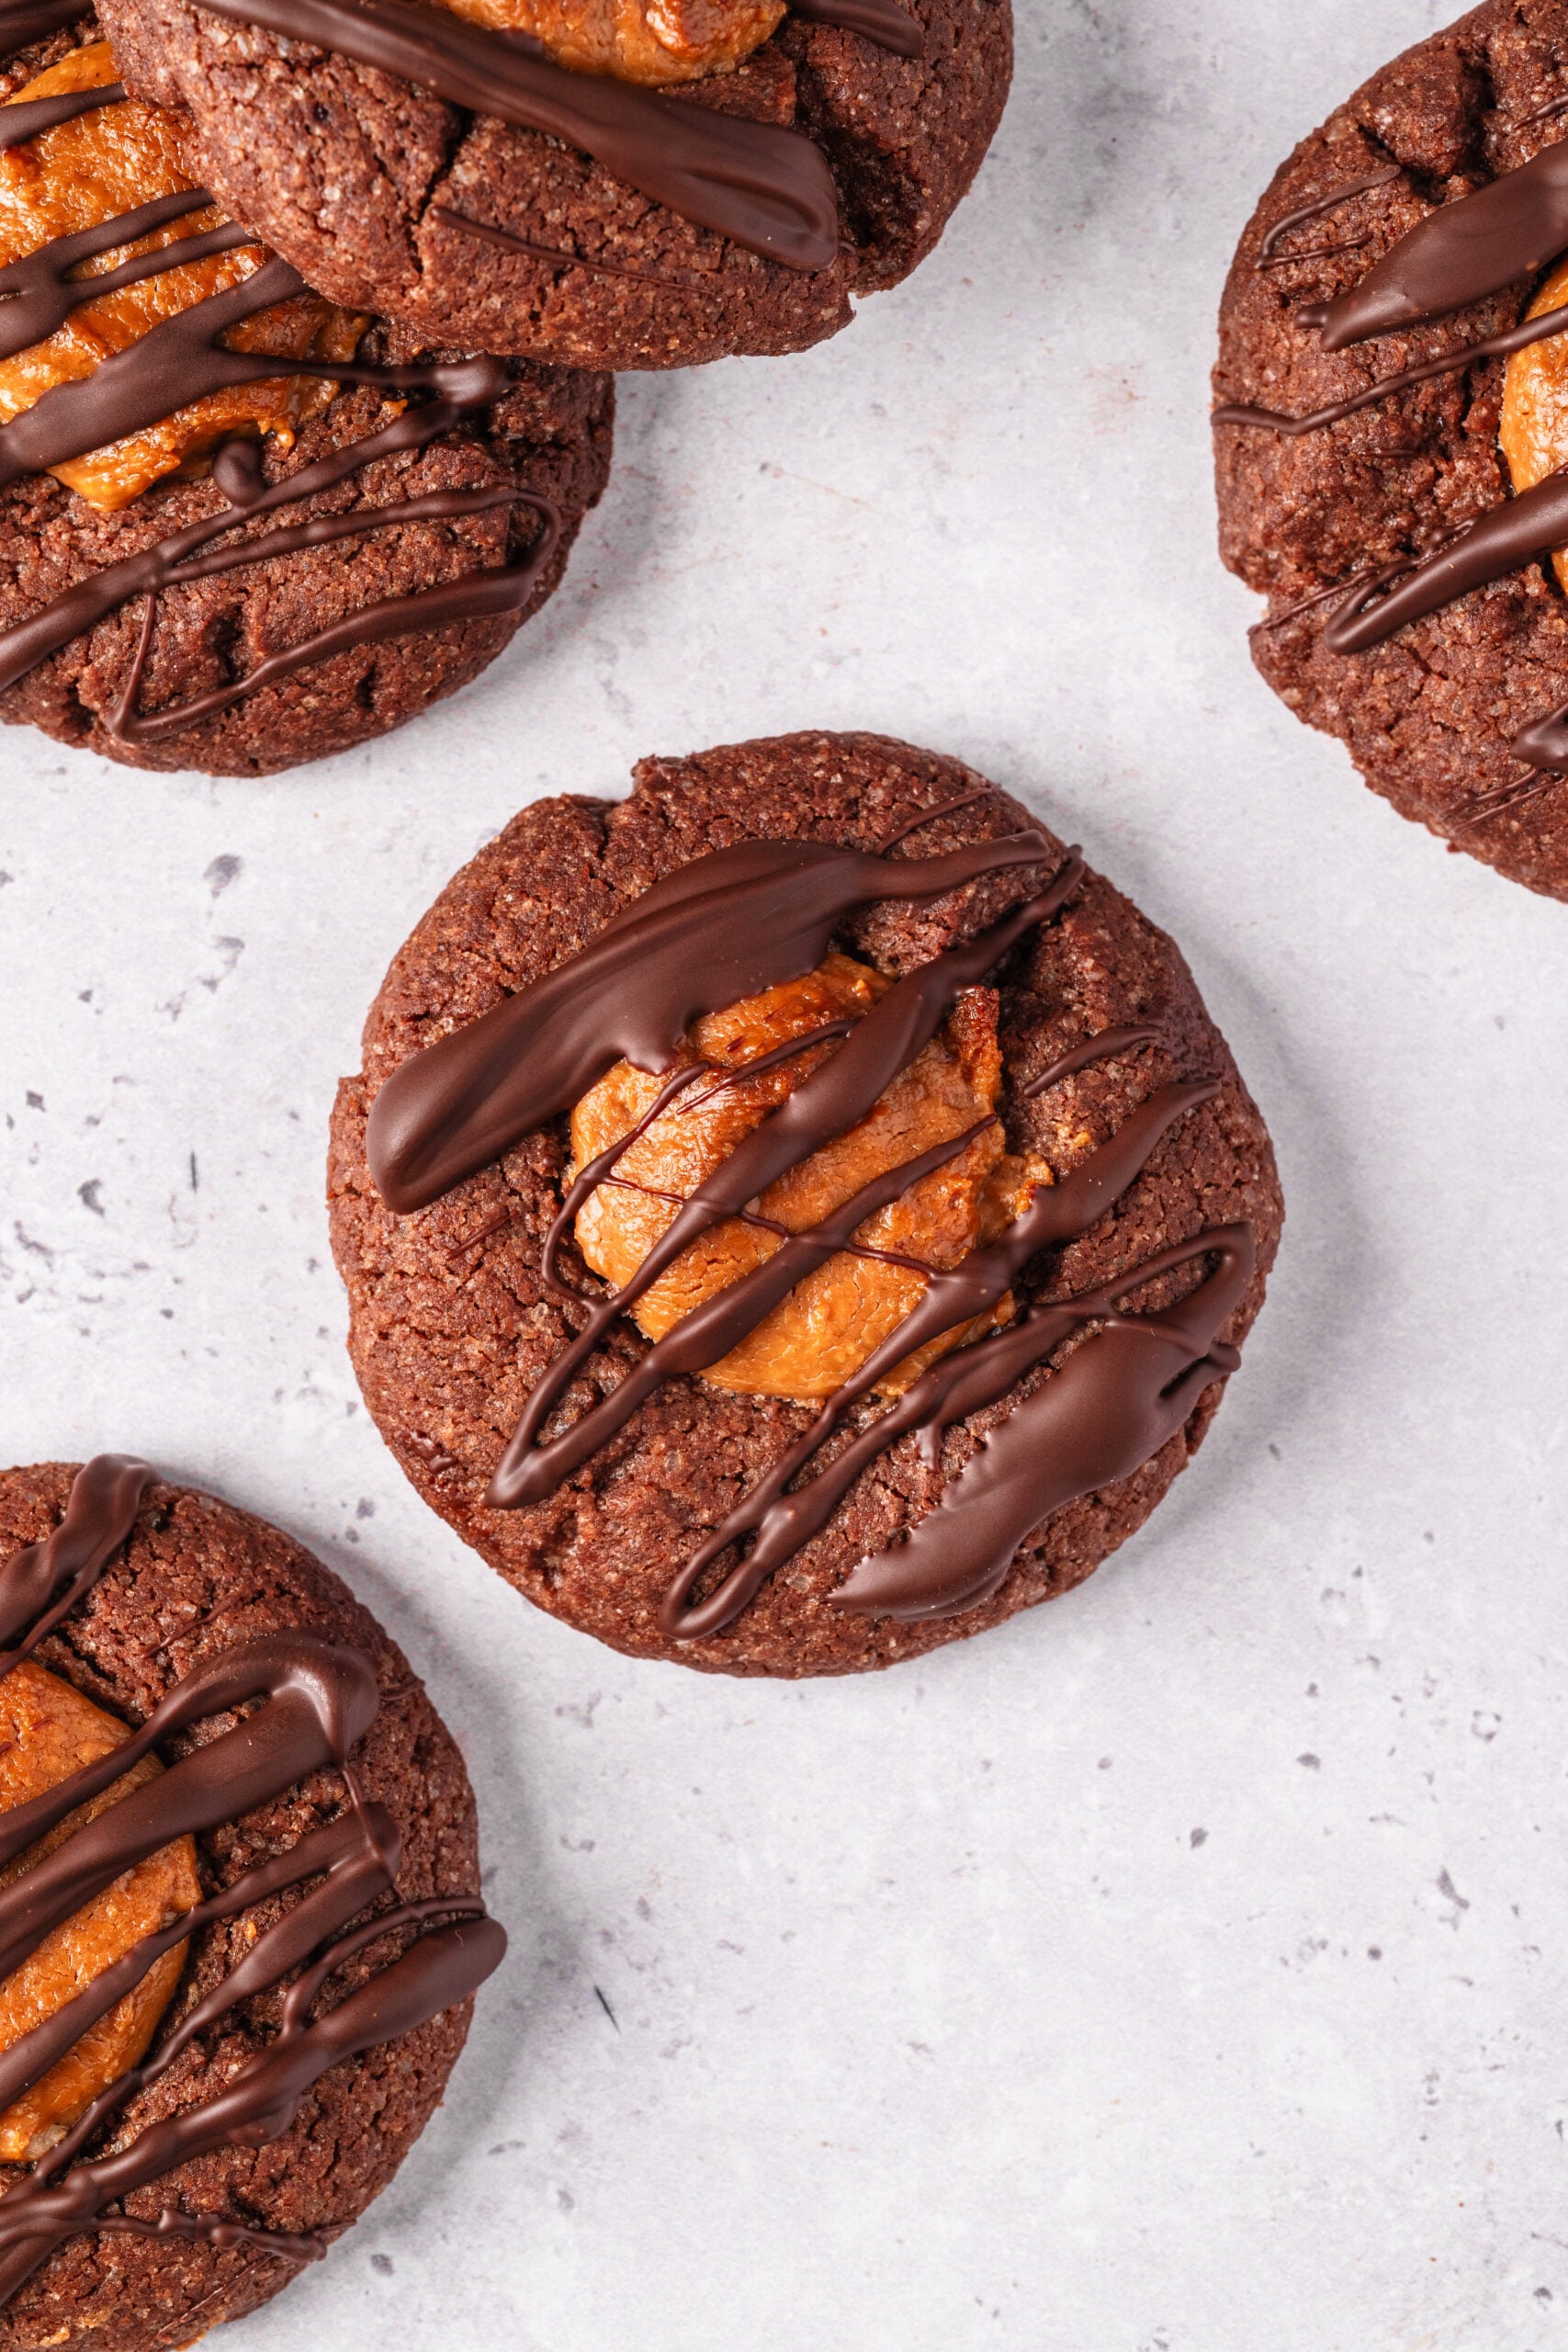
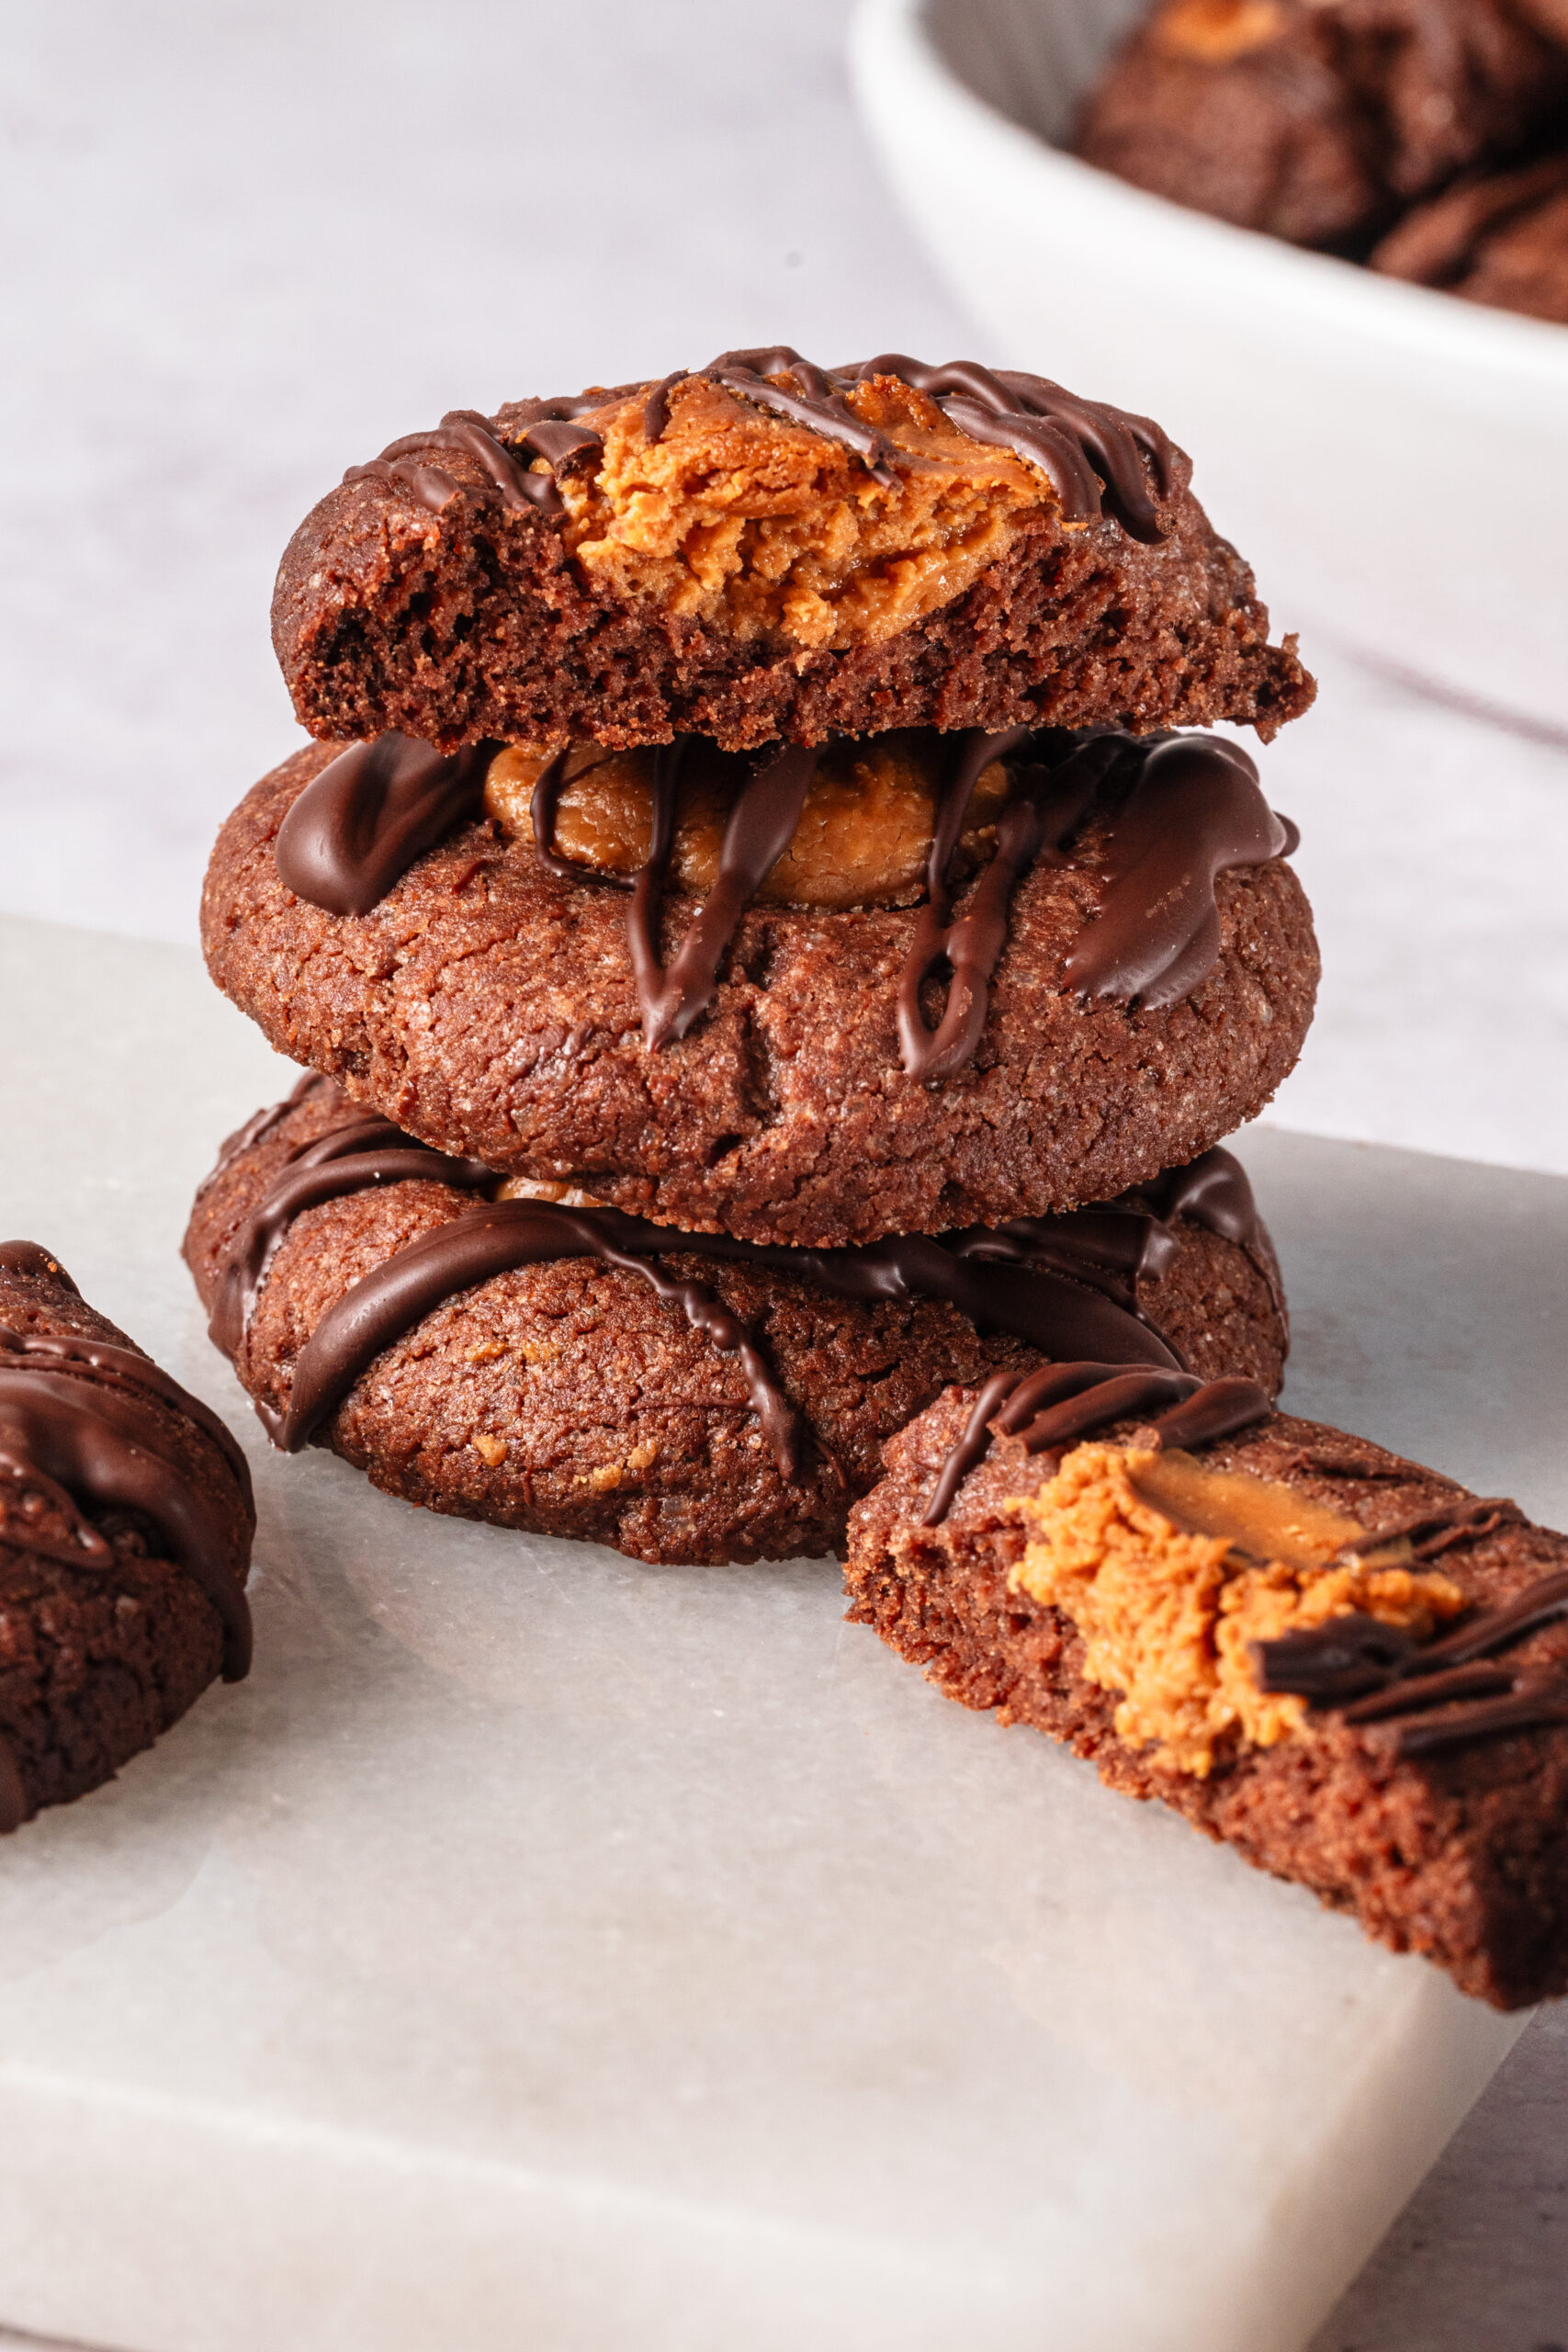
You’ll love how the cocoa-based cookie dough delivers deep chocolatey notes while the peanut butter filling brings in earthy saltiness. Together, they create a soft, inviting texture that’s elevated further by a drizzle of melted semisweet chocolate that sets to create a hint of crunch.
Whether you’re baking these goodies for an OSU game day, an office cookie exchange, or just a regular weekday treat, you’ll impress everyone with the irresistible taste of Midwestern hospitality!
How to achieve perfect peanut butter centers
Getting the peanut butter center just right is key to making these cookies look and taste like true buckeyes. The filling should be thick enough to roll into neat balls that hold their shape but soft enough that it bites cleanly and melds with the cookie rather than crumbling. If it feels too sticky to roll, a small extra spoonful of powdered sugar can firm it up. If it seems dry or cracks easily, a tiny bit more peanut butter will bring it back together. When shaping, press a deep indentation in the cookie dough—but don’t go all the way through—and gently nest the filling inside to help it stay centered as the cookie bakes. The goal is a visible, rounded peanut butter “eye” framed by chocolate cookie—recognizable at a glance to anyone who knows and loves the Ohio buckeye.
How do I store leftovers?
Once your buckeye cookies have cooled completely, store them in an airtight container with parchment separating layers. They’ll keep at room temp for 3-5 days or in the fridge for up to 1 week. You can also freeze these cookies for up to 3 months. Arrange them in a single layer on a baking sheet, freeze until firm (about 1 hour), then transfer to a freezer-safe container or resealable bag with as much air removed as possible. Thaw overnight in the fridge or at room temp for 30-60 minutes. For the best flavor and texture, let chilled cookies sit at room temp for 15-20 minutes before serving.
Serving suggestions
Serve your buckeye cookies alongside other classic desserts. This Buckeye Recipe makes the traditional candy version, while Chocolate Kiss Cookies forego the peanut butter to lean into pure chocolatey decadence. Pair them with Peanut Butter-Jam Thumbprint Cookies for a sweet PB&J vibe. Or dip them into a scoop of Peanut Butter-Chocolate Chip Ice Cream for a cool taste of nostalgia.

Buckeye Cookies
Ingredients
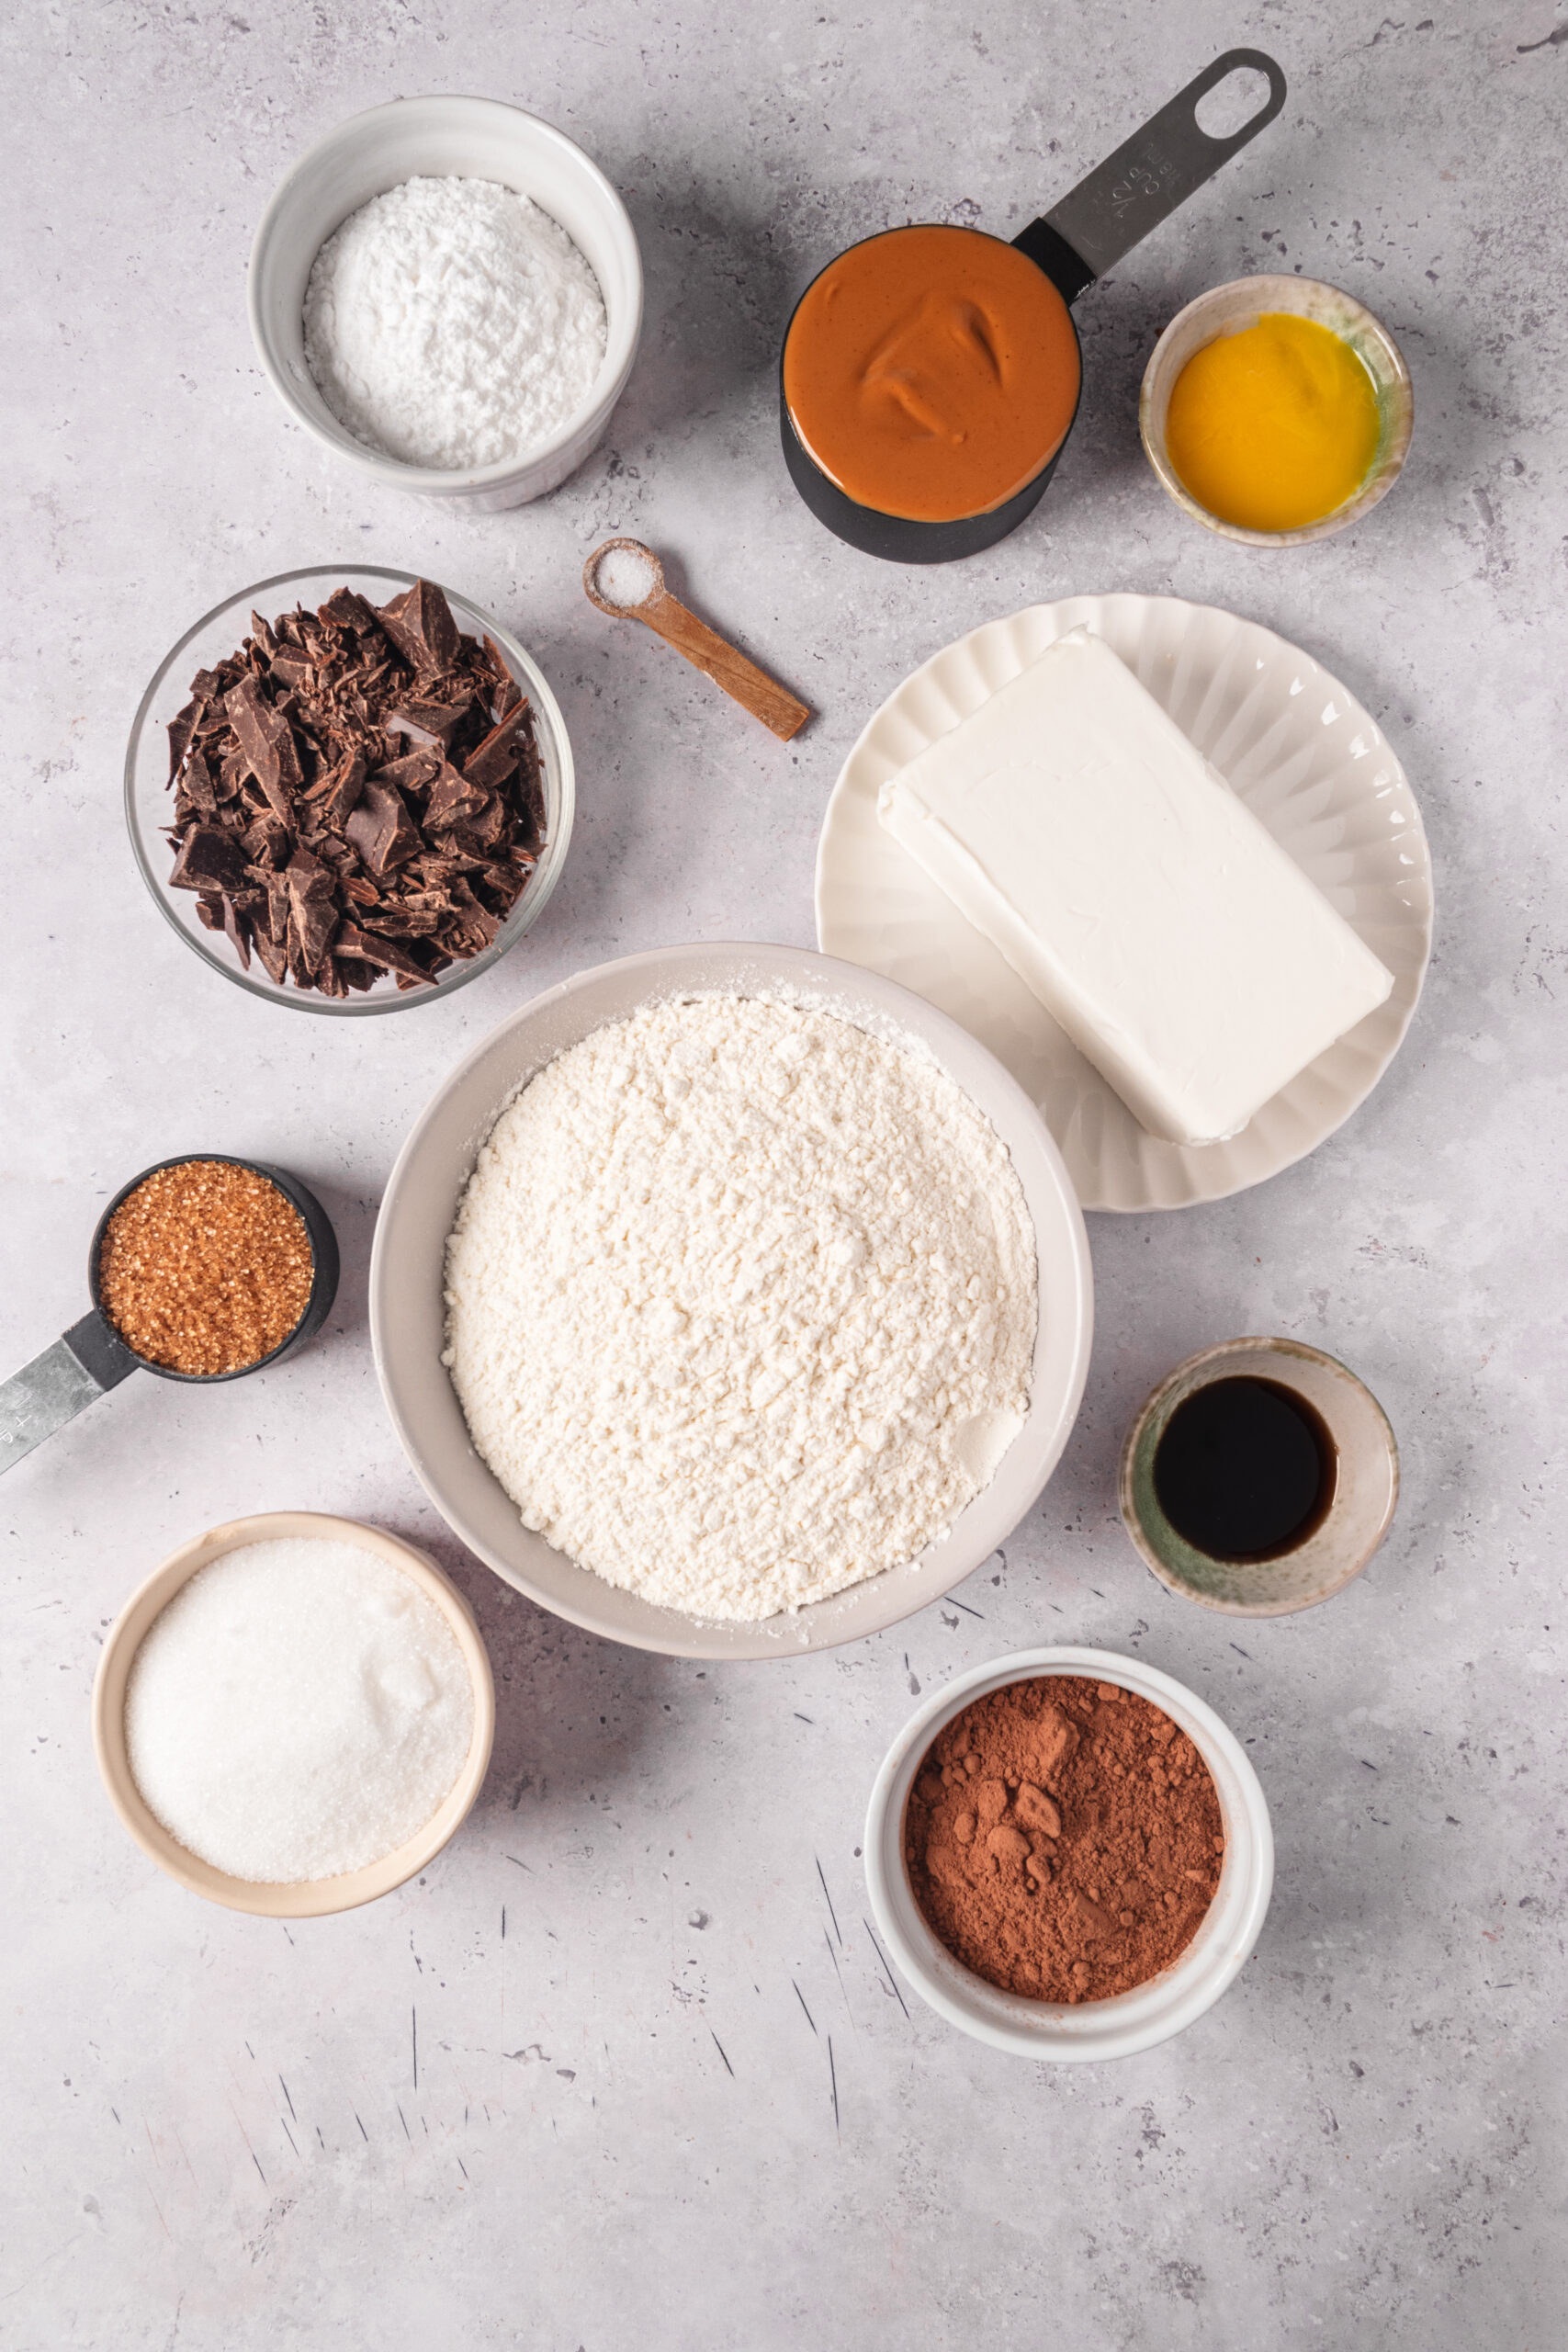
For The Peanut Butter Filling:
- 1/2 cup creamy peanut butter
- 1/2 cup powdered sugar
For The Cookie Dough:
- 1 cup butter at room temperature
- 1/4 cup brown sugar
- 3/4 cup granulated sugar
- 1 large egg yolk
- 3/4 teaspoon vanilla extract
- 2 cups all-purpose flour
- 1/2 cup unsweetened cocoa powder
- 1/4 teaspoon salt
For The Drizzled Garnish:
- 4 ounces semisweet baking chocolate chopped, or 4 ounces semisweet chocolate chips
Instructions
- Preheat oven to 350°F. Line 2 baking sheets with parchment paper.
Prep The Peanut Butter Filling:
- In a small bowl, stir together the peanut butter and powdered sugar until fully combined and smooth. The mixture should be thick but scoopable. If it's very soft, cover and refrigerate for 10-15 minutes to firm slightly.
Make The Cookie Dough:
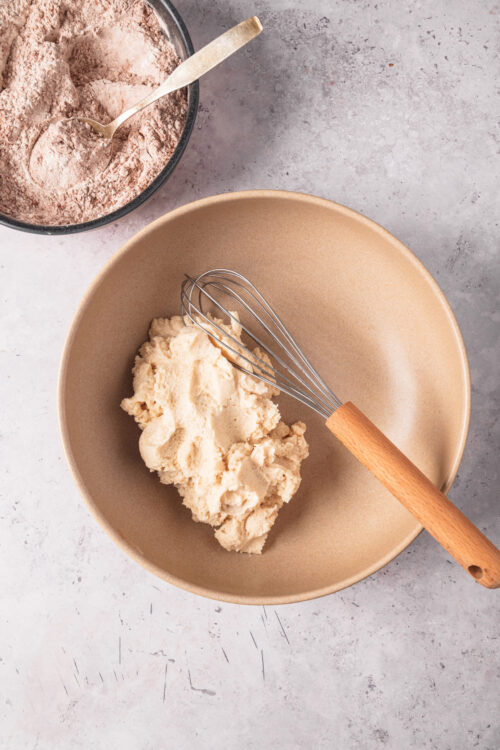
- In a large mixing bowl or the bowl of a stand mixer with the paddle attachment, beat the butter, brown sugar, and granulated sugar on medium speed until light and creamy, about 3-5 minutes.
- Add the egg yolk and vanilla, and beat until well combined, scraping down the sides of the bowl as needed.
- In a separate bowl, whisk together the flour, cocoa powder, and salt.
- With the mixer on low speed, gradually add the dry ingredients to the butter-sugar mixture and mix just until a thick, uniform dough forms and no dry flour is visible.
Shape And Bake The Cookies:
- Using a medium cookie scoop (about 1 1/2 tablespoons), portion the dough into balls and place them on the prepared sheet, spacing them about 2 inches apart.
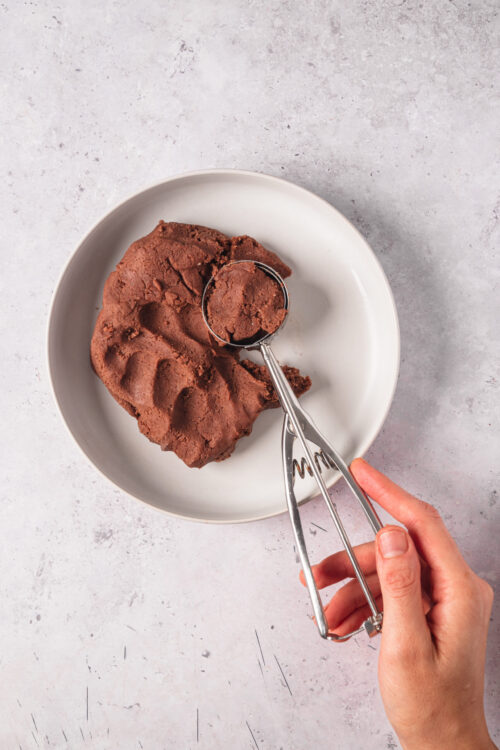
- Gently roll each portion between your palms to smooth, then use the bottom of a clean drinking glass or your palm to slightly flatten the tops.
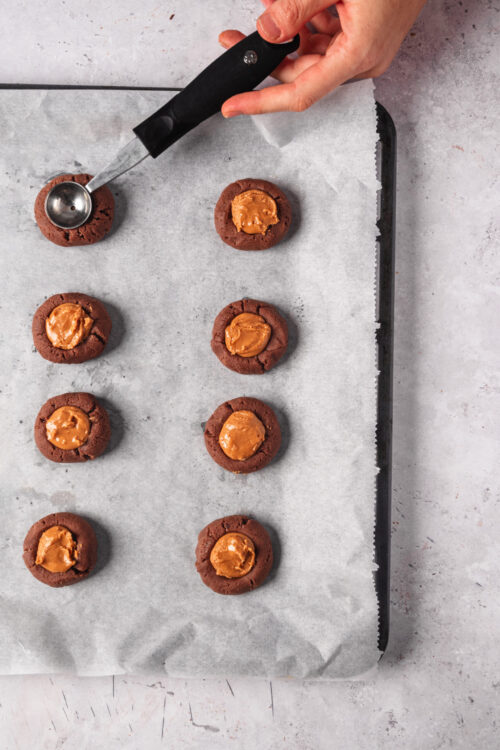
- Using your thumb or the rounded back of a measuring spoon, press a small, deep indentation in the center of each cookie, without pressing all the way through.
- Scoop about 1 teaspoon of the peanut butter filling, roll it into a ball, and nestle it into the indentation, pressing gently so it sits snugly in the center. Repeat with the remaining cookies and filling.
- Bake one sheet at a time for 12-15 minutes, or until the edges look set and the tops are slightly dry and no longer glossy.
- Let the cookies cool on the baking sheet for 5 minutes, then transfer to a wire rack to cool until just warm or at room temperature, about 30-45 minutes.
Finish And Serve the Cookies:
- While the cookies cool, place the chopped baking chocolate in a microwave-safe bowl. Microwave at 50% power for 30 seconds, then stir. Continue microwaving in 15‑ to 30‑second bursts at 50% power, stirring after each, until the chocolate is just melted and smooth.
- Using a spoon or piping bag, drizzle the melted chocolate over the cookies. Let the chocolate set at room temperature (about 30-45 minutes), or refrigerate them for 10-15 minutes to set faster.
- Serve once the chocolate has set, or store in an airtight container.
Leave a Comment