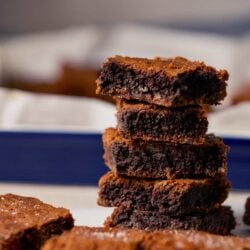
Ditch the box mix and indulge in these Brown Butter Brownies, made from scratch. You won’t regret it!
Your typical chocolate brownie, whether it’s made from a box mix or from scratch, is good. But what if it could be better and go from basic to its best possible self? Brown Butter Brownies are the answer. Brown butter has often been used to enhance frosting, chocolate chip cookies, savory sauces, grilled steaks, and even pan-roasted vegetables.
So why is brown butter so special and how does it make basic brownies better? Once butter is cooked to the browned stage, the flavor deepens into a caramel, nutty flavor that perfectly complements many other flavors. When paired with chocolate, as it is in this recipe, the caramel notes combine with the dark chocolate and salt to create the perfect harmony.
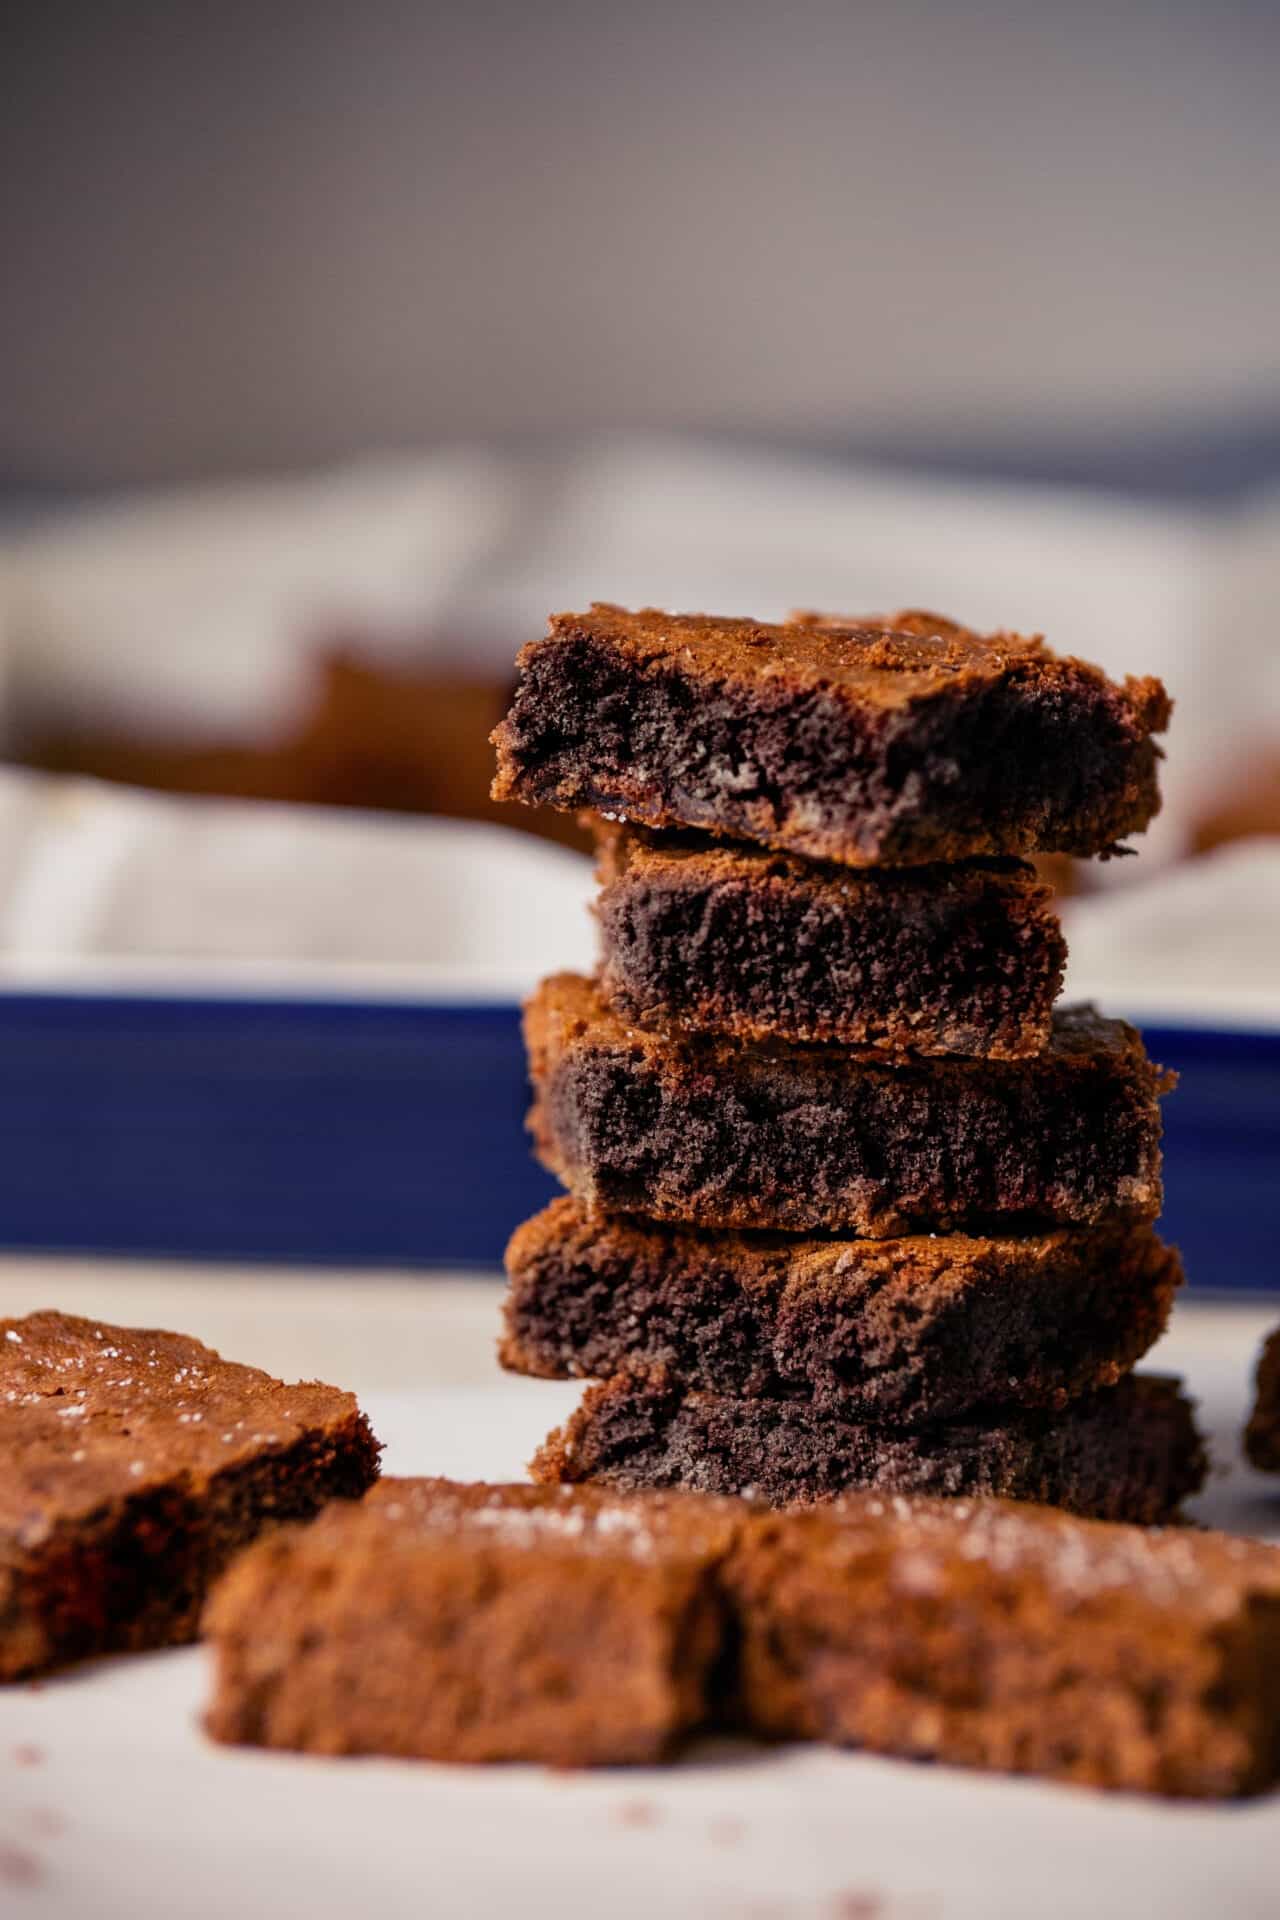
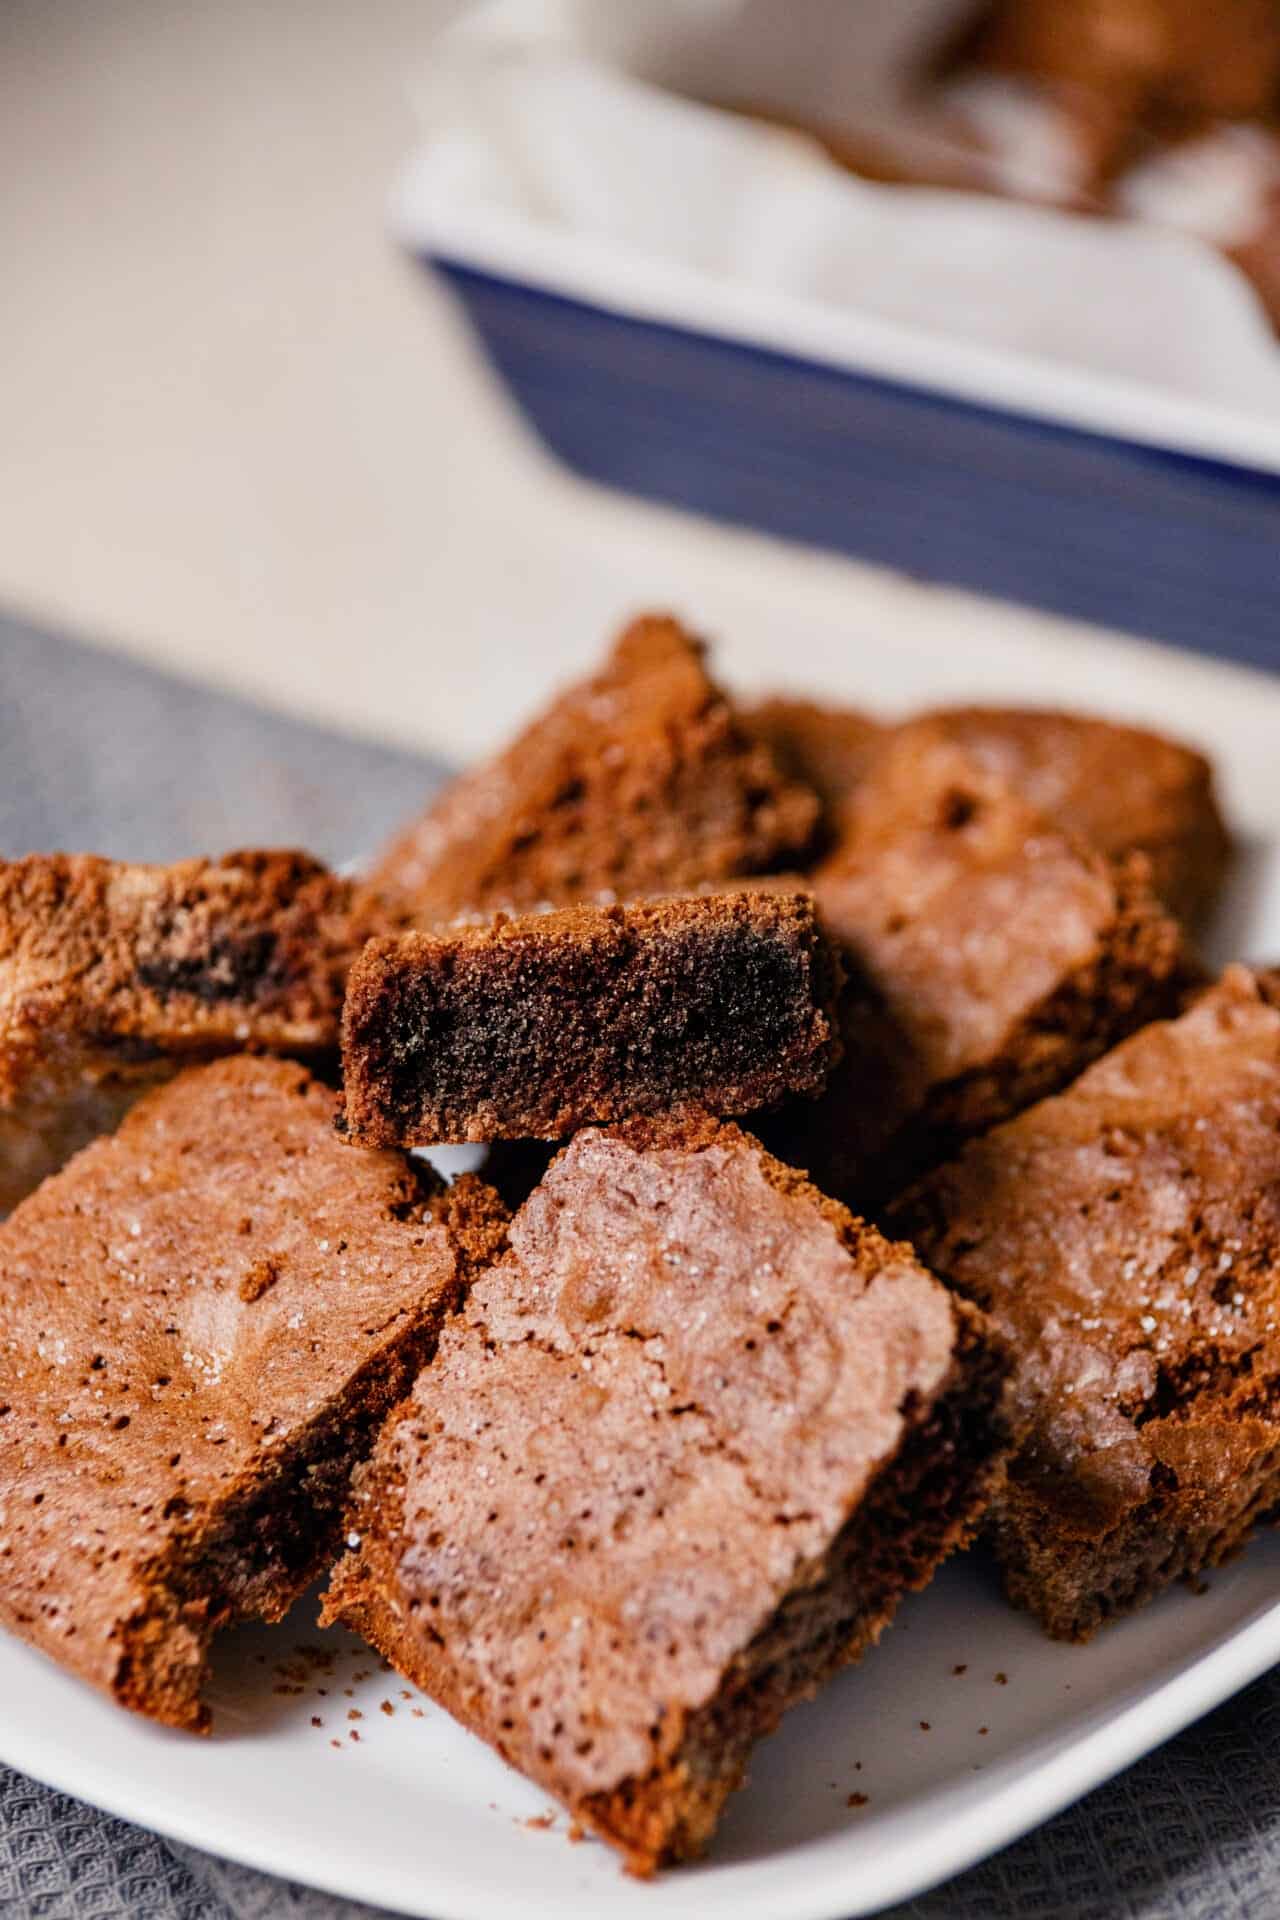
The rich, chocolate flavor with brown-butter accents is just one of the things you will love about these amazing brownies. The texture is another. A little crispy on top but seriously fudgy and moist on the inside, each bite is so satisfying. Grab a glass of milk or cup of coffee, and just treat yourself! You deserve it. And while the flavor and texture might sound fancy, this recipe is simple. No fussy techniques or ingredients—it can be simple enough to whip up on a weeknight or elegant enough to serve for a special occasion.
Which Dark Chocolate Should I Use?
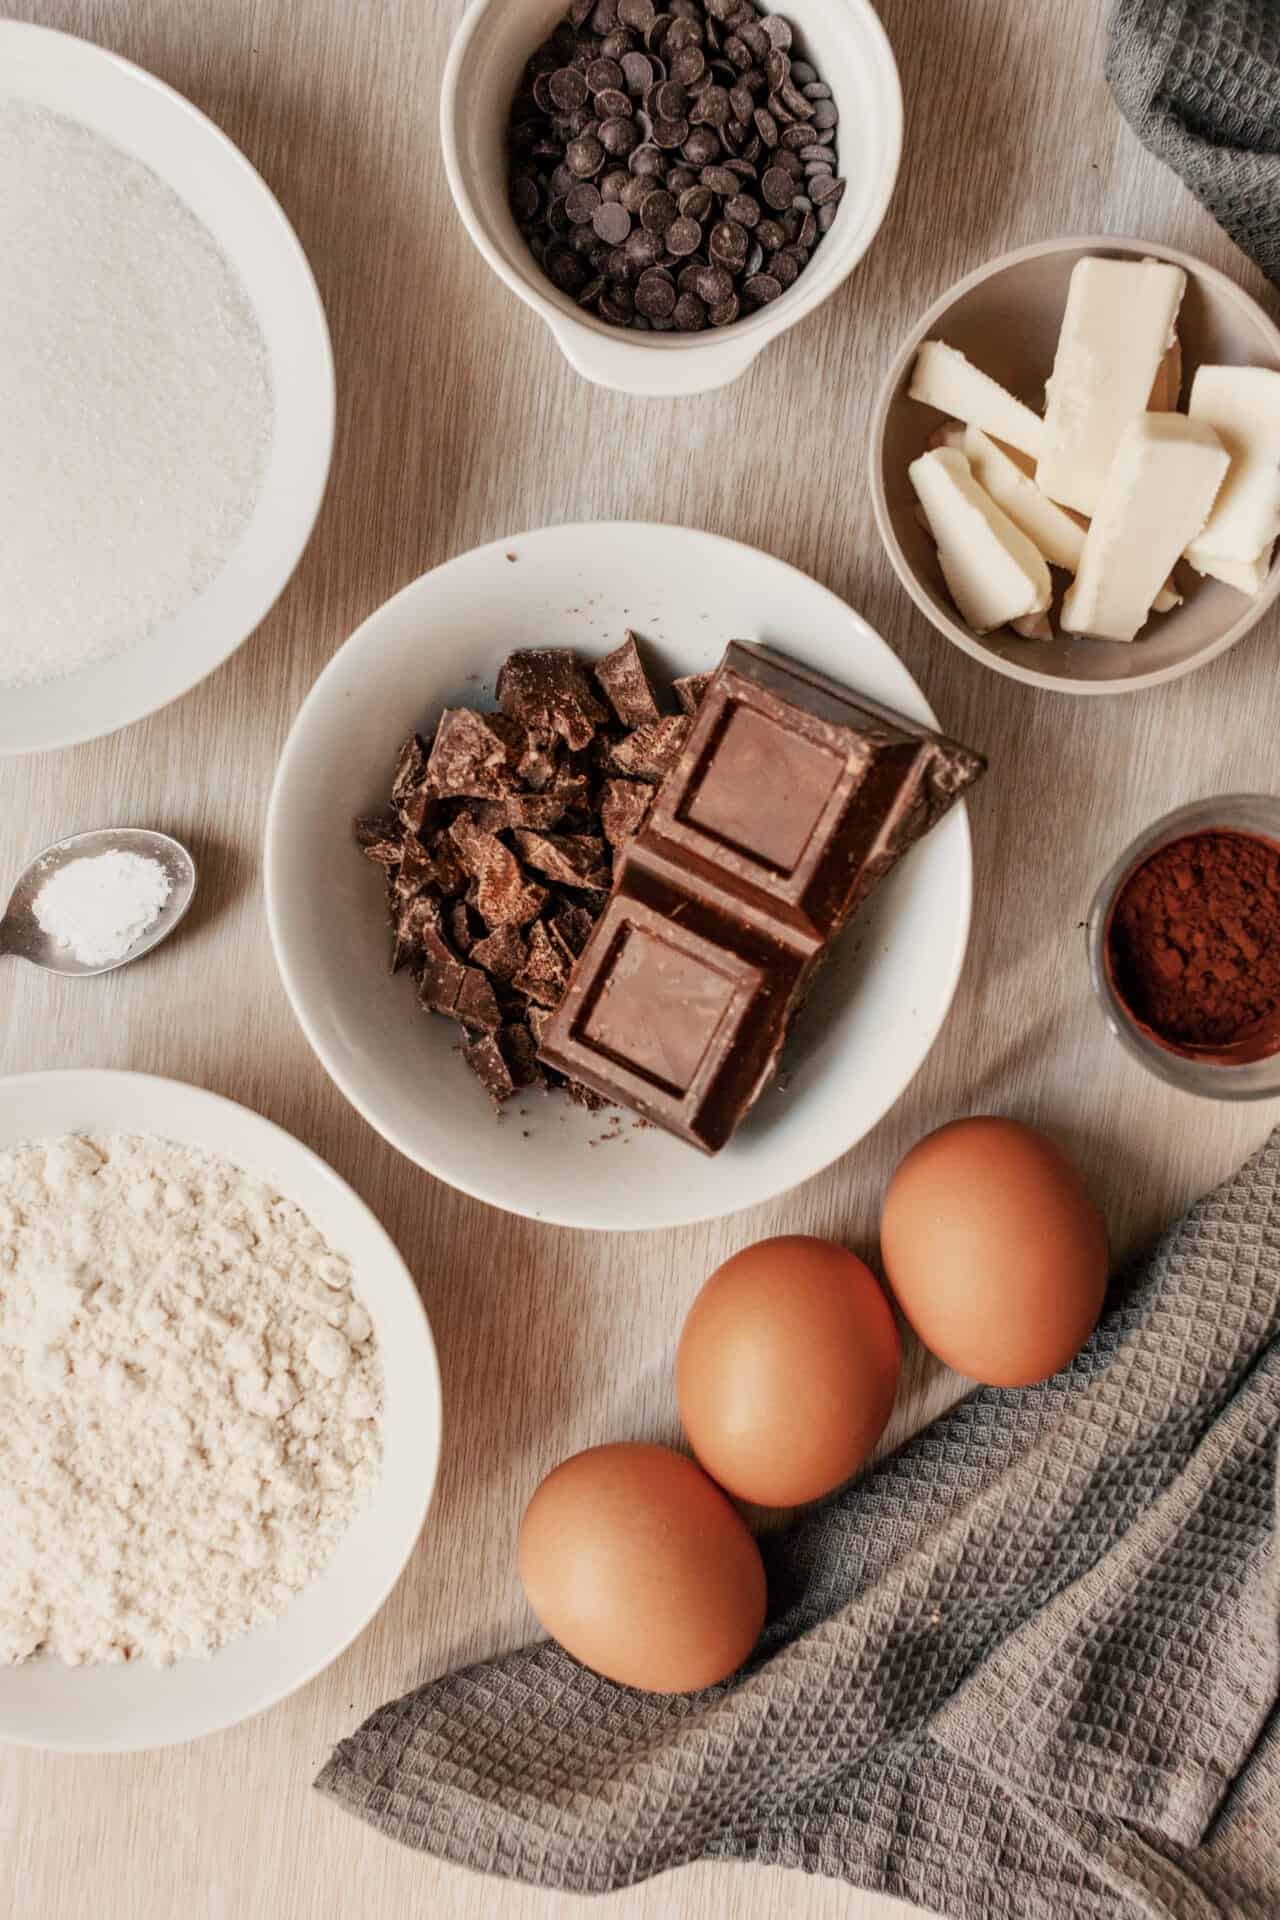
Dark chocolate ranges from sweet to extremely dark and is measured in percentage of cacao. At a typical grocery store, you can choose from bittersweet (or baker’s), semi-sweet, or sweet dark chocolate. I tend to reach for something that is 60 to 70 percent cacao. That’s a fairly dark chocolate; not overly sweet but not too bitter, either. Coarsely chop the bar into pieces that you will melt in Step 4. For the chocolate chips added at the end, semi-sweet chips are just fine.

FAQs & Tips
How do I prep and store these brownies?
Brown Butter Brownies can be made ahead up to 2 days and stored at room temperature in an airtight container. You can also wrap individual brownies in plastic wrap, then wrap in foil, then freeze them for up to a month. Leftovers can be stored in an airtight container in the fridge for up to a week.
I’ve never browned butter before: help!
Relax. Just keep an eye on it if you haven’t done it before. Use a light-colored skillet if you have one, so you can better see what’s happening with the butter. Stay close and stir often. Use a flexible plastic spatula to ensure that you’re getting a clean sweep on the bottom and on the foam when you stir. Rely on the aroma, not just on the appearance of the browned bits. Once that nutty aroma starts wafting your way, remove from heat. The main thing is to not let it burn, so having patience and being vigilant is key.
How do I cut the brownies without destroying them?
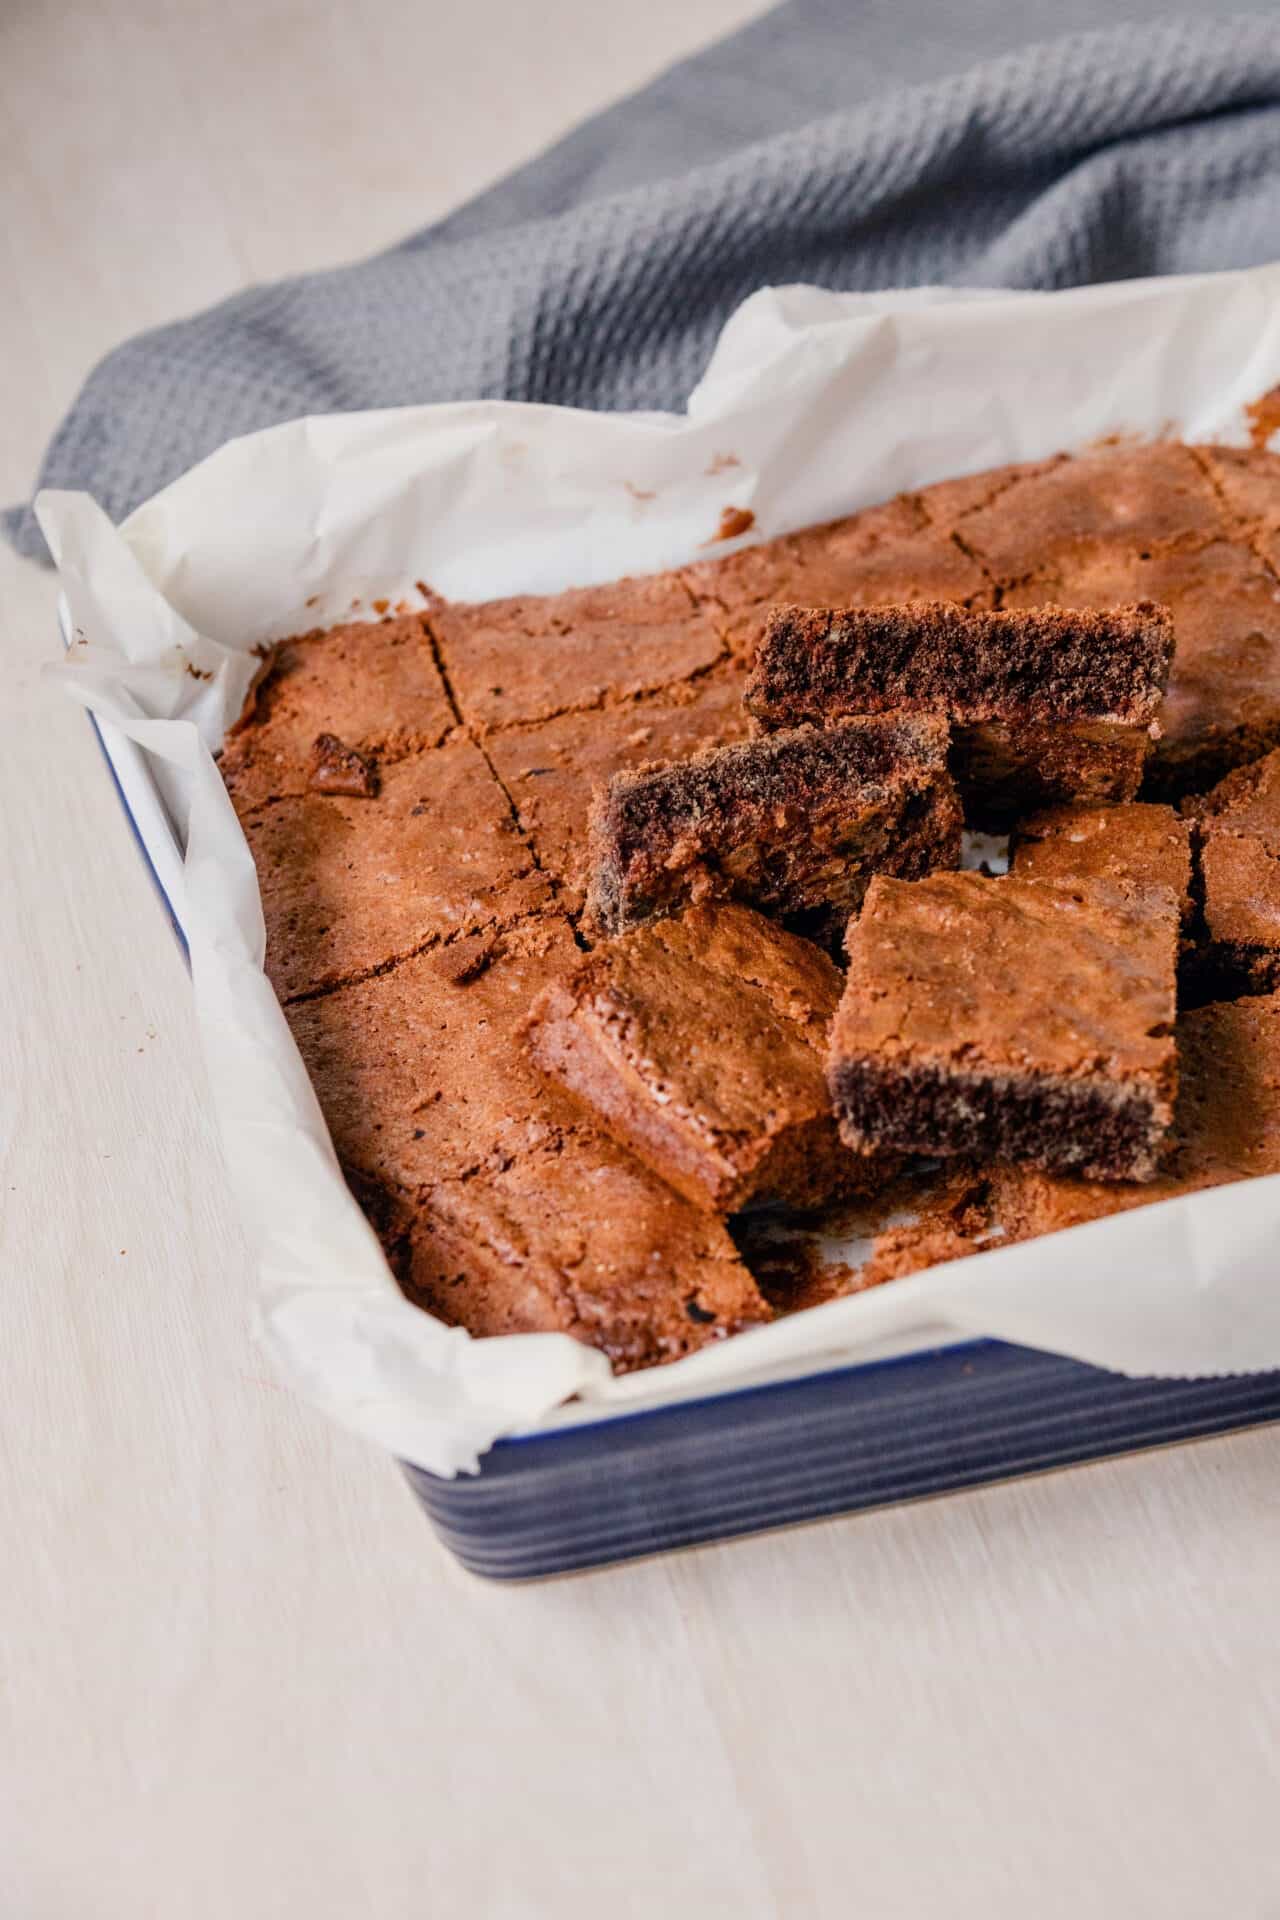
With such fudgy, moist brownies, it can be easy to ruin the edges when trying to cut them into squares–even when cooled. For best results, stick the cooled pan into the fridge or freezer for 15 minutes. Then use a thin knife to cut into squares (a cheap plastic knife works great). A thin knife should glide effortlessly through the pan, giving you brownies with defined edges. Picture perfect!
Serving Suggestions
If you’re a powdered sugar fan, you can use some to dust these brownies before serving. As far as what to serve with them, vanilla bean ice cream is delicious. Or, for something fresh, a bowl of red raspberries pairs well with the dark chocolate flavor. Really, though, all you need is a napkin to wipe your fingers and mouth, because they are so delicious on their own!
Brown Butter Brownies
Ingredients
- 1 cup unsalted butter
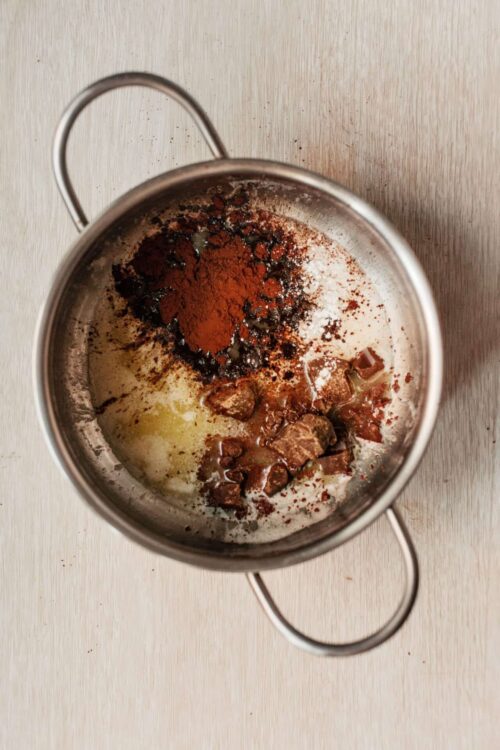
- 7 ounces dark chocolate chopped
- 2 tablespoons unsweetened cocoa powder
- 1 tablespoon pure vanilla extract
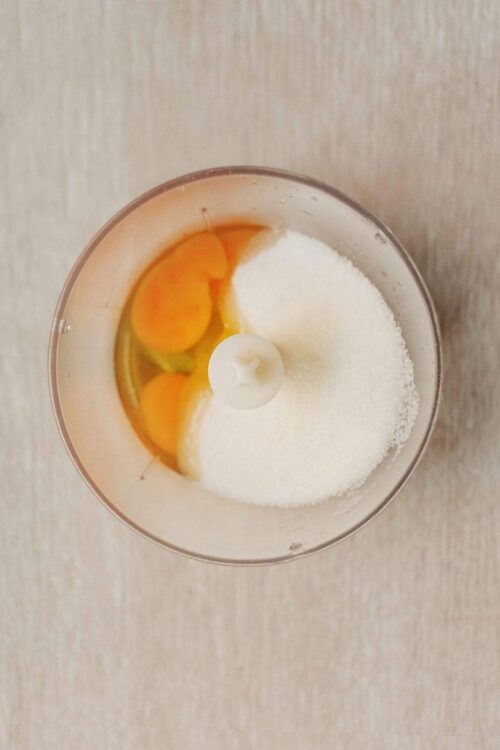
- 3 large eggs at room temperature
- 1 1/2 cups granulated sugar
- 1 cup all-purpose flour
- 1/3 cup dark chocolate chips optional
Instructions
- Preheat the oven to 325°F.
- Prepare a 9×9-inch baking pan by lightly coating with non-stick spray and lining with parchment paper, allowing excess to overhang the pan edges.
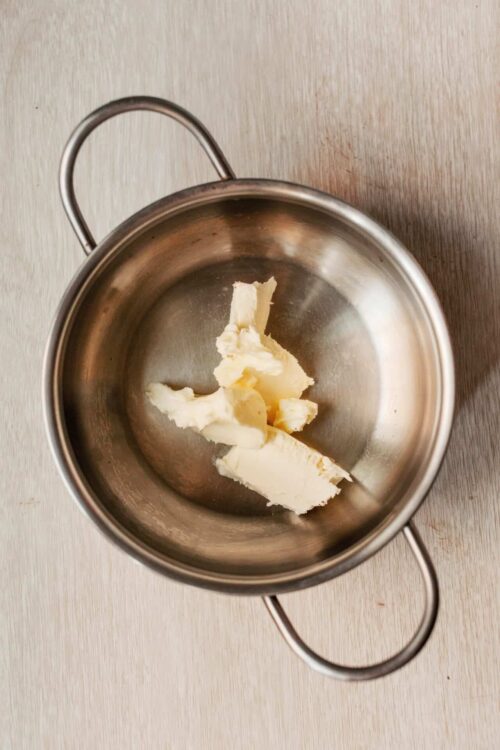
- Melt butter in a medium saucepan over medium-high heat, stirring occasionally. Watch for foaming and the appearance of brown bits at the bottom, then remove from heat once it has a nutty aroma and amber color.
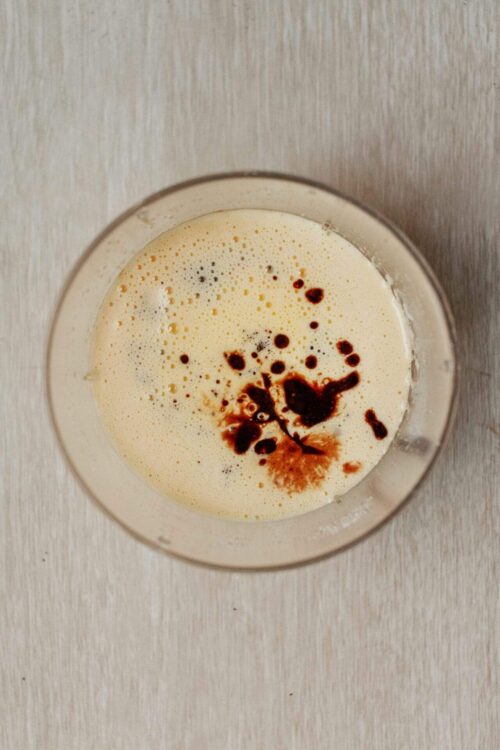
- Add the chopped dark chocolate, cocoa powder, and vanilla extract to the hot butter, stirring until the chocolate is fully melted and the mixture is smooth. Allow to cool for 8-10 minutes.
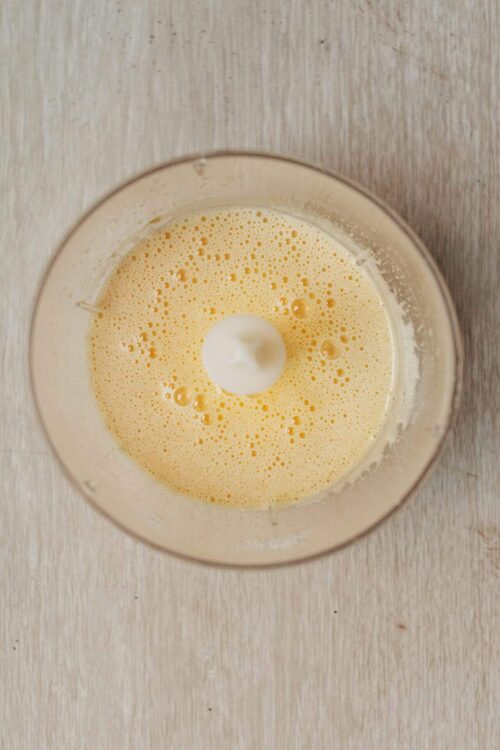
- Using a mixer, whip the eggs and sugar until light and creamy, about 3 minutes.
- Gradually pour the cooled chocolate mixture into the egg mixture while continuing to whip until fully incorporated.
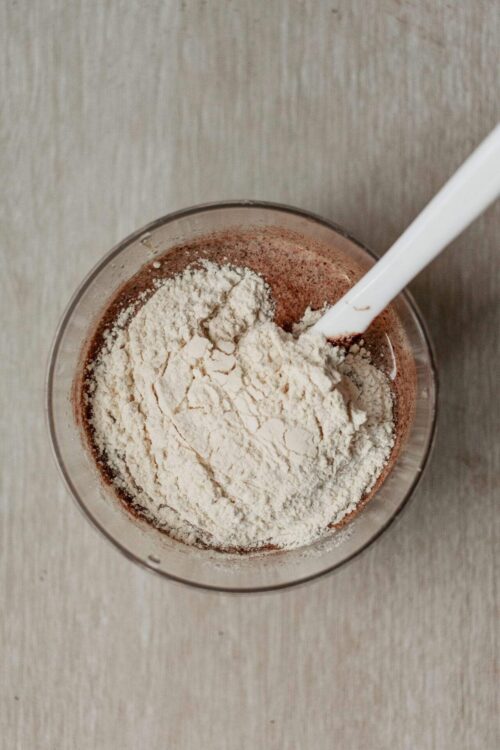
- Gently fold in the flour until just combined, being careful not to overmix.
- Stir in the optional dark chocolate chips if using.
- Transfer the batter to the prepared pan, smoothing the top with a spatula.
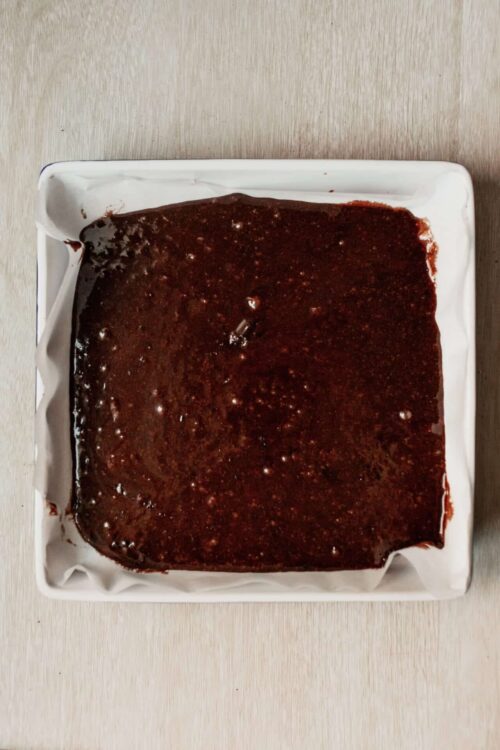
- Bake in the center of the oven for 45 minutes, or until a toothpick inserted comes out with a few moist crumbs. Cool completely in the pan on a wire rack before cutting into squares.

Leave a Comment