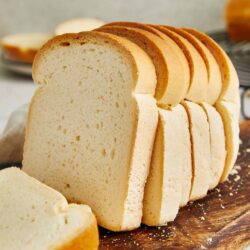
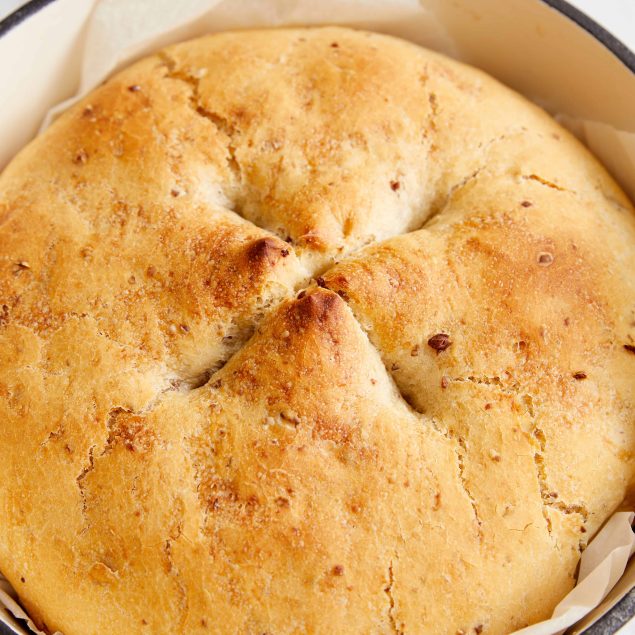
A classic, foolproof Bread Recipe you’ll come back to time and time again!
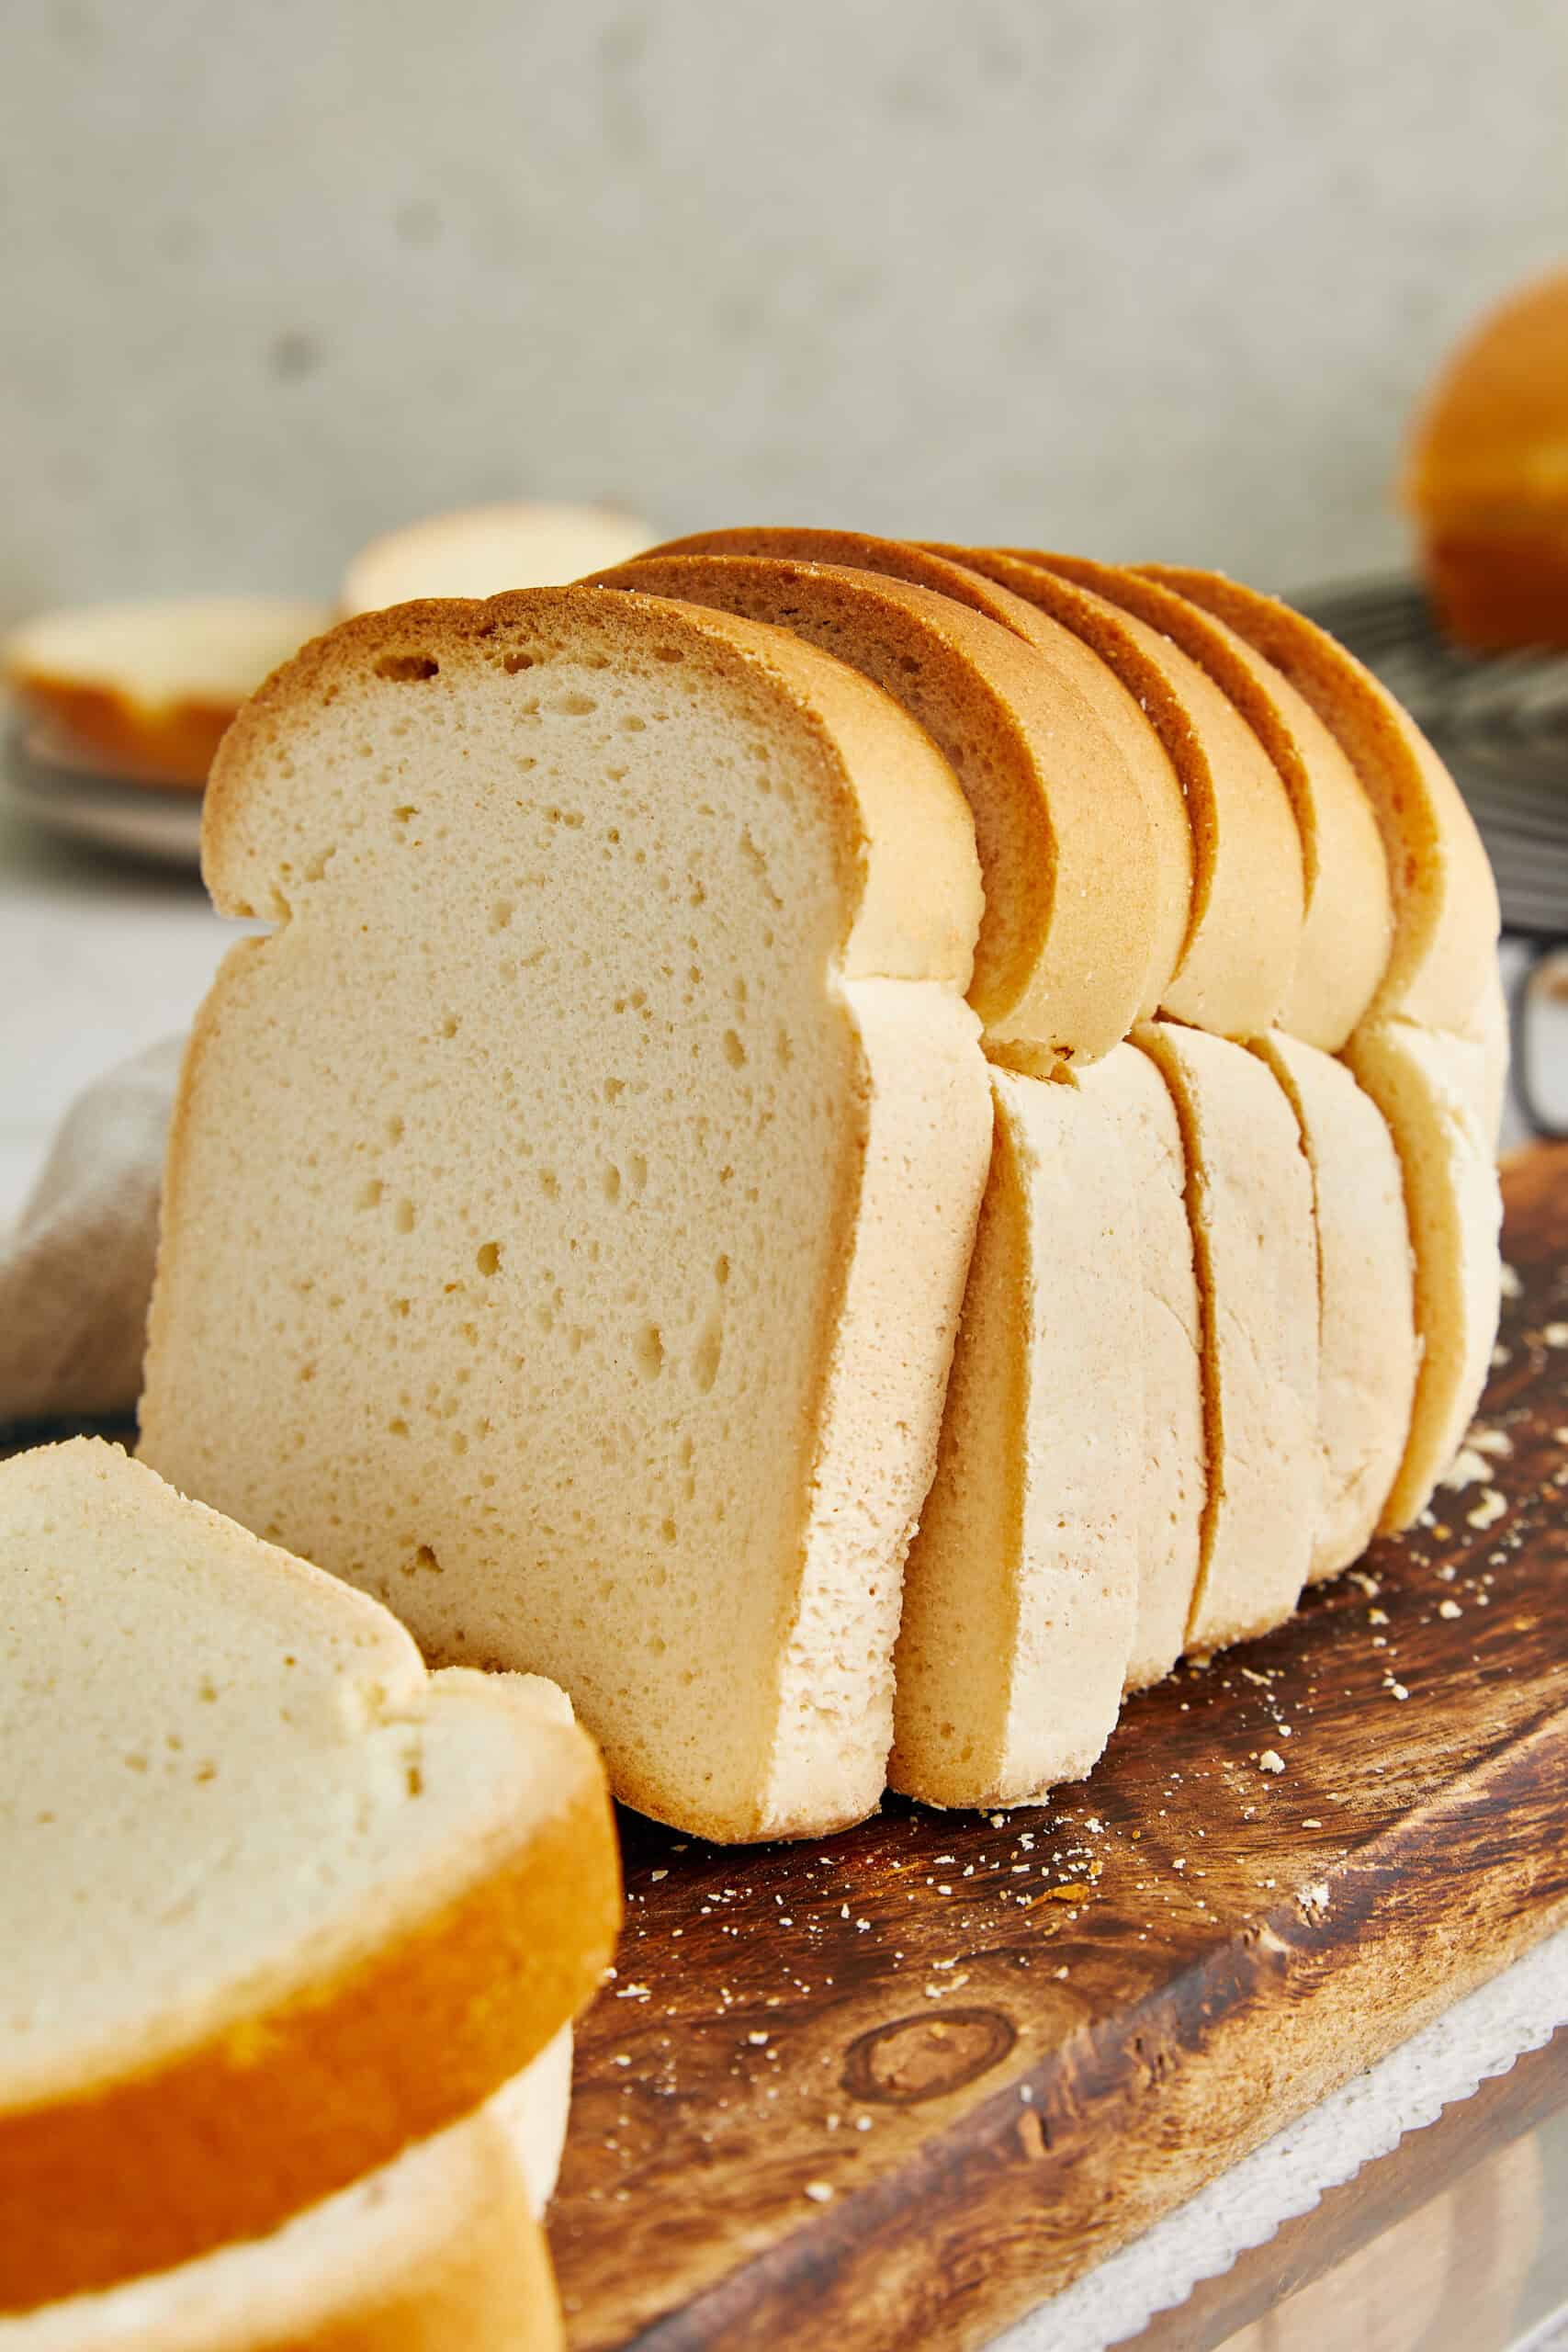
There’s something truly special about baking your own bread. The warm, yeasty aroma filling the house, the satisfaction of kneading dough with your hands, and, of course, that first bite of freshly baked goodness—crisp on the outside, soft and fluffy inside.
For me, the love of bread baking has never faded, even when I had to go gluten-free for health reasons. I still enjoy making it, especially since my kids are big fans. Whether it’s for school sandwiches (crusts removed for picky eaters, of course!) or a warm slice with butter, homemade bread always feels like a little extra indulgence.
Sure, store-bought bread is convenient, and I do buy it from time to time. But making it from scratch is an experience, one that’s simple, satisfying, and, with this easy recipe, totally doable for anyone. Plus, baking bread is a perfect family activity. I love getting my sons involved, letting them mix ingredients, squish the dough between their fingers, and watch as simple components transform into something delicious. Kids in the kitchen might mean a bit of extra mess, but the joy on their faces makes it well worth it.
What’s The Difference Between Active And Instant Yeast?
If you’re new to bread-making, you might not realize there’s a difference between active dry yeast and instant yeast. I sure didn’t when I first started. While both work, they behave slightly differently.
Active dry yeast needs to be proofed before mixing it into your dough. This means dissolving it in warm water with a little sugar to wake it up and ensure it’s active before baking. This step helps kickstart fermentation and gives your bread the best possible rise.
Instant yeast, sometimes called rapid-rise or bread machine yeast, is more finely ground and doesn’t require proofing. It can be mixed directly into the dry ingredients, making the process a little quicker and easier.
This recipe calls for active dry yeast, but if you only have instant yeast on hand, you can still use it. Just skip the proofing step and mix it straight into the flour. Keep in mind that instant yeast may cause the dough to rise a little faster, so check on it sooner to avoid over-proofing.
How Do I Store Leftovers?
Homemade bread is best enjoyed fresh, but you can store it at room temperature in a sealed bag for 3-4 days. If you want to keep it longer, slice it and freeze the pieces in a sealed bag. Just remember, frozen bread tends to lose its crispy crust once thawed, so pop it into the oven at 350°F for about 15 minutes to bring it back to life.

Serving Suggestions
Use this bread to make any sort of sandwich you’re fond of! A cheesy sandwich is my personal favorite, such as a Perfect Grilled Cheese Sandwich or a Pizza Sandwich, either of which tastes extra great dipped in a Tomato Ravioli Soup. All that, together with a side of Caesar Salad, is a proper lunch or dinner! Of course, you can always put jelly and peanut butter on your bread for a classic PB&J, and if you’re feeling fancy, you can make your own Peanut Butter too!
Bread Recipe
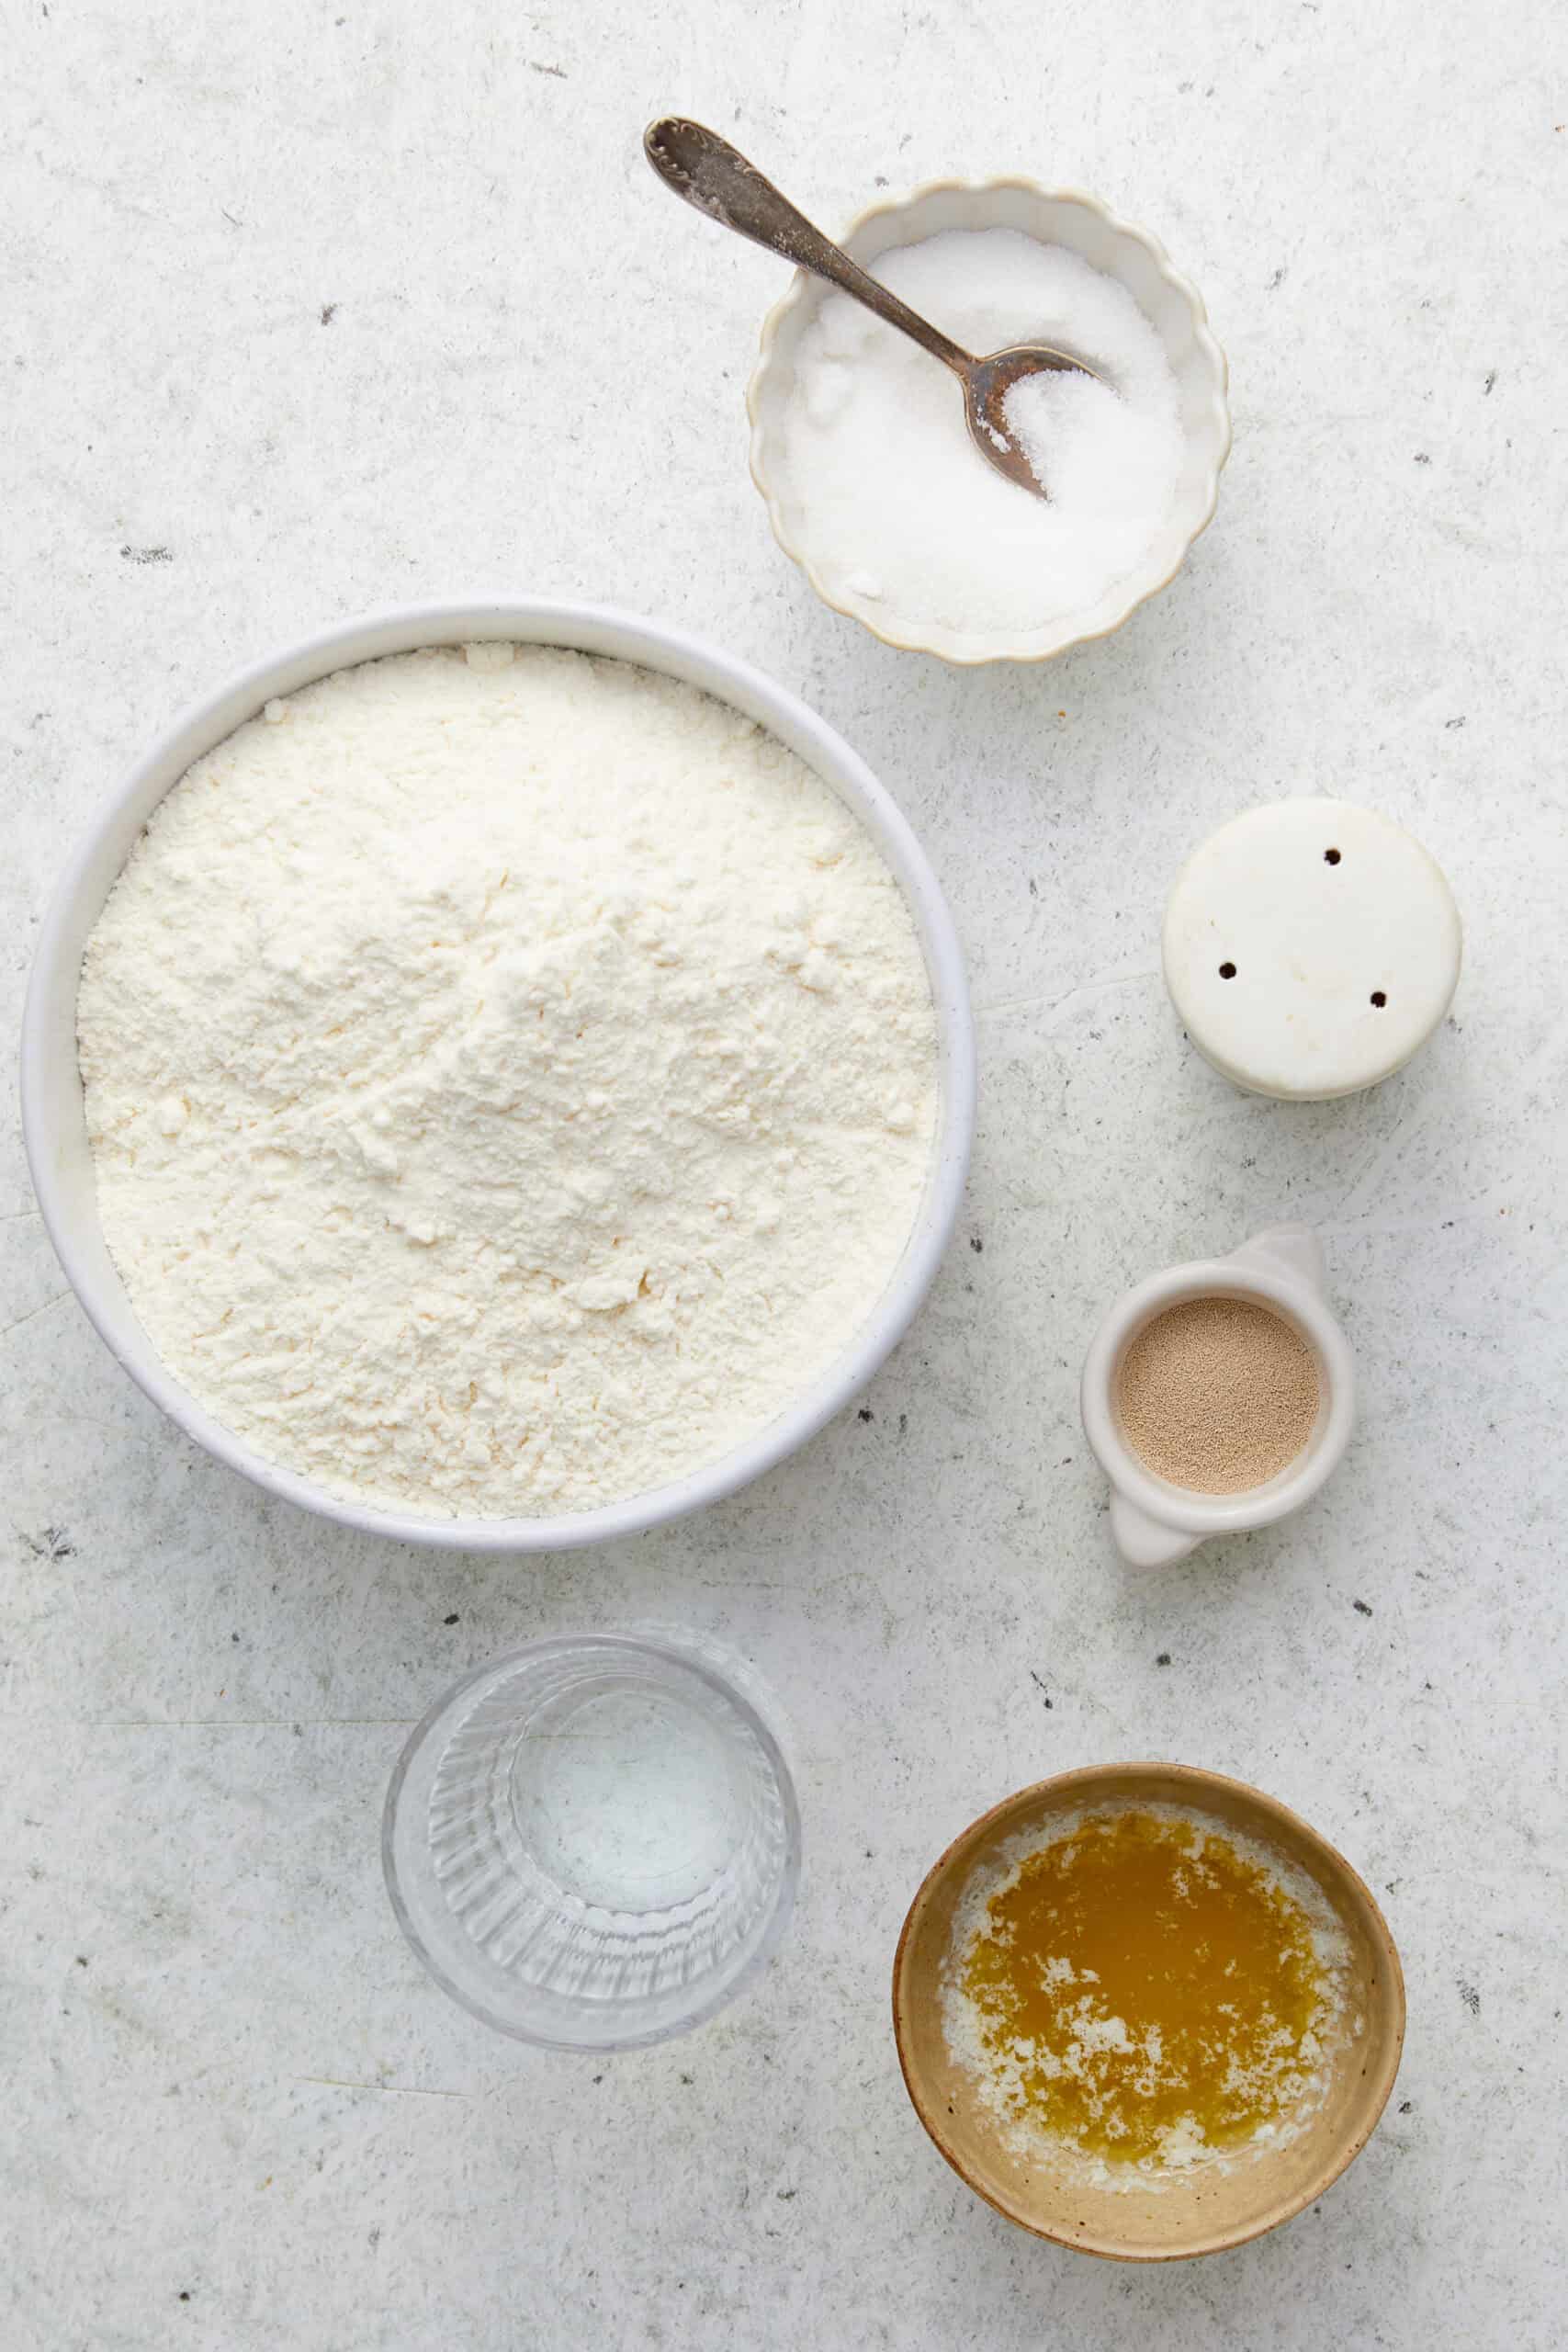
Ingredients
- 4 tablespoons granulated sugar
- 2 cups warm water 110°F
- 1 tablespoon active dry yeast
- 3 tablespoons unsalted butter melted
- 1 3/4 teaspoons salt
- 5 1/2 cups bread flour
Instructions
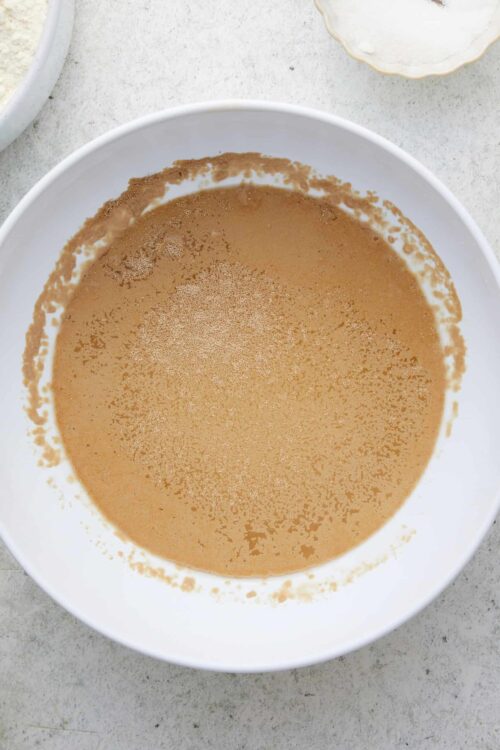
- In a large bowl, dissolve sugar in warm water. Stir in yeast and allow to sit until the mixture becomes frothy, about 5-10 minutes.
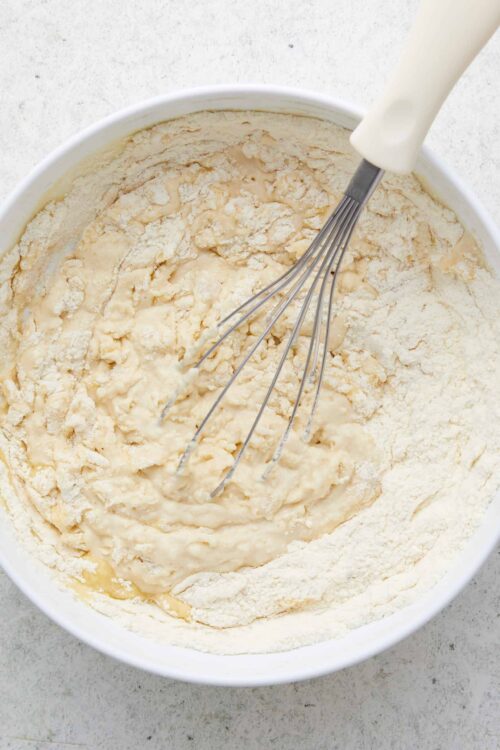
- Add melted butter, salt, and half the flour to the yeast mixture. Mix until smooth. Gradually add the remaining flour to form a firm dough.
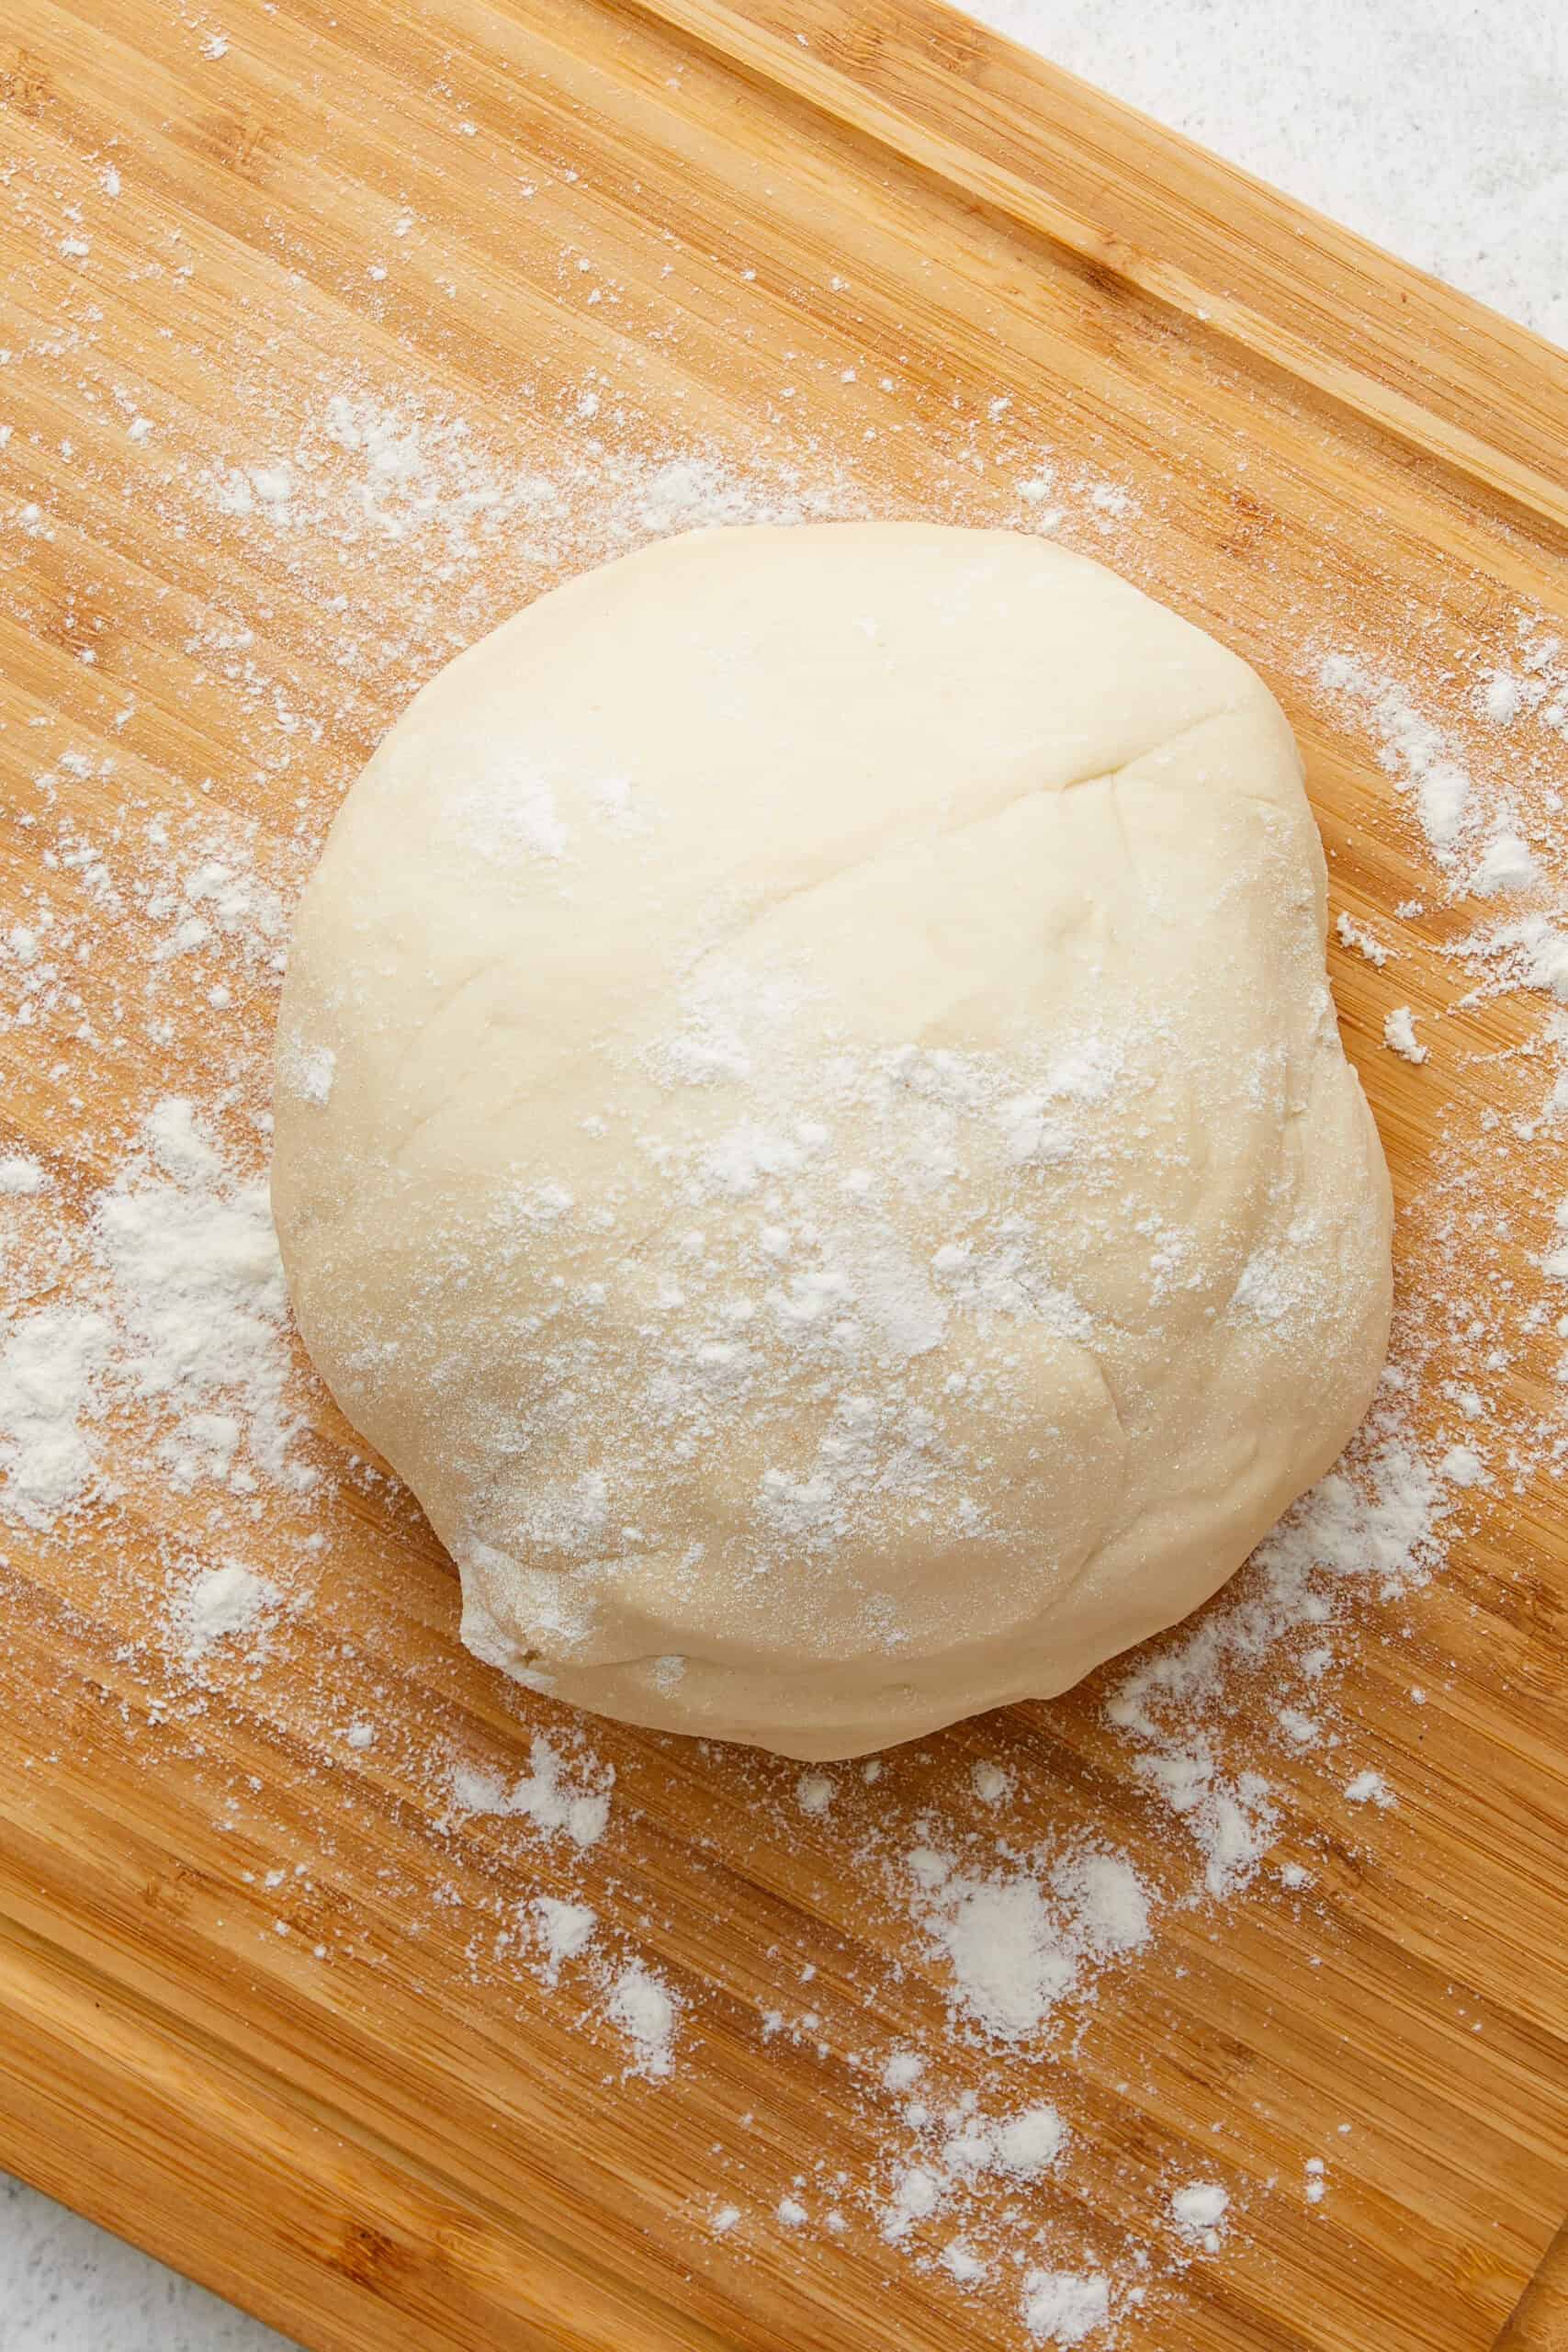
- Turn the dough onto a floured surface and knead until smooth and elastic, about 6-9 minutes.

- Place the dough in a greased bowl, turning once to coat. Cover with a damp cloth and let rise in a warm place until doubled, about 1 hour.
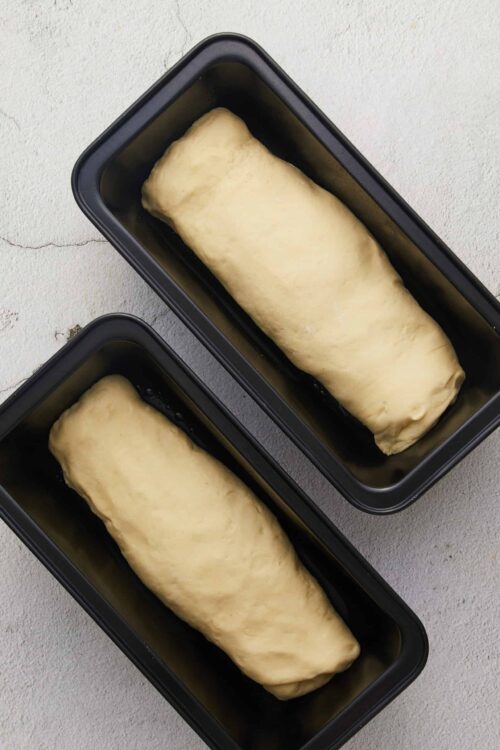
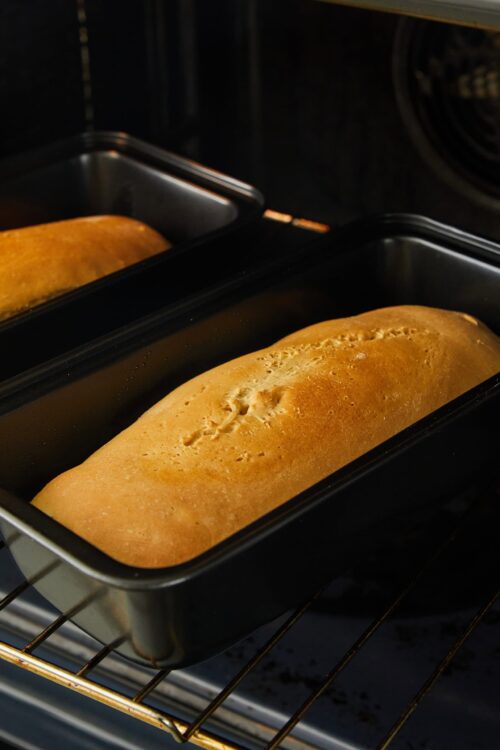
- Punch down the dough and divide it into two equal parts. Shape each into a loaf and place in two greased 9×5-inch loaf pans.
- Cover and let rise until doubled, about 30-45 minutes. Meanwhile, preheat oven to 375°F.
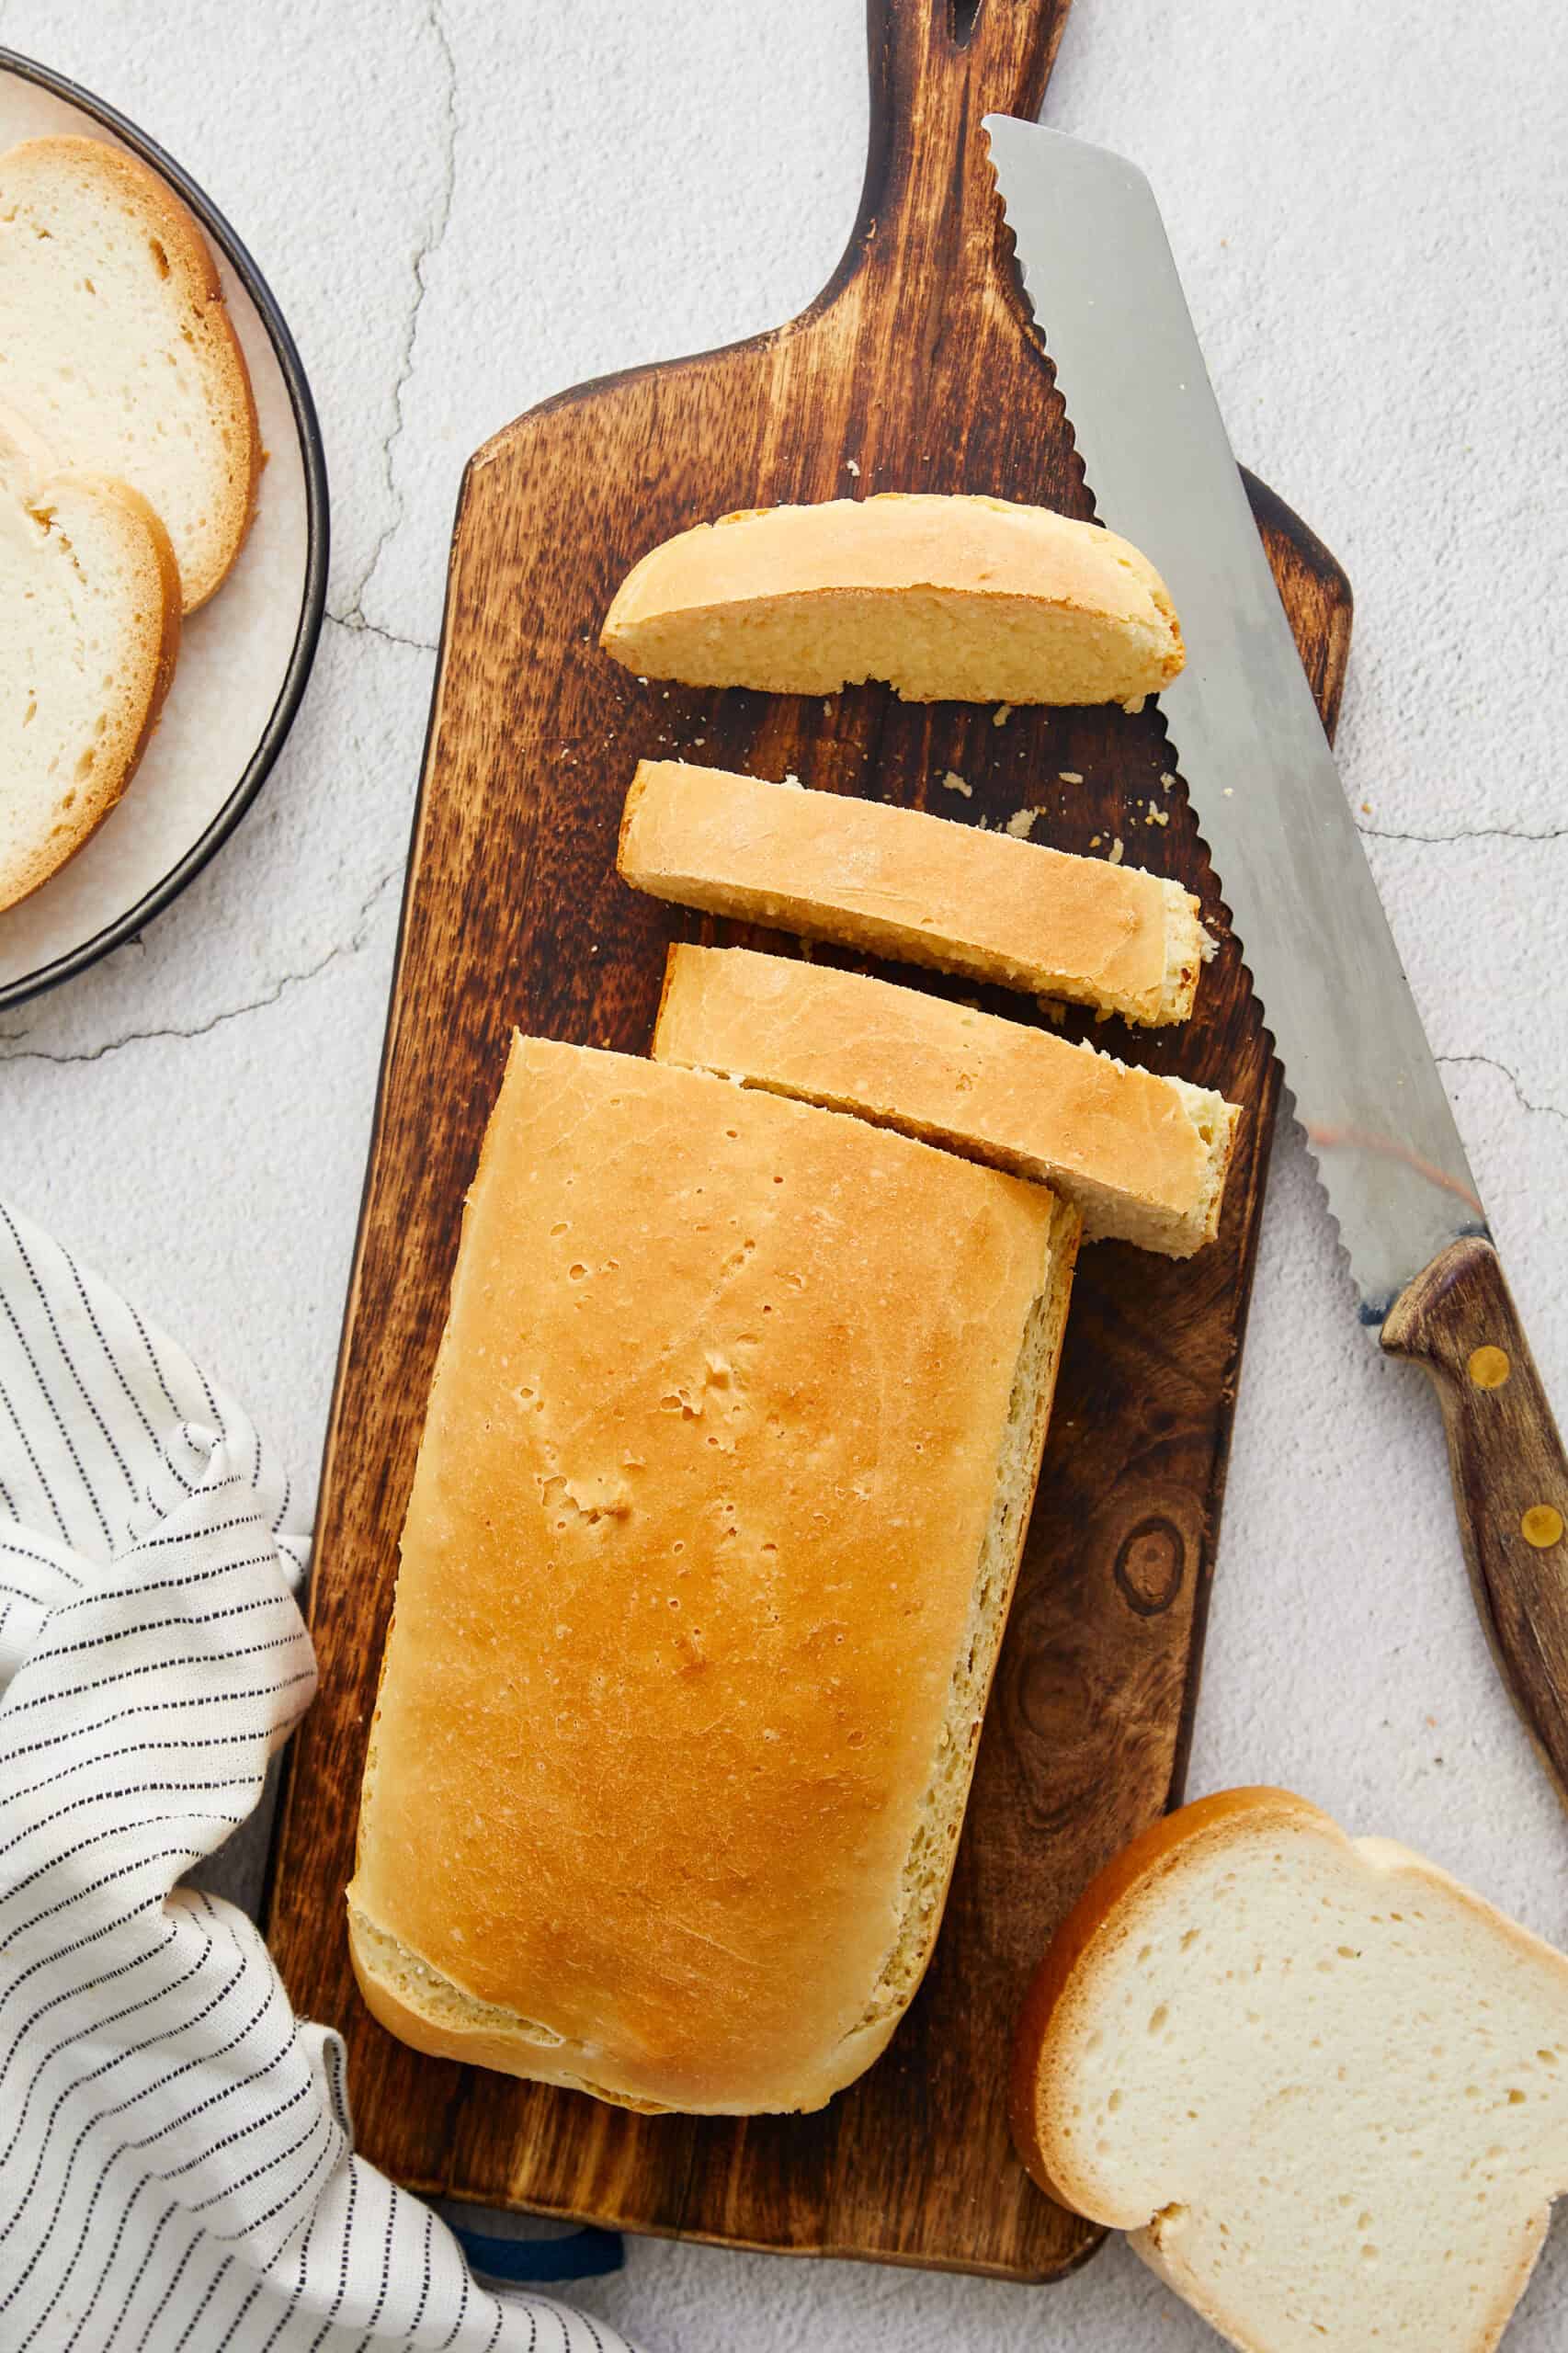
- After they've risen, bake the loaves for 30 minutes, or until the top is golden brown and the loaf sounds hollow when tapped.

Leave a Comment