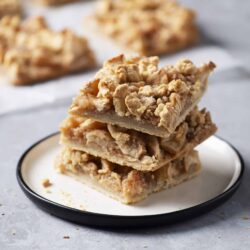
A beautiful bar with bursts of flavor in every bite!

To me, one of the top fall foods is anything to do with apple pie. It’s apple season, and the stores are bursting with these fruits. If you’re lucky enough to live in a more northern climate than I currently do, there’s apple picking galore. When I was a kid, we lived in Philadelphia for a year, and I so distinctly remember the absolute joy I felt as a four-year-old picking my own apples. If you have kids and it’s available in your area, I highly recommend this activity. You’ll create memories that’ll last a lifetime.
For those of us not lucky enough to be out picking our own apples, we can still enjoy bringing them home and making delicious treats like these apple pie bars. They taste just like apple pie and are a fantastic homage to that traditional American dessert, except I think they’re easier. Apple pie can be a bit messy, and you definitely need a plate for it. For these apple pie bars, you can offer them as an easy dessert at a buffet-style meal, a cookout, or a potluck, and people can just pick one up with a napkin like they would a cookie.
The reason you’re going to love this recipe is that, simply put, it tastes amazing. It’s got that classic apple pie spice blend of cinnamon, nutmeg, and brown sugar. The crust is that perfect blend of buttery and flaky, so it’s just a joy to bite into.

Choose a baking apple
For any baked good involving apples, you’re going to want to be sure you pick the right type of apples, specifically in the category called baking apples, or else you’ll end up with a mushy mess. Baking apples are crisp varieties like Fuji, Honeycrisp, Jazz, and Pink Lady apples. You can even go for Granny Smith. I’m not a sour apple fan myself, so I usually go for a good Fuji apple for sweetness.

How do I store leftovers?
You can keep your apple pie bars in an airtight container for about 1 week in your fridge, but I’d recommend eating them the day you make them to get the most enjoyment out of your creation. You can also store them in the freezer for up to 3 months and simply defrost them overnight in the fridge. You can reheat your apple pie bars in the microwave if you prefer them warm, but I actually rather enjoy the lightly chilled version. It’s all up to personal preference!

Serving suggestions
Since apple pie bars work so great for large get-togethers, I’d recommend making some similar treats to serve alongside them! Here’s a good assortment of bars you can make: Caramel Commotion Bars, Easy Lemon Bars, Spiced Chocolate Chip Cookie Bars, Key Lime Bars, and M&M Cookie Bars.

Apple Pie Bars
Ingredients
- 2 cups all-purpose flour, for dough
- 1/4 teaspoon salt, for dough
- 1 large egg yolk, for dough
- 3/4 cup unsalted butter, cold and cubed (for dough)
- 3 tablespoons milk, for dough
- 4 cups apples, peeled and diced (about 4 medium apples)
- 6 tablespoons granulated sugar
- 6 tablespoons light brown sugar
- 1 teaspoon ground cinnamon
- 1/3 cup all-purpose flour
- 1/4 teaspoon ground nutmeg
Instructions
- In a food processor, pulse together 2 cups of flour and 1/4 teaspoon of salt.
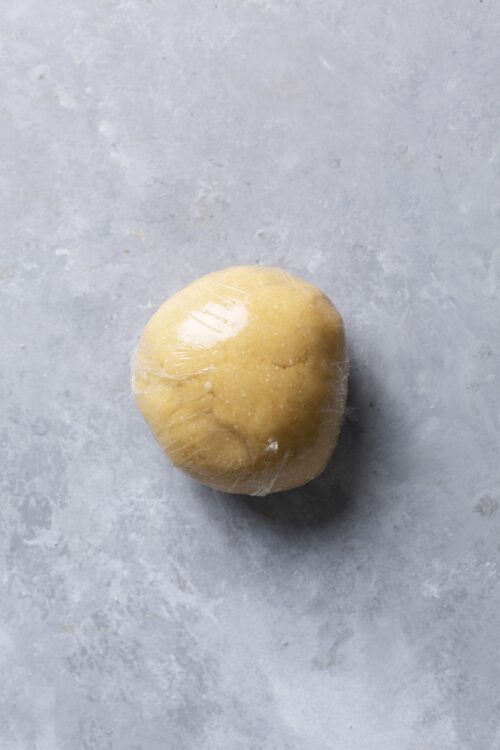
- Add the egg yolk, cubed butter, and milk. Pulse until a soft dough forms. If needed, add 1 more tablespoon of milk to bring the dough together.
- Wrap the dough in plastic and refrigerate while preparing the filling.
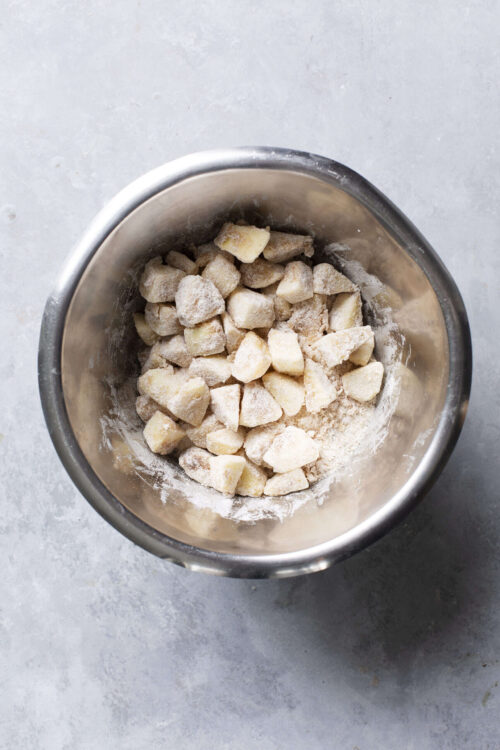
- Toss the diced apples with granulated sugar, light brown sugar, cinnamon, flour, and nutmeg.
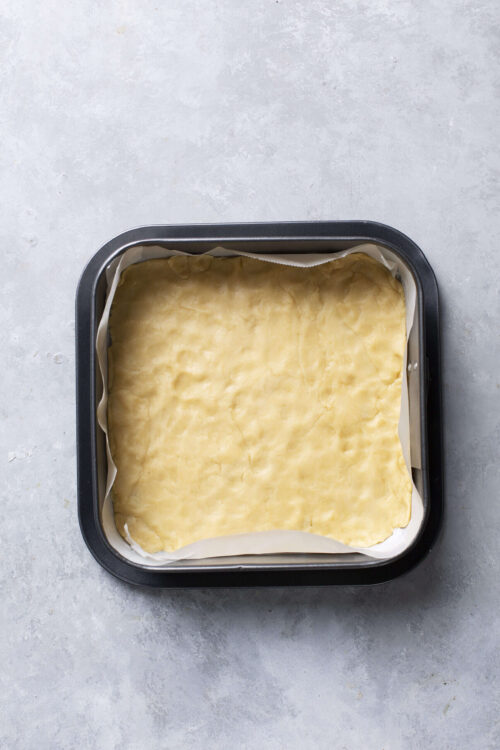
- Press the chilled dough into an 9-inch square baking pan lined with parchment. Add the apple mixture over the crust. Crumble the remaining dough over the apples.
- Bake in a preheated oven at 350°F for about 45-55 minutes or until the crust is golden and the filling is bubbly.
- Let the bars cool completely before cutting into squares. Serve as is or with a scoop of vanilla ice cream.

Leave a Comment